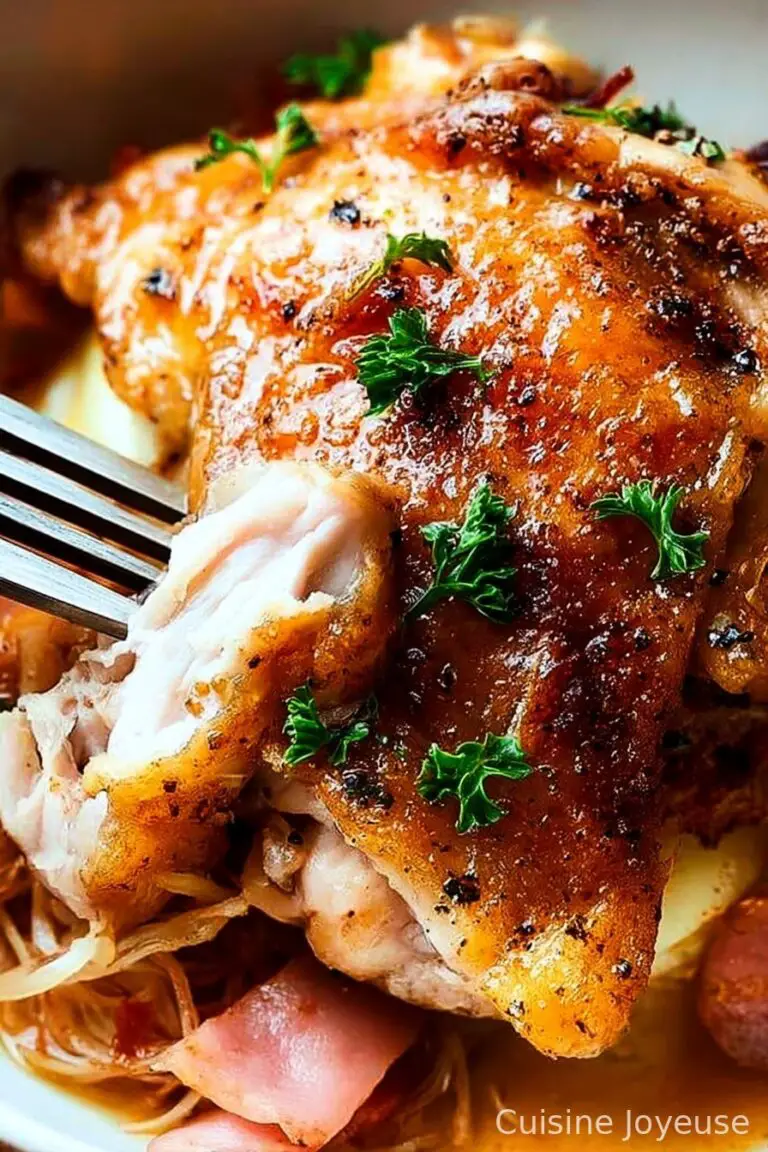
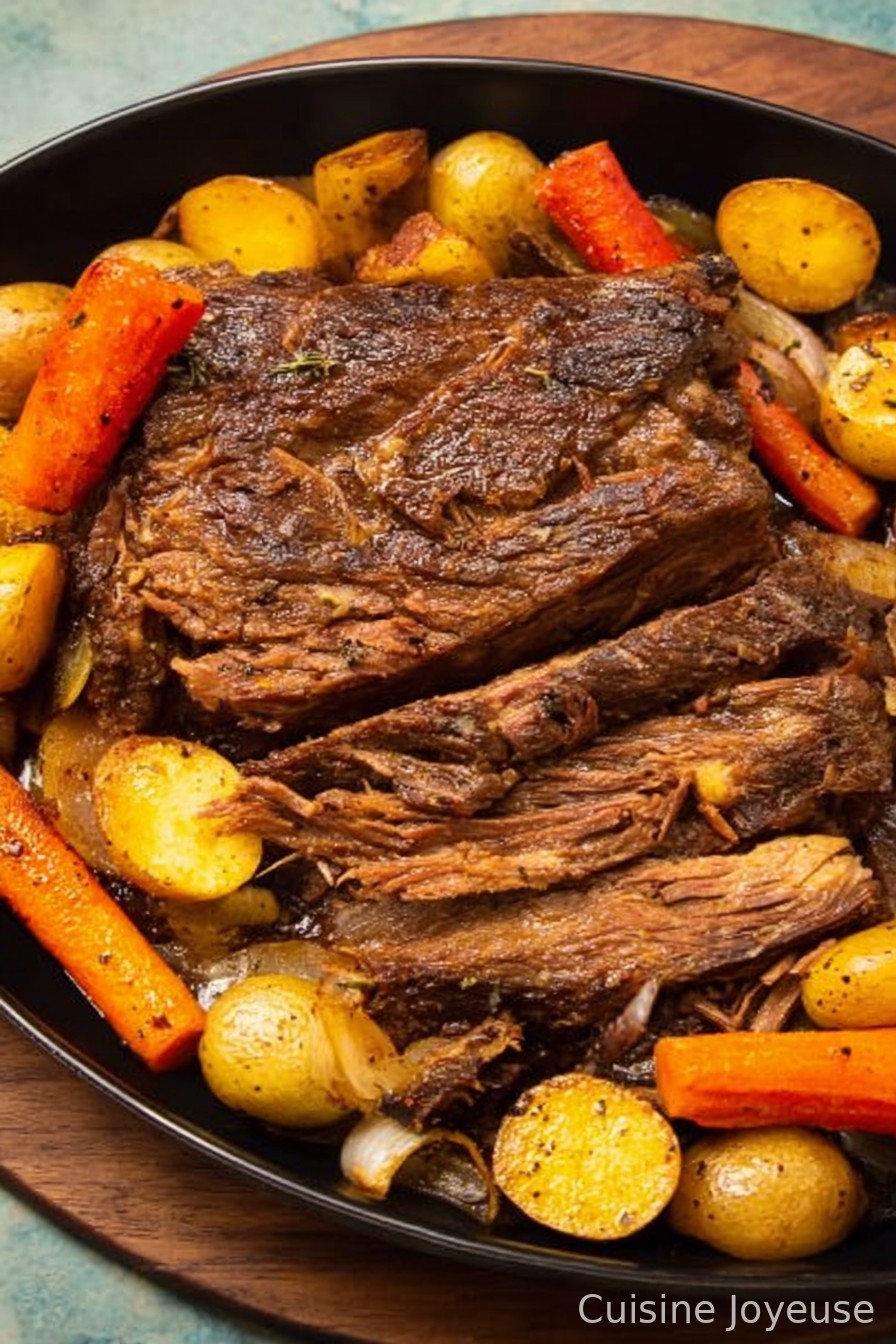
Oven Baked Chuck Roast Recipe
If you’re reading this, odds are you’re hungry or about to cook for people who absolutely refuse to let a Sunday pass without a good roast. (I get it. In my family, skipping it would basically be a crime.) Honestly, I associate chuck roast with that slightly chaotic coziness of rainy days, loud laughter (and a little bit of squabbling), and a kitchen that smells so good it pulls people in off the street—okay, maybe just the neighbors, but you know what I mean.
Why I Always Circle Back to This Chuck Roast
I make this oven baked chuck roast when I’m craving the homey, slightly nostalgic vibe you just can’t get from a grocery store rotisserie bird. My family goes crazy for it because it’s hearty and, let’s face it, roasted meat just feels more like an occasion than regular weeknight meals. (Not gonna lie: there’ve been times the potatoes vanished before I even got the platter to the table—I’m looking at you, Uncle Joe.) And while I’ve definitely had my “oh no, it’s dry!” moments before, I’ve got the timing nailed down now. Mostly.
What You’ll Need (and a Few Cheeky Swap Suggestions)
- 1 chuck roast (about 3 to 4 pounds) – any cut labeled “chuck” usually works fine; my grandma was weirdly passionate about using only Angus beef, but I just grab what looks fresh
- 1 tablespoon olive oil – sometimes I use canola if that’s what’s next to the stove
- 1 large yellow onion, sliced – red onion in a pinch, or even shallots if feeling fancy
- 3-4 cloves garlic, smashed – pre-minced works if you’re racing the clock
- 4 carrots, peeled and cut into big chunks – baby carrots totally cheat, but they’re a lifesaver during busy weeks
- 3-4 stalks celery, chopped chunky
- 2 cups beef broth (I usually go with the low-sodium box stuff, but bouillon cubes dissolved in water will do in a pinch)
- 1 tablespoon tomato paste – ketchup is a wild-card swap, but I’ve done it
- 2-3 sprigs fresh thyme (or a big pinch of dried, honestly I can’t always tell the difference when it’s cooked long enough)
- 2 bay leaves
- Salt and plenty of black pepper
- Optional: ½ cup red wine (my little secret when there’s an open bottle lurking)
- Optional: 1-2 potatoes, chunked (only if you want everything in one pot)
How to Pull Off This Chuck Roast—Step By Step, With Some Reality Checks
- Take the chuck roast out of the fridge and let it sit for about 20 minutes (room temp = better browning, says science…or maybe just my aunt who reads cookbooks).
- Preheat your oven to 300°F (150°C). This is not the time to blast it—you want low and slow.
- Get a big Dutch oven or deep oven-safe pot. Heat the olive oil over medium-high. Pat your roast dry (seriously, do this—it makes a big difference for color) and season with salt and a heavy hand of pepper.
- Sear the roast until it gets a good brown crust on all sides; don’t rush this step. I once did, and regretted it: pale roast, pale mood.
- Set the roast aside. Toss onion, garlic, carrots, and celery in the pot. Stir it around for 4-5 minutes; scrape up the browned bits. This is where I usually sneak a little taste to check the seasoning—watch out, it’s hot!
- Add tomato paste, give it a stir, and cook for a minute or two. Pour in the broth (and wine if you’re feeling it), give everything a swirl, and nestle the roast right back into the pot on top of those veg.
- Add thyme and bay leaves. Pop on a tight-fitting lid (or, if your lid has vanished like mine once did, foil works fine) and stick the whole thing in the oven. Now—walk away!
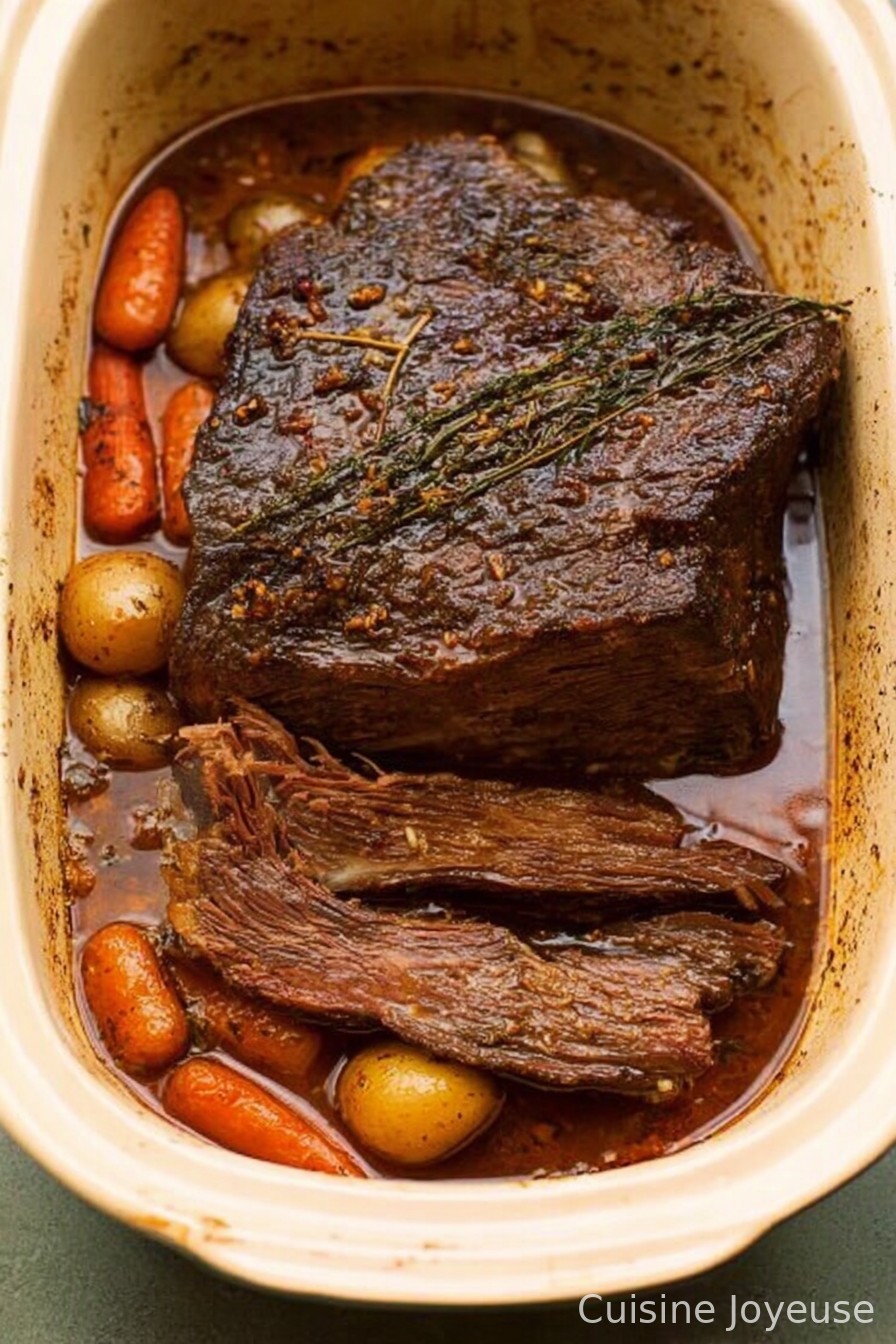
- Bake for about 3 hours. Halfway through, I usually poke my head in to check (and maybe flip those potatoes if I remembered to add them). Don’t worry if the top looks a wee bit dry, just ladle some of the cooking liquid over it.
- When you can poke the meat with a fork and it starts to fall apart, it’s done. Let it rest, covered, for 15-20 mins—this gives you juuust enough time to holler for everyone to come set the table.
Some Notes and Little Discoveries
- The leftovers (if any) definitely taste better the next day, but—okay, real talk, sometimes there’s not much left.
- If your gravy comes out thin, just simmer the cooking liquid on the stove to thicken—or throw in a cornstarch slurry if you’re impatient.
- Once I forgot to peel my carrots…actually, the rustic vibe was pretty nice.
Variations I’ve Tried (With Mixed Results…)
- Sometimes I’ll add a can of crushed tomatoes for a tangier sauce—it’s great if you like things saucy.
- Swapped out celery for fennel once. Not a hit with the kids, but I kinda liked it.
- Tried doing it all in a slow cooker one weekend… it was fine, but not as deeply flavored as the oven version, at least for me.
Gear You Need—and How I Fake It If I Have To
So, a Dutch oven is perfect here, but I’ve done this in a normal roasting pan covered with a smaller pan as a lid (a little hacky, but whatever works). If you don’t have a meat thermometer—that’s fine! Just look for “fall apart with a fork” and you’re good.
Storing Leftovers
Keep leftovers in an airtight container in the fridge; they’ll be just fine for 3 days, though honestly, in my house it never lasts more than a day! It also freezes pretty well, but the carrots do get a bit weird after thawing—fair warning.
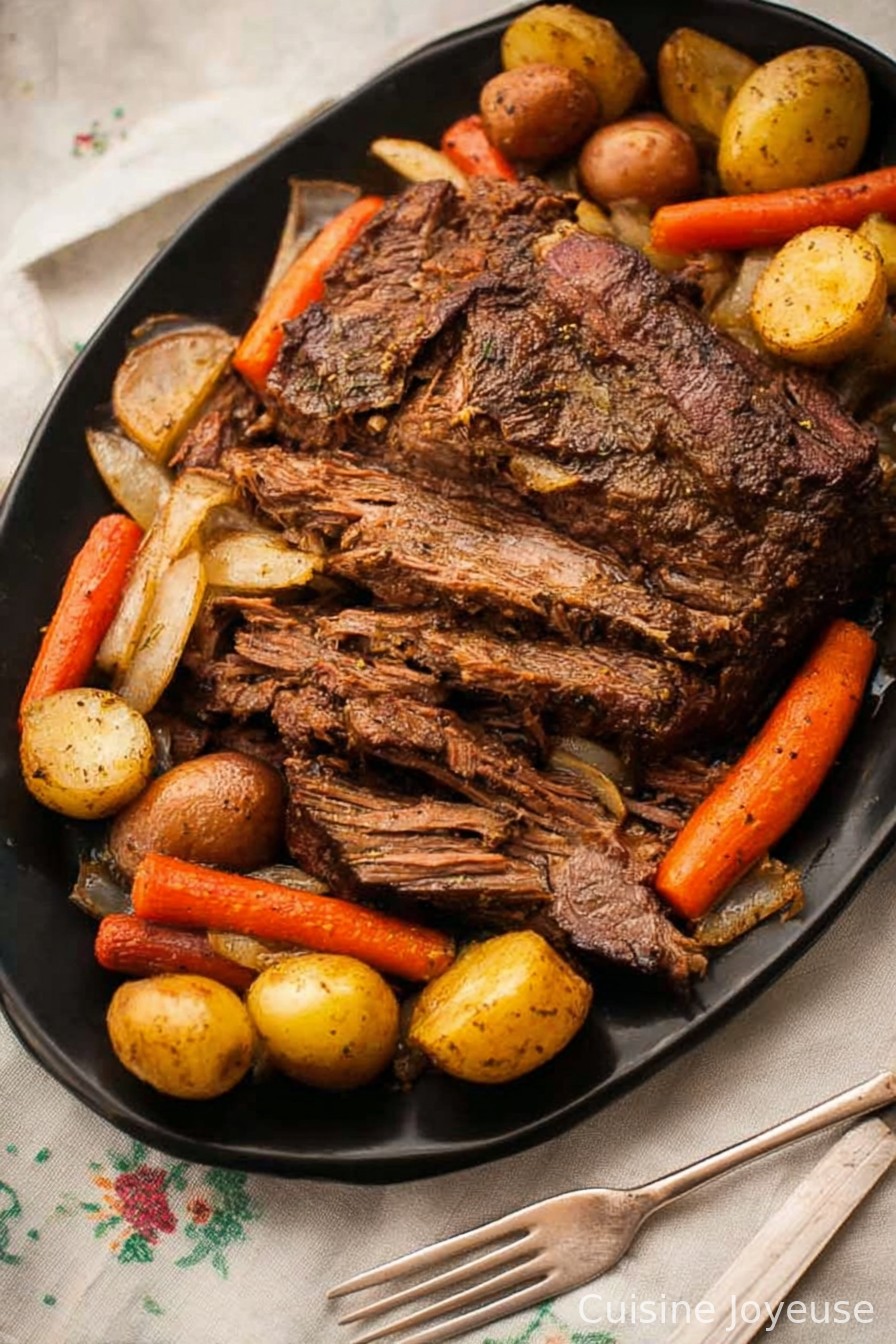
Serving This Up—My Favorite Way
I usually plop it in the middle of the table with a big dish of mashed potatoes (real or instant, I won’t judge) and some crusty bread to mop up juices. My sister claims it’s not complete without peas—but she also puts pickles on everything, so take it with a grain of salt.
My Hard-Earned Pro Tips
- Don’t rush the searing step; one time I thought I could skip it, but that roast came out sadder than a rain-soaked picnic.
- After baking, let the roast rest before slicing. If you don’t, it’ll run everywhere and look…not appetizing, trust me.
- Actually, I find it works better if you keep the veggies pretty chunky; they won’t totally dissolve by the time the roast is done.
FAQ—Actual Questions I’ve Heard From Friends
- Can I use a different cut of beef? Sure can! Just know some will cook quicker (or slower) and some might be a bit tougher, but honestly, chuck is my gold standard.
- Do I really need wine? Nah—it adds a little flavor, but I’ve made it both ways and it’s good either way. Save the wine for the cook if you want.
- Can I skip the tomato paste? You can, but the sauce won’t be quite as rich. But hey, you do you.
- Why does my roast seem tough? Probably just needs more time. Or, on second thought, check if you cooked it at too high a temp…happens to the best of us!
And by the way, if you accidentally leave your chopping knife in the sink and use a butter knife to slice the roast, it’ll still taste great—I’ve tested this thoroughly. Happy roasting!
Ingredients
- 1 chuck roast (about 3 to 4 pounds) – any cut labeled ‘chuck’ usually works fine; my grandma was weirdly passionate about using only Angus beef, but I just grab what looks fresh
- 1 tablespoon olive oil – sometimes I use canola if that’s what’s next to the stove
- 1 large yellow onion, sliced – red onion in a pinch, or even shallots if feeling fancy
- 3-4 cloves garlic, smashed – pre-minced works if you’re racing the clock
- 4 carrots, peeled and cut into big chunks – baby carrots totally cheat, but they’re a lifesaver during busy weeks
- 3-4 stalks celery, chopped chunky
- 2 cups beef broth (I usually go with the low-sodium box stuff, but bouillon cubes dissolved in water will do in a pinch)
- 1 tablespoon tomato paste – ketchup is a wild-card swap, but I’ve done it
- 2-3 sprigs fresh thyme (or a big pinch of dried, honestly I can’t always tell the difference when it’s cooked long enough)
- 2 bay leaves
- Salt and plenty of black pepper
- Optional: ½ cup red wine (my little secret when there’s an open bottle lurking)
- Optional: 1-2 potatoes, chunked (only if you want everything in one pot)
Instructions
-
1Take the chuck roast out of the fridge and let it sit for about 20 minutes (room temp = better browning, says science…or maybe just my aunt who reads cookbooks).
-
2Preheat your oven to 300°F (150°C). This is not the time to blast it—you want low and slow.
-
3Get a big Dutch oven or deep oven-safe pot. Heat the olive oil over medium-high. Pat your roast dry (seriously, do this—it makes a big difference for color) and season with salt and a heavy hand of pepper.
-
4Sear the roast until it gets a good brown crust on all sides; don’t rush this step. I once did, and regretted it: pale roast, pale mood.
-
5Set the roast aside. Toss onion, garlic, carrots, and celery in the pot. Stir it around for 4-5 minutes; scrape up the browned bits. This is where I usually sneak a little taste to check the seasoning—watch out, it’s hot!
-
6Add tomato paste, give it a stir, and cook for a minute or two. Pour in the broth (and wine if you’re feeling it), give everything a swirl, and nestle the roast right back into the pot on top of those veg.
-
7Add thyme and bay leaves. Pop on a tight-fitting lid (or, if your lid has vanished like mine once did, foil works fine) and stick the whole thing in the oven. Now—walk away!
-
8Bake for about 3 hours. Halfway through, I usually poke my head in to check (and maybe flip those potatoes if I remembered to add them). Don’t worry if the top looks a wee bit dry, just ladle some of the cooking liquid over it.
-
9When you can poke the meat with a fork and it starts to fall apart, it’s done. Let it rest, covered, for 15-20 mins—this gives you juuust enough time to holler for everyone to come set the table.
Approximate Information for One Serving
Nutrition Disclaimers
Number of total servings shown is approximate. Actual number of servings will depend on your preferred portion sizes.
Nutritional values shown are general guidelines and reflect information for 1 serving using the ingredients listed, not including any optional ingredients. Actual macros may vary slightly depending on specific brands and types of ingredients used.
To determine the weight of one serving, prepare the recipe as instructed. Weigh the finished recipe, then divide the weight of the finished recipe (not including the weight of the container the food is in) by the desired number of servings. Result will be the weight of one serving.
Did you make this recipe?
Please consider Pinning it!