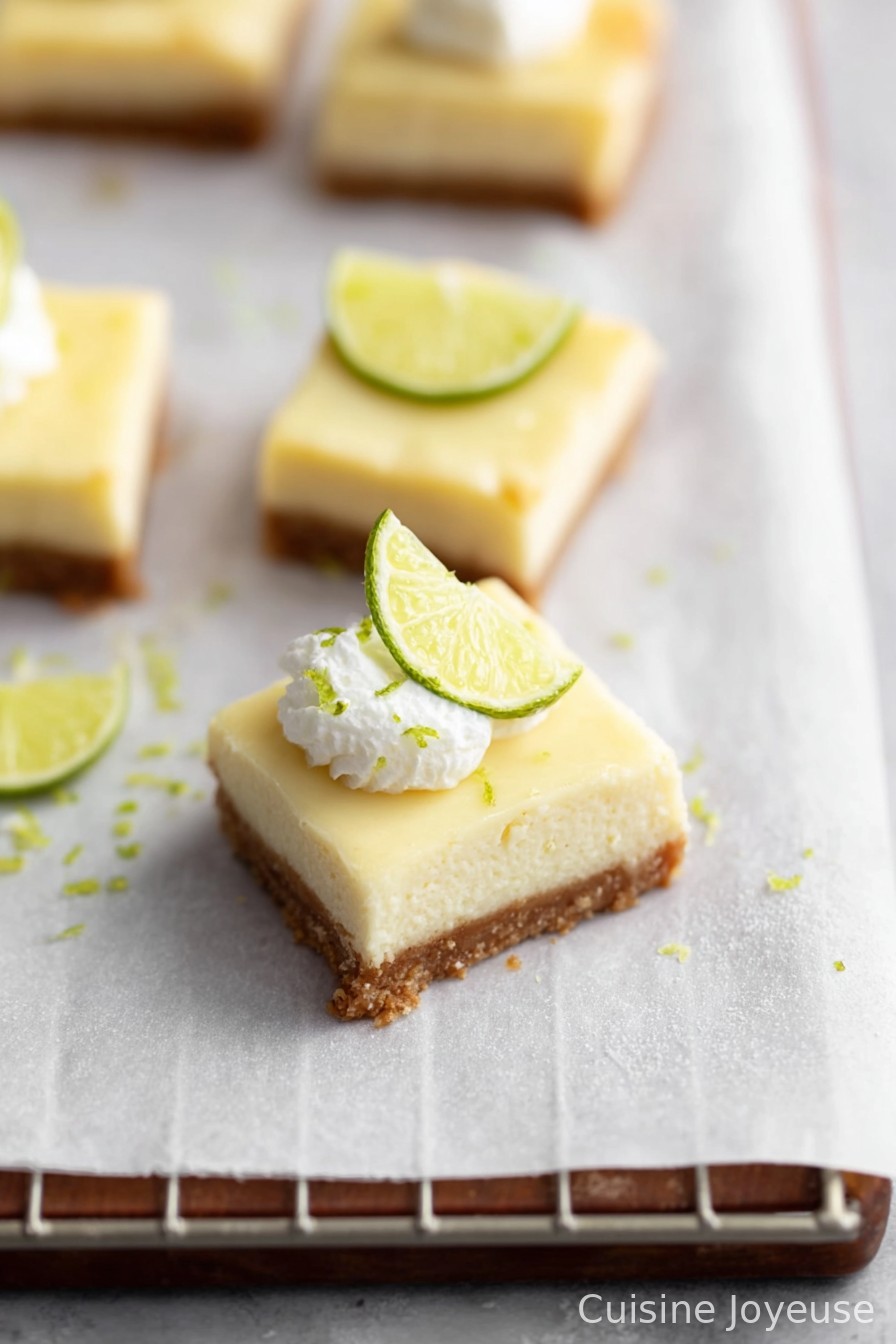
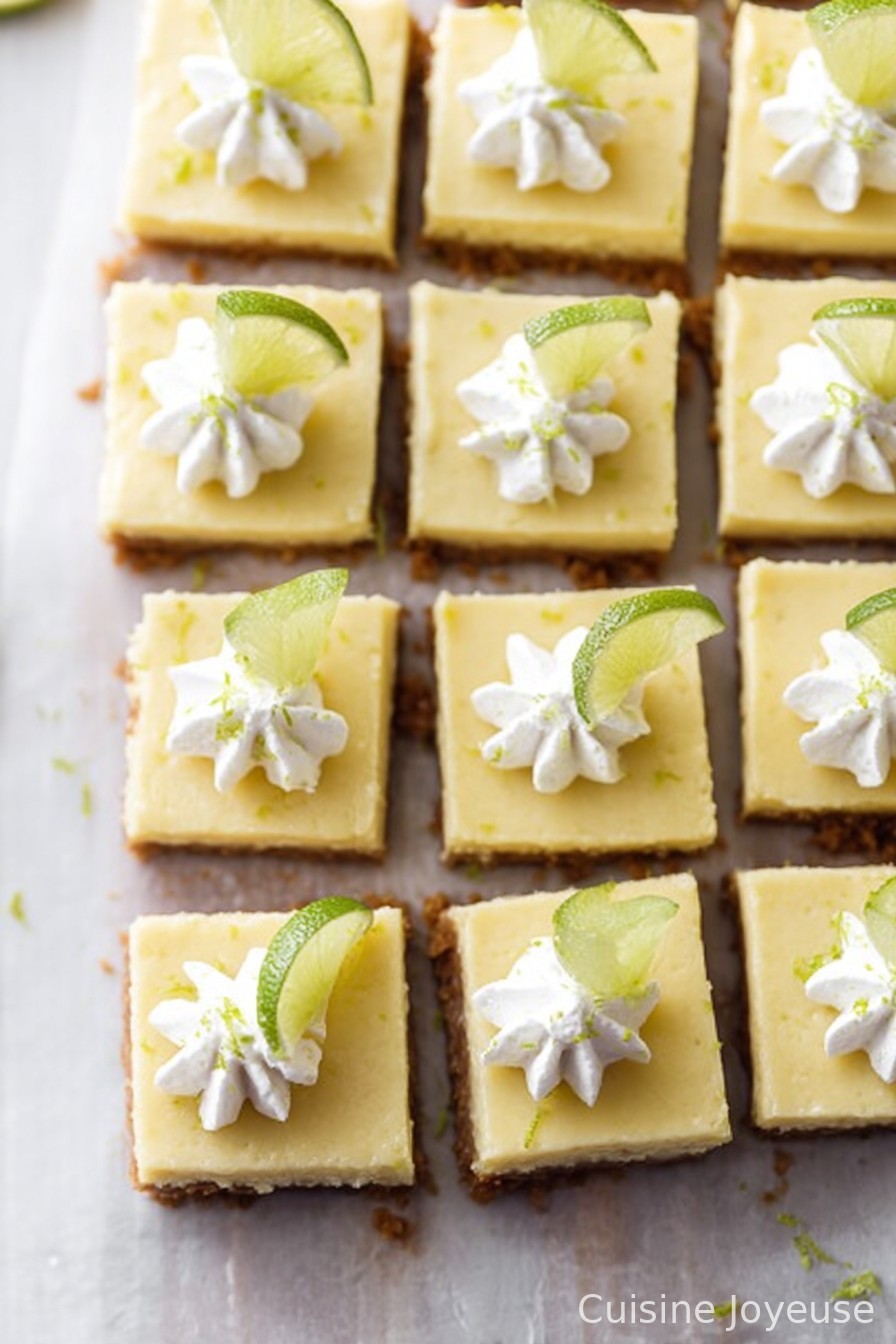
Key Lime Pie Cheesecake Bars
Honestly, Key Lime Pie Cheesecake Bars Are My Secret Weapon
You know how there are some desserts that just make everyone start hovering in the kitchen, pretending to “help” but really just waiting for a taste? That’s these Key Lime Pie Cheesecake Bars at my place. I whipped them up the first time after a spring picnic disaster with a bowl of runny regular key lime pie (long story, ask me about it over coffee). Well, smashing it all together as bars not only solved my mushy pie blues, it’s way less fussy. Full confession—I once made these with regular limes because the store was out of key limes; nobody noticed (except my cousin who notices everything…she’s not getting the recipe). Oh, and I 100% eat the crust bits from the food processor while I’m waiting for the oven to heat. Don’t judge.

Why I Keep Coming Back To This Recipe
I make these bars when I need a dessert that looks way fancier than the effort involved. My family practically elbows each other for the first corner piece (even though the middle is my favorite—so creamy!). These bars save my bacon for birthdays, potlucks, or just one of those Thursdays when you need something tangy and slightly indulgent. And you know what? I used to be nervous about cheesecake anything because who wants a water bath? Ha, no worries here. One bowl and good ol’ fashioned luck. I did have one moment of panic when my hand mixer started making weird noises, but hey, manual mixing builds character (and biceps).
Gather Up These (Flexible) Ingredients
- 1 1/2 cups (about 160g) graham cracker crumbs (sometimes I use digestive biscuits if that’s what’s hanging out in the pantry)
- 1/3 cup melted unsalted butter (salted works too, just skip added salt)
- 1/4 cup granulated sugar (brown sugar in a pinch, adds a little caramel note)
- 2 blocks (16 oz/450g) cream cheese, room temp—your brand, your rules; even the bargain brands work fine (just not whipped, trust me)
- 2/3 cup granulated sugar
- 2 large eggs
- 1/3 cup sour cream (Greek yogurt when I’m out, and nobody complains)
- 1/2 cup key lime juice (fresh is A+, but I totally use the bottled stuff from Nellie & Joe’s when I can’t find real key limes; regular lime juice works too)
- 2 teaspoons key lime zest (real talk: some days it’s just regular lime zest—I won’t tell)
- 1 teaspoon vanilla extract (grandma always said to splash a bit extra)
- Pinch of salt
- Optional: whipped cream for topping (or just do what my uncle does and pile on Cool Whip)
Let’s Make These Bright & Creamy Bars
- Heat your oven to 325°F (160°C). Line an 8-inch square pan with parchment so you can lift the bars out later—makes life easier, promise.
- Dump your graham cracker crumbs, melted butter, and 1/4 cup sugar into a bowl (or a food processor for the lazy, er—efficient—option). Mix until it’s the texture of damp sand. Press it evenly into your pan. I use the bottom of a measuring cup; fingers work but you’ll get crumbs everywhere (trust me, found them in my sock once).
- Bake this crust for 10 minutes, just until it smells toasty. Let it cool a bit while you gather your courage for the filling.
- For the filling, beat your cream cheese with the 2/3 cup sugar until it’s smoothish. If you forgot to bring the cream cheese to room temp, wrestle it with the mixer; I do it all the time. Now beat in eggs, one at a time. Don’t stress if it looks a bit lumpy, it’ll smooth out with the rest.
- Add sour cream, key lime juice, zest, vanilla, and that pinch of salt. Beat until glossy and combined. This is totally the point where I sneak a taste—raw eggs and all—I live dangerously.
- Pour this creamy business over the cooled crust. Give the pan a little jiggle to even it out. If you see bubbles, bang it on the counter (gently, unless you want to reline your pan).
- Bake 30–35 minutes. You want the edges set but the center still just a bit wobbly—like set Jell-O, not a trampoline. It’ll set up more as it cools.
- Let it cool on the counter for a bit, then chill in the fridge at least 4 hours. Actually, overnight is best. (But who am I kidding, I usually cut in early and eat the messy pieces first.)
- Lift out, slice into squares, then top with whipped cream if you’re feeling extra. Or just eat straight from the pan with a fork—I do.
Notes from Someone Who’s Definitely Made Mistakes
- Forgot to line the pan? Totally fine, just be ready for a wrestling match to get the first piece out. The messy ones are for taste-testing anyway.
- If your crust’s a bit crumbly, next time up the butter a smidge.
- It’s normal for a little crack or two to appear. You can always cover them up with whipped cream. Or strategically place a lime wedge (I’ve done it more than once).
- This tastes even zingier the next day, so if you’ve got the patience, hold off.
Variations and Fun Experiments (Some Better Than Others)
- Once, I swapped half the graham crumbs for crushed pretzels. That salty-sweet combo? A winner.
- I tried swirling in raspberry jam. It looked…interesting. Probably too runny, so don’t do what I did unless you like strange desserts (oddly popular with the kids though).
- No key limes? Regular limes or even lemons work. I wouldn’t try oranges—learned that the hard way, it’s more like cheesecake candy…which isn’t exactly what I want.
Stuff You’ll Need (But Improv is Fine)
- A food processor or zip-top bag and rolling pin for the crumbs (or just bash with a sturdy mug, I’ve done that at holiday rentals)
- Mixing bowls (at least two—one always ends up on the drying rack)
- An 8-inch square pan (9-inch works; bars are just thinner, I won’t judge)
- Electric mixer or good old elbow grease (skip arm day at the gym!)
- Something to zest limes—box grater, microplane, whatever you’ve got
How to Store—But Will You Even Need To?
If you somehow don’t eat all the bars in one day (show-off), store them in an airtight container in the fridge for up to 5 days. They probably get a little softer after day 3, but still tasty. Freezer? Sure, wrapped up tight, for a month. But honestly—these disappear so fast at my house, I hardly need storage advice.
How We Serve ‘Em Around Here
I like to serve these cold with a hefty swoosh of whipped cream and, if I’m fancy, a little twisted lime slice on top. My mom puts out one of those little sprinkle jars of toasted coconut for the coconut lovers. Sometimes, if it’s a birthday, we even stick a candle in one (it works!).
If You’re Gonna Take Advice from Me…
- Chill, chill, chill! I rushed cutting once after just an hour (got impatient). The filling totally stuck to the knife and it looked like I gave it to the dog first. Don’t be like me. Patience is a virtue, apparently.
- Use parchment unless you love a good wrestling match getting them out of the pan. Or just embrace the rustic look—no one complains once they’re eating.
- If you don’t have real key limes, don’t sweat it. Not even once has anyone at the table noticed the difference.
FAQ: Stuff People Actually Ask Me
- Can I double this recipe for a bigger crowd? Yep. I do it in a 9×13 and add about 10 minutes to the bake time. Keep an eye out, because ovens all have their own ideas about doneness.
- Is bottled key lime juice OK? Honestly, I use it all the time. Way less hassle than juicing a bazillion limes. Key lime juice from a bottle is a fridge staple in my house; don’t stress.
- Crust falling apart—did I mess up? Not at all. Happens to the best of us. Little extra butter next time or just pack it firmer.
- When do I take them out of the oven? When the edges are set and the center jiggles just a bit when you nudge the pan. Don’t wait for it to be totally firm, or it’ll dry out in the fridge (ask me how I know!).
- Do I need a water bath? Nope! That’s the beauty of this recipe. These guys are happy to chill (literally) and no fancy baths required.
- Can I make these gluten-free? Yes, just substitute GF graham crackers. Done it before for a friend, works a treat.
- Why does my top crack? Could be overbaking, or sometimes it just happens. I just cover it up with toppings—it’s what they’re for!
Ingredients
- 1 1/2 cups (about 160g) graham cracker crumbs (sometimes I use digestive biscuits if that’s what’s hanging out in the pantry)
- 1/3 cup melted unsalted butter (salted works too, just skip added salt)
- 1/4 cup granulated sugar (brown sugar in a pinch, adds a little caramel note)
- 2 blocks (16 oz/450g) cream cheese, room temp—your brand, your rules; even the bargain brands work fine (just not whipped, trust me)
- 2/3 cup granulated sugar
- 2 large eggs
- 1/3 cup sour cream (Greek yogurt when I’m out, and nobody complains)
- 1/2 cup key lime juice (fresh is A+, but I totally use the bottled stuff from Nellie & Joe’s when I can’t find real key limes; regular lime juice works too)
- 2 teaspoons key lime zest (real talk: some days it’s just regular lime zest—I won’t tell)
- 1 teaspoon vanilla extract (grandma always said to splash a bit extra)
- Pinch of salt
- Optional: whipped cream for topping (or just do what my uncle does and pile on Cool Whip)
Instructions
-
1Heat your oven to 325°F (160°C). Line an 8-inch square pan with parchment so you can lift the bars out later—makes life easier, promise.
-
2Dump your graham cracker crumbs, melted butter, and 1/4 cup sugar into a bowl (or a food processor for the lazy, er—efficient—option). Mix until it’s the texture of damp sand. Press it evenly into your pan. I use the bottom of a measuring cup; fingers work but you’ll get crumbs everywhere (trust me, found them in my sock once).
-
3Bake this crust for 10 minutes, just until it smells toasty. Let it cool a bit while you gather your courage for the filling.
-
4For the filling, beat your cream cheese with the 2/3 cup sugar until it’s smoothish. If you forgot to bring the cream cheese to room temp, wrestle it with the mixer; I do it all the time. Now beat in eggs, one at a time. Don’t stress if it looks a bit lumpy, it’ll smooth out with the rest.
-
5Add sour cream, key lime juice, zest, vanilla, and that pinch of salt. Beat until glossy and combined. This is totally the point where I sneak a taste—raw eggs and all—I live dangerously.
-
6Pour this creamy business over the cooled crust. Give the pan a little jiggle to even it out. If you see bubbles, bang it on the counter (gently, unless you want to reline your pan).
-
7Bake 30–35 minutes. You want the edges set but the center still just a bit wobbly—like set Jell-O, not a trampoline. It’ll set up more as it cools.
-
8Let it cool on the counter for a bit, then chill in the fridge at least 4 hours. Actually, overnight is best. (But who am I kidding, I usually cut in early and eat the messy pieces first.)
-
9Lift out, slice into squares, then top with whipped cream if you’re feeling extra. Or just eat straight from the pan with a fork—I do.
Approximate Information for One Serving
Nutrition Disclaimers
Number of total servings shown is approximate. Actual number of servings will depend on your preferred portion sizes.
Nutritional values shown are general guidelines and reflect information for 1 serving using the ingredients listed, not including any optional ingredients. Actual macros may vary slightly depending on specific brands and types of ingredients used.
To determine the weight of one serving, prepare the recipe as instructed. Weigh the finished recipe, then divide the weight of the finished recipe (not including the weight of the container the food is in) by the desired number of servings. Result will be the weight of one serving.
Did you make this recipe?
Please consider Pinning it!