Peanut Butter and Jelly Blondies
Hey there! So, let me tell you about these delightful peanut butter and jelly blondies. I stumbled upon this recipe on one of those lazy Sunday afternoons when I was craving something sweet but couldn’t muster the energy for anything complicated. You know how it is. Anyway, peanut butter and jelly sandwiches are a staple in my house (I mean, who doesn’t love ’em?), so I thought, why not take those flavors and put them in a blondie? And voilà, my peanut butter and jelly blondie adventure began!
Why You’ll Love These Blondies
I make these blondies whenever I need a quick dessert fix. My family goes crazy for them because they’re nostalgic, super easy to whip up, and they have that perfect balance of sweet and salty. Plus, the gooey center? Oh man, it’s a game-changer. (Just don’t tell anyone how simple they are to make!) I used to struggle with getting the peanut butter just right, but now I’ve got it down to a science—or a fun experiment, at least.
The Ingredients You’ll Need
- 1/2 cup unsalted butter (melted – if you’re in a pinch, margarine works too)
- 1 cup brown sugar (I prefer dark brown for a richer flavor)
- 1 large egg
- 1 tsp vanilla extract (or a splash more if you’re feeling fancy)
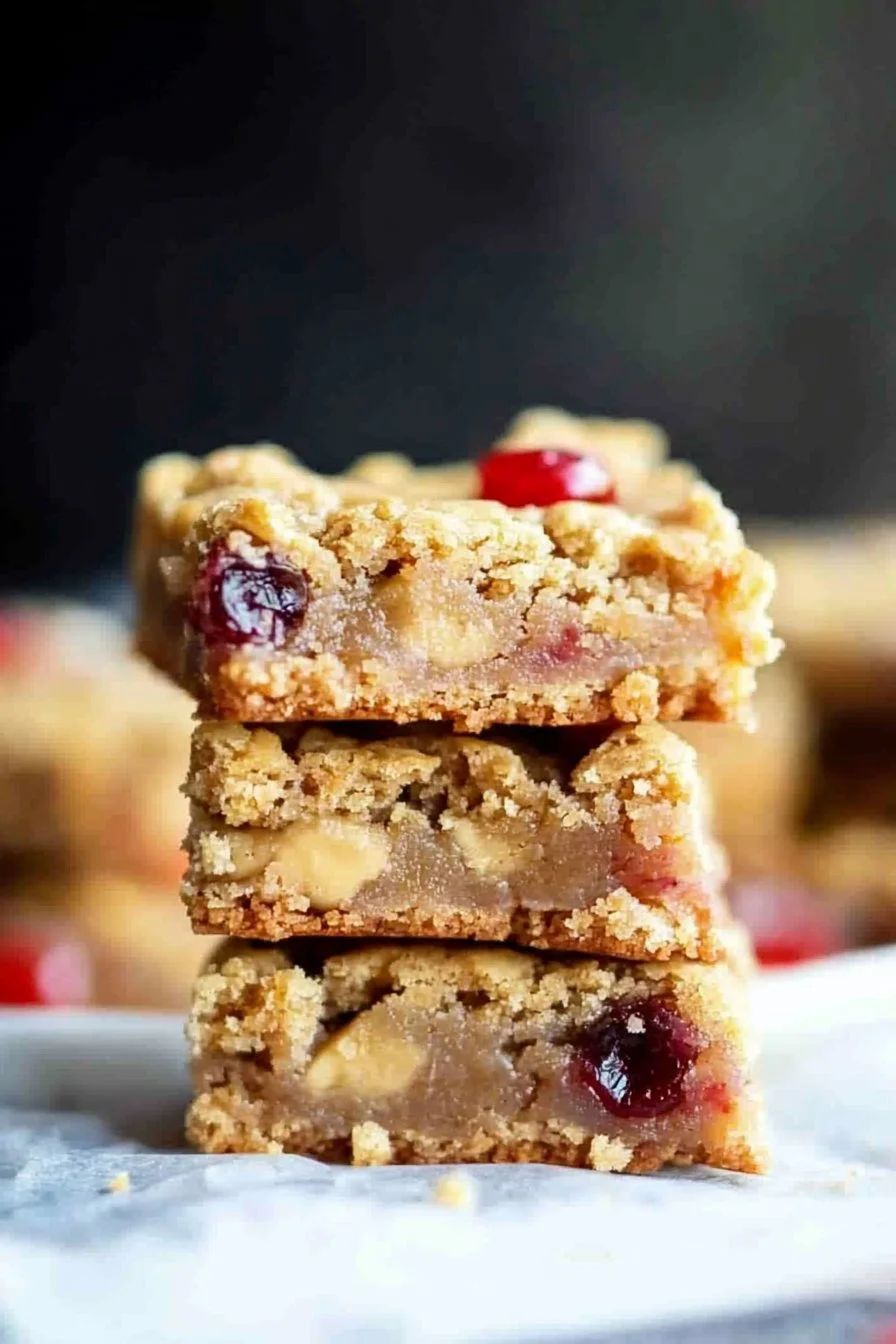
- 1/2 cup peanut butter (chunky or smooth, dealer’s choice)
- 1 cup all-purpose flour
- 1/2 tsp baking powder
- 1/4 tsp salt
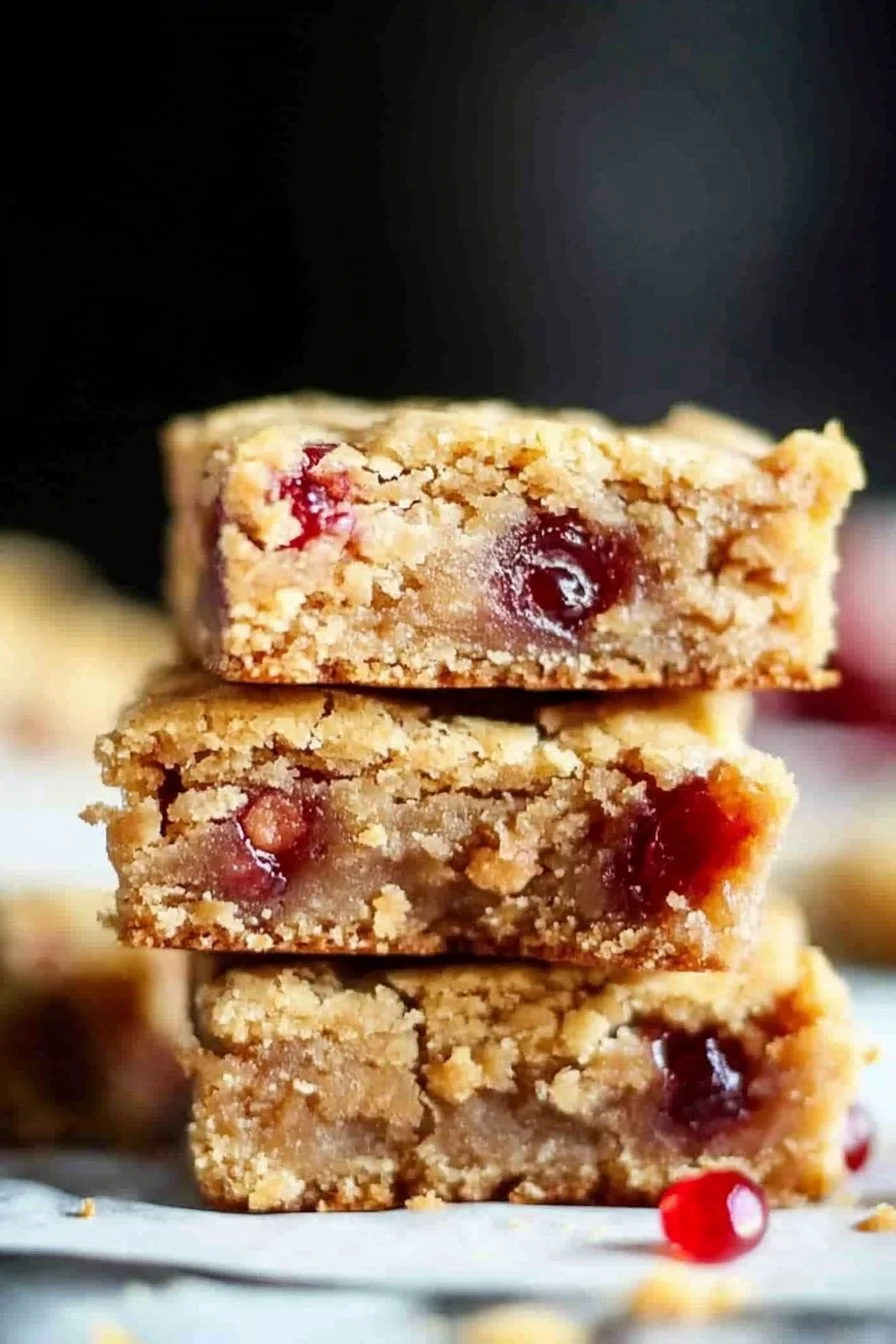
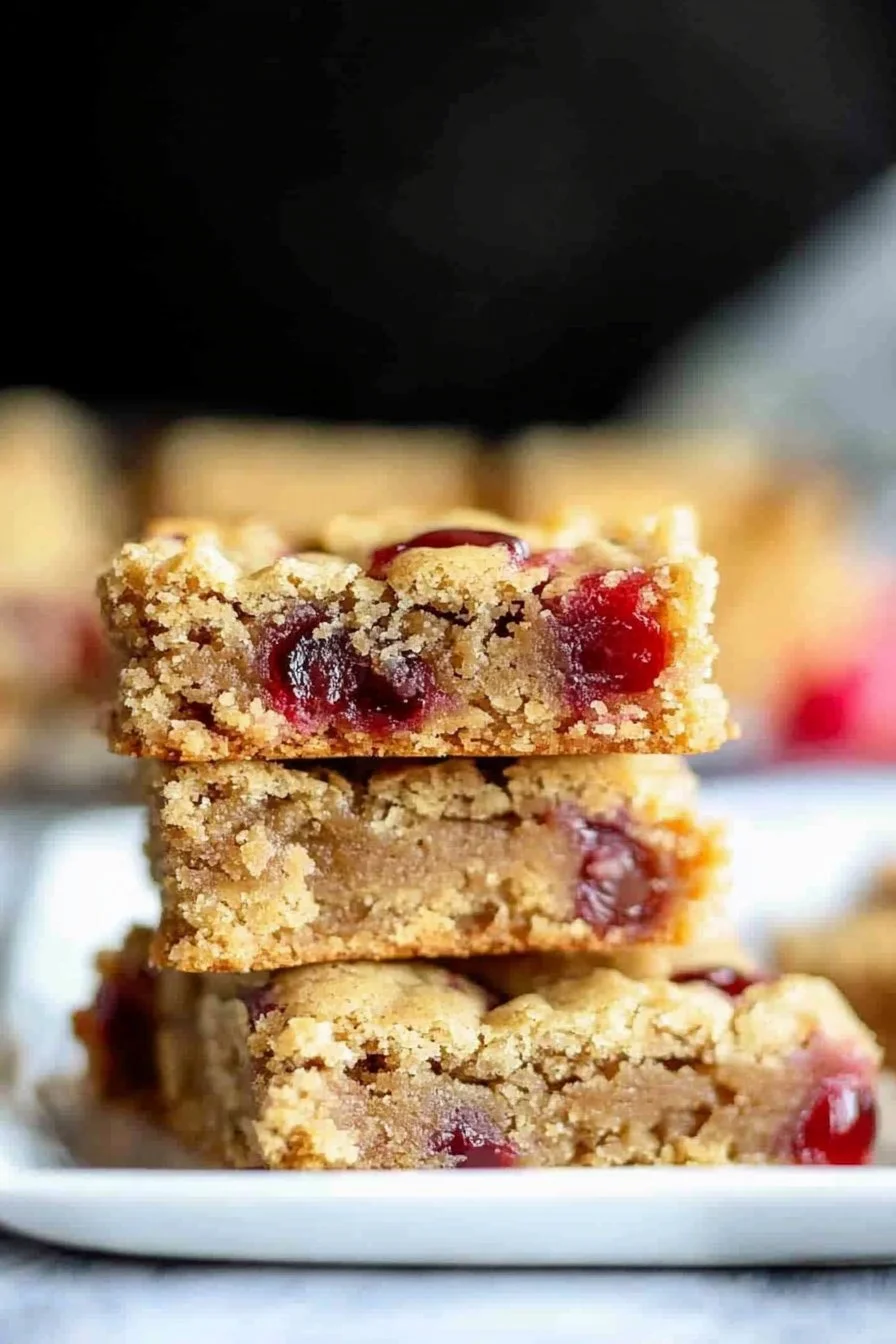
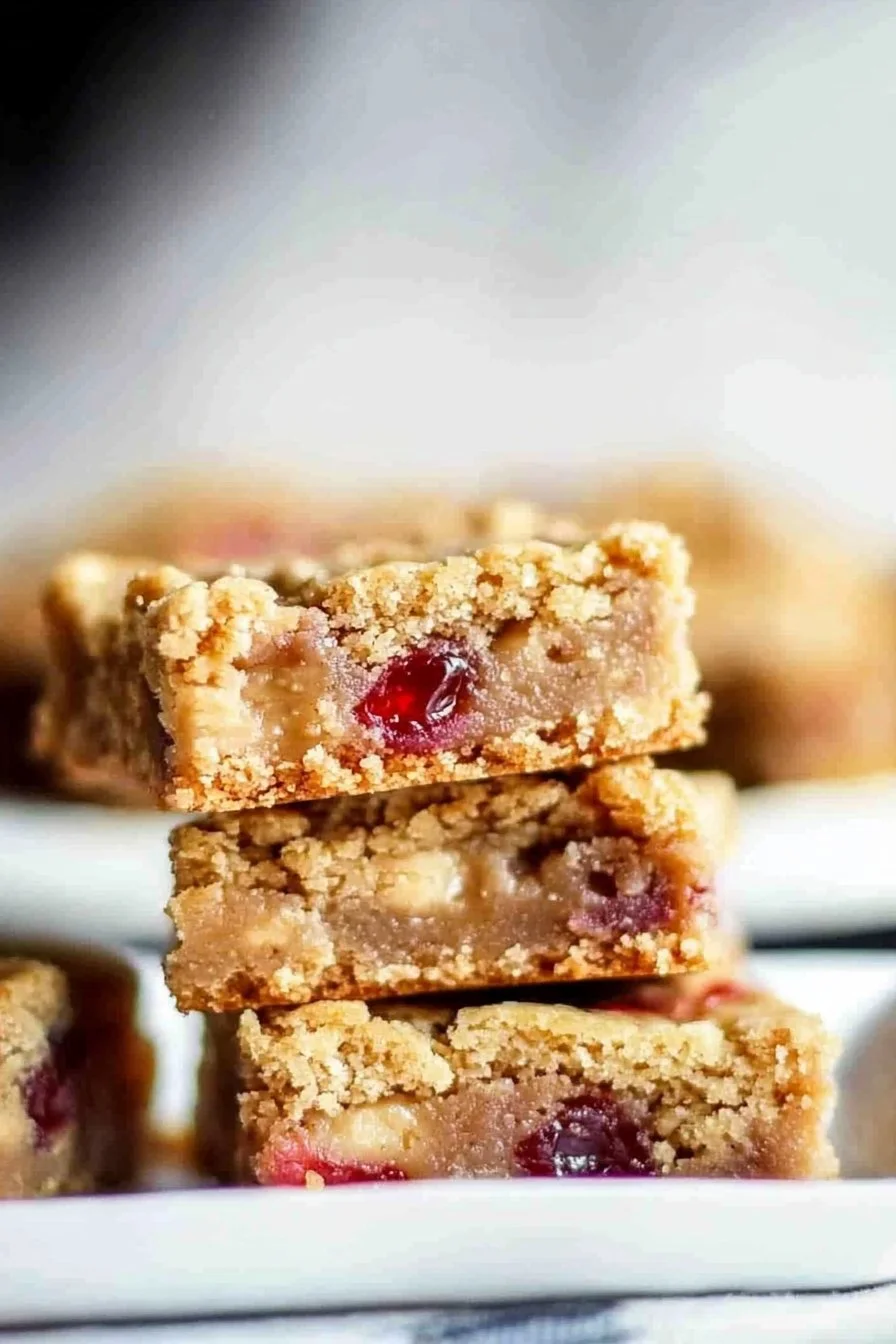
- 1/2 cup jelly or jam (grape is classic, but raspberry is fun too!)
How to Make ‘Em
Alright, let’s dive into the fun part! Preheat your oven to 350°F (175°C). Grease an 8×8 inch baking pan. Now, in a bowl, mix your melted butter and brown sugar until it’s all smooth and lovely. Add in the egg and vanilla, and give it a good whisk. This is where I usually sneak a taste—whoops! Then, stir in the peanut butter. Don’t worry if it’s a bit lumpy at this stage; it’ll smooth out, promise.
Next, fold in the flour, baking powder, and salt. It’ll start to look like a thick batter, which is exactly what you want. Spread half of this mixture into your prepared pan. Now, dollop the jelly on top and spread it lightly. Top with the remaining batter. It might look a bit messy, but that’s the charm!
Bake for 25-30 minutes. The edges should be golden, and the center just set. Let them cool before cutting, if you can resist!
Handy Notes
I’ve tried this recipe with almond butter once; it was good, but honestly, not a fan favorite in my house. And, if you find your jelly sinking, try swirling it in more next time.
Trying New Things
Once, I added chocolate chips. It was a bit too much, even for me, but hey, experiment away! And if you’re feeling adventurous, a sprinkle of sea salt on top adds a delightful twist.
What If You Don’t Have the Right Tools?
No mixer? No problem! I usually just use a wooden spoon and a bit of elbow grease. Works like a charm every time.
Keeping ‘Em Fresh
These blondies keep well in an airtight container for about three days—though honestly, in my house, they never last more than a day!
Serving Up Deliciousness
I like serving these with a scoop of vanilla ice cream or just on their own with a cup of tea. They’re also a hit at potlucks!
Learn From My Mistakes
I once tried rushing the cooling process by sticking them in the fridge. Big mistake—they got all hard and unappetizing. Patience, my friend, is key.
Got Questions?
Can I use natural peanut butter? Absolutely! Just make sure to stir it well before using.
What’s the best way to cut them? I find using a plastic knife works wonders. Weird, right? But it doesn’t stick as much.
Help, my blondies are too dry! Probably overbaked them a bit. Try checking them a few minutes earlier next time.