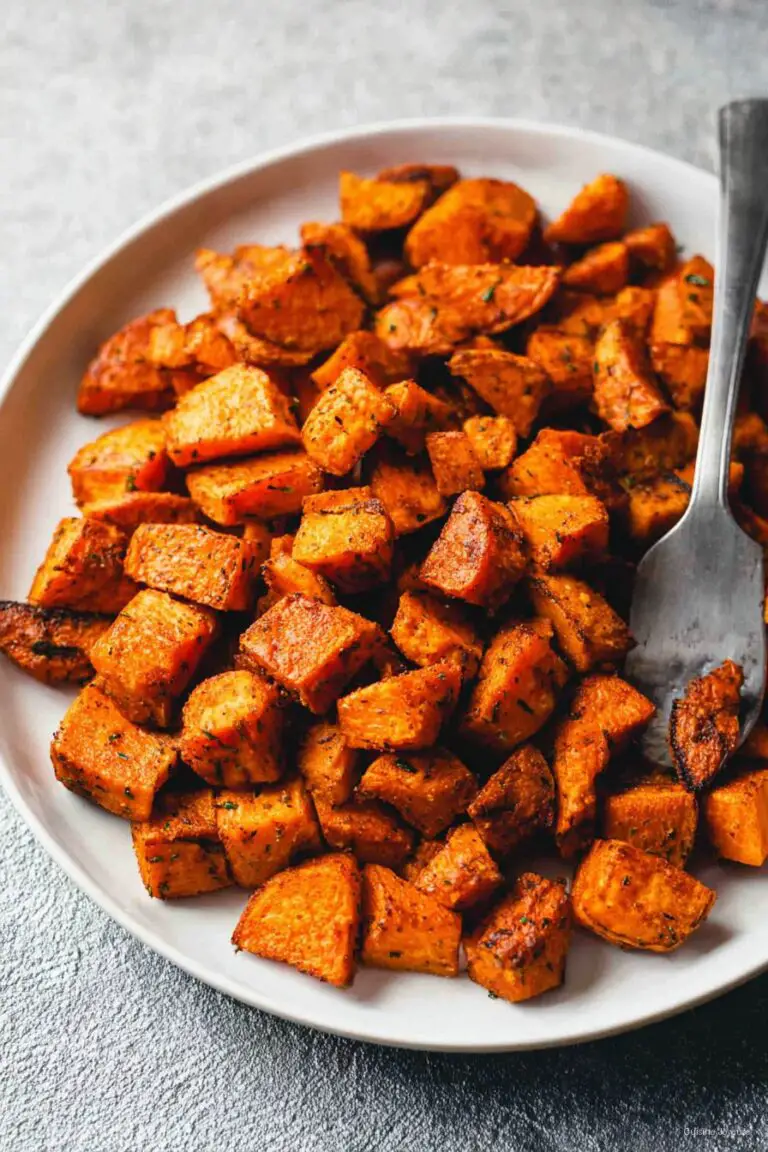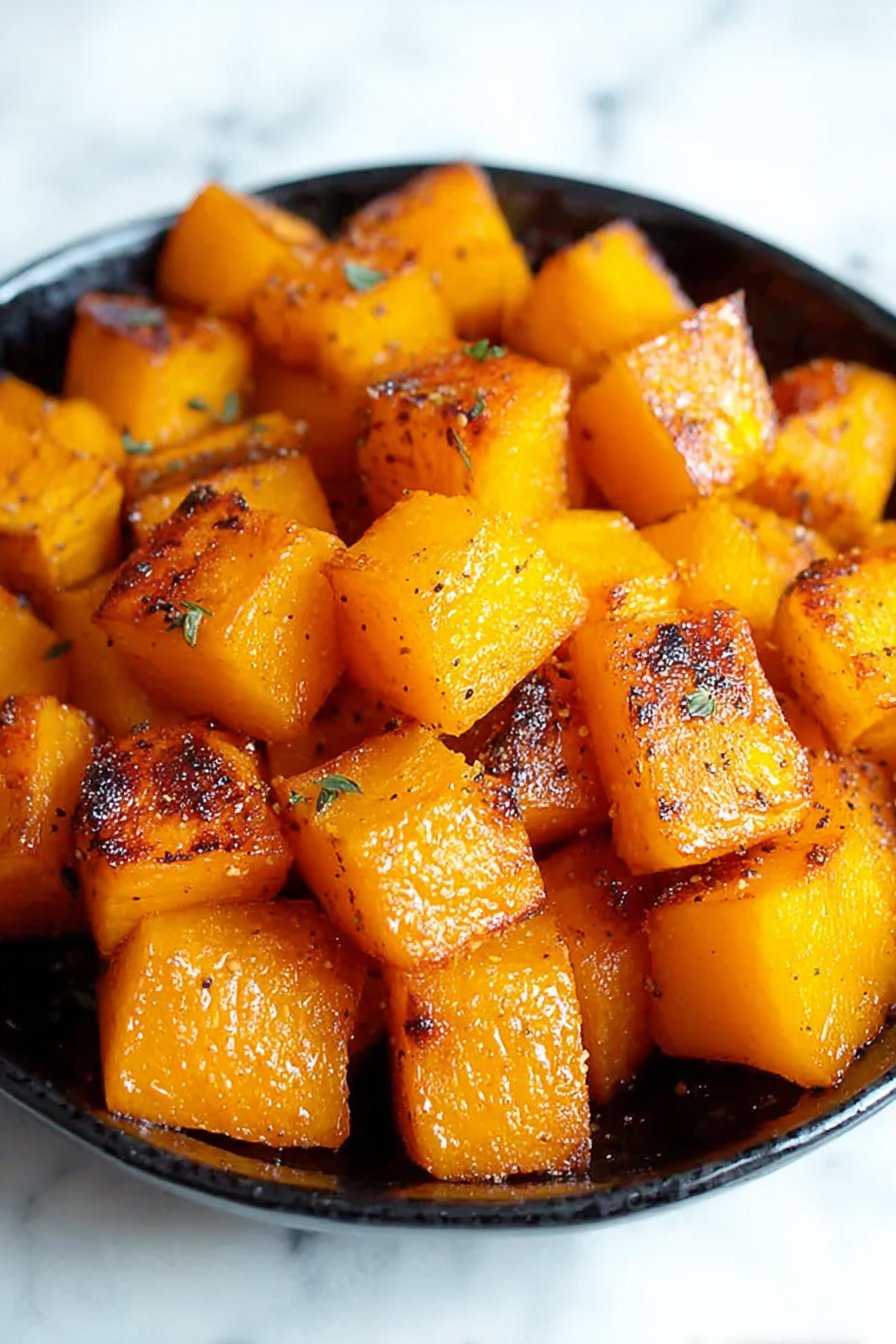
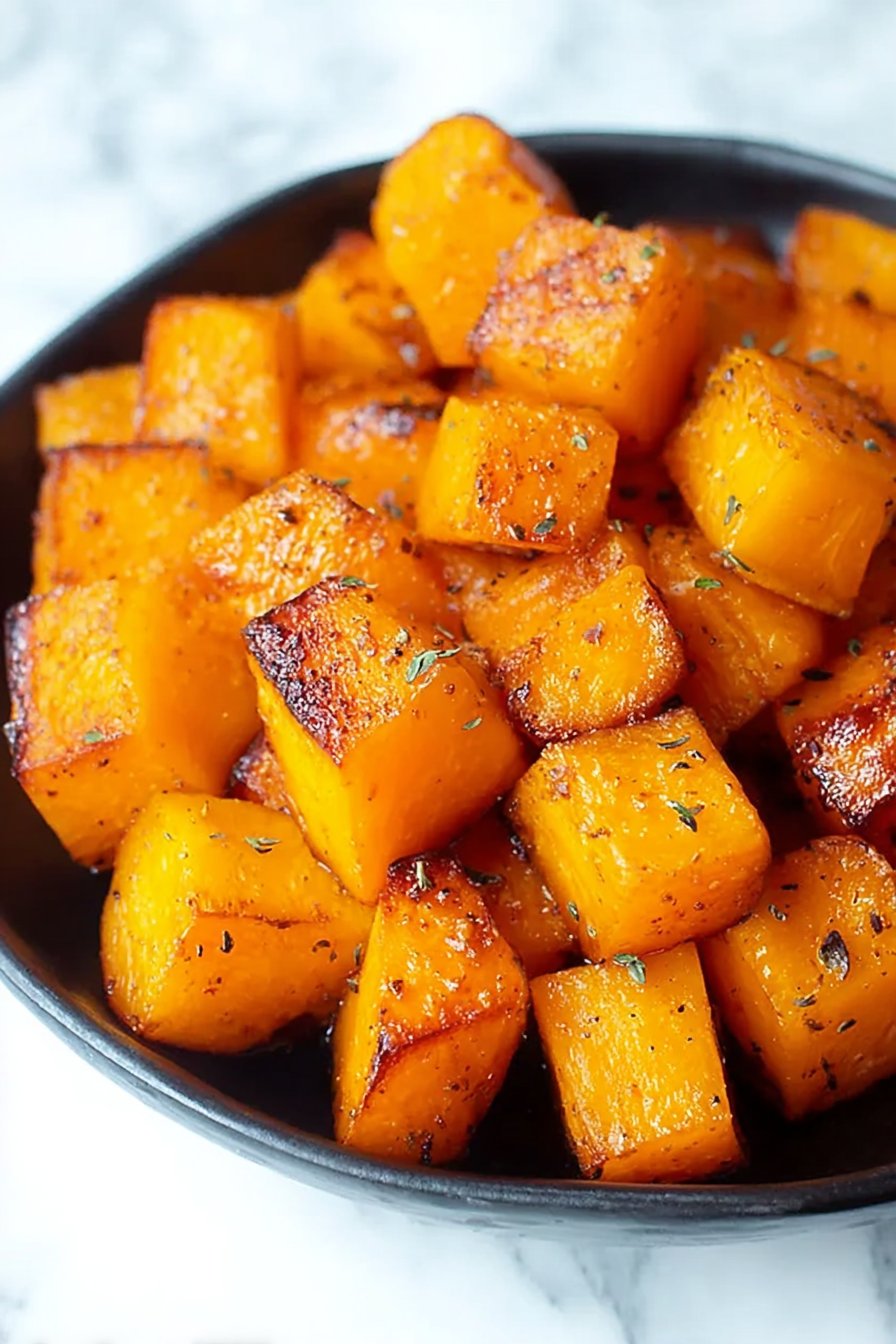
Oven-Roasted Butternut Squash
Let Me Tell You About Oven-Roasted Butternut Squash
Alright, so you know how some recipes just stick with you? This oven-roasted butternut squash is basically my fall spirit animal. I first made it on a chilly Saturday when I couldn’t find my potato peeler (classic), so I hacked at the squash with a paring knife and somehow, nobody lost a finger. The thing is, now every time I roast butternut squash, I’m reminded of that day—and the hilarious orange mess I made on my countertop. Also, pro tip: don’t wear white. Unless you want to look like a pumpkin exploded in your kitchen.
Why You’ll Love This Squash (or At Least, Why I Do!)
I make this when I want something that feels a bit fancy but is honestly idiot-proof (well, unless you try to peel the squash with a spoon—don’t ask). My family goes a bit bonkers over it, usually because the edges get all caramelized and sweet. I used to get frustrated cutting the darn squash—why is it so tough?!—but now I just give it a good whack. Plus, sometimes I toss in a random spice, because who’s going to stop me? (Nobody, that’s who.)
What You’ll Need (Substitutions Welcome!)
- One medium butternut squash (about 2 pounds, but honestly, any size works—I’ve used tiny ones when that’s all I could find)
- 2 tablespoons olive oil (or avocado oil if I’m feeling fancy, or even butter—my gran swore by Kerrygold, but I use whatever’s on sale)
- 1 teaspoon sea salt (table salt is fine too, let’s not be snobs)
- 1/2 teaspoon black pepper
- Optional: 1/2 teaspoon smoked paprika, cinnamon or chili flakes—sometimes I just empty out whatever’s left in my spice jars
- Optional: Fresh herbs like thyme or rosemary (or the dried stuff, doesn’t matter—I’ve even used Italian seasoning in a pinch)
How I Roast Butternut Squash (Step-by-Occasionally-Messy-Step)
- Preheat your oven to 425°F (220°C). Or, if you forget and only remember halfway through chopping, that’s fine—just pop the squash in when it’s hot.
- Peel the butternut squash. I usually go at it with my trusty peeler, but if you can’t find yours (story of my life), a sharp paring knife works. Be careful, though. This is when I usually mutter under my breath.
- Scoop out the seeds and stringy bits. Save the seeds if you’re the kind of person who roasts them (I usually forget, but here’s how if you’re curious.)
- Chop the squash into cubes, about 1 inch. Or, honestly, whatever size you like—just aim for similar-ish pieces so they cook evenly. This is where I sneak a taste of raw squash, even though nobody else seems to like it.
- Toss the cubes with olive oil, salt, pepper, and any spices or herbs you want. I usually do this right on the baking sheet because why dirty a bowl?
- Spread them out in a single layer. If they’re crowded, they’ll steam instead of roast, which is fine if you like it a bit soggy—but I don’t.
- Roast for 25 to 35 minutes. I flip them once halfway through. Don’t worry if they get a bit brown on the edges—that’s the good stuff. And if you forget to flip, it’s not the end of the world.
- Check for doneness with a fork. If they’re soft and caramelized, you’re there. If not, give them another five minutes.
Notes: Things I Learned the Hard Way
- If you use pre-cut squash, it cooks faster. But sometimes the pieces are too big, so I just chop them smaller. Actually, I find it works better if you cut them yourself, but who’s got time every night?
- Don’t use too much oil (I did once, and it was like squash soup—no thanks.)
- If your oven runs hot, check early! Burnt squash is a sad, sad thing.
Variations I’ve Tried (and One That Was a Bit Dodgy)
- Sprinkled a bit of brown sugar with the oil for a sweet version—kids love it, adults pretend it’s for the kids
- Tossed in garlic cloves—delicious, but they can burn if you don’t watch them
- Once I tried adding curry powder. It was… interesting. Wouldn’t do it again, but hey, you never know until you try
Do You Need Fancy Equipment?
I use a basic rimmed baking sheet. If you don’t have one, any oven-safe tray works. No peeler? Paring knife will do—just go slow. I did once try to use a cheese slicer, but honestly, just don’t.
How to Store Your Roasted Squash (If You Have Any Left!)
Pop leftovers in an airtight container in the fridge. They’ll keep for 3-4 days, though honestly, in my house it never lasts more than a day! I’ve reheated it in the microwave, but actually it’s better tossed in a hot pan for a minute or two.
How I Like to Serve It
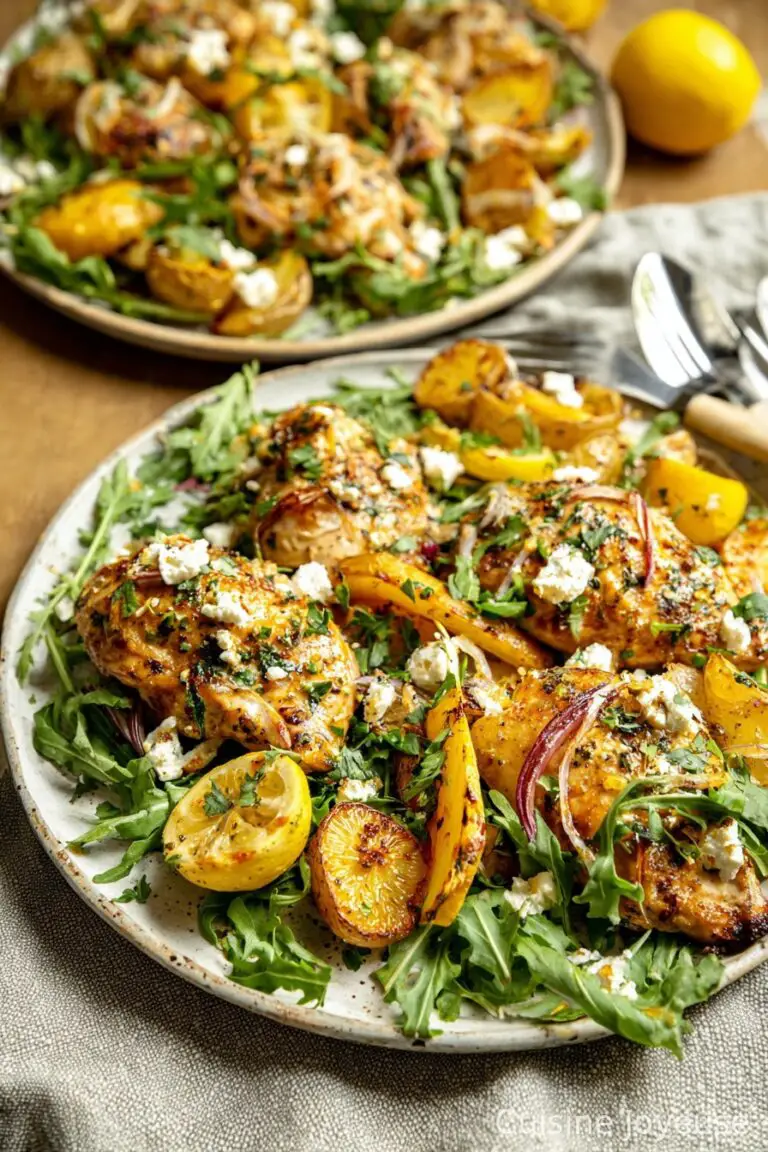
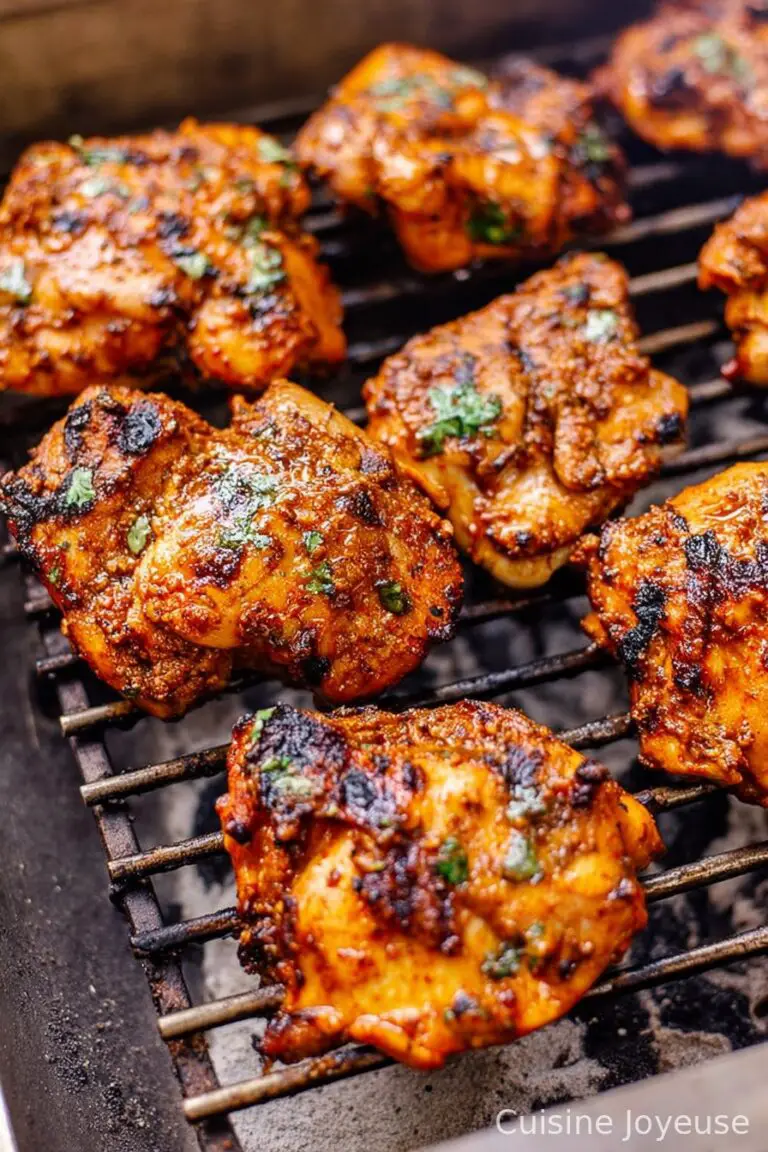
We eat this as a side with roast chicken, but I’ve also tossed it in salads with feta and arugula (so good). Sometimes I just eat it cold form the fridge with a fork—don’t judge. My cousin dips it in ranch sauce, which I said was weird but then tried and, well, it’s not bad! Oh, and if you’re into meal prepping, check out these meal prep ideas for inspiration.
Pro Tips (Learned the Hard Way, Naturally)
- I once tried rushing the roasting and cranked up the oven—ended up with charred outsides and raw insides. Not ideal.
- Leaving the squash pieces too big makes them take forever. I got distracted watching Bake Off once and had to eat dinner at 9pm.
- Don’t skip the flip halfway! Unless you like one side really brown and the other side kinda sad.
Real Questions People Have Asked (And My Honest Answers)
- Can you eat the skin? Technically, yes—but it’s a bit tough. I peel it, but if you’re in a rush, just roast it skin-on and scoop out the flesh after.
- Can I make this ahead? For sure. It reheats well, and I actually think it tastes better the next day (but maybe that’s just me).
- How do I cut a butternut squash without losing my mind? Use a sharp knife—and maybe say a little prayer. Or check out this guide for step-by-step pics.
- What if I don’t have olive oil? Melted butter or any neutral oil works. I’ve even used coconut oil once, not too shabby.
- Can I freeze it? You can! It does get a bit mushy when thawed, but it’s great in soups or mashed up.
Oh, and one last thing—I once dropped a whole tray of this on the floor. My dog was delighted. Sometimes that’s just how it goes in the kitchen, right?
Ingredients
- 1 medium butternut squash (about 2 pounds), peeled, seeded, and cubed
- 2 tablespoons olive oil
- 1 teaspoon sea salt
- 1/2 teaspoon freshly ground black pepper
- 1 teaspoon dried thyme
- 1/2 teaspoon garlic powder
- 1/2 teaspoon smoked paprika
- 1 tablespoon chopped fresh parsley (optional, for garnish)
Instructions
-
1Preheat the oven to 425°F (220°C). Line a large baking sheet with parchment paper.
-
2In a large bowl, toss the cubed butternut squash with olive oil, sea salt, black pepper, dried thyme, garlic powder, and smoked paprika until evenly coated.
-
3Spread the seasoned squash cubes in a single layer on the prepared baking sheet.
-
4Roast in the preheated oven for 25-30 minutes, turning once halfway through, until the squash is golden brown and tender.
-
5Remove from the oven and transfer to a serving dish. Garnish with chopped fresh parsley if desired. Serve warm.
Approximate Information for One Serving
Nutrition Disclaimers
Number of total servings shown is approximate. Actual number of servings will depend on your preferred portion sizes.
Nutritional values shown are general guidelines and reflect information for 1 serving using the ingredients listed, not including any optional ingredients. Actual macros may vary slightly depending on specific brands and types of ingredients used.
To determine the weight of one serving, prepare the recipe as instructed. Weigh the finished recipe, then divide the weight of the finished recipe (not including the weight of the container the food is in) by the desired number of servings. Result will be the weight of one serving.
Did you make this recipe?
Please consider Pinning it!!