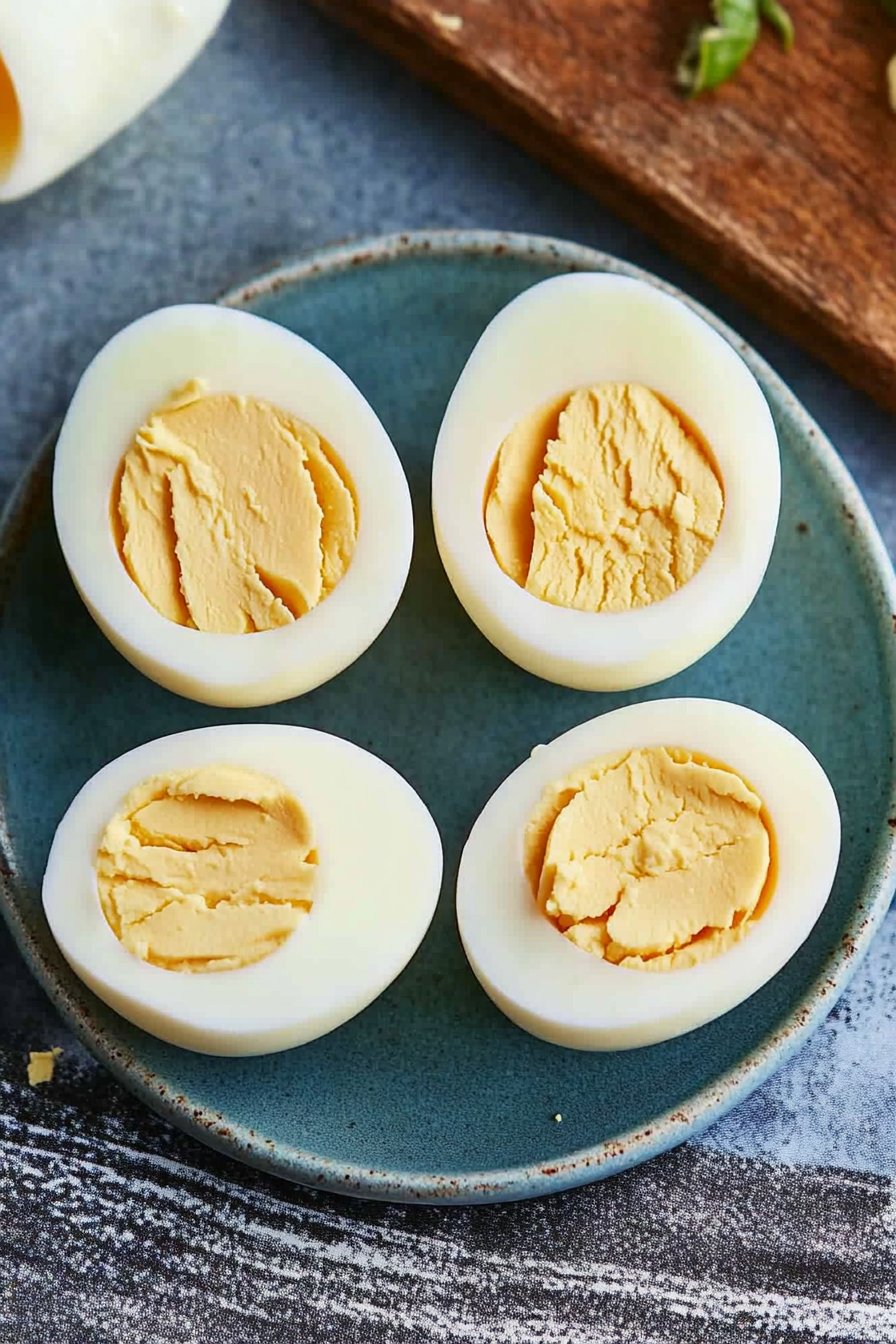
new recipe: Air Fryer Hard Boiled Eggs – My Surprisingly Easy Shortcut
Okay, so you know how sometimes you want hard boiled eggs, but you’re already juggling, like, three other things in your kitchen and one of them is probably a cat? That’s exactly why I started making hard boiled eggs in my air fryer. I figured, why not let it do the work while I wander off and (let’s be real) get distracted scrolling through random Reddit threads? First time I tried this, I was a little skeptical—my mum thought I’d completely lost the plot. But, as it turns out, this method is weirdly reliable and, bonus, you don’t have to wrangle a pot of boiling water. Fewer dishes, more time, and I get to pretend I’m some kind of kitchen tech wizard.
Why You’ll Love Making Eggs This Way
I make these air fryer eggs when I’m too lazy to wait for water to boil (which is, honestly, most mornings). My family gets oddly excited about them—maybe because they actually come out pretty darn consistent? (Or maybe it’s just because I don’t burn them, like I did that one time with a regular pan—yikes). Also, I can pop in a batch while I’m prepping a cuppa, and by the time I’ve found my phone again, they’re basically done. If you tend to get sidetracked—this one’s for you.
What You’ll Need (And What I Sometimes Swap)
- 6 large eggs (though any size works; my nan always said medium eggs are best, but I don’t notice much difference!)
- A bit of water and ice for the bath at the end (but if I’m really in a rush, cold tap water works just fine)
- Optional: dash of vinegar in the cooling water—my aunt swears by it, but I can’t really taste the difference
Alright, Let’s Get Cracking (Step-by-Step)
- Preheat your air fryer to 270°F (about 132°C) for a couple minutes. But honestly, sometimes I just skip the preheat and it still works—just watch the time.
- Place eggs right in the basket. No oil, no water; just pop them in (if your air fryer’s got a rack, use it, but I usually just lay them in because who has time for fiddly setups?).
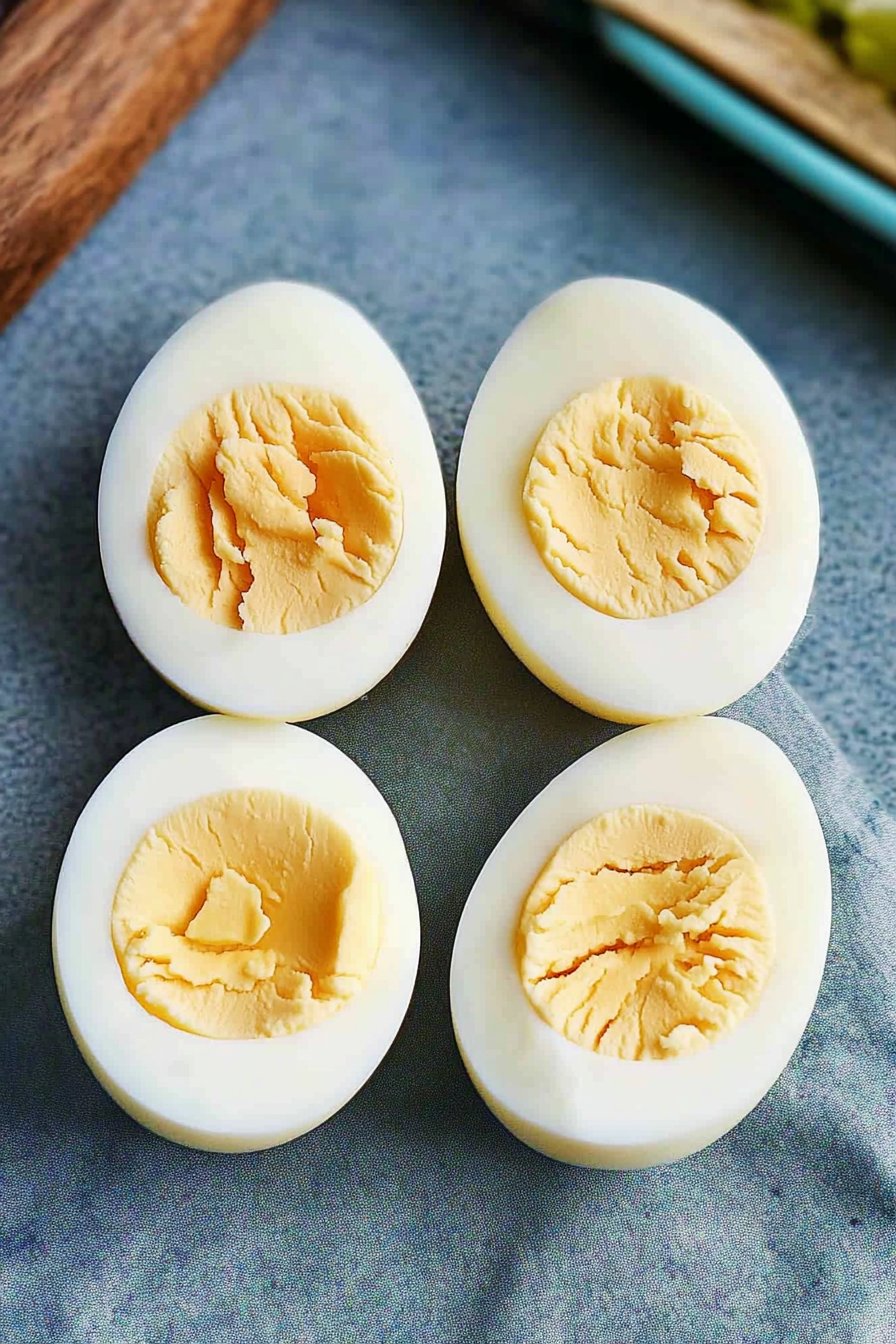
- Set the timer for 15-17 minutes if you like a classic hard yolk—less if you want ‘em a bit jammy in the center, maybe around 13 minutes. I usually go for 16, but it does depend on how wild your air fryer runs.
- When the timer beeps, transfer the eggs straight to a bowl of ice water (or, as mentioned, just really cold water if you can’t be bothered with ice). This is supposed to help with peeling—sometimes it does, sometimes it doesn’t, to be honest!
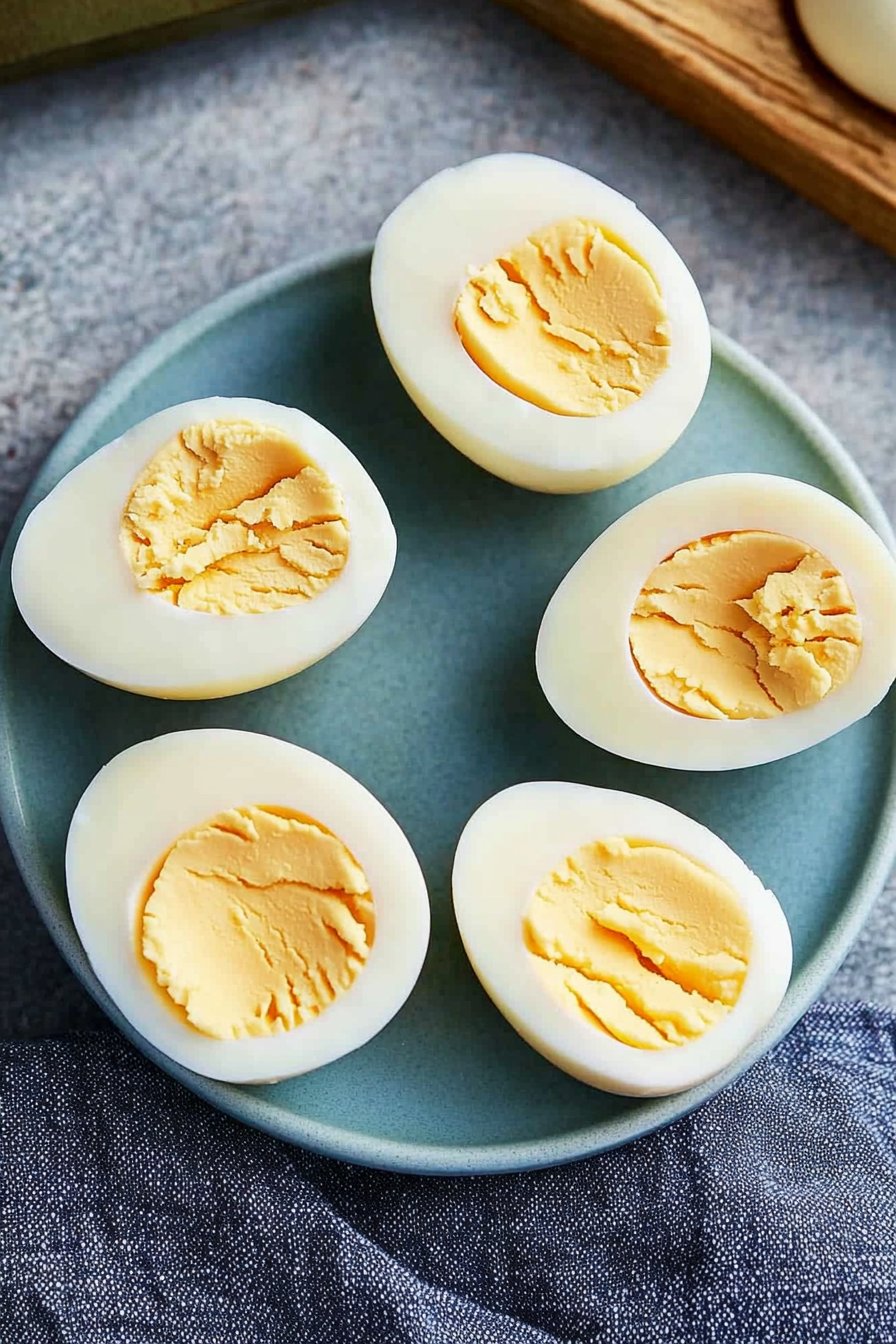
- Pep talk: Don’t panic if your eggs have a few brown dots or look a bit odd. That’s totally normal for air fryer eggs, and the shell protects the inside. Actually, I think it adds character.
- After about 5-10 minutes, peel & enjoy! I usually do a taste test here…you know, for quality control.
Notes from My Many (Many) Attempts
- If your eggs crack a little in the air fryer, that’s not the end of the world. They’ll still taste fine—even if they look a bit like they’ve gone ten rounds in a boxing ring.
- I find super fresh eggs are way harder to peel, so if you’ve got some that have been hanging out in the fridge a while, use those.
- And, if you ever forget to do the ice bath… yeah, I’ve done that, and it’s not a disaster, but I think the shells stick more.
Variations I’ve Tried (and One I Won’t Repeat)
- Sprinkled a bit of smoked paprika on the peeled eggs—tasty, but kind of messy.
- Used duck eggs once. They took longer, and I nearly dropped one because they’re so big! Good flavor, though.
- Tried soft boiling at 10 minutes. Ended up with sticky yolks that glued themselves to the shell. Not my finest hour.
If You Don’t Have an Air Fryer (Wait, What?)
Well, you could just boil your eggs the old way. Or, if you’ve got an Instant Pot, I’ve heard this method is super easy too. But honestly, the air fryer does make life simpler for me…when I remember to use it!
Storing Your Eggs (Or, How Long They Actually Last)
Store the peeled (or unpeeled) eggs in an airtight container in the fridge. I read you can keep them for up to a week, but honestly, in my house, they’re usually gone in a day—especially if my partner is around. If you forget about them (guilty), just give them a sniff test. Eggs are surprisingly forgiving.
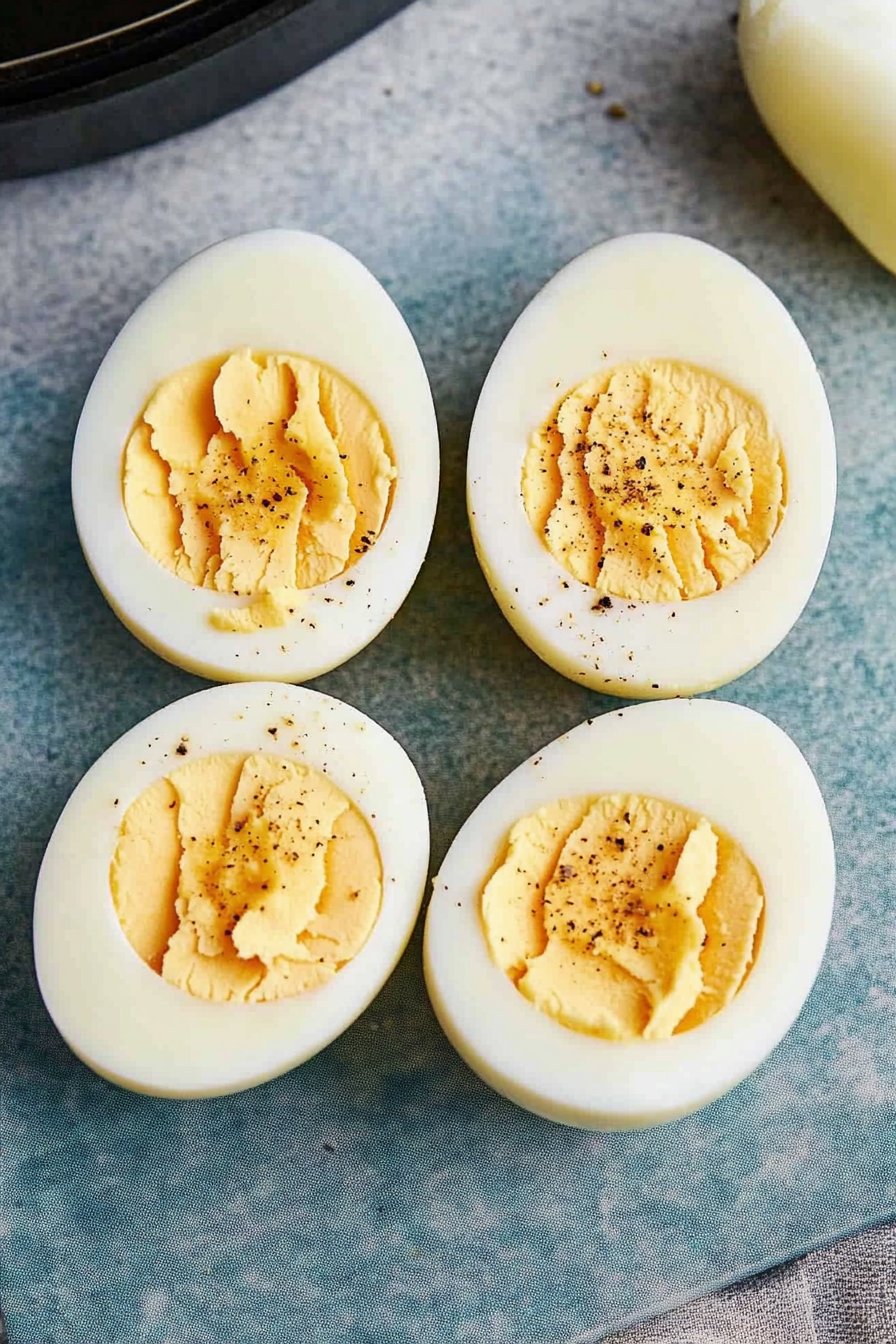
How I Like Serving These (And a Family Oddity)
I love slicing these eggs over toast with a little butter and cracked pepper—so simple. My cousin dunks them in soy sauce, which I thought was odd at first, but now…not gonna lie, pretty tasty. Sometimes I make a quick egg salad with a dollop of mayo and a squeeze of lemon. Oh, and on rare occasions, these end up as a topping for ramen, if I haven’t snacked them all away first.
What I’ve Learned the Hard Way (Pro Tips)
- Don’t try to rush the ice bath, even if you’re hungry—it really does help with peeling. I once skipped it and regretted it (peeling shells for ages, grumbling as I went).
- If your air fryer has hotspots, rotate the eggs halfway through. Or don’t, and eat the slightly overcooked one yourself (I do).
- On second thought, setting a timer on your phone might save you—air fryers are way too easy to forget about.
FAQ (Real Questions I’ve Gotten)
- Can I do more than 6 eggs at once? Sure thing, just don’t overcrowd. They need a bit of space—otherwise, you’ll get some weirdly uneven results (been there).
- Do I need to poke holes in the eggs? Nope, I never do. Some folks swear by it, but whenever I tried, it just made a mess.
- What if my eggs come out with brown specks? That’s normal! The air fryer gets hotter than water, so sometimes you get those spots. Totally safe, totally edible.
- Can I meal prep these? Absolutely! In fact, they’re a lifesaver for quick breakfasts or snacks. But don’t leave them peeled for too long—they can dry out a bit.
- Any favourite seasoning? Well, a pinch of flaky salt, a splash of hot sauce, maybe some furikake if I’m feeling fancy. Or, you know, just plain—sometimes simple is best.
Oh, and if you want to really dig into the science of eggs (or just need a rabbit hole to fall down), Serious Eats has a whole article that’s oddly fascinating. But honestly, the air fryer method is my go-to now. Hope it works as well for you as it does for me—let me know how it turns out! Or if you manage to get the shell off in one piece, teach me your ways!