Homemade Yeast Cinnamon Rolls Recipe
Hey, Friend! Let’s Make Some Cinnamon Rolls!
So, there’s this thing about cinnamon rolls that just takes me back to lazy Sunday mornings at my grandma’s house. The smell of cinnamon wafting through the air was like a warm hug—and trust me, nothing beats a warm hug form a cinnamon roll. I remember trying to sneak a taste of the gooey goodness before they cooled (spoiler: I always got caught!). Anyway, let’s dive into this delicious adventure!
Why My Fam Can’t Get Enough
I tend to whip this up when the weather gets chilly and we need a little extra coziness. My family goes crazy for this recipe because—let’s be honest—who can resist a warm, sticky, cinnamon roll fresh from the oven? (I’ve even caught my husband sneaking an extra one when he thought I wasn’t looking!)
What’s in These Rolls?
- Flour – Usually, I grab all-purpose, but have subbed with bread flour when I was out.
- Sugar – Granulated works, though brown sugar adds a nice depth (if you’re feeling fancy).
- Yeast – Active dry yeast is my go-to, but instant works too if you’re impatient like I sometimes am.
- Cinnamon – Lots of it! (Go ahead, be generous!)
- Butter – Salted, unsalted, whatever you have on hand. It’s all good.
- Milk – Whole milk is best, but I’ve used 2% in a pinch.
- Eggs – Because they make everything better, don’t they?

How We Roll (Pun Intended!)
- Mix the Dry Stuff: Combine your flour, sugar, and salt. (This is when I usually get flour everywhere, but that’s part of the fun, right?)
- Yeast Magic: In a separate bowl, dissolve yeast in warm milk. Let it sit until frothy—like a mini science experiment!
- Knead Away: Mix the wet and dry ingredients, then knead—by hand or with a mixer. It’ll be sticky, but don’t fret. Add flour as needed, but not too much! You want it a bit tacky.
- Rising Time: Cover and let it rise until doubled. This is where I catch up on my latest book or, let’s be real, scroll Instagram.
- Roll and Fill: Roll out the dough, slather with butter, sprinkle (or dump) on cinnamon and sugar.
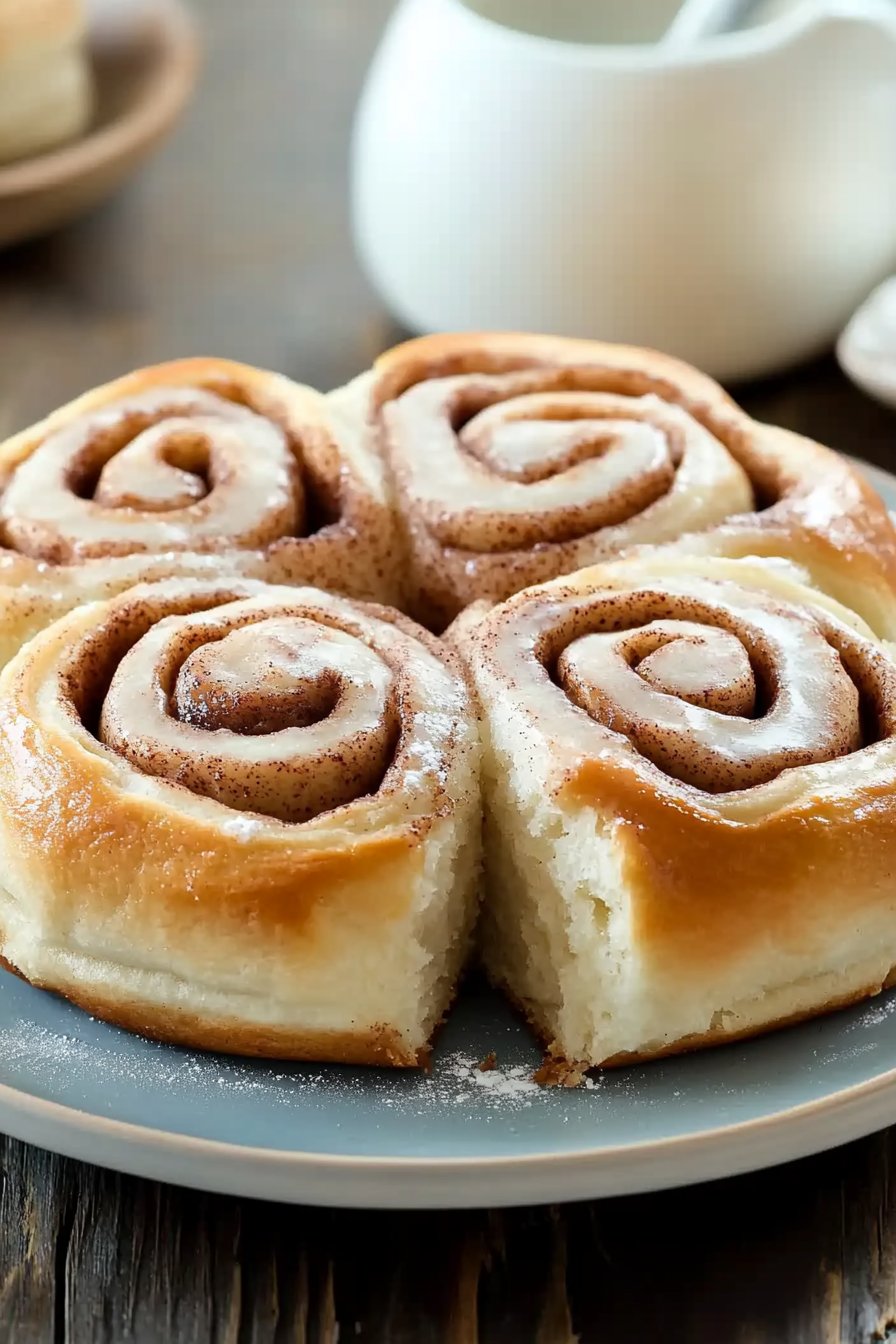
- Slice & Bake: Roll it up, slice into rounds, and let them rise again in your baking pan before baking at 350°F (175°C) until golden. (I usually sneak a taste of the dough here—shhh!)
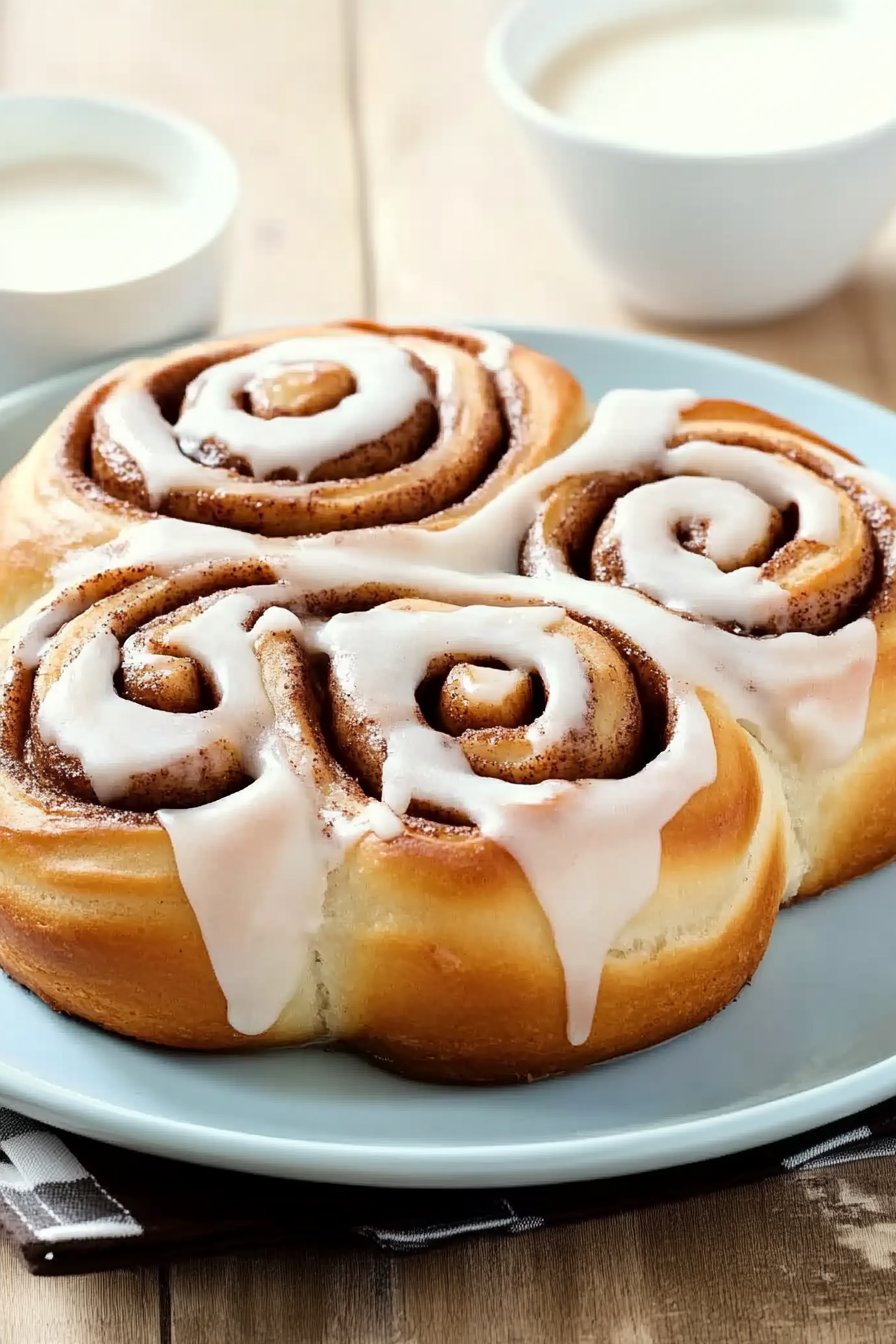
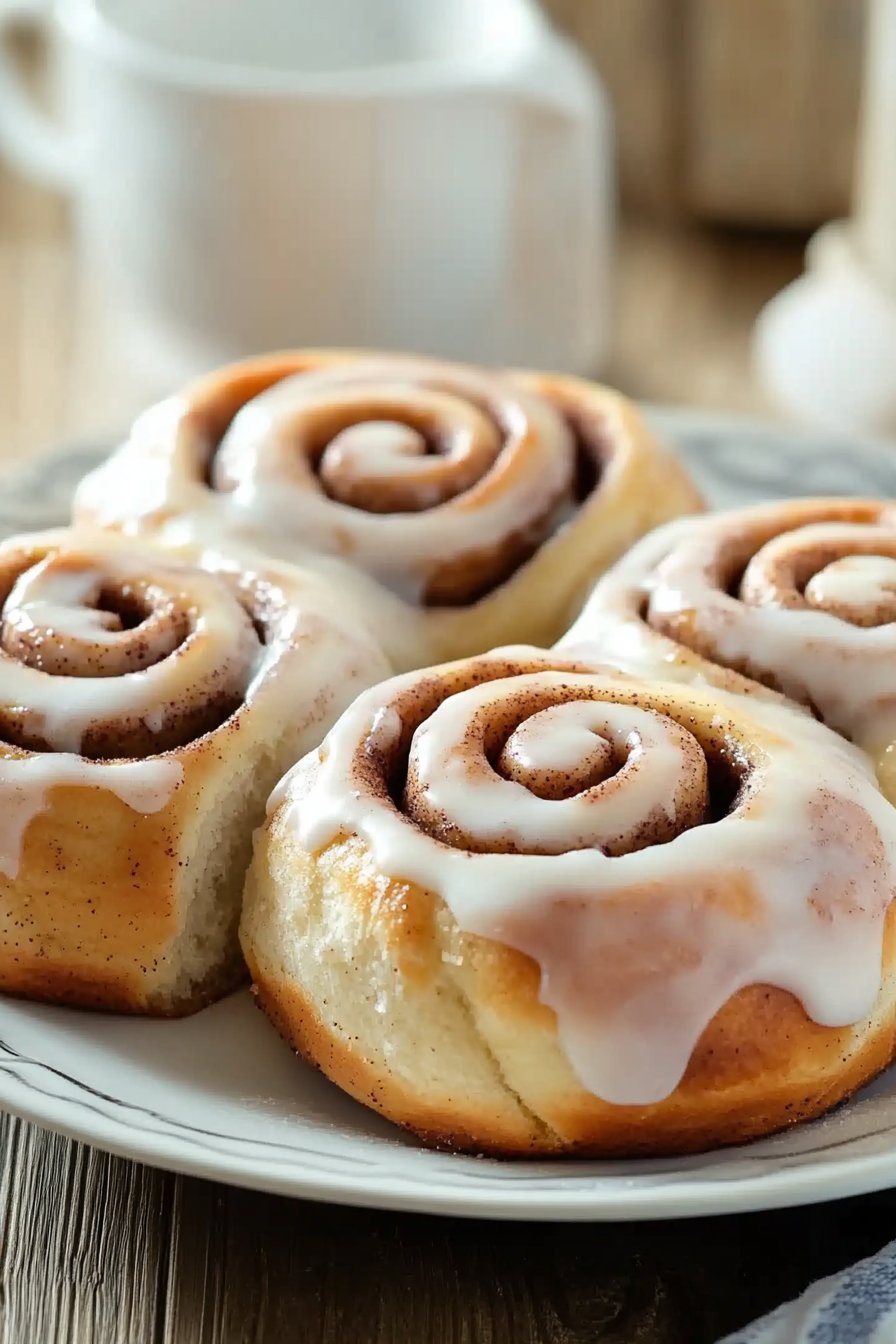
- Glaze Glory: Mix powdered sugar with a splash of milk for a simple glaze. Drizzle over the warm rolls. Enjoy the ooey-gooey goodness!
Humble Discoveries
Honestly, I once forgot to let the dough rise properly. The rolls turned out like cinnamon-flavored hockey pucks. Lesson learned: don’t skip the rise!
Trying New Twists
I’ve experimented with adding chopped nuts or raisins. Boozy attempt with rum-soaked raisins? Eh, not my best idea—stick with the nuts if you must. But on second thought, citrus zest might be fun!
No Mixer? No Problem!
If you don’t have a stand mixer, just use a sturdy wooden spoon and some elbow grease. It’ll be a workout, but worth it!
How to Keep ‘Em Fresh
Store in an airtight container, though honestly, in my house, they never last more than a day! If you somehow manage to have leftovers, you can freeze them and reheat in the oven.
Serving Tips and Tricks
We love these with a side of cold milk or hot coffee. My mom used to serve them with scrambled eggs on the side—breakfast of champions, if you ask me.
Lessons Learned (The Hard Way)
I once tried speeding up the rising process by placing the dough on a heater—big mistake! Just let the dough rise naturally. Patience, as they say, is a virtue.
Burning Questions I Get
Can I make these the night before? – Absolutely! Just roll them, slice ’em, and pop them in the fridge. Let them come to room temp before baking.
Can I use a different sweetener? – Sure thing! Honey or maple syrup might work, though I’ve never tried it myself. Why not give it a go?
Could I make these vegan? – Probably! Swap the milk and butter for plant-based options. I’ve heard good things about coconut milk in baking.