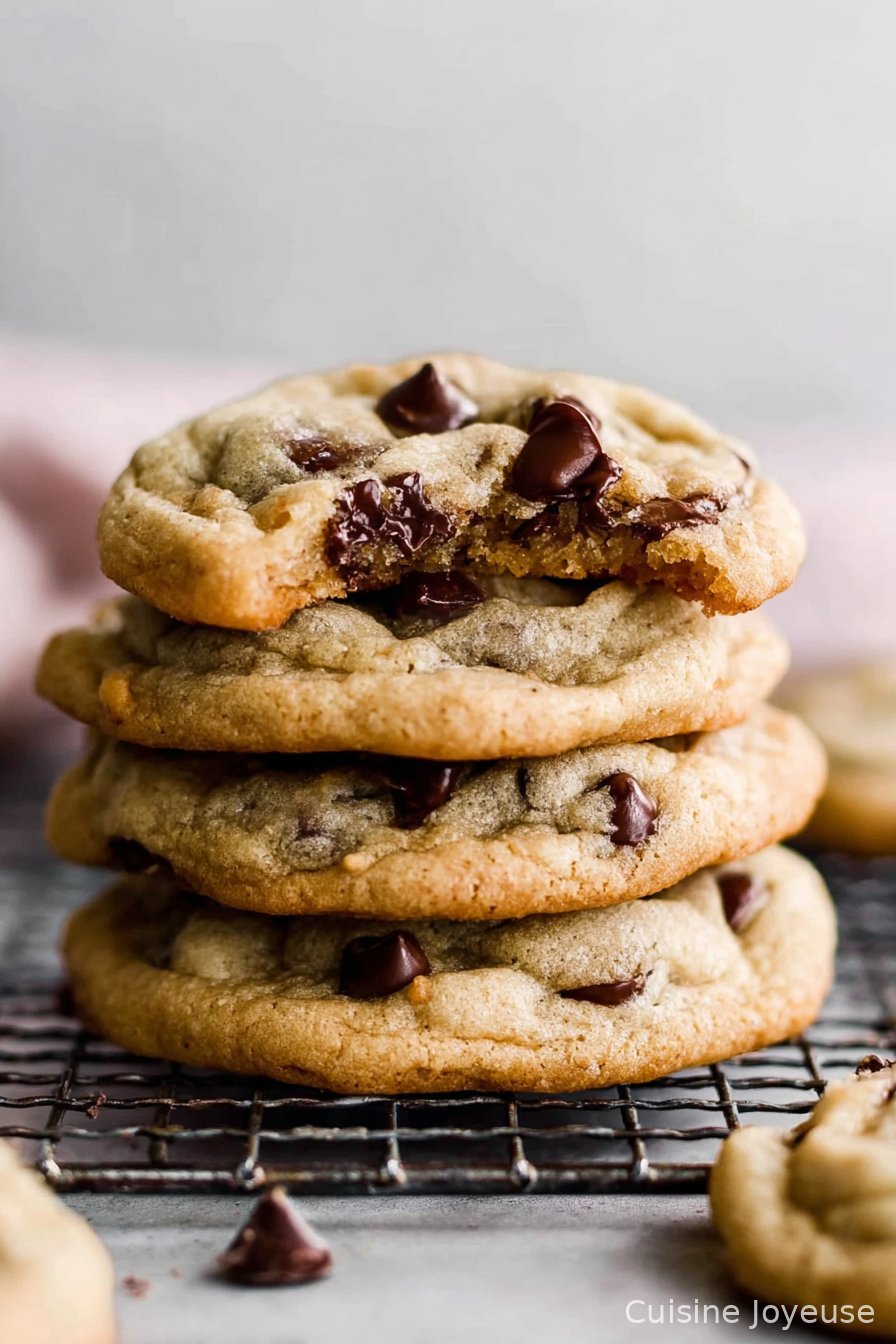
chocolate chip cookie recipe
Right, so if you’re anything like me, chocolate chip cookies aren’t just a cookie—they’re a mood lifter, a way to earn a few extra smiles, and occasionally the only thing keeping me from raiding the ice cream stash at 11pm. The first time I made these cookies, I accidentally doubled the baking soda (don’t do that, trust me), but the smell was so good my neighbors popped in. My dog tried to sneak a bite off the cooling rack—he failed, but points for effort.
Why I Keep Coming Back to This One
I make these whenever my brain needs a break or my nephew is coming over (he claims mine are better than his mum’s; I’ll take the win). My family goes a bit wild for these, especially if I don’t burn the bottoms (which I used to do, a lot). And honestly, they’re forgiving. I’ve run out of brown sugar and just used raw sugar, and they still turned out pretty great. Plus, there’s something about pulling a tray of warm, gooey cookies from the oven that just feels… right.
What You’ll Need (And What You Can Swap)
- 2 1/4 cups all-purpose flour (occasionally I’ll do half whole wheat if I’m feeling virtuous—doesn’t change much, really)
- 1 tsp baking soda (don’t eyeball this, trust me…)
- 1/2 tsp salt (I used fancy flaked salt once, but regular is fine)
- 1 cup (225g) unsalted butter, softened (if you forgot to take it out, a quick zap in the microwave does the trick—just don’t melt it fully)
- 3/4 cup brown sugar (light or dark, or just use all white sugar if you’re in a pinch)
- 3/4 cup white sugar
- 2 large eggs, room temp (sometimes I forget this step and just use them cold—cookies still happen)
- 2 tsp vanilla extract (I once used maple syrup instead; it was… interesting)
- 2 cups chocolate chips (milk, dark, semi-sweet, or whatever’s leftover in the baking cupboard)
- Optional: 1 cup chopped walnuts or pecans—my gran swore by them, but my kids pick them out
How I Actually Make These (Just Being Honest)
- Preheat your oven to 350°F (or 175°C, if you’re across the pond). Line a couple baking sheets with parchment paper—if you’re out, just grease them up.
- Whisk together the flour, baking soda, and salt in a bowl. Don’t worry if it’s not perfectly even. Set it aside.
- In a bigger bowl, beat the butter and sugars until creamy. You can use a mixer, but strong arms and a wooden spoon do the job if you’re in the mood.
- Add eggs and vanilla—one at a time so you don’t end up with weird streaky batter (I learned this the hard way). Mix until it looks fluffy-ish.
- Gradually mix in the dry stuff. It’ll get thick; don’t panic. This is where I sneak a pinch of dough. Quality control, right?
- Fold in those chocolate chips—and nuts if you’re going there. The dough might look a bit chunky. That’s good!
- Scoop out dollops (about a heaping tablespoon, or whatever fits your vibe) onto the sheets. Leave space—they’ll spread out a bit. If you’re feeling fancy, press a few extra chips on top for the ‘bakery’ look.
- Bake for 9-11 minutes. They’re ready when the edges are golden but the centers look a little underdone. Trust me, they finish up on the tray. Don’t overbake, unless you like crunchy, in which case go wild.
- Let them cool a few minutes before moving to a rack. Or eat them straight from the tray—I won’t judge.
Notes That Come From My Many Cookie Experiments
- Chilling the dough for half an hour actually makes them a bit chewier, but honestly, I rarely have the patience.
- If your cookies spread too much, your butter was probably too warm. Next time, try chilling the dough. Or don’t—who said thin cookies aren’t fabulous?
- I once used self-raising flour by mistake; they turned out cakey but still edible.
If You Want to Mix Things Up (Or, Cookie Experiments That Didn’t Always Work)
- Swap half the chocolate chips for butterscotch or white chocolate—it’s wild, in a good way.
- Add a pinch of cinnamon for a hint of warmth. My sister says it’s “snickerdoodle adjacent.”
- I tried stuffing marshmallows inside once—sounded smart at the time, but they oozed everywhere. Fun, messy, not recommended unless you like cleaning baking trays.
Equipment (or, What If I Don’t Have…?)
- Mixing bowls—one big, one medium. But I’ve used a pasta pot in a pinch.
- Electric mixer or just a sturdy wooden spoon and some elbow grease
- Baking sheets (I once used a pizza tray, and, honestly, it worked fine)
- Parchment paper or just grease with whatever you’ve got
- Cooling rack—but if you don’t have one, the back of a baking tray will do (just shuffle the cookies around so they don’t steam themselves)

How Long Do They Last? (Or, the Great Cookie Disappearance)
In an airtight tin, they’ll stay soft for about 3 days, maybe 4 if you hide them. But honestly, in my house, they rarely survive the first day. You can freeze the dough balls for spontaneous cookie emergencies too (which, let’s be real, happen more often than you’d think). Here’s a handy guide I go back to when I need a reminder on freezing.
Serving These (Or, How We Do It)
We eat them warm with a cold glass of milk, or just by the handful straight off the tray (don’t tell my doctor). My dad likes his with a scoop of vanilla ice cream. And if you’re feeling fancy, sandwich a little peanut butter or Nutella between two. Actually, now that I think about it, that’s my favorite.
Lessons Learned (AKA: Pro Tips, Stolen From My Own Baking Mishaps)
- I once tried baking two trays at once—ended up with one burnt and one raw. Just do one tray at a time if your oven’s anything like mine.
- Don’t skip the parchment; even old cookie sheets are forgiving with it. I’ve tried greasing alone and… well, let’s just say I had to soak the pan overnight.
- If you’re adding nuts, chop them pretty small, unless you like big surprise chunks.
Just a Few FAQs (That I’ve Actually Been Asked…)
- Can I use margarine instead of butter? I mean, technically yes, but I think it’s missing a bit of that buttery happiness. But I’ve done it in a pinch and nobody complained.
- Why are my cookies flat? Usually, your butter’s too warm (or your dough’s a bit soft). Try chilling the dough, or just lower your expectations and enjoy the chewy bits.
- Do I have to use chocolate chips? Nope! Chop up a chocolate bar or use any mix-ins you like. I once used leftover Easter egg chocolate—worked a treat.
- What if I don’t have parchment paper? Butter the tray, but your cookies might stick a bit. Just scrape them off and call it rustic. Or check this guide for alternatives.
Oh, and if you need an excuse for baking cookies at 10am, I always say it’s for “later”… but somehow there’s never any left by then. Happy baking! And if you’re ever stuck looking for more cookie inspiration, check out this list of wild chocolate chip cookie ideas—I’ve only tried a couple, but maybe you’ll find a new favorite.
Ingredients
- 2 1/4 cups all-purpose flour
- 1 teaspoon baking soda
- 1/2 teaspoon salt
- 1 cup unsalted butter, softened
- 3/4 cup granulated sugar
- 3/4 cup packed brown sugar
- 2 large eggs
- 2 teaspoons vanilla extract
- 2 cups semisweet chocolate chips
Instructions
-
1Preheat oven to 350°F (175°C). Line baking sheets with parchment paper.
-
2In a medium bowl, whisk together flour, baking soda, and salt.
-
3In a large bowl, beat softened butter, granulated sugar, and brown sugar until creamy. Add eggs one at a time, then stir in vanilla extract.
-
4Gradually mix in the flour mixture until just combined. Fold in chocolate chips.
-
5Drop rounded tablespoons of dough onto prepared baking sheets, spacing them about 2 inches apart.
-
6Bake for 10-12 minutes or until edges are golden brown. Cool on baking sheets for 2 minutes, then transfer to wire racks to cool completely.
Approximate Information for One Serving
Nutrition Disclaimers
Number of total servings shown is approximate. Actual number of servings will depend on your preferred portion sizes.
Nutritional values shown are general guidelines and reflect information for 1 serving using the ingredients listed, not including any optional ingredients. Actual macros may vary slightly depending on specific brands and types of ingredients used.
To determine the weight of one serving, prepare the recipe as instructed. Weigh the finished recipe, then divide the weight of the finished recipe (not including the weight of the container the food is in) by the desired number of servings. Result will be the weight of one serving.
Did you make this recipe?
Please consider Pinning it!!