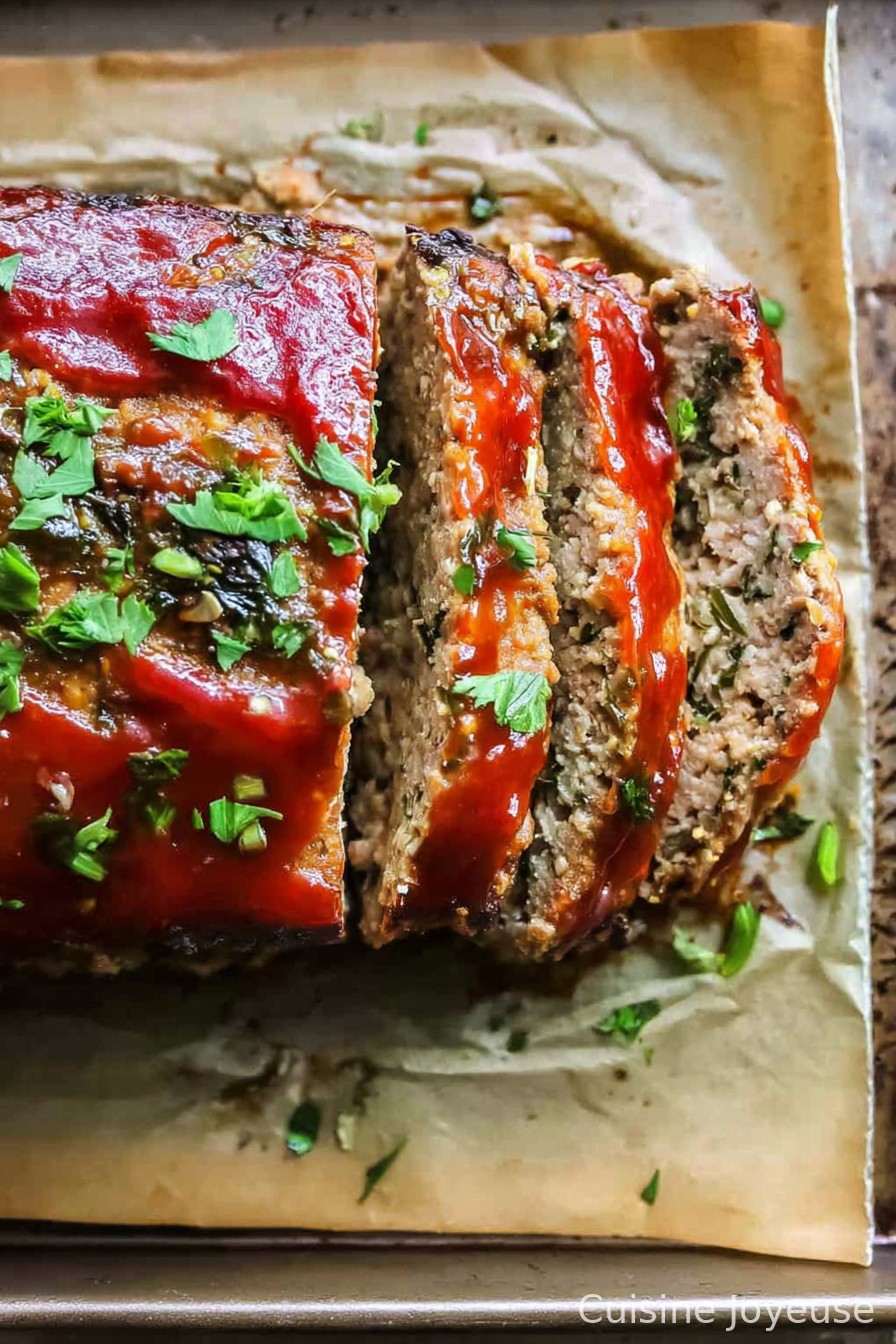
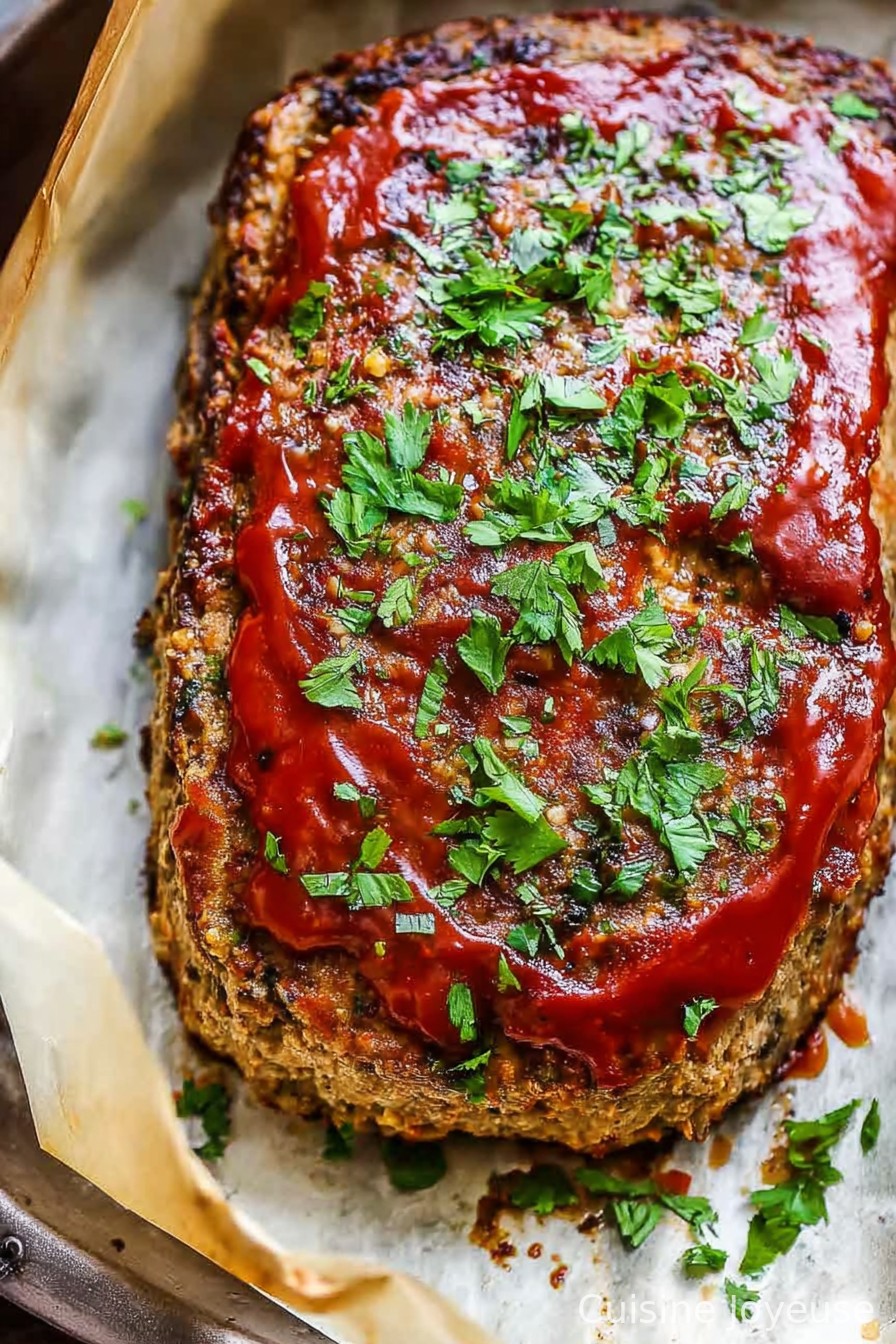
The Best Healthy Turkey Meatloaf – Gluten Free
Let Me Tell You About This Turkey Meatloaf…
Alright, friend – gather ’round, because you know how some recipes just… sneak up and become your unexpected favorite? That’s this turkey meatloaf for me. I started experimenting with it on a very rainy Sunday, the kind where you keep checking the oven (hoping magic happens faster). My youngest called it “weird grown-up burger cake,” which—if that isn’t a glowing review, I don’t know what is! Anyway, gluten has officially been banned by the family doc (I do miss my breadcrumbs sometimes), so tinkering commenced, and after a few hilarious mashups (don’t ask about the quinoa incident), this healthy, happy loaf is what stuck.
Why You’ll Love This (Or at Least Not Hate It)
I make this when we’re honestly tired of everything else and nobody wants to eat “just salad” again. My family will literally fight over the crispy ends (which—don’t tell them—I think are the best bit too). This is also the only meatloaf my sister-in-law, who is semi-picky and claims turkey is “just wrong in anything except sandwiches,” has willingly asked for seconds of. If you ever tried a dry, sad loaf and thought, “never again,” give this one a go. Plus, as much as I’d like to pretend weekday dinners are a peaceful affair, sometimes the only thing keeping me going is knowing this reheats reliably and hides extra veggies for the win. (Though, honestly, grating carrots into it once turned things suspiciously orange… and nobody’s let me forget it.)
Things You’ll Need (And What I’ve Swapped Around Before)
- 1 lb (about 500g) ground turkey (lean is nice, but I sometimes grab whatever’s on special – works almost the same)
- 1 medium onion, finely chopped (I’ve totally used shallots or even pre-chopped frozen onions if I’m feeling extra lazy – no one notices)
- 2 garlic cloves, minced (I won’t judge if you double this; my partner hates it, but my soul says yes)
- 1 large egg (or honestly, two small ones – I’ve done both, no disasters yet)
- 2/3 cup gluten free oats (old-fashioned or quick – my grandma would’ve used torn-up bread, but oats make it gluten free!)
- 1/2 cup milk of your choice (almond, oat, cow – all fine, I once used sour cream when out of milk and it… still worked?)
- 2 tbsp ketchup (full sugar, sugar-free, or BBQ sauce – up to you; this is where you sneak in weird flavors if you want)
- 1 tbsp Worcestershire sauce (listen, vegan friends: coconut aminos in a pinch does the trick)
- 1/2 tsp dried thyme (I occasionally swap for Italian seasoning or, when desperate, just a shake of mixed herbs)
- Salt & pepper to taste (sometimes I add extra peppercorns because I can’t stop myself)
- Optional: a handful of finely chopped spinach, grated zucchini, or carrot (it really bulks things up without anyone noticing…unless you use too much and it turns neon… trust me, less is more)
- For topping: another splotch of ketchup or tomato paste (sometimes I mix a dab of mustard in — highly recommend)
What To Do – Directions (with my two cents)
- Preheat your oven to 375°F (190°C). Not going to lie, I’ve shoved this in a slightly underheated oven before and, well, it just took longer; works out, just be patient.
- Grab a big bowl. Toss in your turkey, onion, garlic, egg, oats, milk, ketchup, Worcestershire, herbs, salt, pepper – and any optional veg. Don’t overthink it—just chuck it all in. Yes, it will look like a bit of a science experiment at this stage (honestly, it always does); give it a good mix with clean hands or a spatula. This is where I sometimes sneak a tiny taste (just for saltiness – raw egg paranoia aside, you do you).
- Plop the mixture onto a lined baking tray and shape it into a rough loaf. No fancy pan required (though if you have a loaf tin, you can use it, but free-form is more rustic and less washing up).
- Smeared a generous blob of ketchup over the top – this makes for a sticky, glorious crust. You can get artistic here but honestly, I just zigzag mine and call it a day.
- Bake uncovered for about 40-50 minutes. If it’s looking a bit pale after 40, give it another 10 minutes. Should be firm and a bit golden at the ends. If you have a kitchen thermometer (I rarely find mine when I need it, to be honest), aim for 165°F (74°C) in the center.
- Let it cool for 5-10 minutes before slicing. Or, if you’re like me and just can’t wait, hack off a hunk – just don’t burn your tongue (been there, done that… more than once).
My Random Notes (aka, what took me a few tries to figure out)
- It’s so much less dry if you let it rest before slicing; otherwise, all the tasty juices just run everywhere and you’re left with, well, crumbles.
- Don’t go wild on the veggies or it’ll collapse like a sad soufflé. A handful is my upper limit.
- The leftovers (when there are leftovers) are, dare I say, even better the next day for sandwiches. And for breakfast with eggs, but don’t tell my kids or they’ll eat it all first.
Variations I’ve Tried (Including a Fail or Two)
- Swapped in ground chicken once — it was fine, a bit softer and not as savory, but still edible.
- Tried grated apple for sweetness, per someone online – actually, on second thought, I like it better without! Was a bit weird, like Thanksgiving stuffing pretending to be meatloaf.
- Greek yogurt for the milk: strange, very tangy, maybe not for everyone but kinda works in a pinch.
- Stuffed it with a cheese log; cheese oozed everywhere so I’m calling that one a learning experience.
Equipment Talk (But Honestly…)
You’ll want a mixing bowl, a baking tray (or loaf pan if you’ve got one), and a spatula or just your clean hands (way easier). If you don’t have parchment paper, just oil your tray really well; might stick a tad but it’s not tragic. Oh, and kitchen thermometers are helpful but if you don’t have one – just make sure the loaf isn’t pink in the middle. I survived years without one, so you can too.
How to Store It (Though It Rarely Survives Long!)
Store leftovers in an airtight container in the fridge for up to 3 days, probably longer but mine never makes it past tomorrow. Can freeze in slices (wrap those pieces up good, or else you’ll get freezer flavored meatloaf… not great). Thaw and reheat in the oven or, honestly, sometimes just zap in the microwave for 45 seconds (which I know isn’t gourmet but hey, Tuesday lunch rush is real).
Serving Ideas – What We Do
Always with a pile of mashed potatoes (extra butter, heavy on the salt because I have no shame), plus either steamed green beans or a lazy broccoli salad. Sometimes I make a quick gravy, but usually not, unless someone begs. The best, though, is a wrist-thick slice shoved into a sandwich bun with crisp lettuce and a swipe of Dijon – oddly satisfying, especially at midnight (not that I’m encouraging odd eating hours, but life happens).
Pro Tips (Learned These the Hard Way, Trust Me)
- Don’t overmix – I once mashed the heck out of it thinking it’d be firmer. Nope. Ended up dense as a brick and about as tasty.
- Let it rest before slicing; otherwise, you get meatloaf chaos and strange puddles. Just five minutes makes all the difference.
- If it starts to look too brown on top but isn’t cooked through, loosely foil for the last 10 minutes – found this out when my oven’s top element went rogue.
People Ask Me These All the Time (No Lie)
- Can I make this egg free? Totally! Flaxseed mixed with water works, or even a bit more milk and oats. Texture is a tiny bit softer, but it holds up.
- How do you keep it from falling apart? Moisture balance is key – not too many veggies, not too little oats. And actually, I find it works better if you don’t rush mixing; just fold till combined.
- Why turkey instead of beef? Sometimes beef sits heavy, you know? Turkey’s lighter. Plus, it’s usually cheaper when on offer at the shops. Or maybe it’s just a phase for us (will report back if we switch back).
- Do I need fancy gluten-free oats? Any old gluten-free oats will do. I used to stress over brands, but turns out supermarket’s own is just fine.
- Can I cook this ahead? Oh, easily. Mix and shape the loaf, then cover in the fridge till you’re ready to bake – perfect for those days kids are pestering you ten ways before dinner.
So, that’s turkey meatloaf as it lives in our home kitchen! Try your twists, let me know if your kids come up with an even weirder nickname for it, and enjoy the leftovers (if you’re lucky enough to get any).
Ingredients
- 1 1/2 lbs ground turkey
- 1 cup gluten-free oats
- 1/2 cup finely chopped onion
- 2 cloves garlic, minced
- 1/2 cup grated carrot
- 2 large eggs
- 1/4 cup ketchup (plus more for topping)
- 2 tbsp fresh parsley, chopped
- 1 tsp salt
- 1/2 tsp black pepper
- 1 tsp dried oregano
Instructions
-
1Preheat oven to 375°F (190°C). Line a loaf pan with parchment paper or lightly grease it.
-
2In a large bowl, combine ground turkey, gluten-free oats, onion, garlic, carrot, eggs, ketchup, parsley, salt, pepper, and oregano.
-
3Mix ingredients until just combined. Do not overmix to keep the meatloaf tender.
-
4Transfer the mixture to the loaf pan and shape into a loaf. Spread additional ketchup over the top for a glaze.
-
5Bake for 45 minutes or until the meatloaf is cooked through and internal temperature reaches 165°F (74°C). Let rest for 5 minutes before slicing.
Approximate Information for One Serving
Nutrition Disclaimers
Number of total servings shown is approximate. Actual number of servings will depend on your preferred portion sizes.
Nutritional values shown are general guidelines and reflect information for 1 serving using the ingredients listed, not including any optional ingredients. Actual macros may vary slightly depending on specific brands and types of ingredients used.
To determine the weight of one serving, prepare the recipe as instructed. Weigh the finished recipe, then divide the weight of the finished recipe (not including the weight of the container the food is in) by the desired number of servings. Result will be the weight of one serving.
Did you make this recipe?
Please consider Pinning it!!