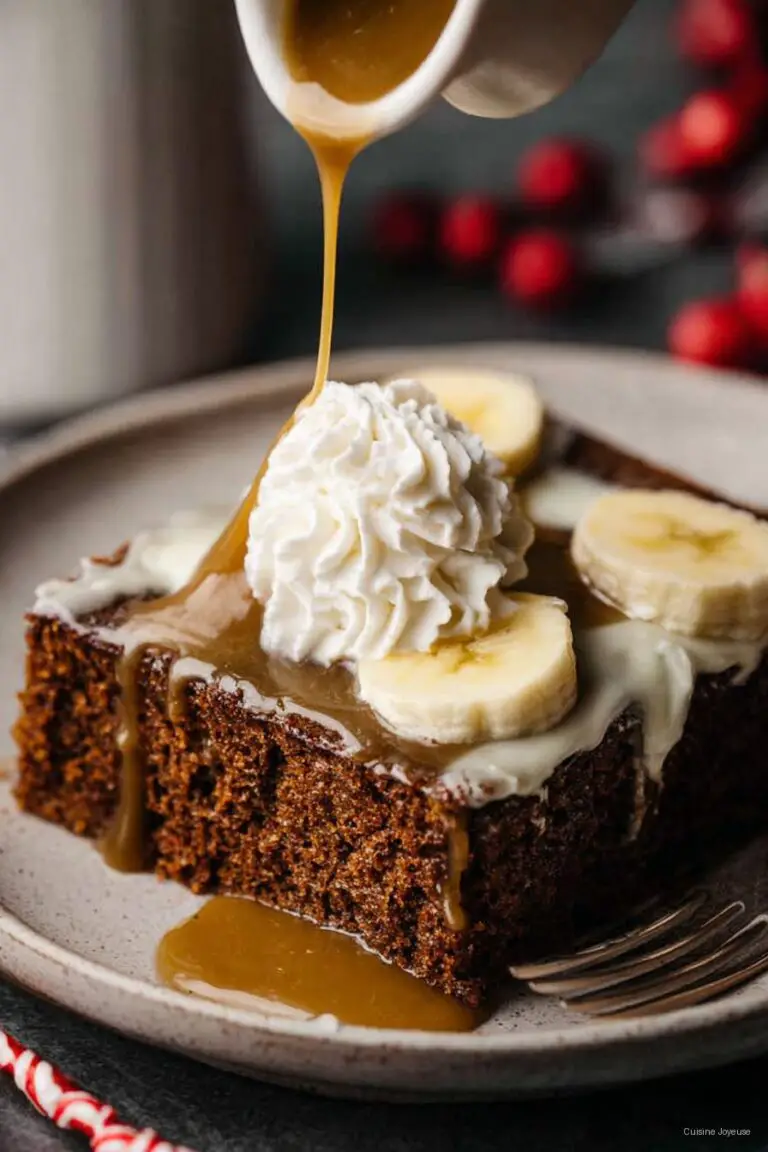
TENDER CRUMB
A Little Story: Why I’m Slightly Obsessed with Tender Crumb
Alright, so picture this: It’s a rainy Sunday, the sort of day that demands slippers and the smell of something good baking. I remember as a kid, my auntie would bake a cake that had this impossibly soft crumb. I mean, her cake would nearly melt as you looked at it—magical. One time I tried to replicate hers, I somehow ended up with a loaf that could probably be used as a doorstop. Oops. But, not to worry, because through lots of (sometimes messy) attempts, I found a way to actually get a proper tender crumb without too much stress (unless you count all the flour everywhere). Also, let’s be honest, half the fun is sneaking tastes when nobody’s watching. Or is that just me?
Why You’ll Love This (If My Family Is Anything to Go By)
I always make this when I want something that feels a little special but not super fussy. My little one goes absolutely bonkers for it (mostly because it means cake for breakfast the next day, and who can argue with that?). Sometimes I’m in a hurry and honestly, the last thing I want is to fuss with a complicated recipe. Plus, there have been times I’ve flopped the mixing, and it still turned out pretty darn good—it’s forgiving, which is a blessing when life’s a bit bonkers (like it always is in this house).
What You’ll Need (Ingredients & My Random Thoughts)
- 2 cups all-purpose flour (I’ve used cake flour when I’m feeling fancy—makes it extra soft, but regular stuff is fine)
- 1 cup sugar (brown sugar is fun for a caramel-vibe, but regular is just dandy)
- 1/2 cup unsalted butter, room temp (or use half butter, half veggie oil if you want a bit more moisture, like my mum-in-law swears by it)
- 2 eggs (large, if you can; small eggs work, though maybe toss in an extra yolk…)
- 1 cup buttermilk (or plain yogurt, thinned with a splash of milk—honestly, I swap this all the time, works out)
- 2 teaspoons baking powder (or, if you’re desperately low, 1 tsp baking soda + 2 tsp lemon juice will get you through)
- 1/2 teaspoon salt (coarse salt gives it a little something, but table salt is fine too)
- 1 teaspoon vanilla extract (or almond, or skip if you forget—though I probably wouldn’t, it smells amazing)
This Is How I Actually Make It
- Preheat your oven to 350 F (that’s about 180 C for the metric folks). I always forget to do this first and then, surprise—batter ready, oven not. So start with that.
- Butter and flour your baking pan—an 8 inch round is what I use. Don’t panic if you can’t find your parchment paper. I can never find mine.
- Grab a bowl, beat the butter and sugar together until it looks pale and fluffy-ish. Sometimes I forget to fully soften the butter, and just mash it with the sugar; works, not as light, but still soft. Add the eggs in one at a time. The second one always splashes more than the first. (No clue why.)
- Stir in the vanilla. This is the part where I usually take a whiff and just… sigh. Love it.
- In a separate bowl, whisk your flour, baking powder, and salt. You can sift it if you can be bothered (I usually can’t).
- Now add the dry mix to the wet, in thirds, alternating with the buttermilk. So: flour, buttermilk, flour, buttermilk, flour. I use a spatula, but a wooden spoon is fine. (Lumpy batter? Not the end of the world, just don’t overmix or you’ll lose the magic!)
- Pour into the prepared pan, smoosh it around to even the top a bit. Don’t worry if it’s odd-shaped; it sorts itself out.
- Bake for about 30-35 minutes. I always check around 27, because my oven tends to have a mind of its own. If a skewer comes out clean, you’re golden.
- Let it cool ten minutes, then tip it out and let it finish cooling. Or, eat it warm, I won’t tell.
Notes From the Trenches
- I once tried using only oil instead of butter, and it got a bit greasy, but it’s fine if that’s what you’ve got (still tasted alright!)
- This crumb actually gets even nicer if you let it rest overnight, though nobody here has the patience for that, least of all me.
- Don’t press down on the cake while checking if it’s done. My friend did that once and, well, let’s just say it wasn’t a good look.
My Random Experiments (Variations, For Better or Worse)
- Tried chocolate chips once—delicious, though they all sank. Flouring them helps, apparently, but I always forget.
- Swapped buttermilk for orange juice and zest for a marmalade twist—pretty zingy! Wouldn’t do it every week, though.
- Dropped in blueberries one time—looked great, but made the bottom a bit soggy. Maybe coat them in flour (or just eat it with a spoon, works too).
About Equipment (And Lack Thereof)
A mixer is nice, but honestly, a big fork and a strong arm gets you just as far. If you don’t have a round pan, I’ve done this in a bread tin and, well, it still tasted spot-on. Cake is cake, right?
How (and If) I Store It
Supposedly this keeps 2-3 days in a sealed tin or Tupperware. But, truthfully, it’s never lasted past breakfast the next morning in my place. Anyway, if it did, a quick zap in the microwave brings back that tenderness. (Or try this method on Serious Eats—they’re thorough, those folks.)
How I Like to Serve It (and a Family Ritual)
Here’s what I do: thick slice, more butter while it’s warm, maybe with a drizzle of honey if it’s a weekend treat. My cousin swears by serving it with whipped cream and strawberries—fancy, right?
Pro Tips I Wish I’d Known
- Don’t rush creaming the butter and sugar. I’ve tried, it was dense and a little sad—should’ve played a song and just enjoyed the process.
- Actually, folding in the flour gently does keep things soft. Learned this the hard way after stirring with wild abandon and getting a dry cake (oops).
- Always let it cool a bit in the pan. Otherwise, the base sort of crumples, and you end up with cake chunks (tasty, but not pretty).
Questions Friends Have Actually Asked Me (for Real)
- Can I make it gluten-free? Sure! I usually just swap in a 1-for-1 GF flour (I use this blend sometimes), but honestly, it’s a bit crumblier, so let it cool before slicing.
- Why’s it called ‘tender crumb’? Funny story, right? It just means the inside is super soft, breaks apart easily and isn’t chewy or tough. Nothing too fancy, just moreish.
- Can I freeze it? I don’t, but yes, wrap it tightly—defrost at room temp. Might be a tad denser, but still lovely with tea.
- Milk instead of buttermilk? You can; just add a teaspoon of lemon or vinegar to your milk and let it sit for 5 mins. Works a treat (or just Google ‘homemade buttermilk’ if you need proof—I did!).
- Egg replacement? I’ve actually used applesauce—about a quarter cup per egg, worked nicely. Banana is ok too, but you get the banana flavor then; up to you.
- What’s with the round pan? No magic, just what I have. Use whatever shape pan fits in your oven, honestly.
Last bit—and this isn’t about cake but, have you seen how quickly tea towels disappear when you’re baking? I swear, mine have a mind of their own. Anyway, hope you give this a go. You’ll see what I mean about the soft, cuddly inside—tender crumb, indeed.
Ingredients
- 2 cups all-purpose flour
- 1 1/2 teaspoons baking powder
- 1/2 teaspoon baking soda
- 1/4 teaspoon salt
- 3/4 cup unsalted butter, softened
- 1 cup granulated sugar
- 2 large eggs
- 1 cup buttermilk
- 2 teaspoons vanilla extract
Instructions
-
1Preheat the oven to 350°F (175°C). Grease and flour an 8-inch round cake pan.
-
2In a medium bowl, whisk together the flour, baking powder, baking soda, and salt.
-
3In a large bowl, cream together the butter and sugar until light and fluffy. Add eggs one at a time, beating well after each addition. Mix in the vanilla extract.
-
4Gradually add the dry ingredients to the wet mixture, alternating with the buttermilk. Begin and end with the dry ingredients. Mix until just combined.
-
5Pour the batter into the prepared pan and smooth the top. Bake for 35–40 minutes, or until a toothpick inserted into the center comes out clean.
-
6Let the cake cool in the pan for 10 minutes, then transfer to a wire rack to cool completely before slicing and serving.
Approximate Information for One Serving
Nutrition Disclaimers
Number of total servings shown is approximate. Actual number of servings will depend on your preferred portion sizes.
Nutritional values shown are general guidelines and reflect information for 1 serving using the ingredients listed, not including any optional ingredients. Actual macros may vary slightly depending on specific brands and types of ingredients used.
To determine the weight of one serving, prepare the recipe as instructed. Weigh the finished recipe, then divide the weight of the finished recipe (not including the weight of the container the food is in) by the desired number of servings. Result will be the weight of one serving.
Did you make this recipe?
Please consider Pinning it!!

