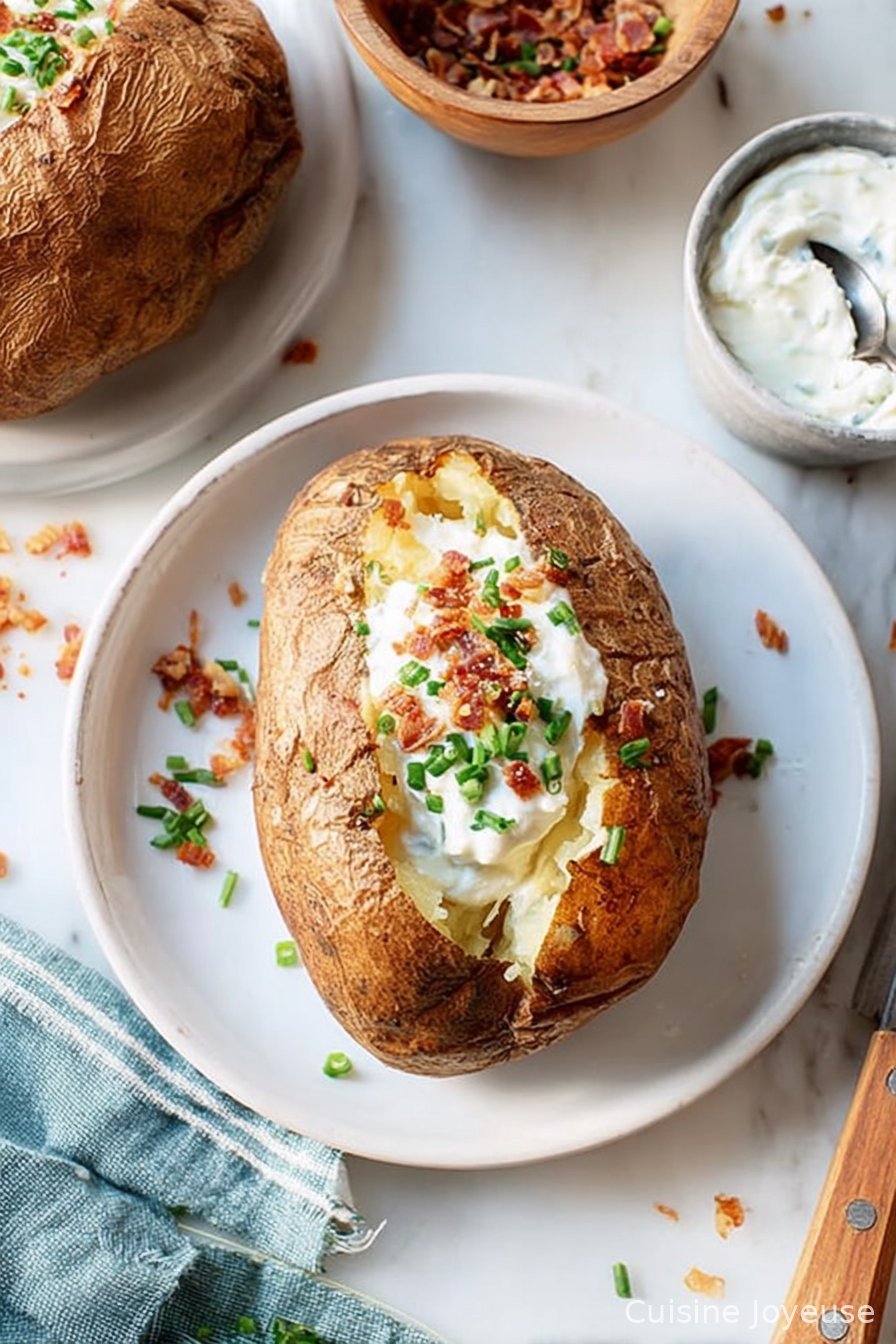
Perfect Baked Potato
How I Fell for the Humble Baked Potato
Alright, so you know how everyone has that one dish they make when they just can’t be bothered with anything fancy? For me, it’s the baked potato. I swear, there’s nothing quite like cutting into that piping hot spud and watching the steam curl out. Plus, there’s almost always a potato lurking somewhere in the pantry (although, on more than one occasion, it’s been more of a science experiment than dinner—oops). I remember my mum used to do these for weeknights when she was tired, usually after chasing us all over the neighbourhood because we’d lost track of time playing footie. Good times. Anyway, here’s how I make them now, many years and a few disasters later.
Why I Keep Coming Back to This Potato
I make this when I want zero fuss but maximum comfort. My family goes bananas for them, mainly ’cause everyone can pile on their own toppings (and, let’s be honest, because they get a break from my, err, more experimental dinners). If I’m having mates round, it’s practically a tradition to do a big batch. Sometimes the skin gets a bit too crispy or, once, there was a great potato explosion in the oven—don’t ask—but usually, these are fail-proof. Well, mostly.
What You’ll Need (and What You Can Get Away With)
- 4 large russet potatoes (or Maris Piper; honestly, whatever’s in the bag is fine. My gran swore by King Edwards, but I reckon most starchy ones work.)
- 2 tablespoons olive oil (or a knob of butter if you’re feeling fancy)
- Sea salt (coarse, but regular table salt is grand if that’s what you have)
- Optional: black pepper, a sprinkle of garlic powder, or smoked paprika—sometimes I go rogue and add a bit of each
For toppings, well, sky’s the limit. Cheese, sour cream, baked beans, tuna mayo (don’t knock it till you’ve tried it, mate). I even once did leftover bolognese—don’t tell the Italians.
How I Actually Make These (Imperfections Welcome)
- Preheat your oven to 220°C (430°F). Or just whack it up high—my oven runs hot, so I keep an eye on things. Start high, then drop it down if needed.
- Scrub the potatoes under cold water. Seriously, give them a good wash; dirt in your teeth is not a fun surprise. Pat ‘em dry with a tea towel.
- Prick the potatoes several times with a fork. (I always forget this step once or twice. Don’t. Unless you want the aforementioned potato explosion.)
- Rub all over with olive oil and sprinkle generously with salt. This is messy but worth it. If you’ve got kids, let them do this bit (but maybe supervise the salt…)
- Pop them straight onto the oven rack. Sometimes I use a tray if I can’t be bothered cleaning the oven after. Bake for 50-60 minutes. Go make a cuppa or watch a bit of telly; the smell will tell you when they’re nearly done.
- Check by squeezing (careful, hot!). Should give a little and feel fluffy inside. If they’re still a bit hard, give them another 10 min. This is where I usually sneak a taste—okay, maybe just a nibble off the end.
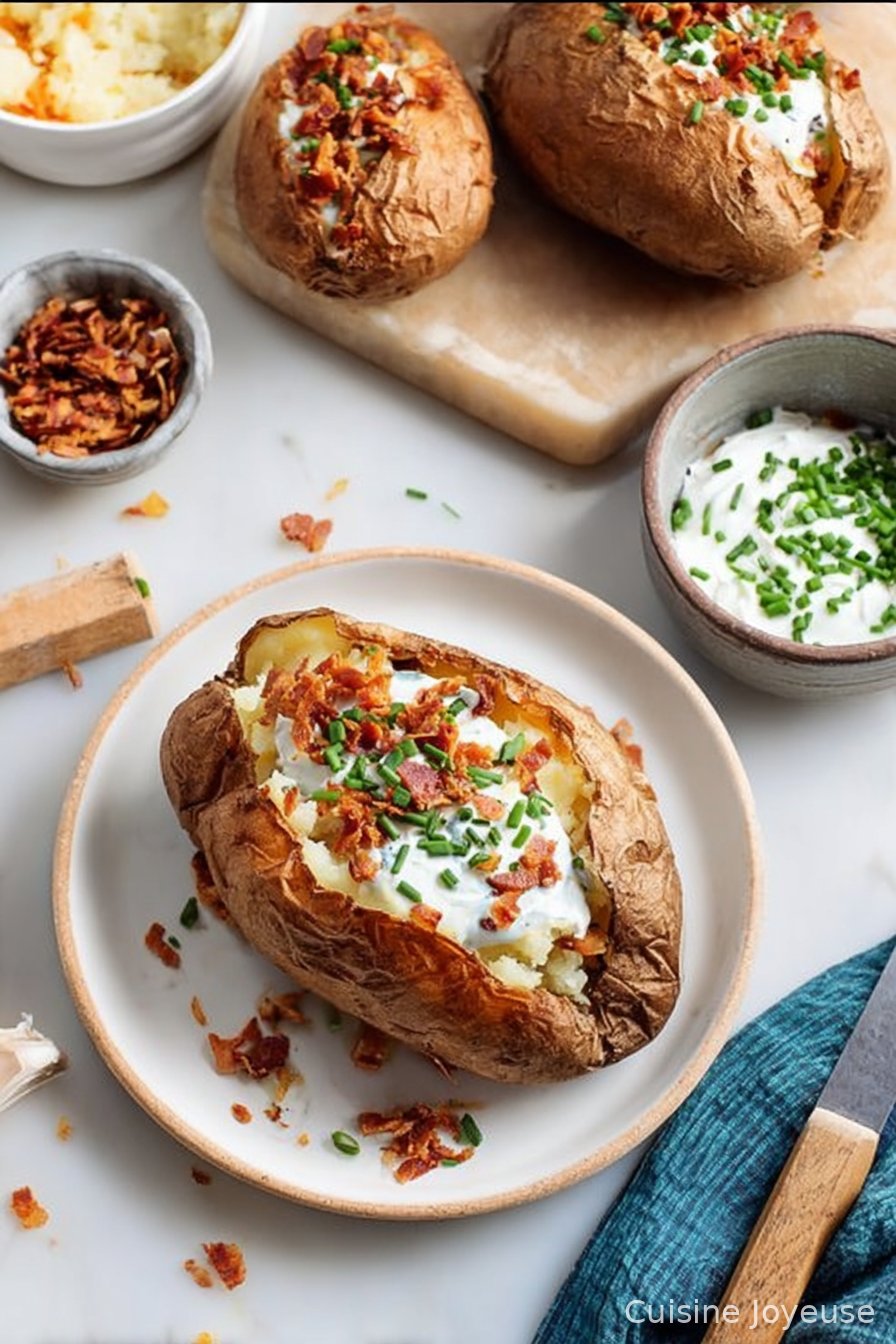
- Once out, slice across the top, then squeeze the ends to fluff up. This step is weirdly satisfying. Add whatever toppings you want. Or all of them. No judgment.
Trial and Error Notes (Or: How Not to Do It)
- Microwaving to speed things up? Eh, it works, but I think you lose the proper crispy skin. Sometimes I zap them for 5 min first if running late, but oven time is king.
- Foil seems like a good idea, but actually, it makes for sad, soggy skin. Unless you like it that way (my brother does, for some reason…)
- If the skins start to look way too dark, just turn the oven down and let ‘em finish slowly. Been there, plenty of times.
Some Variations I’ve Actually Tried
- Sweet potatoes: Makes everything a little more, I dunno, posh? Not as crispy, but lovely with feta and chilli.
- Herb oil: Mixing chopped rosemary into the oil before rubbing on—so good, especially in winter.
- Once tried stuffing them with tuna and corn before baking—honestly, not my proudest moment. Bit mushy for me. Might work for someone else though?
Equipment I Use (But You Probably Don’t Need All of It)
- A decent oven (if yours is ancient like mine, just keep an eye on temp swings)
- Baking tray or straight on the rack—either way, but if you don’t want to risk spills, line with parchment paper
- Fork for poking holes—can use a sharp knife, but I always seem to nearly stab myself, so careful there
No potato brush? Just use the rough side of a sponge, or even your hands, really. No one’s watching.
How I Store Them (But They Rarely Last Here!)
Keep leftovers wrapped in foil or in an airtight container in the fridge. They’ll keep 2-3 days, though honestly, in my house it never lasts more than a day! Reheat in the oven or even slice up and fry for breakfast—amazing with eggs. I think they taste better the next day, but my kids say that’s just me being lazy.
How We Serve Ours (But You Do You)
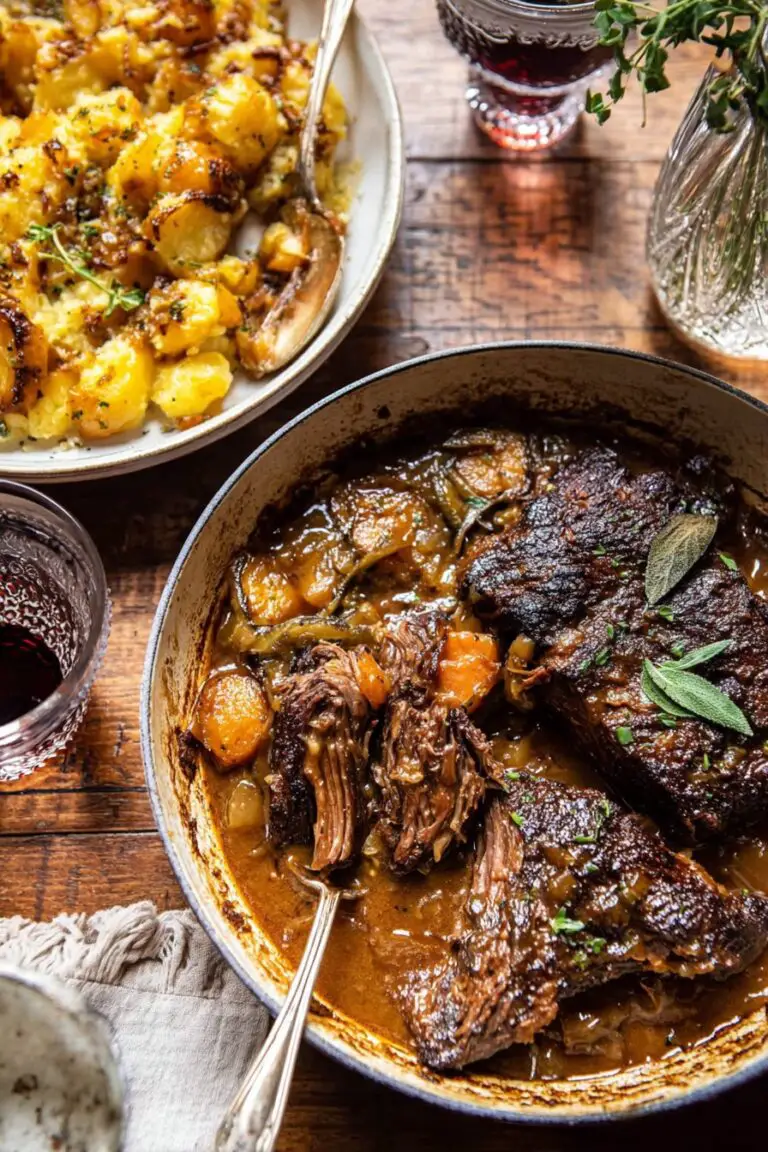
We usually pile on cheddar, spring onions, and a dollop of sour cream. On chilly nights, beans and cheese is the only way. At Christmas, I once did these as a side with leftover turkey and cranberry—and it was surprisingly ace. If you want more ideas, Serious Eats has a great guide here (I use some of their tips too).
Lessons Learned: My “Pro” Tips
- Don’t rush baking! I once tried blasting at 250°C to save time—ended up with charred skins and raw middles. Not my finest moment.
- Salt the skin well so it crisps. Skimp on this, and it’s just a sad boiled potato in disguise.
- Let them rest a couple of minutes after baking. Makes them easier to handle (yes, I have burned my fingertips, more than once).
- Oh, and here’s a handy BBC Good Food resource with more topping ideas.
Questions I Get All the Time
Can I use red potatoes or is it russet or bust?
Honestly, russets or similarly starchy ones are best for that fluffy inside, but I’ve bunged in red potatoes when that’s all I had. Just know the skins are thinner and they’re a bit denser, but still tasty.
Do I have to oil the skin?
You don’t have to, but it makes the skin way crispier. Sometimes, if I’m out of oil, I’ll just bake them plain—still good, just not as golden.
How do I know when they’re done?
Give ‘em a squeeze (with a tea towel, please, unless you like burned hands). If they feel soft and the skin is crunchy, you’re there. Or stab with a knife; it should slide in easy as anything.
Can I prep these ahead of time?
Yep. Bake as normal, cool, and store. When ready to eat, reheat in the oven to get the skin crispy again. Microwave if you must, but you’ll lose some magic, I reckon.
Anyway, hope you give these a whirl—let me know if you find any new topping combos! Or if you manage to avoid turning your oven into a potato graveyard. Actually, on second thought, maybe just stick with cheese and beans for your first go?
Ingredients
- 4 large russet potatoes
- 2 tablespoons olive oil
- 1 teaspoon kosher salt
- 1/2 teaspoon freshly ground black pepper
- 1/2 teaspoon garlic powder
- 2 tablespoons unsalted butter
- 1/4 cup sour cream
- 2 tablespoons chopped fresh chives
Instructions
-
1Preheat your oven to 425°F (220°C). Line a baking sheet with parchment paper or foil.
-
2Scrub the potatoes thoroughly under running water and pat them dry with a towel.
-
3Pierce each potato several times with a fork. Rub each potato with olive oil, then sprinkle with salt, pepper, and garlic powder.
-
4Place the potatoes directly on the prepared baking sheet. Bake for 60 minutes, turning once halfway through, until the skins are crisp and the insides are tender.
-
5Remove from the oven. Slice each potato open, fluff the insides with a fork, and top with butter, sour cream, and chives. Serve immediately.
Approximate Information for One Serving
Nutrition Disclaimers
Number of total servings shown is approximate. Actual number of servings will depend on your preferred portion sizes.
Nutritional values shown are general guidelines and reflect information for 1 serving using the ingredients listed, not including any optional ingredients. Actual macros may vary slightly depending on specific brands and types of ingredients used.
To determine the weight of one serving, prepare the recipe as instructed. Weigh the finished recipe, then divide the weight of the finished recipe (not including the weight of the container the food is in) by the desired number of servings. Result will be the weight of one serving.
Did you make this recipe?
Please consider Pinning it!!