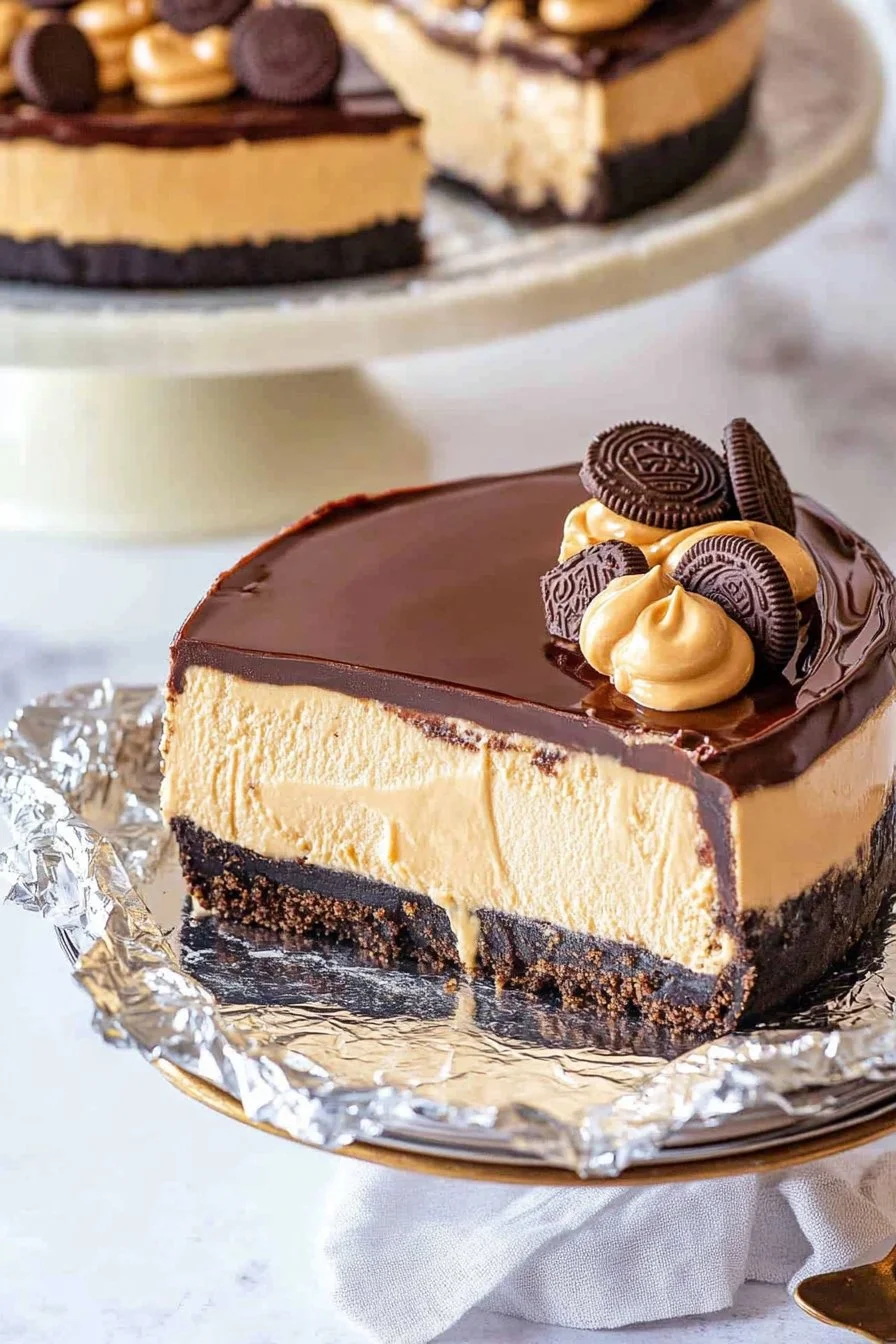
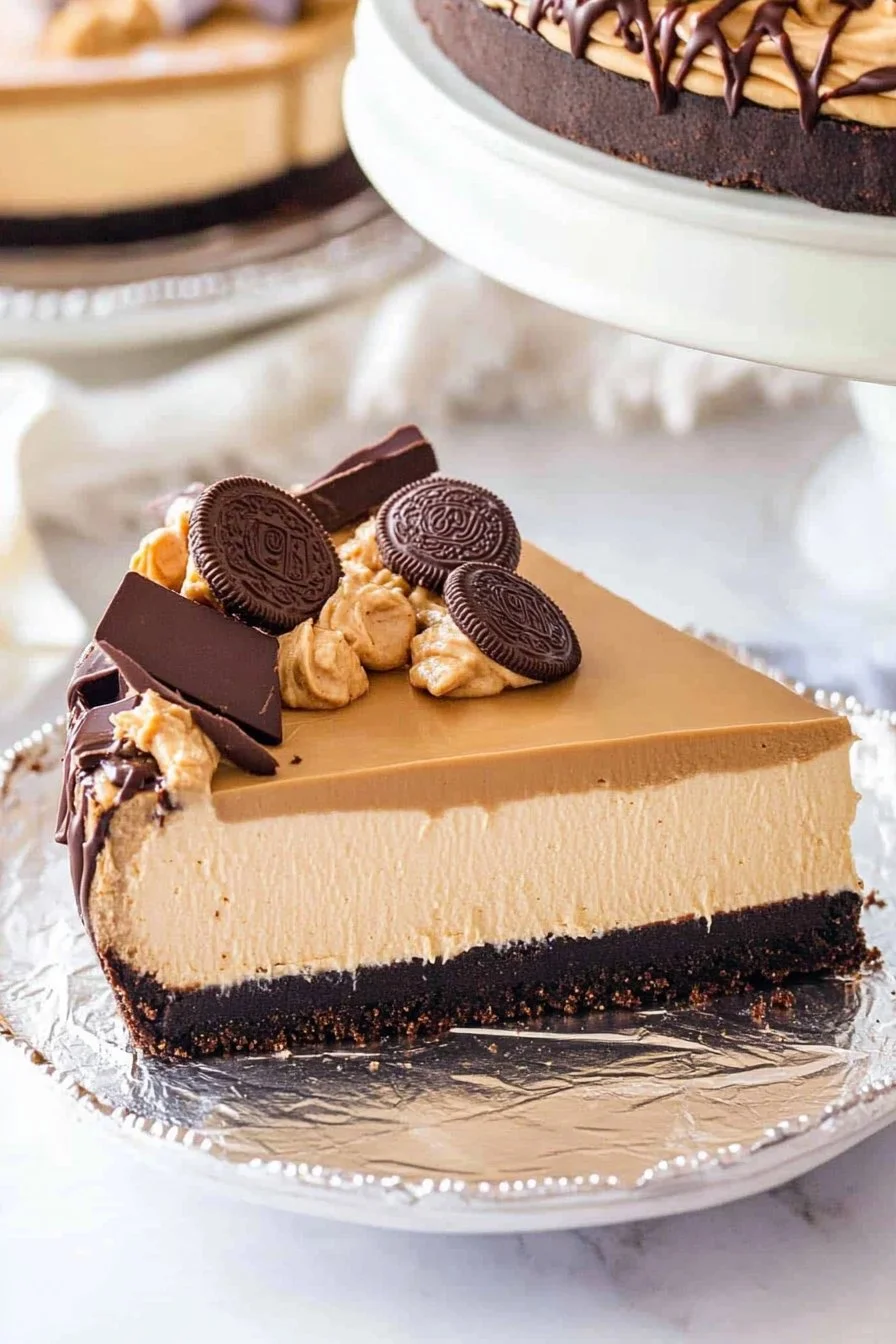
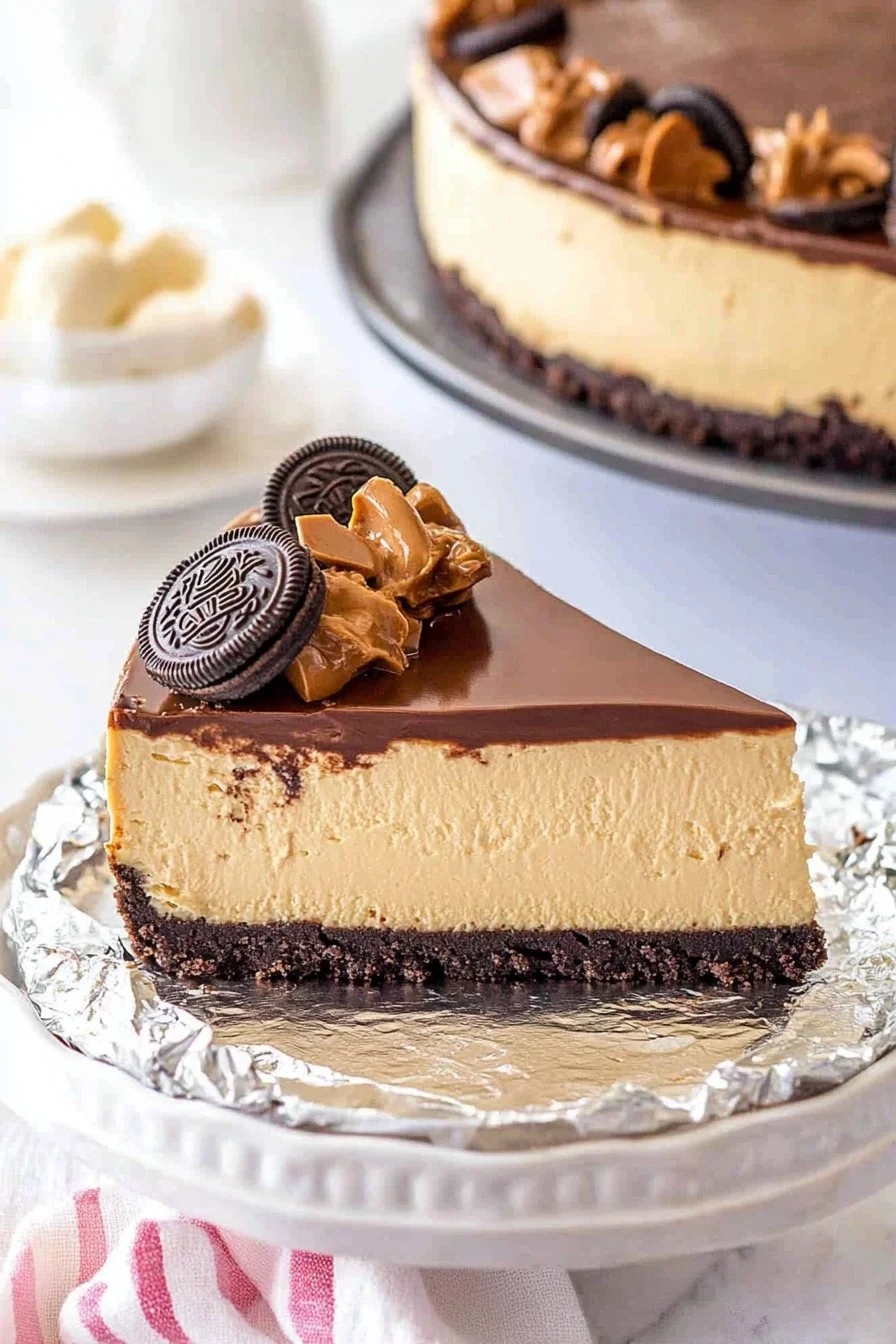
Peanut Butter Cheesecake
Hey there! So, let me tell you about this peanut butter cheesecake that’s somehow become a bit of a legend at my house. I remember the first time I tried making it, I was just desperate to impress my mother-in-law (she’s a stickler for desserts!), and boy, was I nervous. My hands were all shaky, and I kept second-guessing myself. But, as it turns out, this dessert is pretty forgiving, and it’s now a family favorite—at least among the peanut butter fanatics.
Why You’ll Love This
I whip this up when I’m in the mood for something indulgent without it feeling like too much effort. My family goes crazy for this because it’s got that perfect mix of creamy and nutty. Plus, I mean, who doesn’t love a good cheesecake? (Unless you’re my cousin who claims she’s not into sweets—she’s an oddball.)
What You’ll Need
- 1 1/2 cups of crushed graham crackers (Sometimes I swap in digestive biscuits if that’s what’s in the pantry)
- 1/4 cup of melted butter
- 3 (8 ounce) packages of cream cheese, softened
- 1 cup of creamy peanut butter (I’m partial to the chunky kind too, but that’s just me)
- 1 cup of sugar
- 1 teaspoon vanilla extract (my grandma always said the real deal was best, but I’ve used the imitation stuff in a pinch)
- 3 large eggs
- 1/2 cup sour cream
- Optional: chocolate chips or a drizzle of chocolate sauce for topping
How to Make It
Preheat your oven to 325 degrees F (165 degrees C). Start by combining the graham cracker crumbs and melted butter in a medium-sized bowl. Once mixed, press this into the bottom of a 9-inch springform pan. Sometimes I pretend I’m a pastry chef and use the back of a spoon to flatten it out.
In another bowl, beat the cream cheese, peanut butter, sugar, and vanilla until smooth—this is where I usually sneak a taste. Add the eggs one at a time, mixing just until combined, then stir in the sour cream. Pour this creamy concoction over your crust.
Bake it in the preheated oven for about 55 minutes. Now, don’t freak out if it looks a bit wobbly in the middle; it firms up as it cools. Trust me on this one.
My Little Notes
I’ve found out the hard way that over-mixing can make the cheesecake crack. Not the end of the world, but it’s a bit annoying. Also, letting the cheesecake cool to room temperature before refrigerating it helps prevent those pesky cracks too.
Variations I’ve Tried
One time, I added a layer of crushed pretzels on the crust, thinking it’d add a nice salty crunch. It was… interesting, to say the least. Maybe you’ll like it more than I did! Oh, and sometimes I’ll swirl in a bit of jelly for a PB&J vibe.
What You’ll Need in the Kitchen
You’ll want a springform pan for this recipe. If you don’t have one, I’ve used a regular cake pan in a pinch but lining it with parchment paper helps with the removal process.
Storing Your Cheesecake
Pop it in the fridge, covered, and it’ll keep for about 3-4 days—though honestly, in my house, it never lasts more than a day!
How I Serve It
I like to serve this cheesecake with a dollop of whipped cream or a drizzle of chocolate sauce. My husband swears it’s best with a glass of cold milk. To each their own, right?
Pro Tips from Me to You
Don’t rush the cooling process. I once tried rushing this step and regretted it because the cheesecake was a bit too runny. Patience is key here, my friend.
Questions I’ve Gotten Asked
Do I really need to use a water bath? Nope! I never do, and it turns out fine.
Can I make this ahead? Absolutely. In fact, I think this cheesecake tastes better the next day after all the flavors have mingled.
For more tasty dessert ideas, check out AllRecipes or explore cheesecakes on King Arthur Baking.