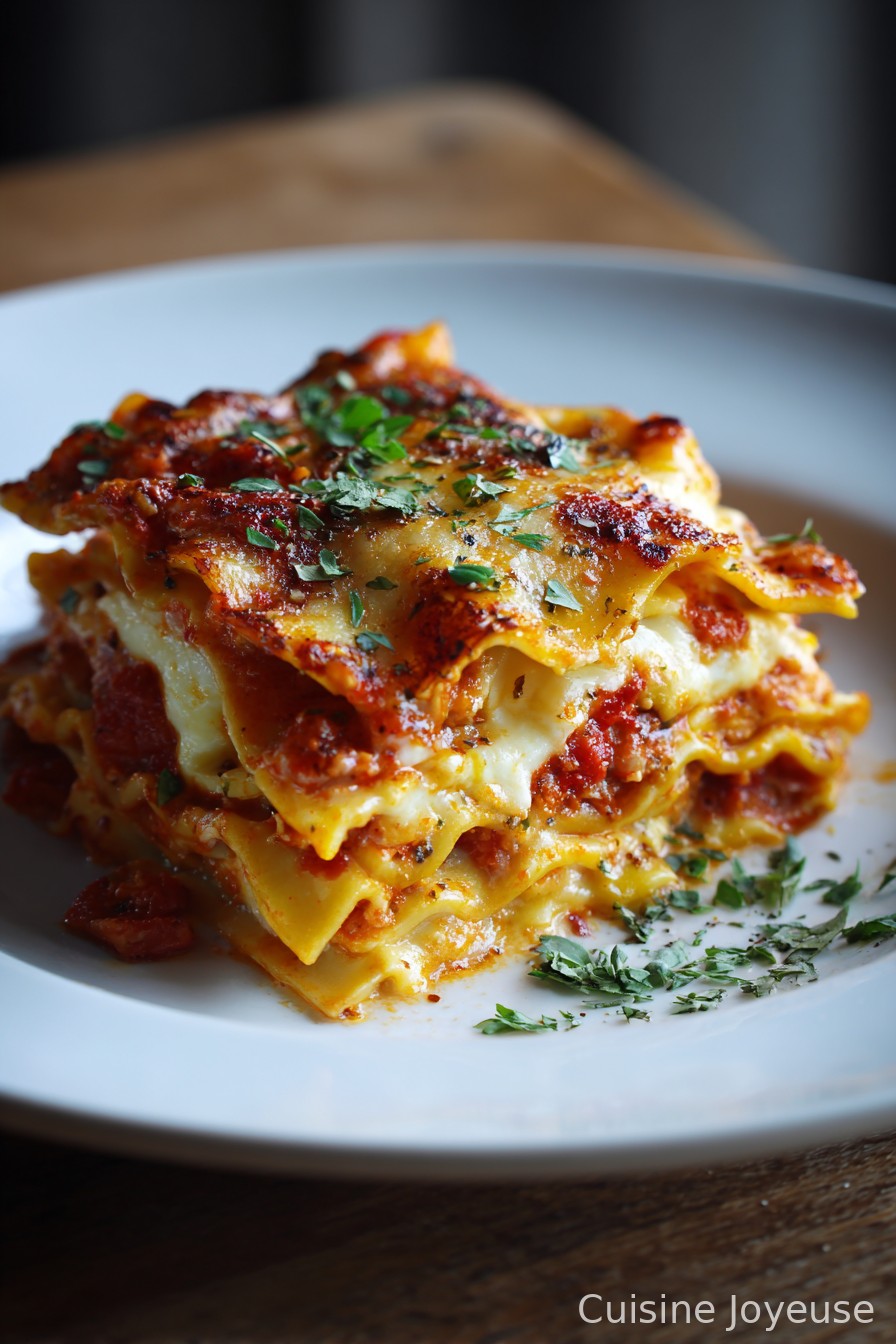
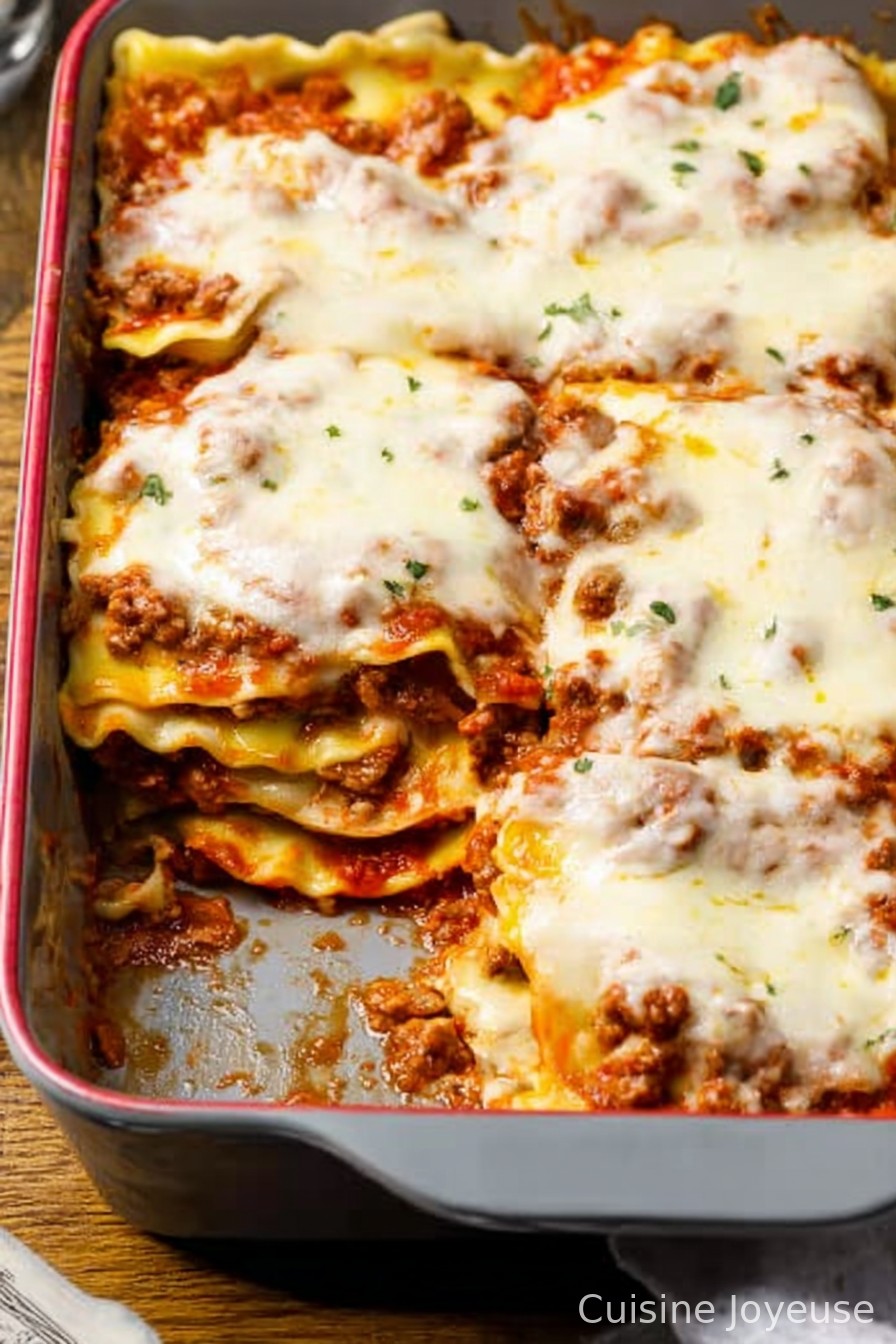
Lazy Ravioli Lasagna
So… This Is How I Make Lazy Ravioli Lasagna (and Why)
I can’t even count the times I’ve rolled up my sleeves, swore I’d make lasagna “the right way,” and by the third pasta layer thought, "Why am I doing this to myself?" Enter: lazy ravioli lasagna, the weeknight hero I discovered by pure accident. The first time I made it, I only had frozen ravioli left from my last too-ambitious Costco run and, I dunno, a need for something melty and good. Just so you know, my kids asked for seconds (rare) and my husband said it was “the kinda thing you’d bring to a potluck if you liked those people.” So, if that’s not a ringing endorsement, I don’t know what is.
Why You’ll Love This (Or at Least Really Like It)
I make this when life gets seriously busy, because honestly, who can be fussed with boiling noodles, layering ricotta, and making their own sauce every time? Not me. Especially not after a Monday. My family goes nuts for this because it’s cheesy, hearty, and, most importantly, it’s on the table in like, 45 minutes if I barely try. (I’ve even thrown some spinach in there to feel slightly responsible.)
Confession: I tried to just microwave it once. Would not recommend; trust me. But the oven version—magic.
What You’ll Need (But, Seriously, Improv Is Allowed)
- 1 bag (about 1-1.5 lbs) frozen cheese ravioli – I usually get store-brand. My grandma swore by the fancy kind, but I don’t think she had two wild kids running in the kitchen.
- 3 cups marinara sauce – Homemade is fab but let’s be real, I use jarred most weeks. Rao’s if I’m feeling flush, whatever’s on hand otherwise.
- 2 cups shredded mozzarella – Fresh is nice, bagged pre-shred is fine, and sometimes I use cheddar when I’m out (purists would be horrified, but family doesn’t seem to mind).
- 1/2 cup grated parmesan – Or more or less, who’s counting?
- Optional: 1 cup cooked ground beef or Italian sausage – If you’re into that kind of thing, swap in cooked lentils for veg version. Or skip it. Whatever.
- Optional extras: handful of spinach, some mushrooms (sauté them if you remember). Sometimes I just toss in leftover roasted veggies. It’s a fridge-cleaner, honestly.
How To Throw It Together (No Stress)
- Preheat the oven to 400F (or 200C, if that’s how you roll). Grease your baking dish, 9×13-ish or whatever will fit the ravioli.
- Spoon a thin layer of sauce in the bottom—don’t worry, it doesn’t have to look perfect. Just enough to not let the noodles stick and get weirdly crunchy.
- Lay down a single layer of frozen ravioli (yep, straight from the freezer – no need to thaw. If they’re stuck together, whack the bag on the counter… they usually break apart).
- Scatter over half your mozzarella, a bit of parm, and (if using) half your cooked meat or veggies. No science, just sprinkle it about.
- Repeat the layering: more sauce, ravioli, cheese, the rest of the fun stuff. At this point, I always sneak a few bits of mozzarella. Don’t be shy.
- Finish with a good layer of sauce and all the remaining cheese you have left. Frankly, I’ve never measured, I just pile it on.
- Cover with foil (or, if you’re out of foil like I was last week, an upside-down baking sheet works… probably not an official tip, but hey).
- Bake for about 30 minutes. Uncover, bake another 10-15 mins till bubbly and the top is nicely golden. If, for some reason, it isn’t browning, broil for 2 mins—just don’t wander off. I once burned the top because I got sucked into a Wikipedia rabbit hole. Not my proudest moment.
- Let it sit 5-10 minutes. It will still be molten cheese, but you’ll regret it less. Or just eat it hot and burn your mouth like I’ve done more than once. Your call.
Some Notes I Wish I’d Known (But Learned The Hard Way)
- The ravioli don’t have to be in perfectly straight rows; turns out no one notices except maybe your Instagram followers.
- If you use meat, drain it really well or it’ll get greasy—I’ve forgotten, and it’s just… not as nice.
- Jarred sauce can be doctored up: add a splash of balsamic, a pinch of chili flakes, or a sprinkle of Italian herbs. Makes it taste more “intentional.”
- I think leftovers taste even better the next day, but that’s just me.
What Else Can You Try? (Experiments Galore)
I once swapped cheese ravioli for meat-stuffed—big hit with the carnivores. Tried using Alfredo sauce instead of marinara; too rich for my blood, but my sister loved it. And, oh, don’t use frozen tortellini (they went soggy and weird… maybe just me?). Sometimes I add a layer of thinly sliced zucchini for a bit of “green cred” but honestly, nobody notices except me.
What If You Don’t Have The Right Dish?
I’ve used everything form a big high-sided roasting tray to a couple of loaf pans. No fancy lasagna dish required—just make sure it’s oven-safe. If you’re in a pinch, I’ve layered it right in a disposable foil pan (hello, easy clean up for parties).
Keeping Leftovers (If You Even Have Any)
Store covered in the fridge. It keeps 3 days easy—though honestly, in my house it never lasts more than a day! Reheats well in the oven or microwave, though the edges get nice and crispy if you use the oven.
How We Like To Serve It (But Do You!)
I usually serve with a basic green salad (bagged, no shame there) and some garlic bread—preferably the frozen kind, but lately I just toast leftover buns with butter and garlic powder. Friday nights we eat this on the couch, plates in hand, catching up on old British comedies (I blame my Mum).
Real Life Pro Tips (Learned By Oopses)
- Don’t skimp on sauce or it gets a bit dry (I once tried using less—bad move, trust me.)
- If you rush the bake and don’t let it rest, it’s just lava in a dish. Seriously, patience is hard but worth it.
- Letting little ones add the cheese layer is fun but expect cheese on the floor, the counter, maybe the dog… it’s all part of the charm.
FAQ: Folks Actually Ask Me These
- Can I use fresh ravioli instead of frozen?
- Yeah, absolutely! Just check on the bake a bit sooner, as it cooks a little quicker. Don’t overthink it; pretty forgiving recipe.
- Can this be assembled ahead of time?
- Oh, for sure. I assemble the night before sometimes, then bake when I get home. Maybe takes a few mins longer if it’s coming straight form the fridge.
- Can I freeze leftovers?
- Technically yes! Cut into portions first, though, or you’ll be hacking away at a cheesy brick.
- Best sauce to use?
- Honestly, whatever’s lurking in your pantry. I love Rao’s, but check out Serious Eats reviewed a bunch if you’re feeling curious. And homemade is great but zero pressure.
- Does this work with gluten-free ravioli?
- Yup, though check package instructions; sometimes the gluten-free kind holds up a little differently in the oven. Tastes good, though.
If you actually read to the end—well, hats off! Send a picture if you make it (my cousin once sent his interpretation featuring jalapeños—it was wild). Honestly, life’s too short for fussy lasagna when this gets the job done. If you need more kitchen inspiration, I sometimes poke around Budget Bytes for more laid-back ideas.
Ingredients
- 1 (25 oz) bag frozen cheese ravioli
- 2 cups marinara sauce
- 1 cup ricotta cheese
- 2 cups shredded mozzarella cheese
- 1/2 cup grated Parmesan cheese
- 1 tablespoon olive oil
- 2 cloves garlic, minced
- 1 teaspoon dried Italian herbs
- Salt and pepper to taste
Instructions
-
1Preheat the oven to 375°F (190°C). Grease a 9×13-inch baking dish with olive oil.
-
2In a small pan, heat olive oil over medium heat. Add minced garlic and cook until fragrant, about 1 minute.
-
3Spread a thin layer of marinara sauce on the bottom of the baking dish. Arrange half of the frozen ravioli in a single layer on top.
-
4Dollop half of the ricotta cheese over the ravioli, sprinkle with half the mozzarella and half the Parmesan cheese. Pour half of the remaining marinara sauce over the top and sprinkle with Italian herbs, salt, and pepper.
-
5Repeat the layers with the remaining ravioli, ricotta, mozzarella, Parmesan, and sauce. Finish with extra mozzarella and Parmesan on top.
-
6Cover with aluminum foil and bake for 25 minutes. Remove foil and bake an additional 10 minutes, until golden and bubbly. Let stand for 5 minutes before serving.
Approximate Information for One Serving
Nutrition Disclaimers
Number of total servings shown is approximate. Actual number of servings will depend on your preferred portion sizes.
Nutritional values shown are general guidelines and reflect information for 1 serving using the ingredients listed, not including any optional ingredients. Actual macros may vary slightly depending on specific brands and types of ingredients used.
To determine the weight of one serving, prepare the recipe as instructed. Weigh the finished recipe, then divide the weight of the finished recipe (not including the weight of the container the food is in) by the desired number of servings. Result will be the weight of one serving.
Did you make this recipe?
Please consider Pinning it!!