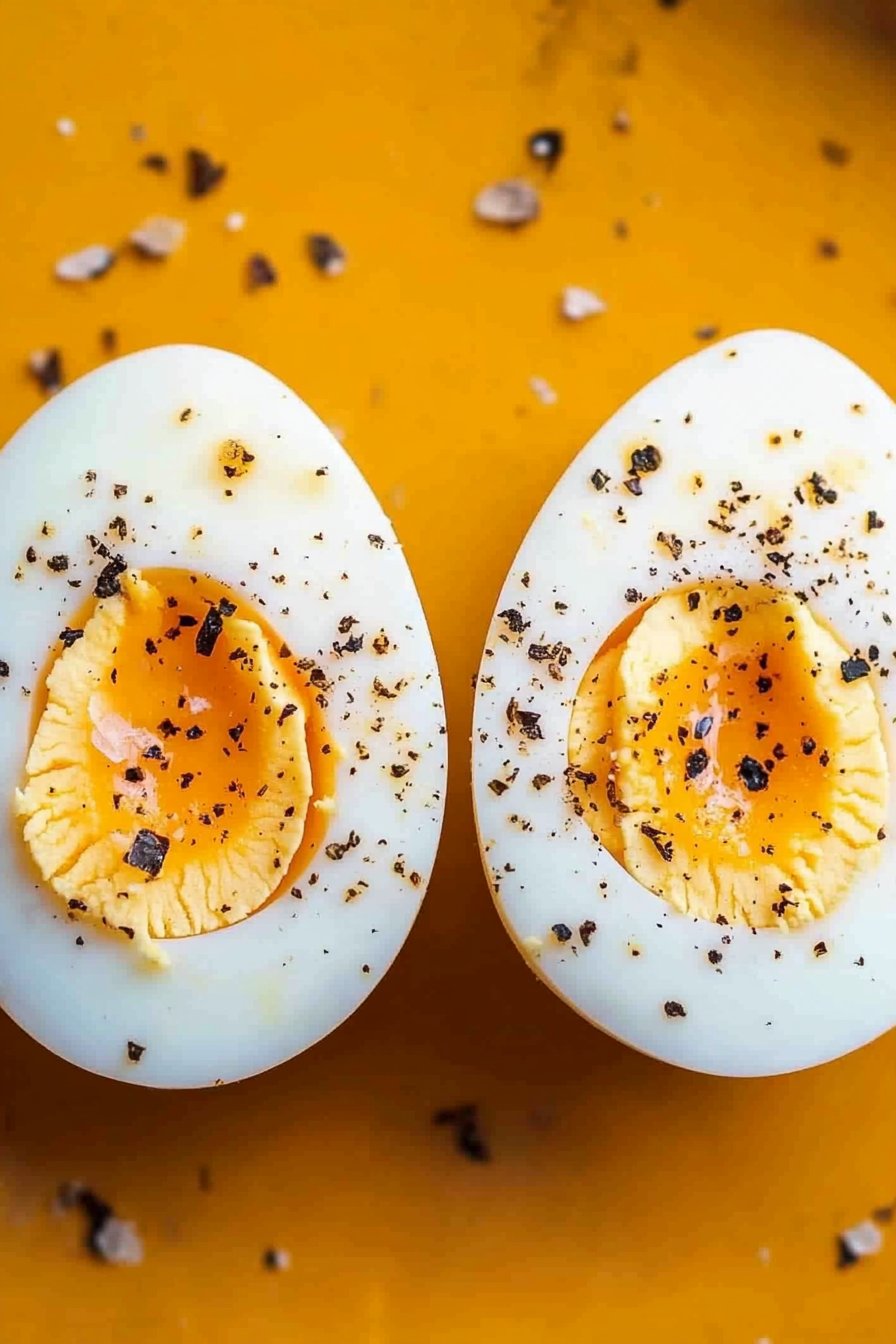
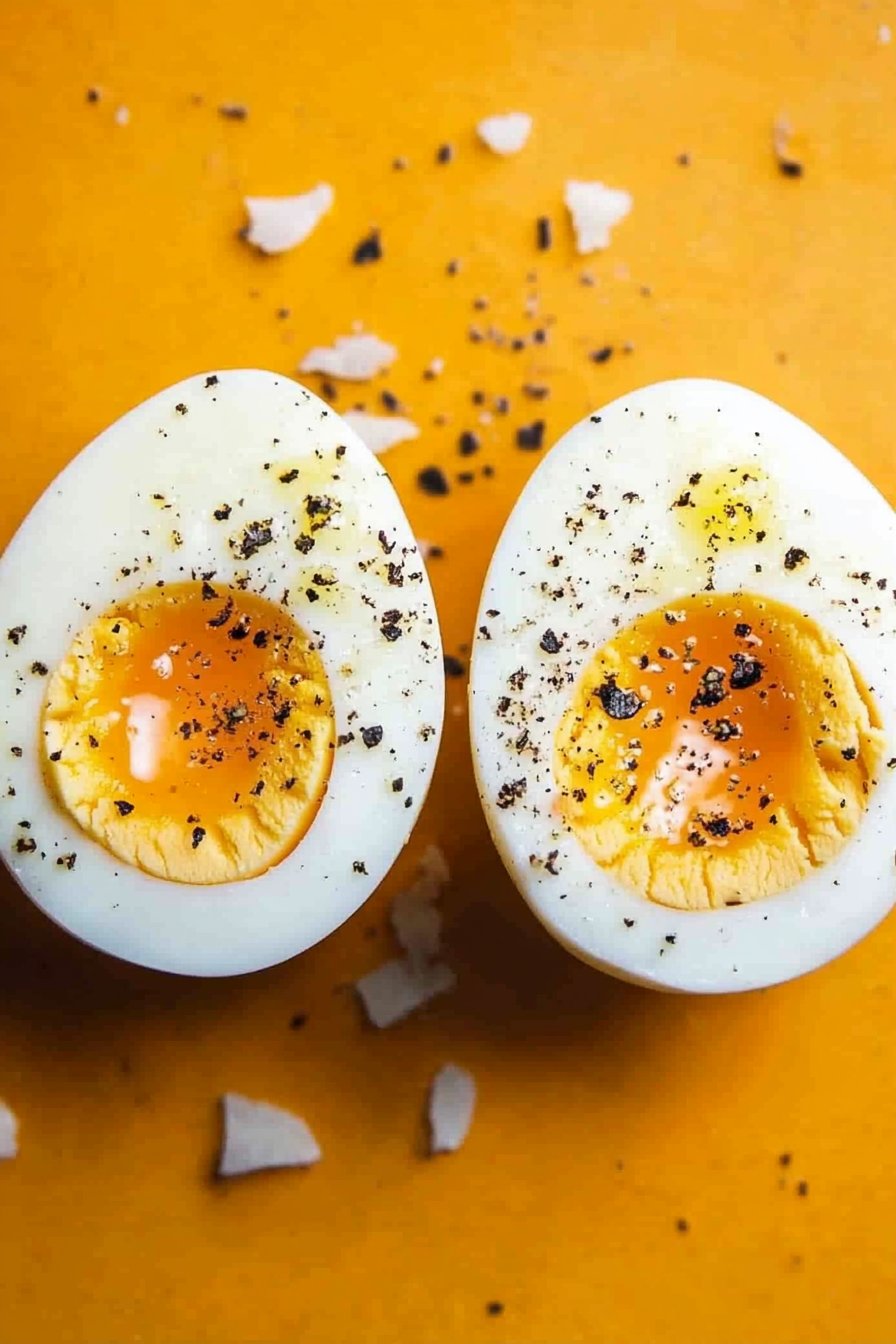
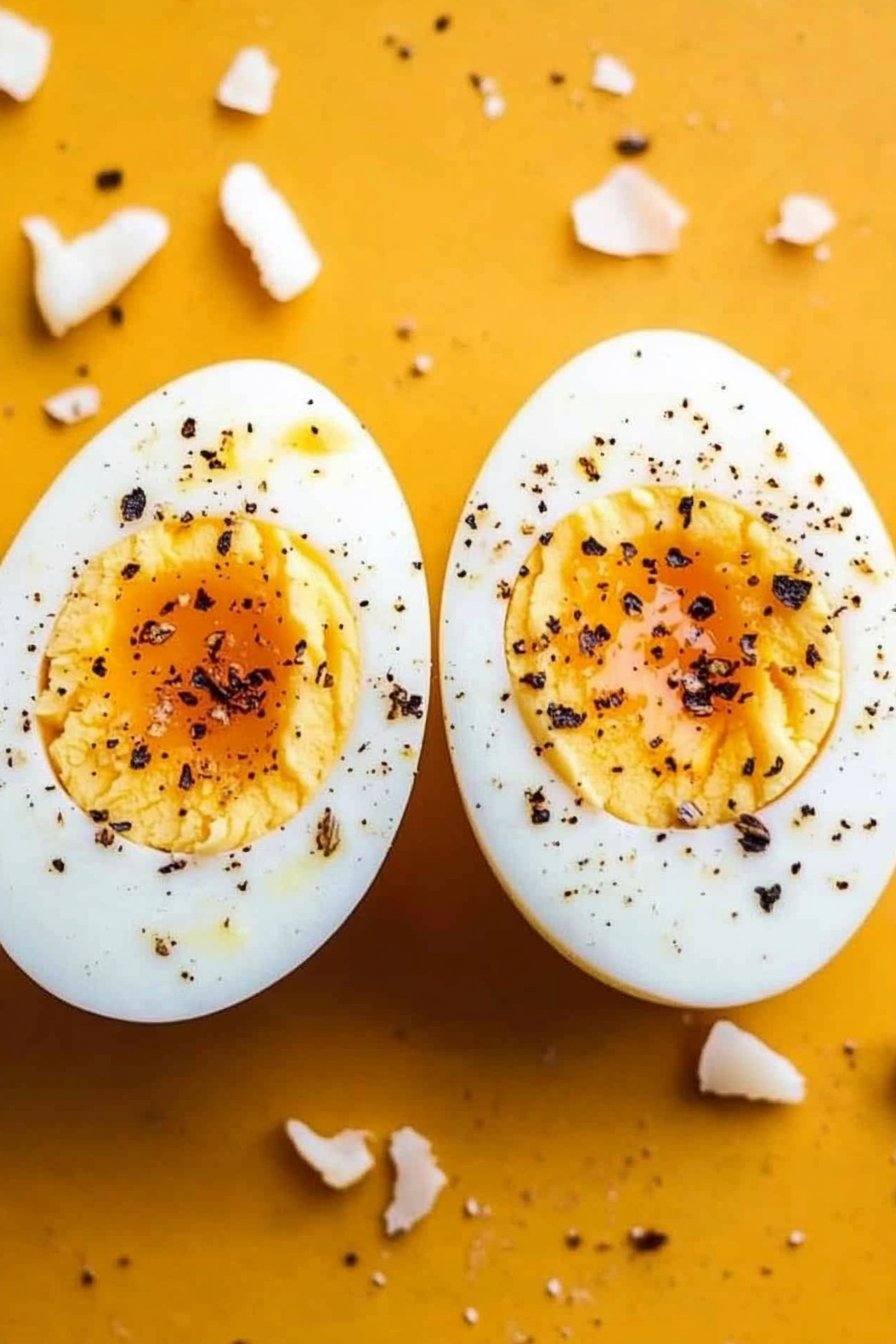
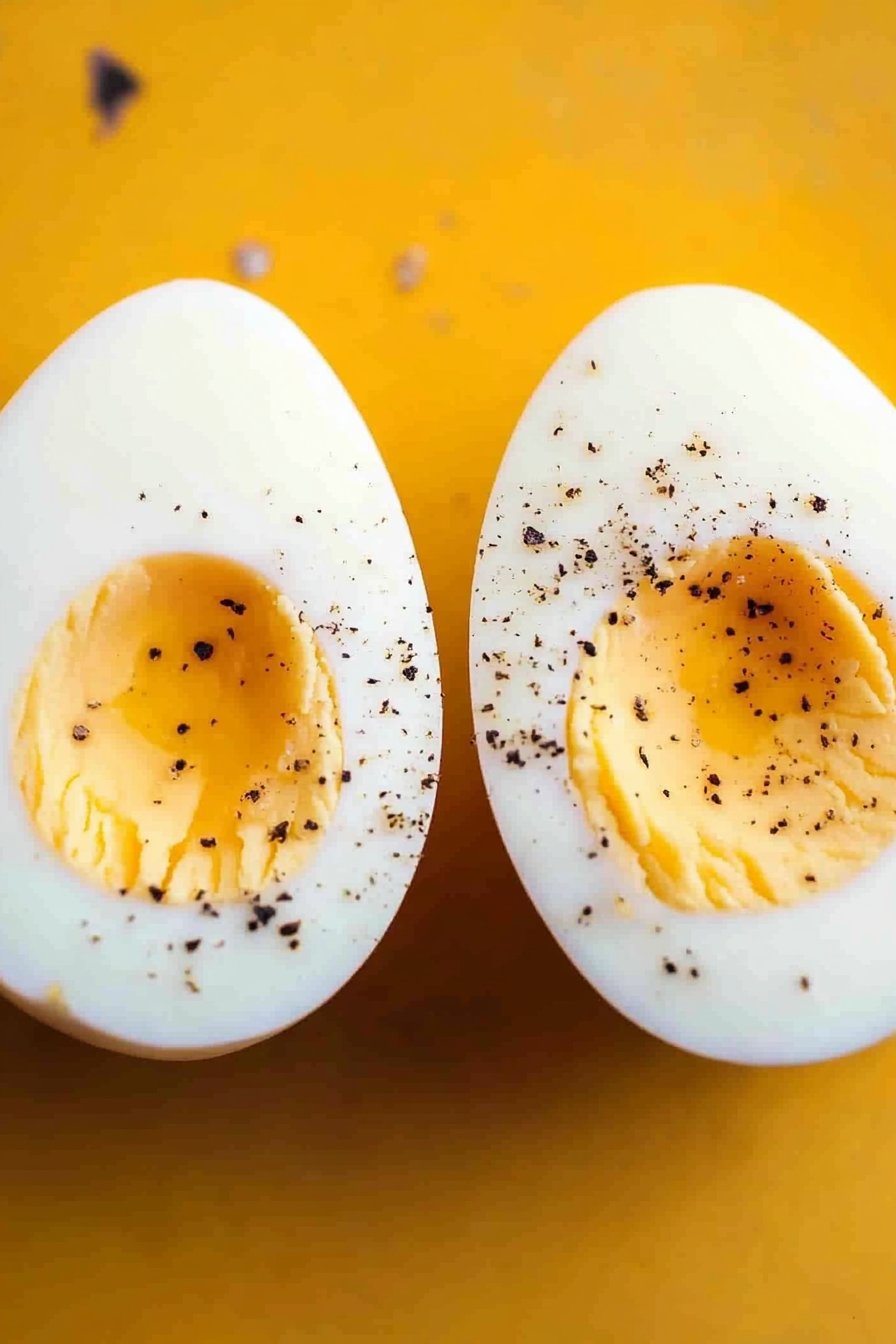
How to Make Hard Boiled Eggs
A Chat Over Eggs: Why Hard Boiled?
Hey there! So, let’s talk about hard boiled eggs. I remember the first time I tried to make them—I was probably around ten and determined to surprise my mom with breakfast in bed. Long story short, I ended up with eggs that were probably more like rubber balls than anything edible. But hey, practice makes perfect, right? Now, I’ve nailed it (most of the time) and I’d love to share how you can too.
Why You’ll Love This Recipe
Honestly, I make these whenever I need something quick and easy—my family goes crazy for them, especially if there’s a bit of salt and pepper to sprinkle on top (or a dash of hot sauce if you’re feeling brave). They’re perfect for salads, sandwiches, or just on their own. Plus, it’s pretty satisfying when you finally peel off the shell in one piece (a small victory!)
Gather Your Ingredients
- 6 large eggs (I sometimes get the organic ones, but seriously, any kind works)
- Water (enough to cover the eggs, not a drop more needed)
- A pinch of salt (Optional: Grandma swears it’s essential, but…)
Let’s Get Cooking: Directions
- Place your eggs in a single layer in a pot. Cover them with water until it’s about an inch above the eggs. Sometimes I just eyeball it—totally fine.
- Bring the water to a rolling boil over medium-high heat. Once it hits the boil, turn off the heat and cover the pot. And here’s where you wait—let them sit for about 9-12 minutes. I usually go for 10 (because who’s really counting the seconds?).
- Meanwhile, prepare an ice water bath. Just grab a bowl, fill it with cold water and a few ice cubes. Your eggs will thank you.
- Once the time’s up, transfer the eggs to the ice bath using a slotted spoon. This is where I often sneak a taste, but that’s just me!
- Let them cool for about 5 minutes. Peel and enjoy! And if they’re a bit hard to peel, give the shell a gentle roll on the counter.
Notes from My Kitchen
The first time I tried to skip the ice bath, I learned my lesson—the eggs kept cooking and were a bit too done. So, don’t skip that step! And if the shells are being stubborn, try peeling them under running water.
Variations: Egg-citing Experiments
I’ve tried adding a splash of vinegar to the boiling water thinking it might help with peeling. Nope, didn’t do much. But adding a few drops of food coloring to the water? Now, that’s fun for Easter!
Tools of the Trade
You really don’t need fancy gadgets for this. Just a pot and a timer (or your phone). If you don’t have a slotted spoon, just be careful with a regular spoon.
Keeping It Fresh: Storage Tips
Store unpeeled eggs in the fridge for up to a week—though, honestly, in my house, they never last more than a day!
Serving Suggestions
I love slicing them over a fresh salad or dunking them in some spicy mustard. My kids love them just halved with a sprinkle of paprika.
Pro Tips (or Lessons Learned)
I once tried rushing the cooling process and regretted it because they were still hot inside. Patience is key here.
FAQs: Answers to Your Eggy Questions
Q: Can I use older eggs? A: Yep! Older eggs peel easier, actually. Crazy, right?
Q: My eggs cracked while boiling—what happened? A: Could be they weren’t room temp or maybe the water was boiling too aggressively.
Q: How do I know when they’re done? A: Give one a crack after cooling and check—it’s the only surefire way!
If you’re curious about more eggy goodness, check out Eggs.ca for some wild ideas or All Recipes for more inspiration.