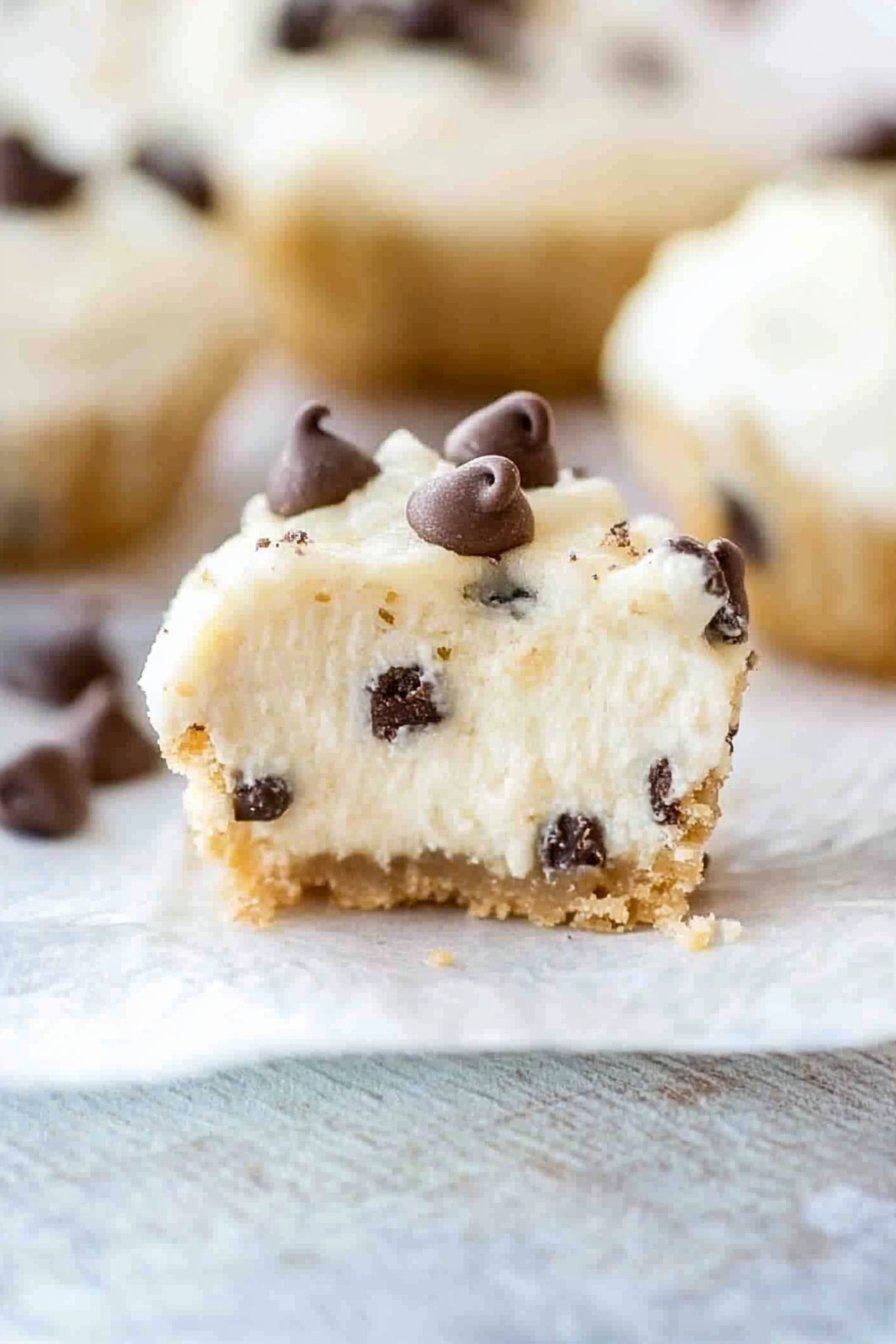
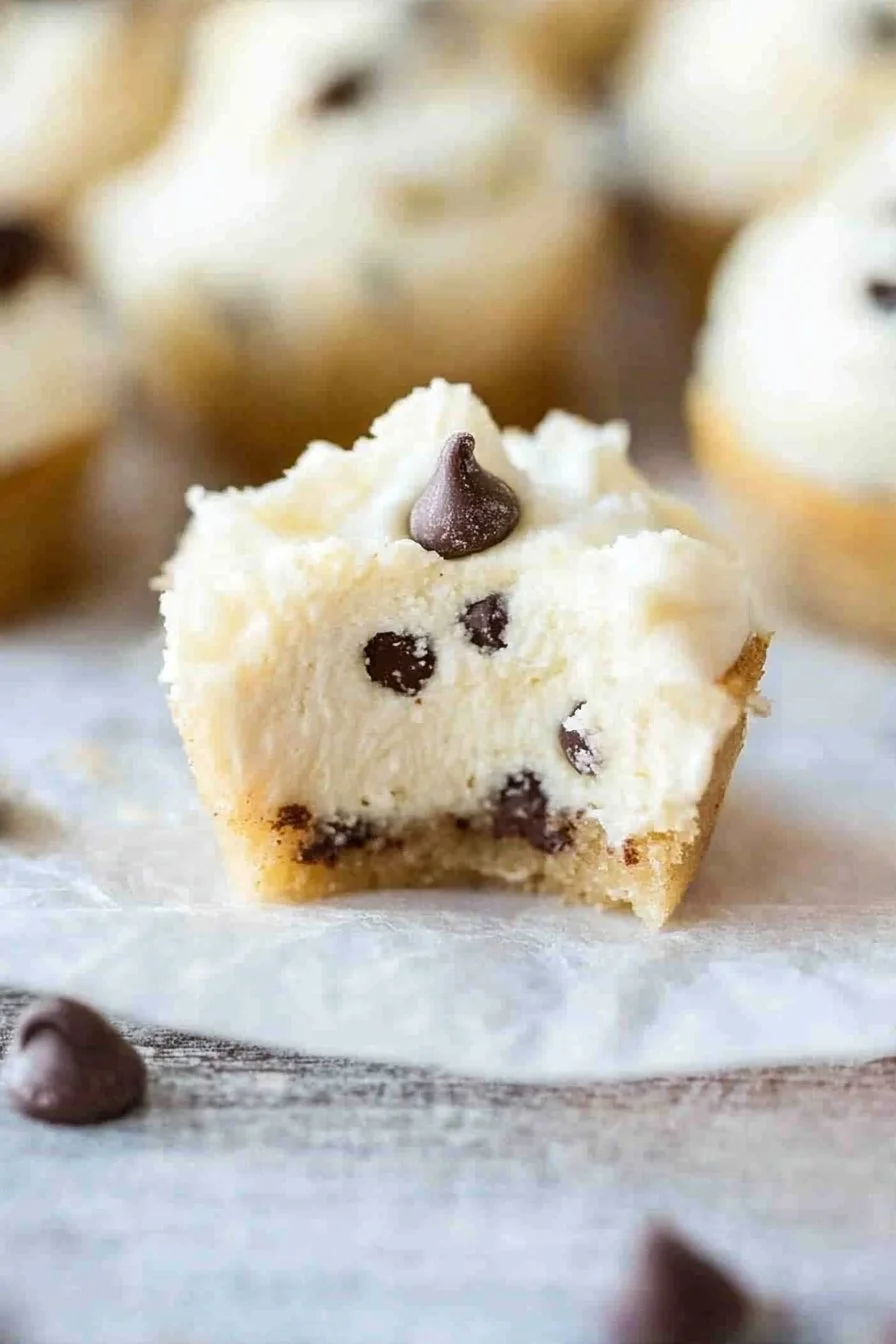
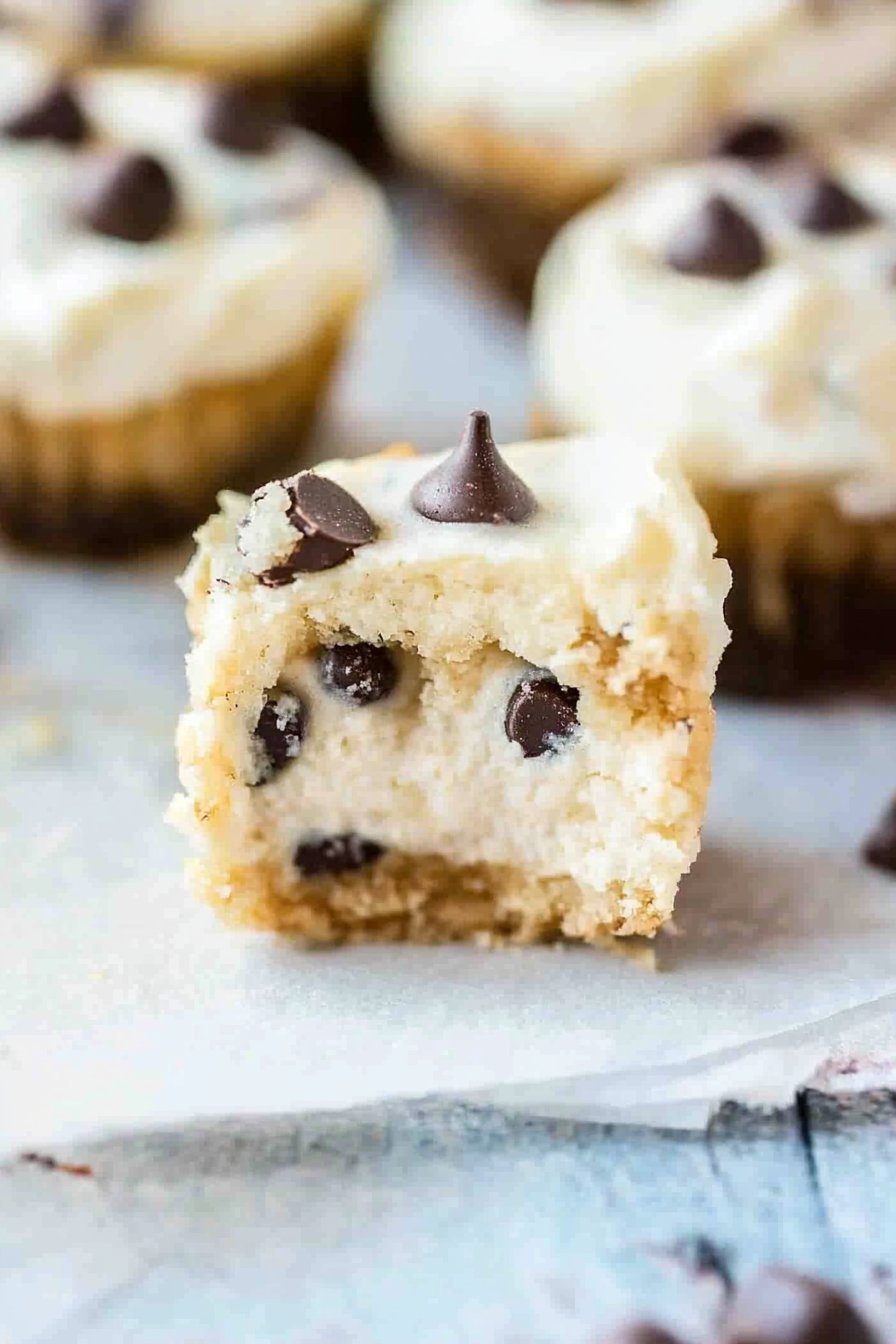
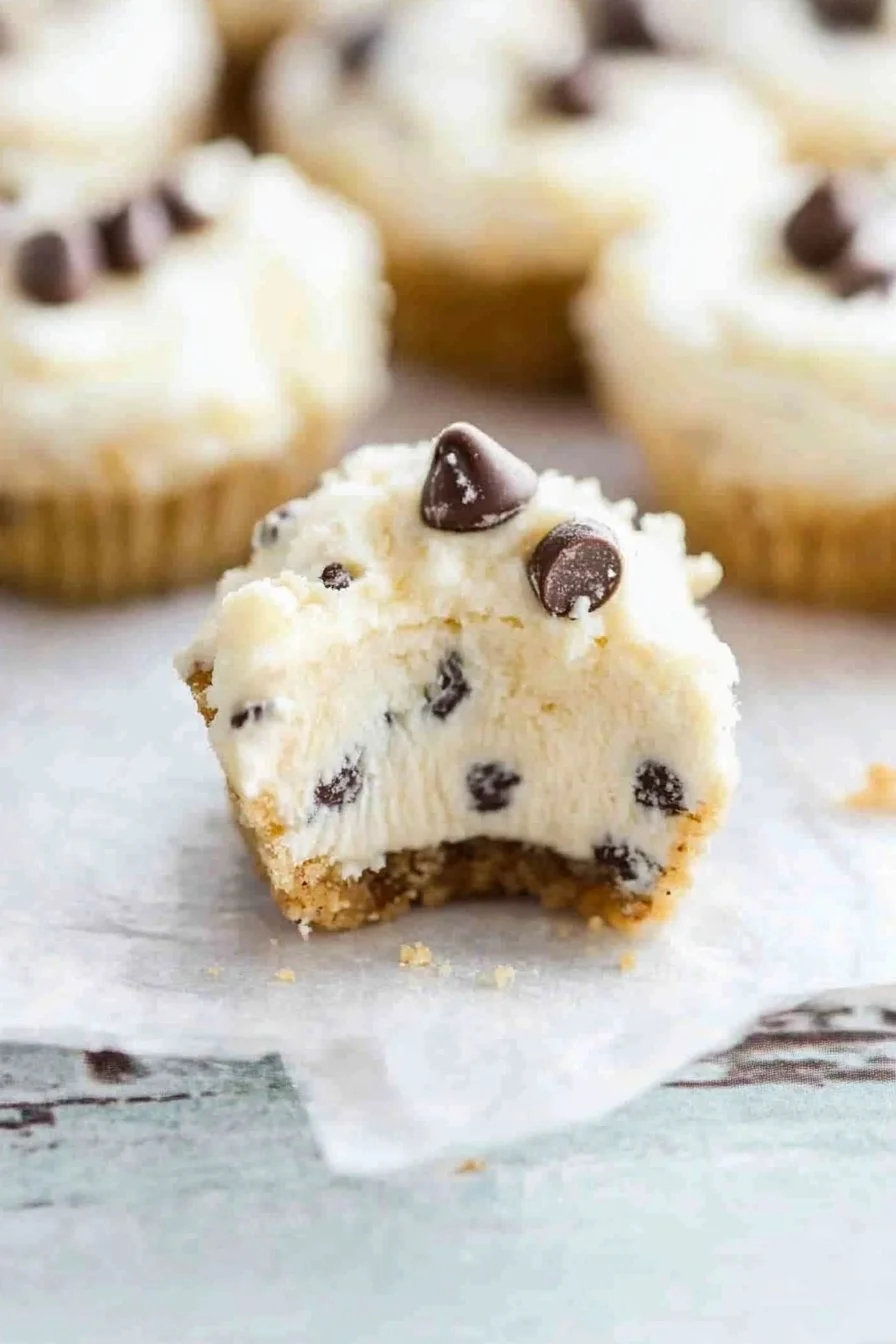
Chocolate Chip Cookie Dough Cheesecake Bites
Hey there, so let me tell you about these Chocolate Chip Cookie Dough Cheesecake Bites that have become a bit of a legend in my kitchen. I first stumbled into this concoction one rainy Sunday when my kids were bored and prowling around like little cookie monsters. I needed something quick and indulgent to keep them busy, and voila—the birth of these irresistible bites! Honestly, they didn’t last long enough to see Monday!
Why You’ll Love These
I make these bites whenever we need a pick-me-up or when I’m just in the mood for something fun and sweet (which is quite often, let me tell you). My family goes absolutely bonkers over these, especially when I sneak in extra chocolate chips (because who doesn’t love more chocolate?). I once tried to cut corners with store-bought dough—let’s just say it wasn’t my finest hour. But hey, live and learn, right?
Ingredients
- 1 cup graham cracker crumbs (sometimes I swap with digestive biscuits)
- 4 tablespoons melted butter
- 2 packs (250g each) cream cheese, softened
- 3/4 cup sugar
- 1 teaspoon vanilla extract (my grandma swore by this brand, but any will do)
- 2 large eggs
- 1 cup mini chocolate chips (or more, if you’re feeling adventurous!)
- 1/2 cup cookie dough, homemade or store-bought (no judgment here)
Directions
- Preheat your oven to 325°F (about 165°C, if you’re metric-minded). Or whatever feels right—just kidding, stick to 325°F!
- Mix the graham cracker crumbs and melted butter. Press into the bottom of a lined muffin tin, forming a crust. This is where I usually sneak a little taste, shh…
- In another bowl, beat together cream cheese, sugar, and vanilla until smooth. Throw in the eggs, one at a time. Don’t worry if it looks a bit weird at this stage—it always does!
- Fold in the chocolate chips, and spoon the mixture over the crust in each muffin cup.
- Finally, take small bits of cookie dough, flatten them slightly, and place one on top of each cheesecake cup.
- Bake for around 20 minutes. Look for a slight wobble. It’s like making Jell-O, a little jiggly is good!
Notes
If you’re short on time, skip the homemade dough and grab some from the store. It won’t be exactly the same, but it’ll still make your taste buds do a happy dance. I also found out the hard way that over-baking can result in a dry bite, so keep an eye on them!
Variations
Once, I tried adding some chopped nuts on top—my family wasn’t too thrilled, but hey, it was worth a shot. On the flip side, adding a swirl of caramel to the cheesecake mix was a winner. Give it a go, you won’t regret it!
Equipment
If you don’t have a muffin tin, you can totally use a regular baking dish and cut them into squares once cooled. It’s a bit messier, but it works. And life’s too short to worry about perfect portions, right?
Storage Information
Store these bites in an airtight container in the fridge. They’ll keep for up to five days—though honestly, in my house, they never last more than a day!
Serving Suggestions
We love having these bites with a scoop of vanilla ice cream on the side. My family has a tradition of drizzling a bit of chocolate syrup over the top. Yum!
Pro Tips
I once tried rushing the cooling process by sticking the bites in the freezer right out of the oven. Big mistake—ice crystals formed and they weren’t quite as creamy. So, patience is key here.
FAQ
Can I use a different type of chocolate? Sure, why not? Dark chocolate would add a nice depth. But I tend to think milk chocolate gives it that classic cookie vibe.
Do these freeze well? Actually, they do! Wrap them individually in plastic wrap and freeze for up to a month. Just thaw them in the fridge before eating.
What if I don’t have graham crackers? No worries! Digestive biscuits or any plain cookie will do the trick. It’s all about improvising.
For more tips on baking, check out Sally’s Baking Addiction. And if you’re curious about different cookie dough variations, Tastespotting has some fun ideas to try.