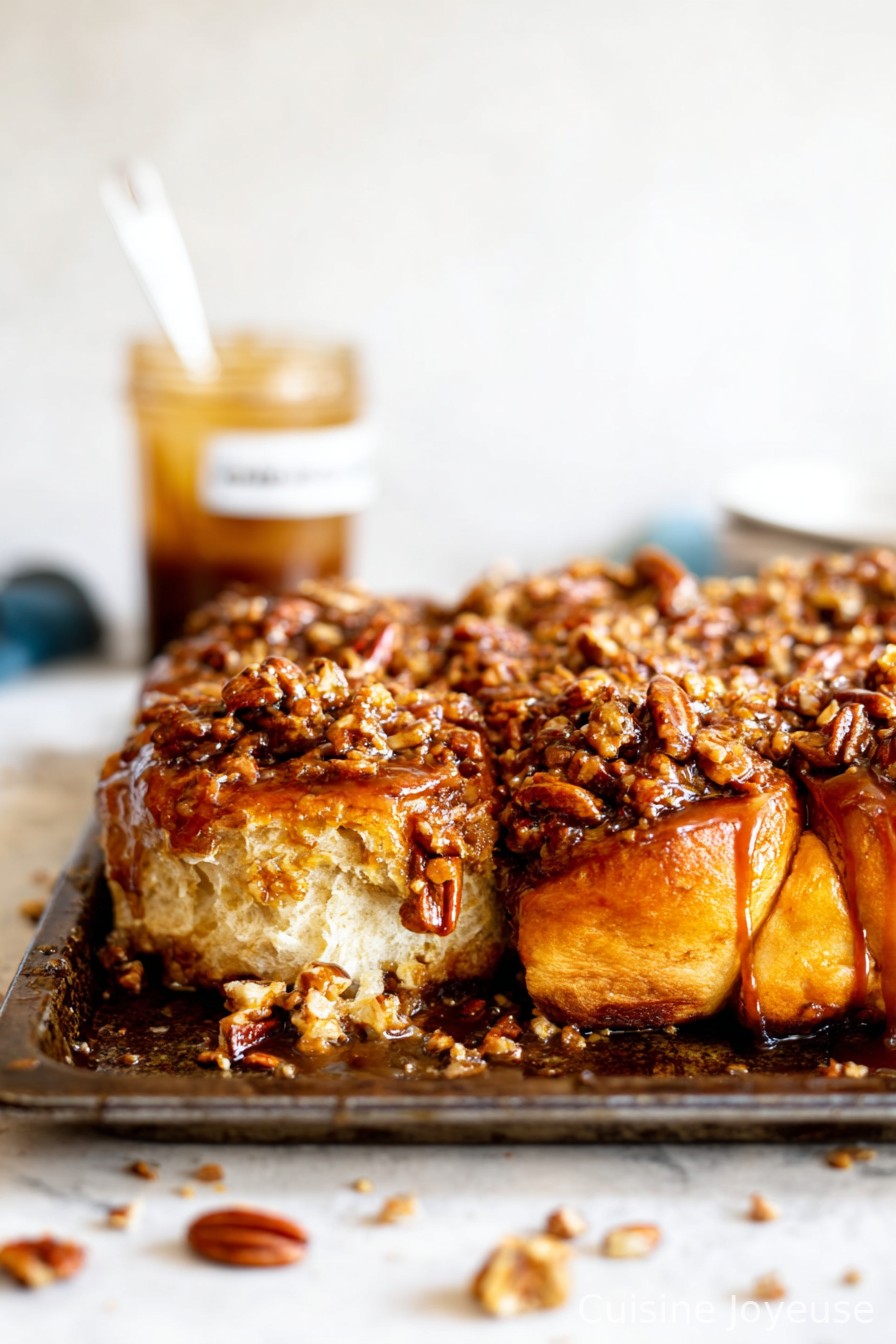
Caramel Pecan Nut Sticky Buns
One of Those Recipes That Feels Like a Hug
If I had a dollar for every time someone in my family wandered into the kitchen, nose first, while these caramel pecan nut sticky buns are baking, I’d probably have enough to buy another bag of pecans. Or at least cover the cost of cleaning the sticky mess off the oven tray (true story: once tried parchment, still managed to drip everywhere). I remember my first attempt years ago—on a chilly Sunday, I was craving something sweet-but-not-just-plain-sweet, you know? Dug out an old recipe from Aunt Patty, scribbled on the back of an electric bill. Classic. Anyway, I figured if they flopped, I’d turn them into bread pudding or something. Turns out, they were so good that even the dog tried to snag a bite while they cooled on the windowsill (which is now a banned zone for him, by the way).
Why You’ll Love This Messy Marvel
I make these caramel pecan nut sticky buns mostly when we’re all home for a weekend breakfast, but honestly, they’re just as good for late-night snacking (don’t ask me how I know). My family loses all self-control when they hit the table—my husband actually refuses to share the middle bun, claims it’s the gooeyest. And if you’ve ever woken up on a dreary Monday and thought, ‘I deserve something nice,’ well, popping a leftover bun in the microwave kinda turns Monday around. Sometimes I used to get frustrated with the dough being sticky (like, it uses “sticky” in the name as a warning or just to mock us?), but a bit of flour on your hands helps a lot. Or you just roll with it and call it rustic.
What You’ll Need (Substitutions Included Because, Life)
- 3 cups all-purpose flour (I’ve swapped in whole wheat flour for 1 cup before, makes it a little, uh, earthier)
- 2 and 1/4 teaspoons instant yeast (about 1 packet; non-instant works, but you’ll wait longer, which is mildly tragic)
- 1/4 cup sugar, plus a pinch for the yeast (granulated is fine, brown sugar works for a deeper taste)
- 1 teaspoon salt
- 3/4 cup warm milk (whole milk’s nice, but I’ve used oat milk in a pinch—tastes, dare I say, just as good?)
- 1/4 cup unsalted butter, melted (my grandmother always insisted on Kerrygold, but the store brand’s just fine)
- 1 large egg
- For the filling:
- 1/4 cup softened butter
- 2/3 cup brown sugar (light or dark, up to you—dark is a bit deeper, more caramely)
- 2 teaspoons cinnamon
- 1 cup toasted pecan halves (sometimes I throw in walnuts if I don’t have enough pecans; no one’s rebelled yet)
- For the caramel sauce:
- 1/2 cup unsalted butter
- 1 cup brown sugar
- 1/4 cup heavy cream (or half-and-half, actually—once used regular milk, a bit thinner but still delicious)
- 1/2 teaspoon vanilla extract
- Pinch of sea salt (skip if you forgot, but I think it gives that fancy touch)
How I Actually Make ‘Em (with Improv and Mishaps)
- Wake up and realize you should proof your yeast first. In your mixing bowl: combine warm milk, a spoonful of sugar, and yeast. Let it sit for maybe 5 minutes. If it doesn’t get all foamy, sigh dramatically and hope you have another packet.
- Mix the dough. Add the melted butter, more sugar, and salt, then whisk in the egg. Now slowly add the flour—keep a little back if it looks like a flour bomb exploded. Stir until it comes together; I use a wooden spoon but have been known to just stick in with my hands when I get impatient.
- Knead. About 5-8 minutes until it feels springy and not too sticky (maybe tacky? Bread lingo gets weird). A stand mixer with a dough hook saves your arms, but elbow grease works too. Form in a ball and plop it back in a greased bowl. Cover with a towel (mine has a carrot embroidered on it for no reason) and leave somewhere warm to rise. 1 hour, or until doubled—it’s fine if you lose track.
- Make the caramel pecan sauce. In a saucepan, melt the butter, whisk in brown sugar, let it bubble for two minutes, then pour in cream (careful, it spits a bit), vanilla, and salt. Remove from heat. Swirl in half your pecans. Pour this noisy, thick sauce into a greased 9×13 baking dish.
- Roll out the dough. On a flour-dusted surface, roll and squish into a rectangle—about 12×16 inches, but I never measure. Smear with softened butter, sprinkle with brown sugar, cinnamon, and cover with most of the remaining pecans.
- Roll it up. Tight-ish but don’t stress. Use a serrated knife or some floss (yes, dental floss, trust me) to cut into 12 swirls. Marvel that they’re all slightly uneven.
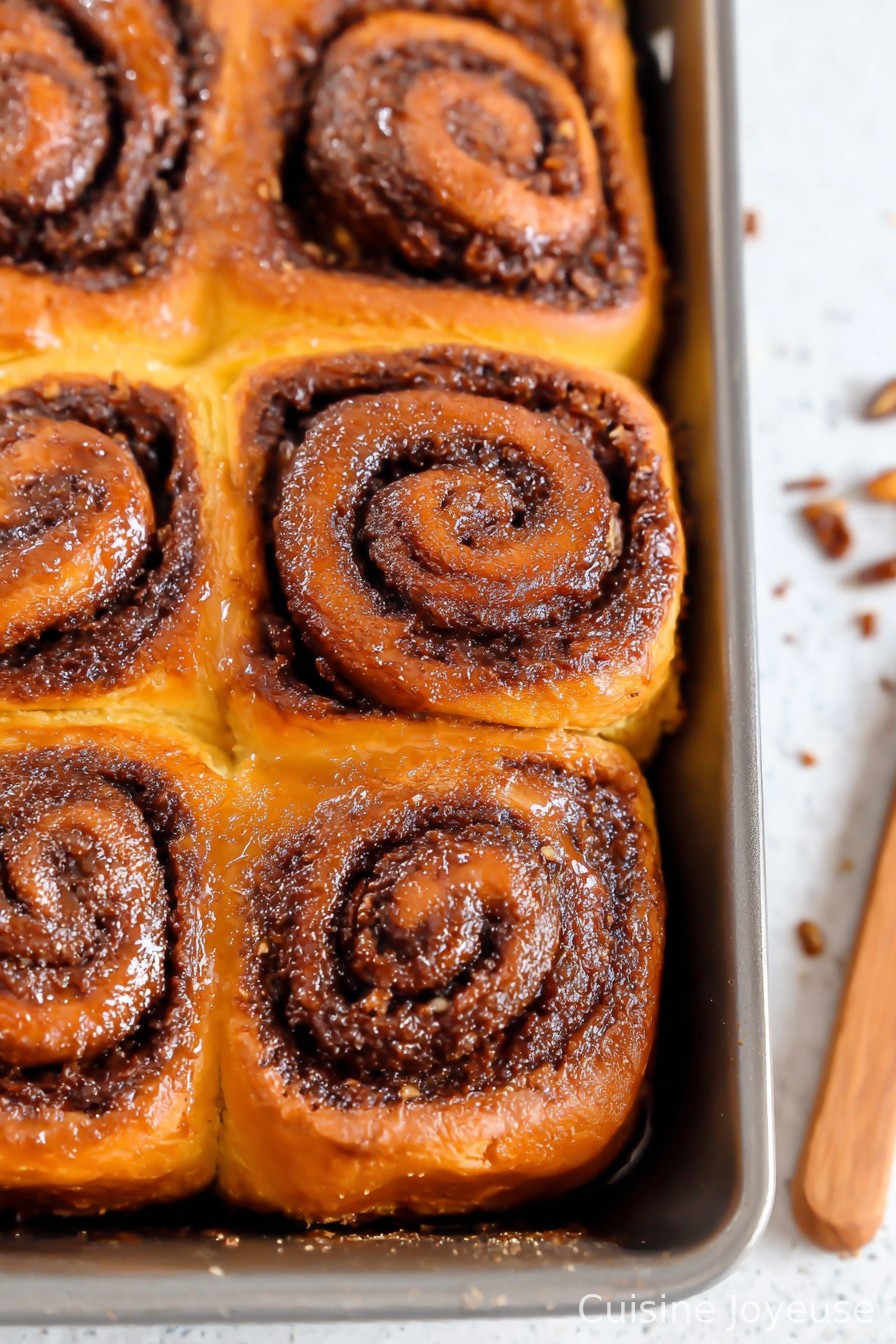
- Set in the caramel. Arrange swirls into your pan, cut-sides up. Cover again, let them puff up for 30-40 minutes. I use this time to clean the counter, get coffee, or just stare at them like a weirdo.
- Bake. Oven to 350°F (175°C). Bake 30-35 minutes, until golden and caramel is bubbling up the sides. The smell will be… honestly, dangerous.
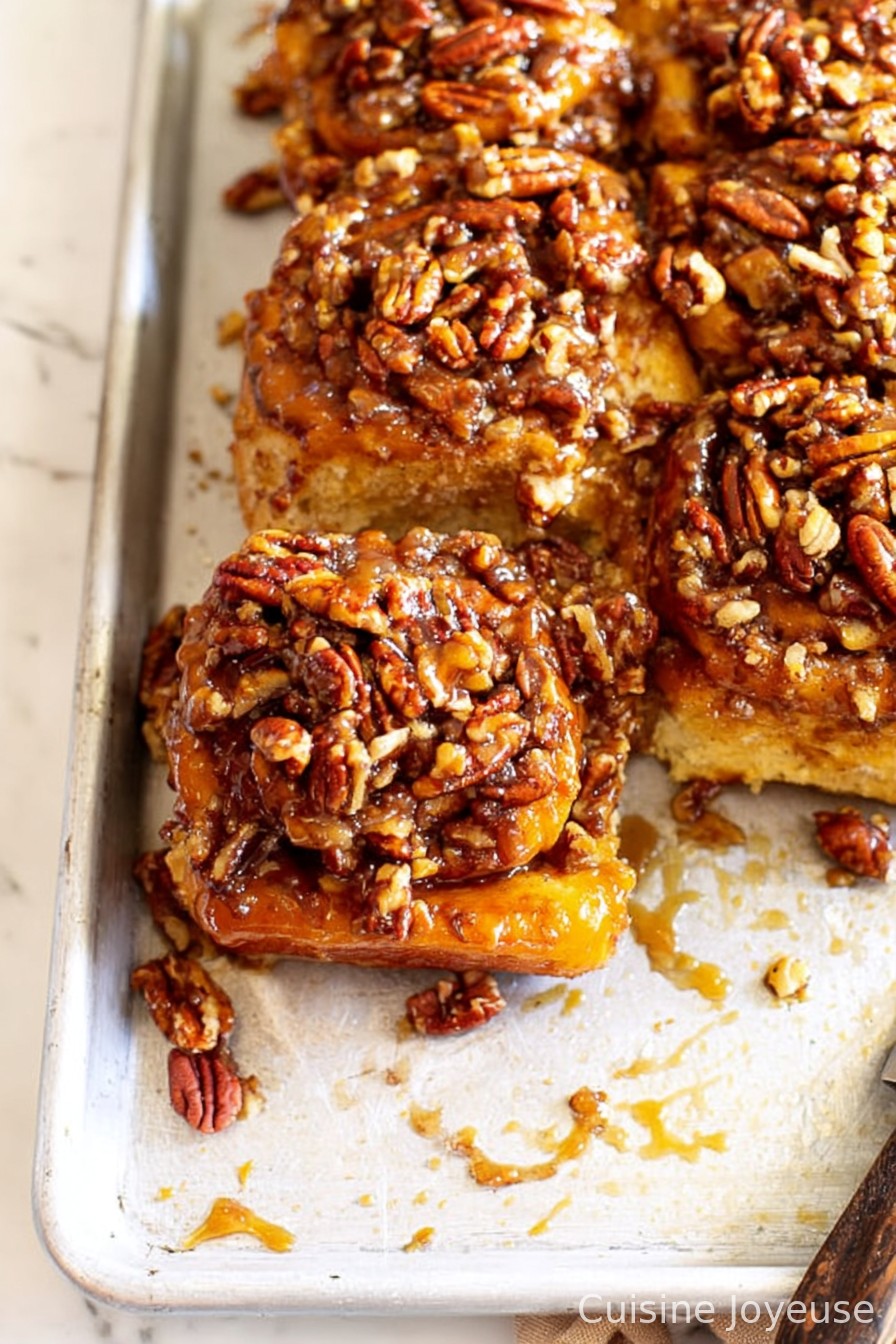
- Invert and serve. Let sit 5 minutes, then (carefully!) flip onto a big plate or tray. Pause to appreciate the glory, then dive in. Seriously, don’t wait too long or they’ll stick. Hence the name, I reckon.
Notes Only a Real Person Would Give You
- If the dough’s too sticky, add flour by the tablespoon. But not too much or they’ll go dense, like, really dense. Learned this the hard way.
- Caramel doesn’t look thick enough? It firms up as it cools, so don’t panic (I always do anyway, just a little).
- The center buns really are the best. I’ve gotten in trouble over this at family brunches.
Stuff I’ve Tried Changing (a Few Duds Included)
- Used almonds once instead of pecans. It was fine, but missing that toasty-nutty bite. Probably better to stick with pecans or walnuts.
- Adding raisins—look, I liked it, everyone else rebelled, so maybe just add to your half?
- Chocolate chips inside? Good in theory, but wow, the caramel got too sweet for me. On the bright side: never left them uneaten.
What You’ll Want (and MacGyvering If You Don’t Have It)
- 9×13 inch baking dish (I’ve totally used two smaller pans. The edges got extra crispy, which isn’t the worst fate)
- Rolling pin—unless you, like me once, use a wine bottle. It works. Just saying.
- Stand mixer or strong forearms
- Clean kitchen towel. Optional embroidery.
- Saucepan & spoon (if your caramel seems lumpy, just keep whisking. On second thought, lumpy caramel still tastes good.)
If You Resist Eating Them All (Storage)
They’ll keep in an airtight container at room temp for about 2 days, but honestly, they rarely last more than a day in this house. If you’ve got leftovers (I salute your self-control), a quick zap in the microwave, 10-15 seconds, softens them right up again. You can also freeze, but wrap really, really well. I sometimes forget and they get freezer burn—oops.
How We Like to Eat Them (Totally Unnecessary but Fun)
I serve these straight up, warm, and a bit messy, with strong coffee and sometimes—if I’m feeling fancy—a scoop of vanilla ice cream on a Sunday afternoon. My spouse dunks his in milk, which looked weird at first, but he swears by it. Oh, and on Christmas morning, we put out a plate as a pre-breakfast snack. Not a tradition anywhere else, but it’s ours.
What I Learned the Hard Way (Pro Tips)
- Rushing the dough rise—yeah, don’t. Once tried stacking proofing dough near a sunny window. It got a weird skin. If you’re in a hurry, proof in a just-warm oven, not hot, or you’ll cook it prematurely.
- More is not always better with pecans. I once dumped in 2 cups and they went from glorious to crumbly. Stick with 1 cup, trust me.
- Flip the buns onto your serving tray while they’re HOT. They get glue-like if you wait too long.
FAQ (People Actually Ask Me This Stuff!)
- Can I make sticky buns overnight? Oh, absolutely! All you do is assemble them in the pan after cutting, cover, and stash in the fridge overnight. Next morning, let them sit at room temp for 45 minutes before baking. Works a treat—less morning faff.
- What’s the difference between sticky buns and cinnamon rolls? Honestly, this one gets people going. I say it’s the caramel and the nuts! Sticky buns are loaded with gooey stuff, while cinnamon rolls are just, uh, less sticky and usually topped with icing.
- Do I have to use pecans? Not at all. Walnuts are a good swap. Almonds are legal, but it’s not the same, at least for me.
- Can I make these vegan? You can! Non-dairy milk and vegan butter swap right in. Just skip the egg or try a flaxseed version; it’s a bit denser but still vanishes around here.
- Why did my caramel seep through the pan? Uh, yep, it does that sometimes. Place a baking sheet underneath to catch the drips if you care about the oven. I, uh, frequently forget.
And, if you made it this far, thanks for sticking with my rambling kitchen tales. Honestly, I’d sit you down with a sticky bun and a cuppa if I could. Happy baking, mate.
Ingredients
- 3 cups all-purpose flour
- 1/4 cup granulated sugar
- 2 1/4 tsp active dry yeast
- 1/2 cup whole milk, warm
- 1/4 cup unsalted butter, melted
- 2 large eggs
- 1/2 tsp salt
- 1 cup chopped pecan nuts, toasted
- 3/4 cup brown sugar, packed
- 1/2 cup unsalted butter, softened (for filling and topping)
- 1/3 cup heavy cream
Instructions
-
1In a large bowl, combine warm milk, yeast, and a pinch of sugar. Let sit until foamy, about 5 minutes.
-
2Add eggs, melted butter, remaining sugar, and salt. Mix in flour gradually to form a soft dough. Knead for 8-10 minutes until smooth. Cover and let rise for 1 hour or until doubled.
-
3Meanwhile, prepare the caramel by melting 1/2 cup butter in a saucepan. Stir in brown sugar and heavy cream. Cook until smooth and bubbly, then pour into the bottom of a greased 9×13-inch pan. Sprinkle with toasted pecan nuts.
-
4Roll out the dough into a rectangle. Spread with softened butter and sprinkle with additional brown sugar and some chopped pecans. Roll up tightly and cut into 9 equal pieces.
-
5Arrange the buns, cut side down, over the caramel and pecans in the pan. Cover and let rise for 30 minutes. Bake at 350°F (175°C) for 25-30 minutes until golden. Cool slightly, invert onto a serving platter, and serve warm.
Approximate Information for One Serving
Nutrition Disclaimers
Number of total servings shown is approximate. Actual number of servings will depend on your preferred portion sizes.
Nutritional values shown are general guidelines and reflect information for 1 serving using the ingredients listed, not including any optional ingredients. Actual macros may vary slightly depending on specific brands and types of ingredients used.
To determine the weight of one serving, prepare the recipe as instructed. Weigh the finished recipe, then divide the weight of the finished recipe (not including the weight of the container the food is in) by the desired number of servings. Result will be the weight of one serving.
Did you make this recipe?
Please consider Pinning it!!