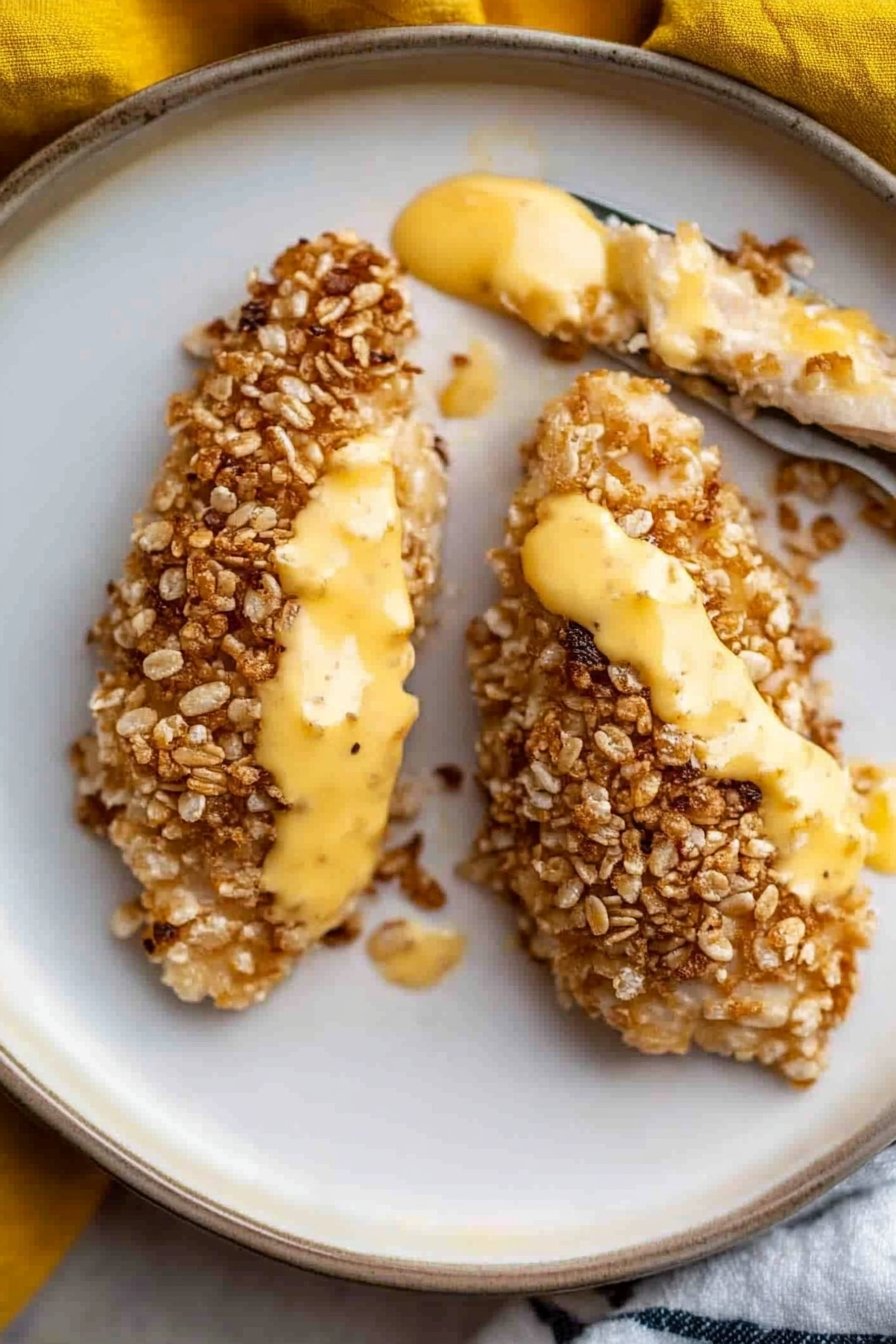
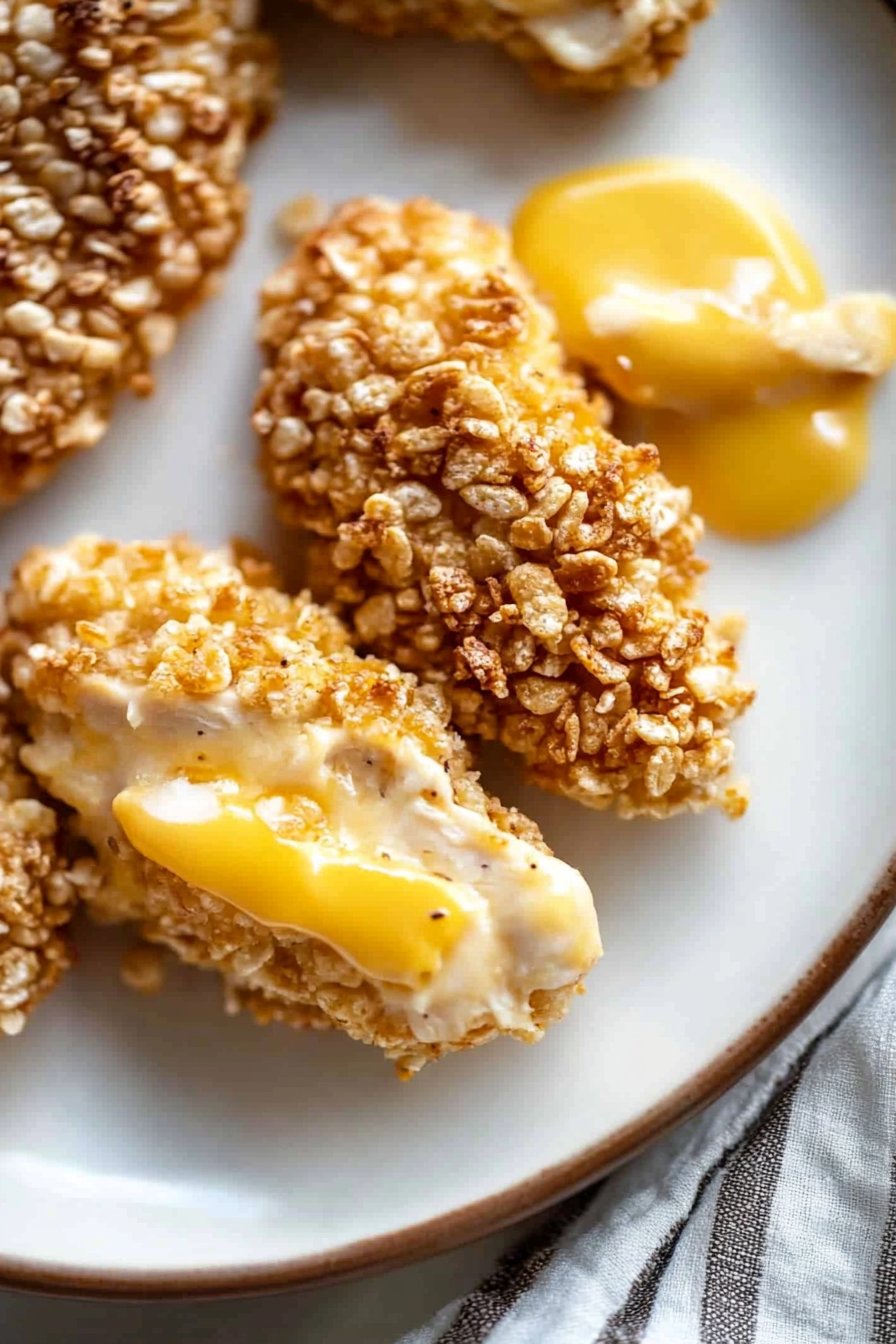
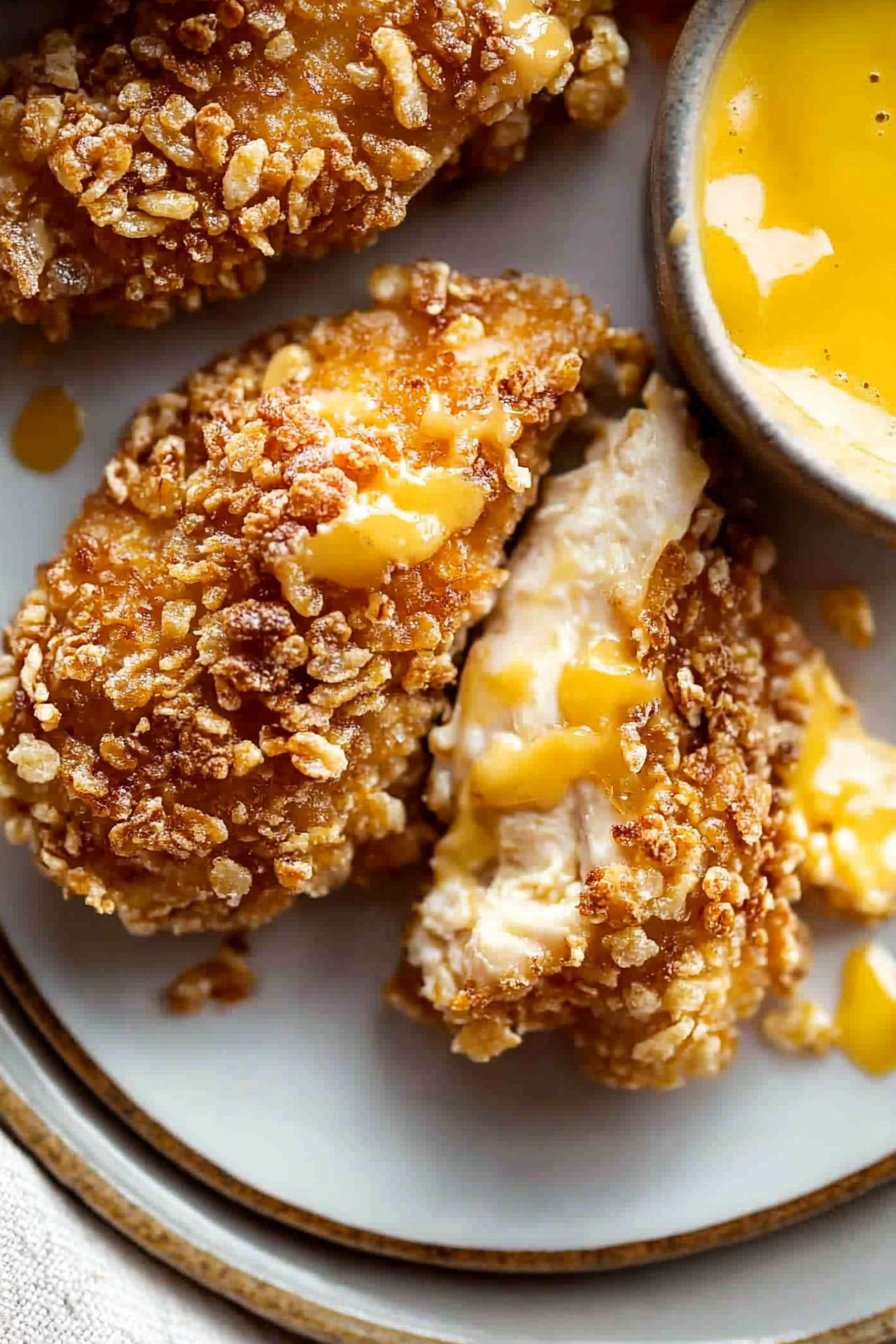
Baked Rice Krispie Chicken Tenders Recipe
You know, there’s this recipe that always takes me back to lazy summer days at my grandma’s house. She’d whip up these Rice Krispie Chicken Tenders when we visited, and I swear, the smell alone could make you float into the kitchen like a cartoon character. I decided to give it a go myself one day, and let me tell you, it was a bit of an adventure—but totally worth it in the end!
Why You’re Gonna Love These
Whenever it feels like I’ve run out of ideas for dinner (which is, honestly, more often than I’d like to admit), this recipe is my go-to. It’s the perfect mix of crunchy and tender that my family goes nuts for—plus, it’s much more fun than just regular fried tenders. And hey, they’re baked, so it’s a tad healthier, right? (That’s my excuse, anyway!)
What You’ll Need
- 2 cups of crushed Rice Krispies (sometimes I use cornflakes if I’m out)
- 500g chicken tenders
- 1/2 cup all-purpose flour (or whole wheat if you’re feeling fancy)
- 2 large eggs
- Salt and pepper to taste
- A pinch of paprika (for a little kick!)
My grandma always insisted on using a specific brand of Rice Krispies, but honestly, any kind will do just fine.
How to Make ‘Em
- First things first, preheat your oven to 200°C (that’s 400°F for my American friends). Line a baking sheet with parchment paper so cleanup is a breeze.
- In three separate bowls, set up your dipping stations: one with flour, another with beaten eggs, and the last with your crushed cereal, salt, pepper, and paprika. This is where I usually sneak a taste—just to make sure the seasoning’s right!
- Dip each chicken tender into the flour, then the eggs, and lastly, coat it in the Rice Krispies. Don’t worry if it seems messy; the more, the merrier when it comes to coating!
- Place them on your baking sheet, give them some space to breathe, and bake for 20-25 minutes. They should be golden and crispy when done.
Don’t panic if the coating looks a bit uneven; in my experience, that’s where the magic happens.
Notes from the Kitchen
After a few trials (and errors), I’ve found these tenders are best enjoyed hot out of the oven. But, honestly, they’re still pretty good cold, especially if you’re sneaking one to eat in the kitchen!
A Few Variations I’ve Tried
Once, I tried adding some grated Parmesan to the Rice Krispies. It was… interesting. Not bad, but I think it muddled the flavor a bit. On another occasion, a dash of hot sauce in the egg mix hit the spot.
Tools You Might Use
If you don’t have a baking sheet, a large casserole dish will work in a pinch. Just make sure it’s something that can handle the heat!

How to Store
These can be stored in an airtight container in the fridge for up to two days. Though, honestly, in my house, it never lasts more than a day!
What to Serve Them With
I love serving these with a side of sweet potato fries and a little honey mustard dipping sauce. It’s become a bit of a Friday night tradition around here.
My Top Tips
Once, I rushed the baking time because I was starving—and regretted it because they were a bit chewy. Patience really is a virtue here (or, you know, just have a pre-dinner snack)!
You’ve Asked, I’ve Answered
Can I use other cereals? Definitely! I’ve tried them with cornflakes (they were lovely). Next on my list is trying them with Panko crumbs.
What if I don’t have parchment paper? No worries! Just oil the baking sheet lightly. It might not be as non-stick, but nothing a little spatula action can’t fix.
For more fun recipe ideas, check out AllRecipes or explore some creative kitchen hacks over at The Kitchn.