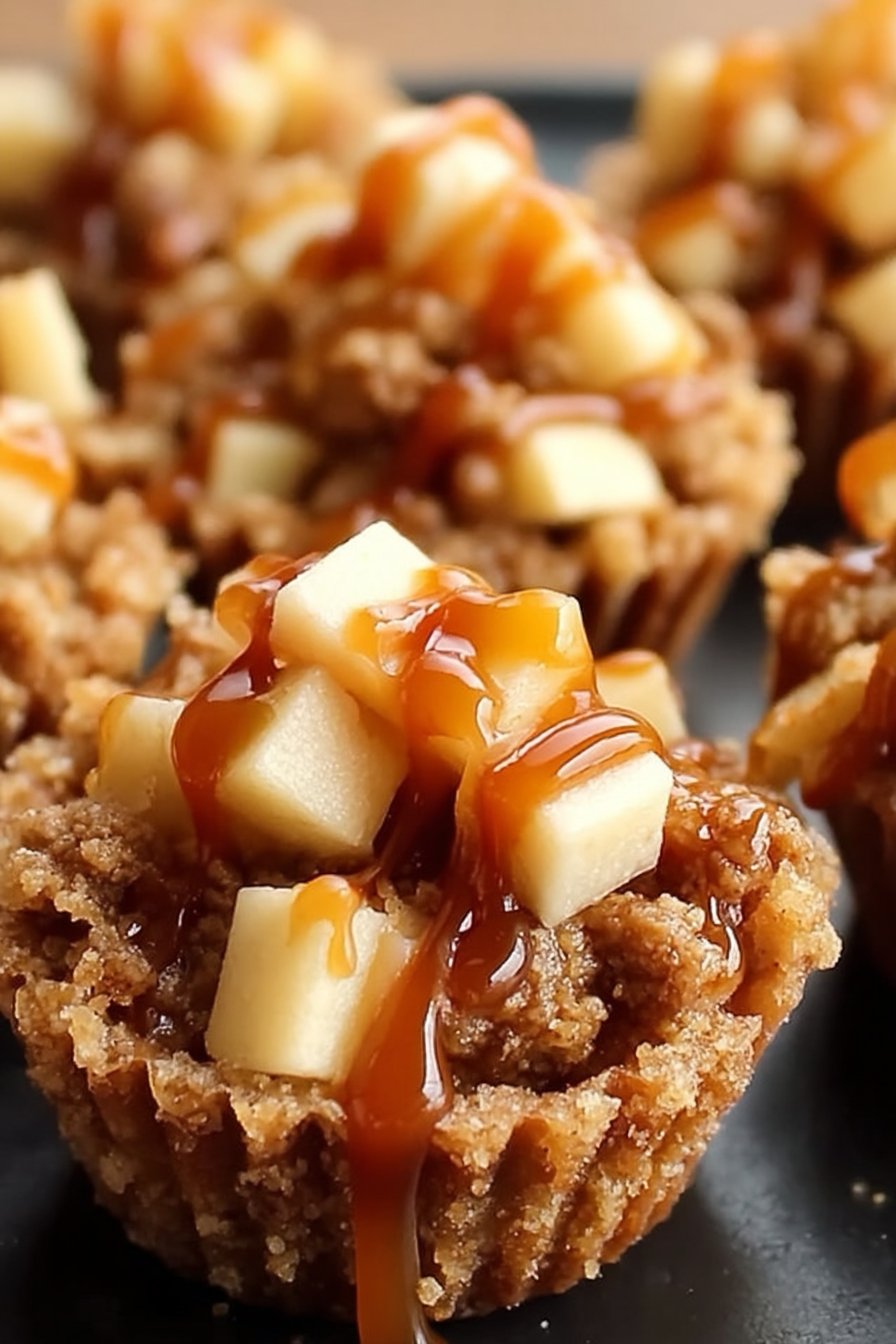
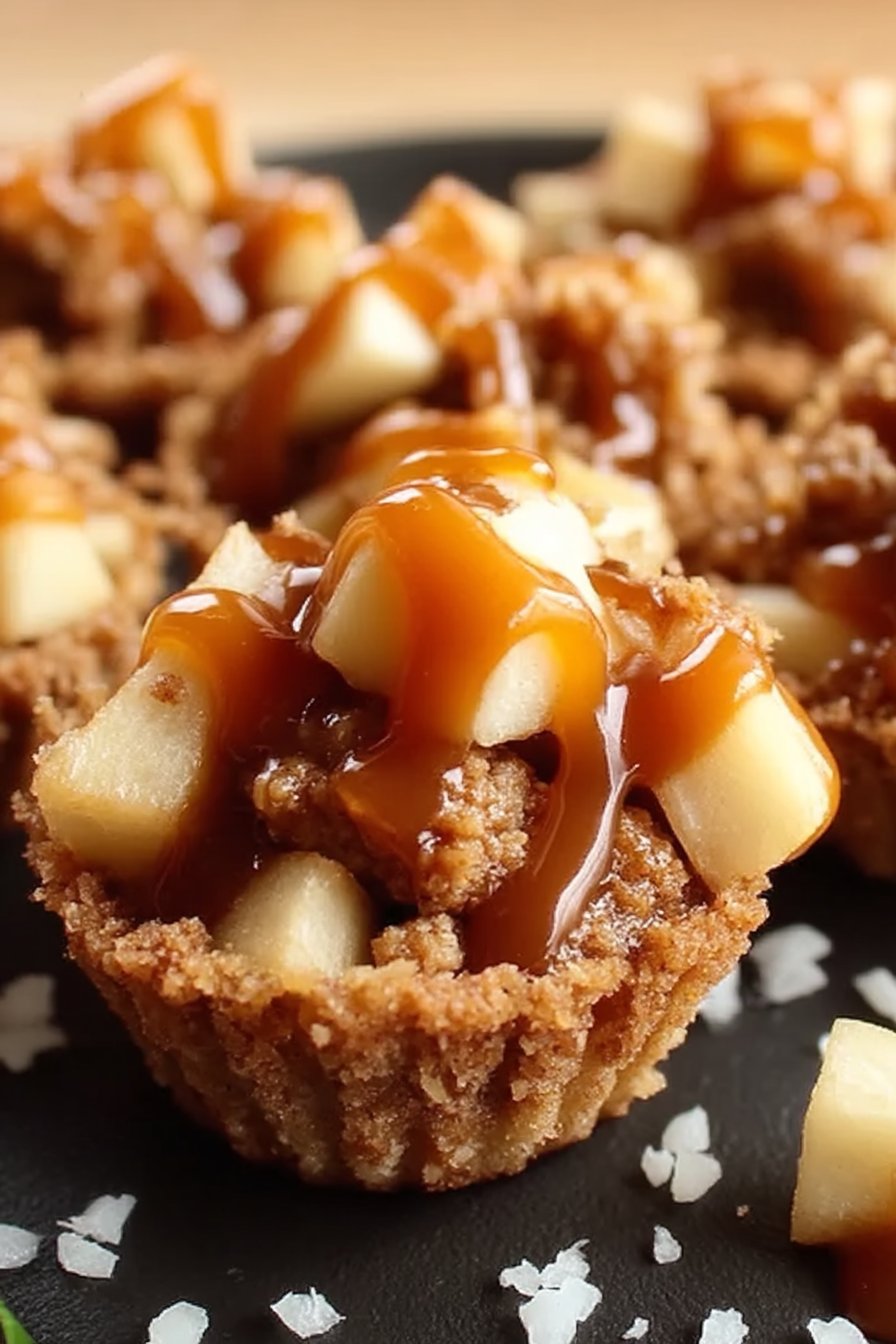
Apple Crisp Bites
Hey there! So, let me tell you about these apple crisp bites. Picture this: it’s a chilly afternoon, and I’m cozying up with a warm cup of tea and—surprise, surprise—these delightful bites. I remember the first time I made them; my kitchen smelled like an autumn dream. And yes, the first batch didn’t survive the night (thanks to my family’s ravenous sweet tooth).
Why You’ll Love This
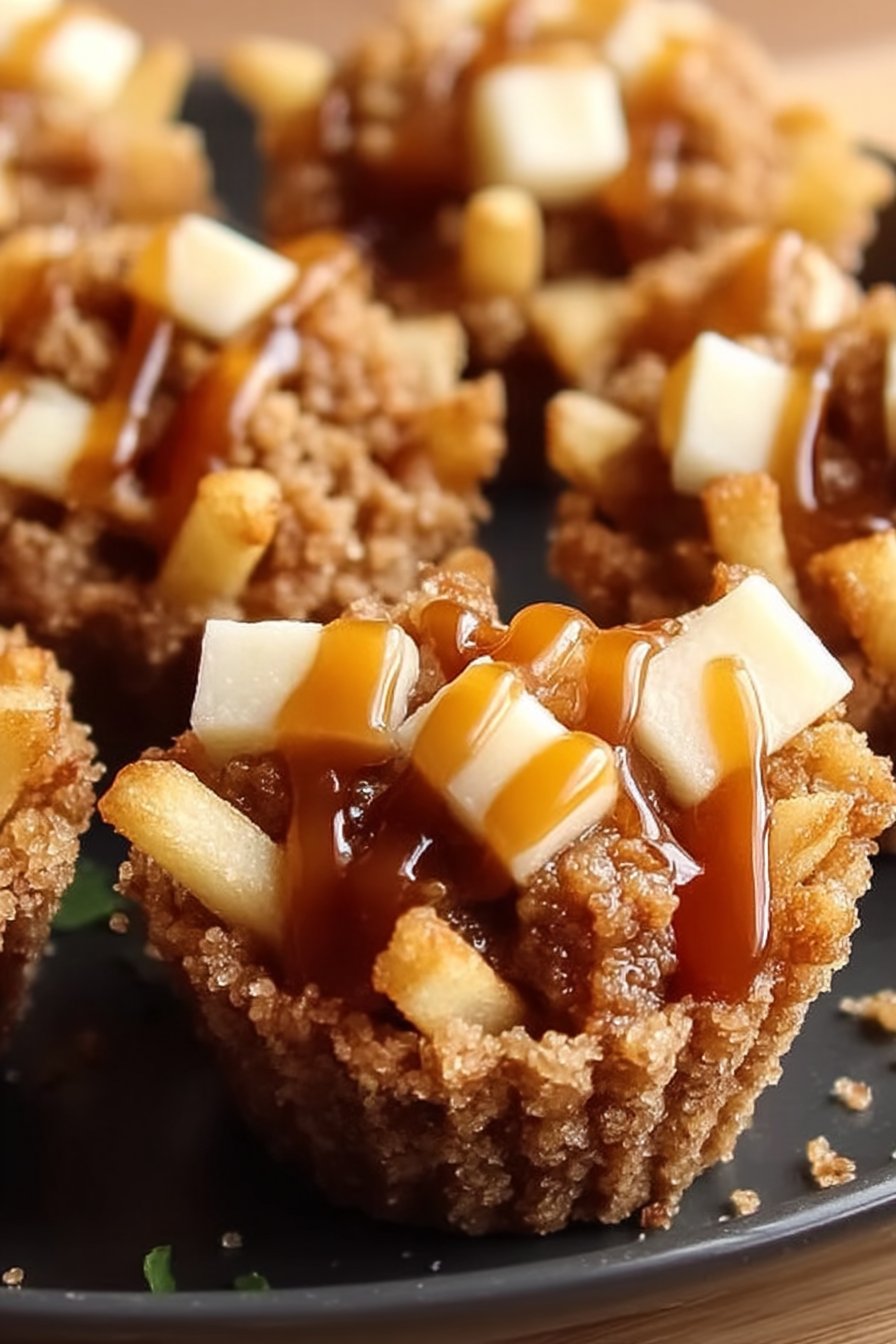
I make this when I want something comforting but don’t want to commit to a full pie. My family goes wild for these because they’re the perfect mix of sweet, tart, and crunchy. Plus, they’re super easy to munch on while watching your favorite show (no fork required!). I once tried making them while juggling three other tasks—let’s just say, multitasking is not my forte.
Ingredients
- 3 medium apples, peeled, cored, and diced (I like Honeycrisps, but any apple will do)
- 1/2 cup packed brown sugar (or less if you’re not into sweetness overload)
- 1/2 teaspoon cinnamon
- 1/4 teaspoon nutmeg (just a pinch, really)
- 1 cup rolled oats
- 1/3 cup all-purpose flour (sometimes I use almond flour for a twist)
- 1/3 cup butter, melted (margarine works too—shhh, don’t tell my grandma)
- A pinch of salt
Directions
- Preheat your oven to 350°F (180°C). I usually let it go while I prep everything else.
- In a mixing bowl, toss the apples with brown sugar, cinnamon, and nutmeg. If it smells like fall, you’re doing it right.
- In another bowl, combine oats, flour, melted butter, and salt. Mix it until crumbly. This is where I sneak a taste—quality control, you know?
- Line a muffin tin with paper liners. Spoon a bit of the apple mixture into each cup, then top with the oat mixture. Don’t worry if it looks a bit messy, that’s part of the charm!
- Bake for about 20-25 minutes, until the tops are golden brown and delicious-looking.
Notes
If your bites are too crumbly, try adding a tad more butter or a splash of milk. I learned that the hard way.
Variations
Once, I threw in some chopped pecans for extra crunch—big hit! But the time I tried adding raisins? Turns out not everyone in my house is a fan.

Equipment
No muffin tin? No worries! Just use a baking sheet and make them more like little piles. They might spread out a bit, but still tasty.
Storage
These keep for a couple of days in an airtight container, though honestly, in my house, they never last more than a day!
Serving Suggestions
I like to serve these with a scoop of vanilla ice cream or a dollop of whipped cream. Or both. Why not?
Pro Tips
I once tried rushing the baking time and regretted it because they turned out chewy instead of crispy. Patience is key!
FAQ
Q: Can I make these gluten-free?
Sure thing! Just substitute with a gluten-free flour blend and make sure your oats are certified gluten-free.
Q: What if I don’t have brown sugar?
No worries. You can use white sugar and add a bit of molasses if you’ve got some lying around.
Ingredients
- 2 medium apples, peeled, cored, and diced
- 2 tablespoons granulated sugar
- 1 teaspoon ground cinnamon
- 1 tablespoon lemon juice
- 1/2 cup old-fashioned rolled oats
- 1/3 cup all-purpose flour
- 1/4 cup brown sugar, packed
- 1/4 cup unsalted butter, melted
- Pinch of salt
Instructions
-
1Preheat the oven to 350°F (175°C). Lightly grease a mini muffin tin.
-
2In a bowl, toss diced apples with granulated sugar, cinnamon, and lemon juice. Set aside.
-
3In another bowl, combine oats, flour, brown sugar, melted butter, and a pinch of salt. Mix until crumbly.
-
4Spoon a small amount of the oat mixture into the bottom of each muffin cup and press down gently.
-
5Add a spoonful of the apple mixture to each cup, then top with the remaining oat crumble.
-
6Bake for 22-25 minutes, or until the tops are golden and the apples are tender. Cool slightly before removing from the tin. Serve warm or at room temperature.
Approximate Information for One Serving
Nutrition Disclaimers
Number of total servings shown is approximate. Actual number of servings will depend on your preferred portion sizes.
Nutritional values shown are general guidelines and reflect information for 1 serving using the ingredients listed, not including any optional ingredients. Actual macros may vary slightly depending on specific brands and types of ingredients used.
To determine the weight of one serving, prepare the recipe as instructed. Weigh the finished recipe, then divide the weight of the finished recipe (not including the weight of the container the food is in) by the desired number of servings. Result will be the weight of one serving.
Did you make this recipe?
Please consider Pinning it!!