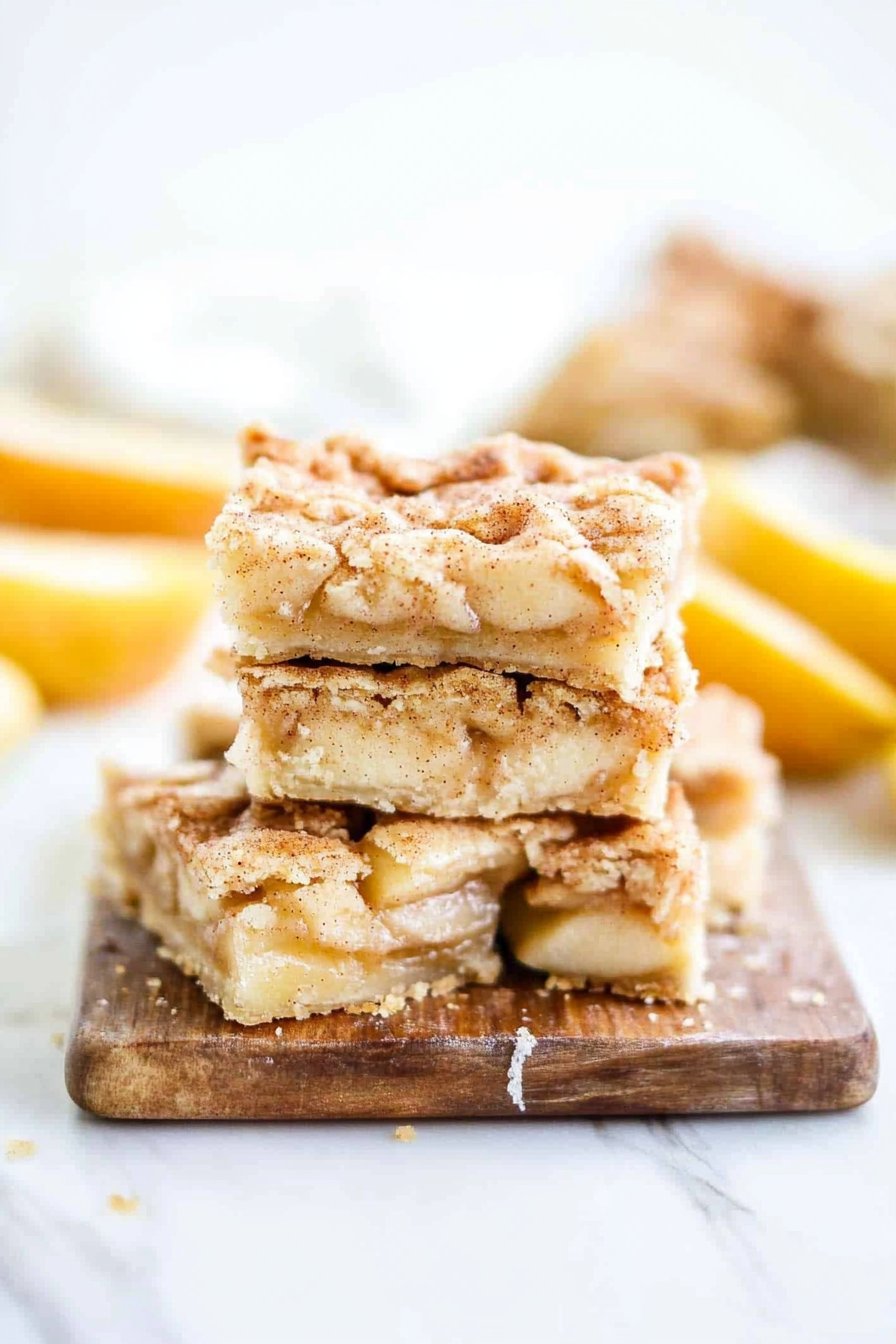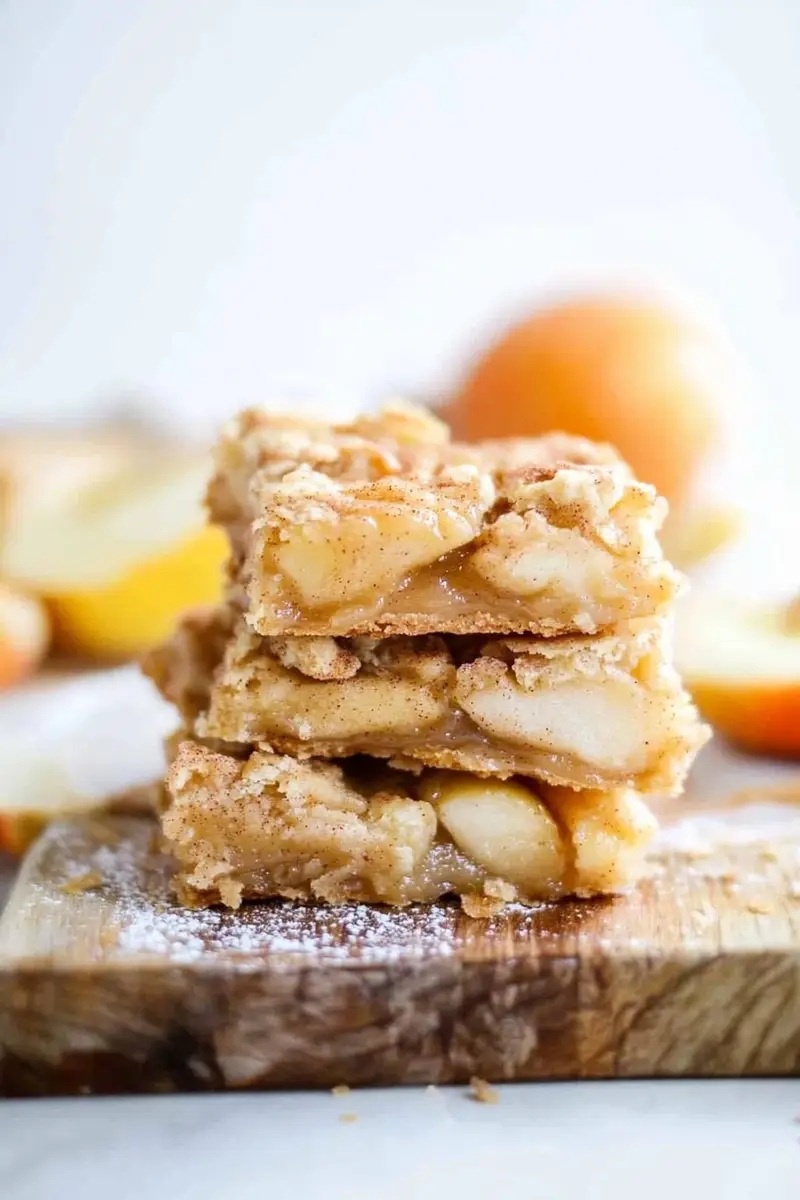
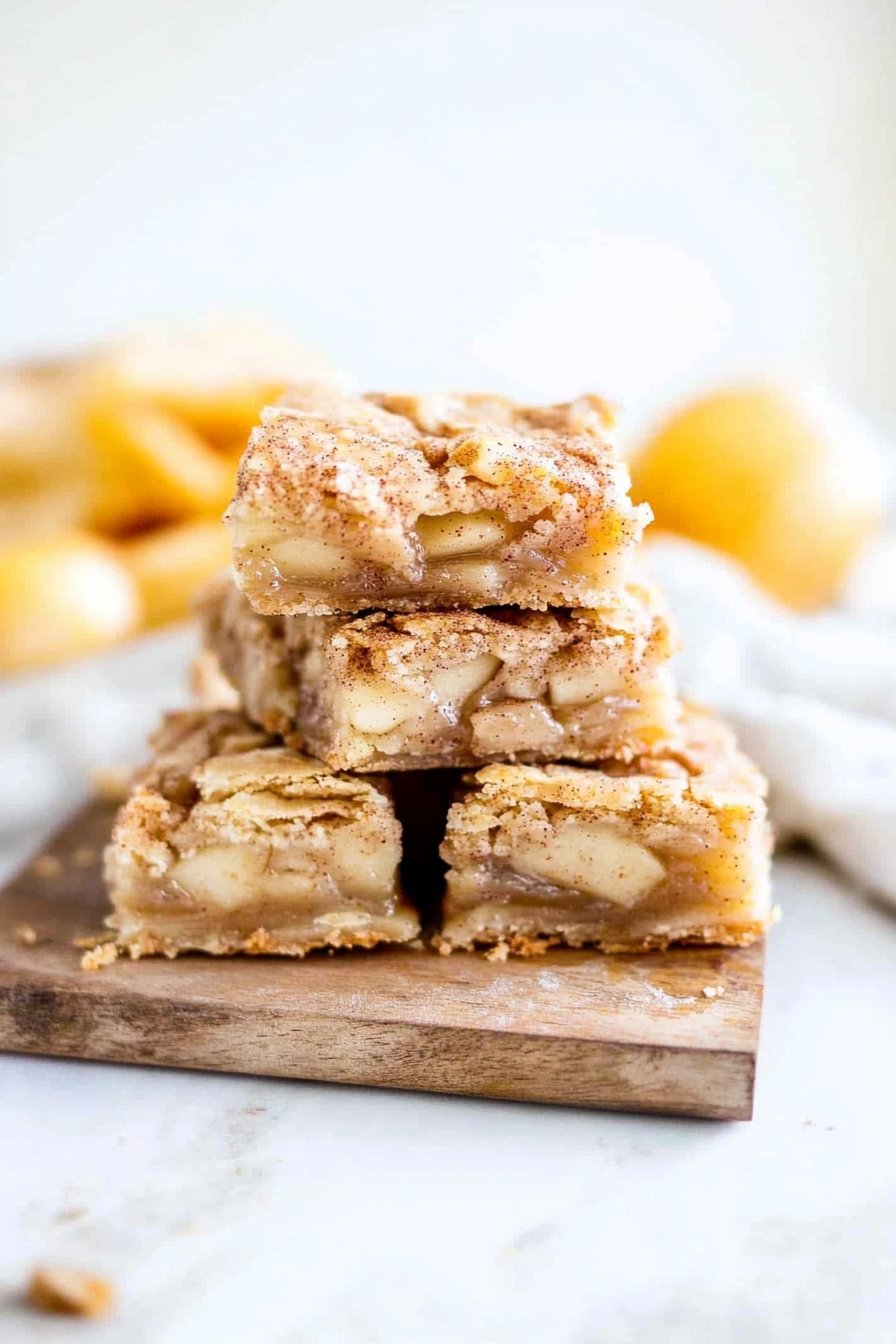
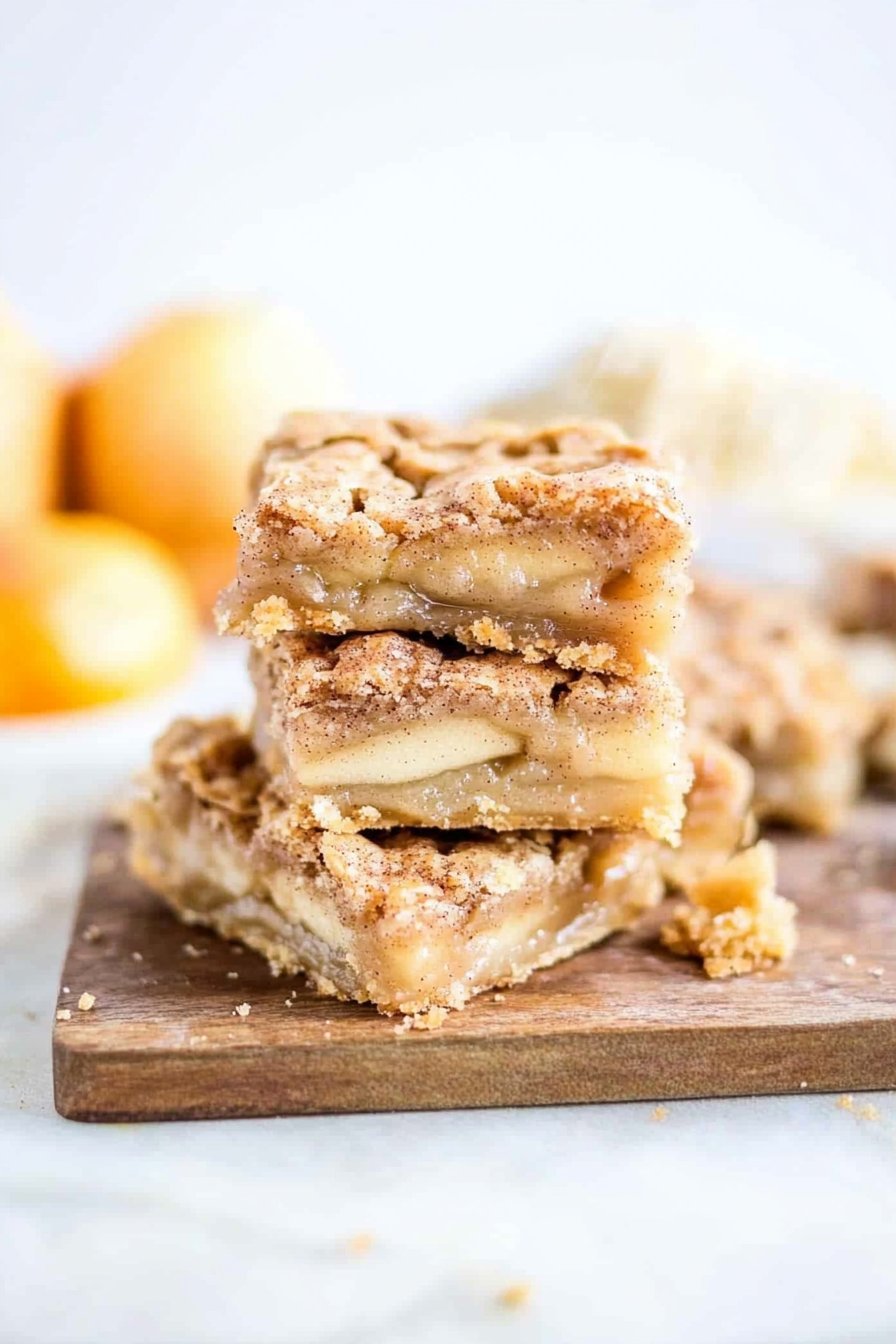
Snickerdoodle Apple Pie Bars
Hey there, friend! So you know how sometimes you stumble upon a recipe that just hits the spot every single time? That’s what these Snickerdoodle Apple Pie Bars are for me. I first tried them out on a whim when I had some apples and snickerdoodle dough staring at me from the pantry – I thought, why not combine two of my favorite things? And honestly, the result was so good that I immediately called my sister to brag. She insists I make them every time she visits now, and who am I to deny her? They’re kind of like a hug in dessert form, if you ask me.
Why You’ll Love This
Listen, I make these bars whenever I want a dessert that’s both comforting and a little out of the ordinary. My family goes bananas for them (okay, maybe apples), especially since they taste like a big, sweet reminder of autumn. Plus, there’s this delightful cinnamon aroma that fills the house – it’s like having a candle that you can eat. And sure, I’ve had my share of kitchen disasters (who hasn’t?), but this recipe is pretty forgiving. If I can pull it off without a fuss, you definitely can too!
Ingredients
- 1 cup butter, softened (I sometimes use margarine in a pinch)
- 1 1/2 cups sugar
- 2 eggs
- 1 teaspoon vanilla extract
- 2 3/4 cups all-purpose flour
- 1/2 teaspoon baking powder
- 1/4 teaspoon salt
- 2 teaspoons ground cinnamon
- 3 medium apples, peeled and diced (Granny Smiths are my go-to, but any firm apple works)
- 1 tablespoon lemon juice (when I remember!)
- Optional: a pinch of nutmeg for a bit of warmth
Directions
- Preheat your oven to 350°F (175°C) and grease a 9×13 inch pan. (I sometimes forget this step, but it’s crucial!)
- In a large bowl, cream together the butter and 1 cup of sugar until light and fluffy. Add the eggs one at a time, beating well with each addition. Stir in the vanilla. This is usually when I sneak a taste – don’t judge!
- In another bowl, combine the flour, baking powder, and salt. Gradually stir into the creamed mixture until well blended.
- Spread half of the dough into the prepared pan. Don’t worry if it looks a bit uneven – it all bakes out fine (and you’re just gonna cover it with apples anyway).
- In a medium bowl, toss the diced apples with lemon juice, remaining sugar, cinnamon, and nutmeg. Spread the apple mixture over the crust in the pan.
- Drop remaining dough by spoonfuls over the apples, then spread it gently with a spatula.
- Bake for 35 to 40 minutes in the preheated oven, or until the top is golden. Your kitchen will smell amazing by now!
Notes
From my own trial and error, I’ve found that these bars actually taste even better the next day, once the flavors have had time to meld together. Assuming there’s any left by then!

Variations
One time, I tried adding a handful of chopped walnuts – it was a hit! But another time, I used pears instead of apples, and let’s just say it didn’t quite hit the mark. Experiment at your own risk!
Equipment
If you don’t have a stand mixer, no sweat – a good old wooden spoon and some elbow grease work just fine. That’s how my grandma always did it, anyway.
Storage Info
Store these in an airtight container at room temp for up to 3 days. Though, honestly, in my house, they never last more than a day!
Serving Suggestions
I love serving these warm with a scoop of vanilla ice cream. It’s like a mini pie à la mode. My brother likes his with whipped cream – no accounting for taste!

Pro Tips
Don’t rush the creaming step for the butter and sugar. I once tried skipping this because I was in a hurry, and the bars didn’t bake up quite right – trust me on this!
FAQs
Can I use a different type of flour? You could probably try whole wheat flour, but it might make the bars a bit denser. I tend to stick with all-purpose here.
Do these freeze well? You know, I haven’t tried freezing them because they disappear so fast! But I’d guess they’d do okay if you wrapped them up well.
What if I don’t have a lemon? No problem! A splash of apple cider vinegar can give a similar tang.