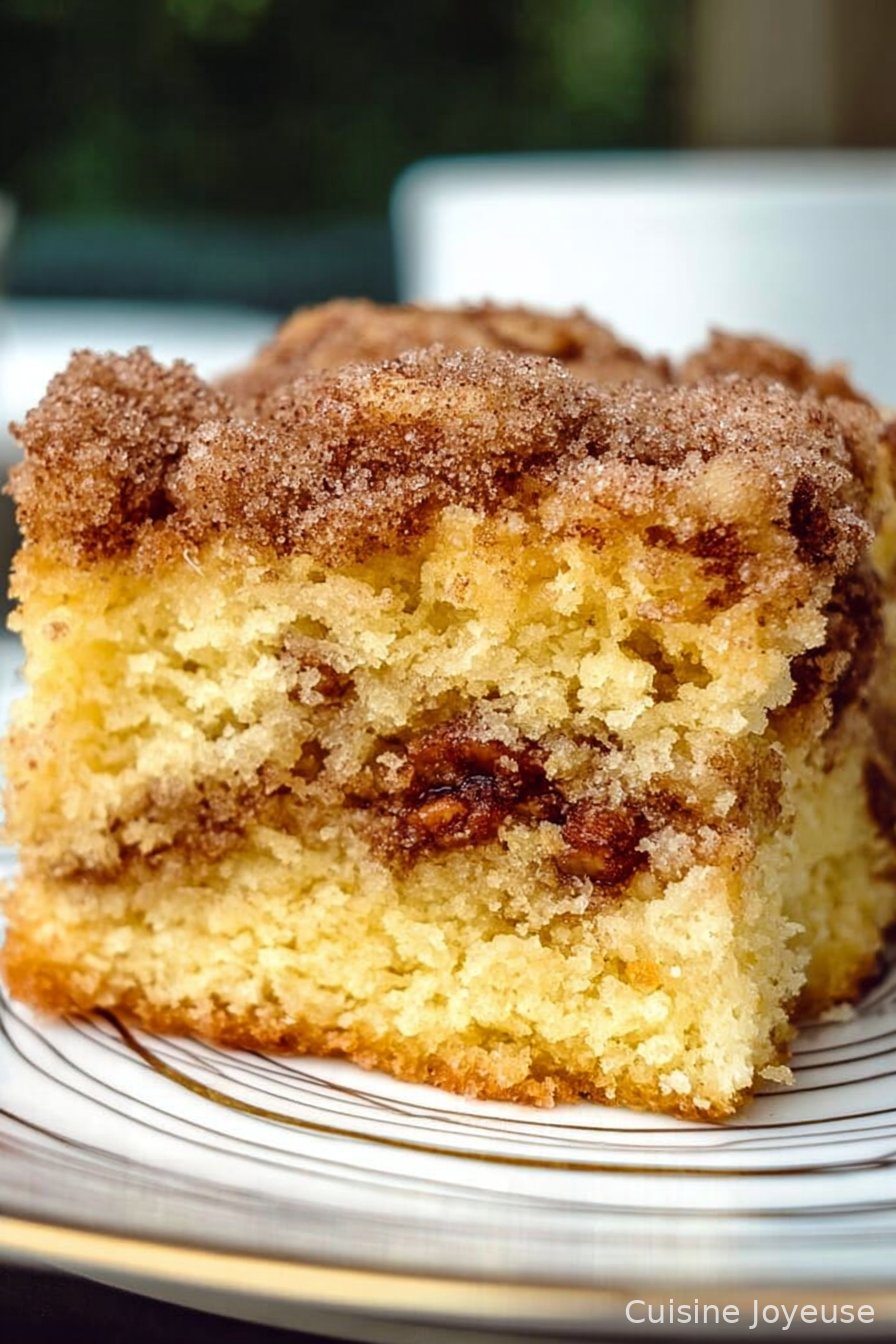
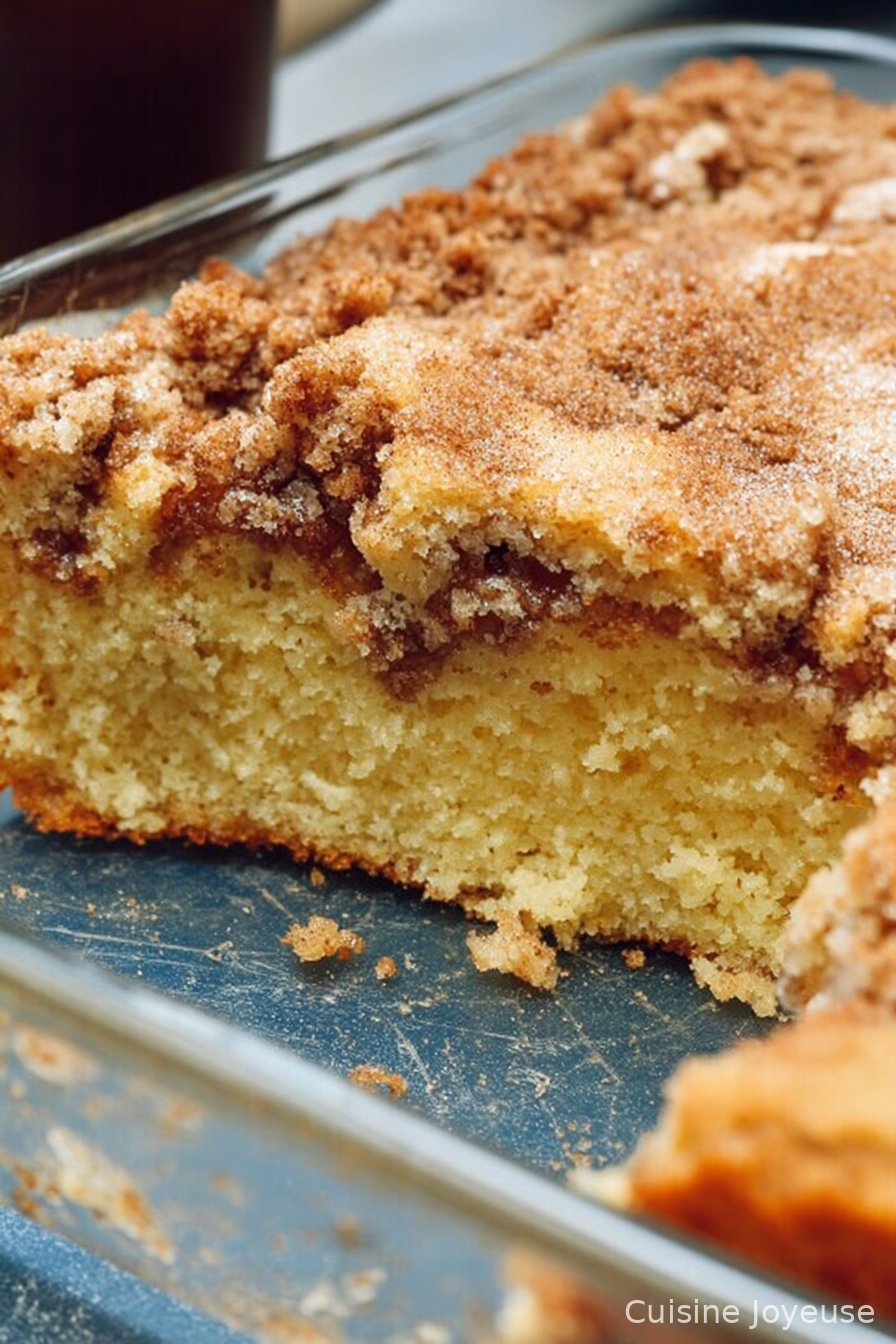
Yellow Cake Mix Coffee Cake
The Lazy Genius of Yellow Cake Mix Coffee Cake
Alright, let me just say: if I had a dollar for every time a box of yellow cake mix saved my bacon, I’d probably at least have enough cash for a fancy coffee. This coffee cake is a staple in my kitchen, especially on those chilly Saturday mornings when I want something sweet but, let’s be real, am not about to measure a dozen things before breakfast. My aunt brought this to a family brunch once and I’ve been making it ever since, though I’ll admit—mine is usually a little messier (that’s half the charm!).
Why I Keep Coming Back to This Recipe
I make this when I want to impress but don’t want to work for it. My family goes a bit wild for the cinnamon crumb (I catch my son picking it off when he thinks I’m not looking—he’s not exactly subtle). Plus, when I’m running behind (which is, let’s say, frequent), this cake comes together in no time. It’s also forgiving. Once, I forgot the sour cream and swapped in Greek yogurt. Didn’t hear any complaints—well, except from myself because I missed the tang. Oh, and if you’re the type who panics about running out of brown sugar, join the club. Regular sugar works in a pinch (though maybe don’t tell my mother-in-law that).
What You’ll Need (and a Few Substitutes)
- 1 box yellow cake mix (Honestly, any brand will do. My grandma would only use Duncan Hines, but I’ve survived store-brand just fine.)
- 1 cup sour cream (Greek yogurt is a decent stand-in—full fat is best, in my opinion)
- 3 eggs
- 1/2 cup vegetable oil (I’ve tried canola, it’s fine—olive oil isn’t my favorite for this though)
- 1/2 cup sugar (brown or white; brown gives a little more depth)
- 2 teaspoons ground cinnamon
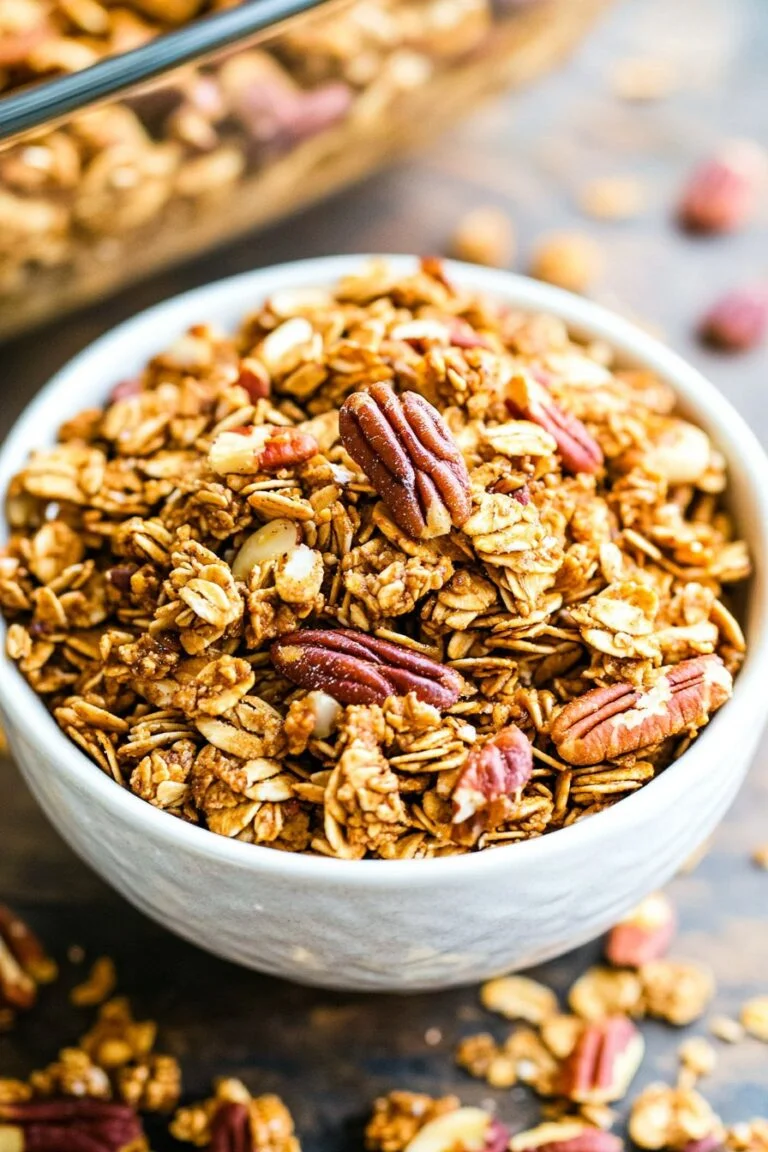
- 1/2 cup chopped nuts (pecans or walnuts; skip these if you’re not a nut fan or if you’re feeding little ones who’ll pick them out anyway)
- Optional: 1/2 cup mini chocolate chips (because why not?)
Let’s Make It: Directions (with Occasional Side Notes)
- Preheat your oven to 350°F (180°C) and grease a 9×13 inch pan. You could use a bundt pan if you’re feeling fancy, but I usually just grab whatever’s clean.
- In a big bowl, dump in the cake mix, sour cream, eggs, and oil. Mix until combined—don’t overdo it; a few lumps are totally fine. I use a wooden spoon (less to wash), but if you want to break out the mixer, go for it.
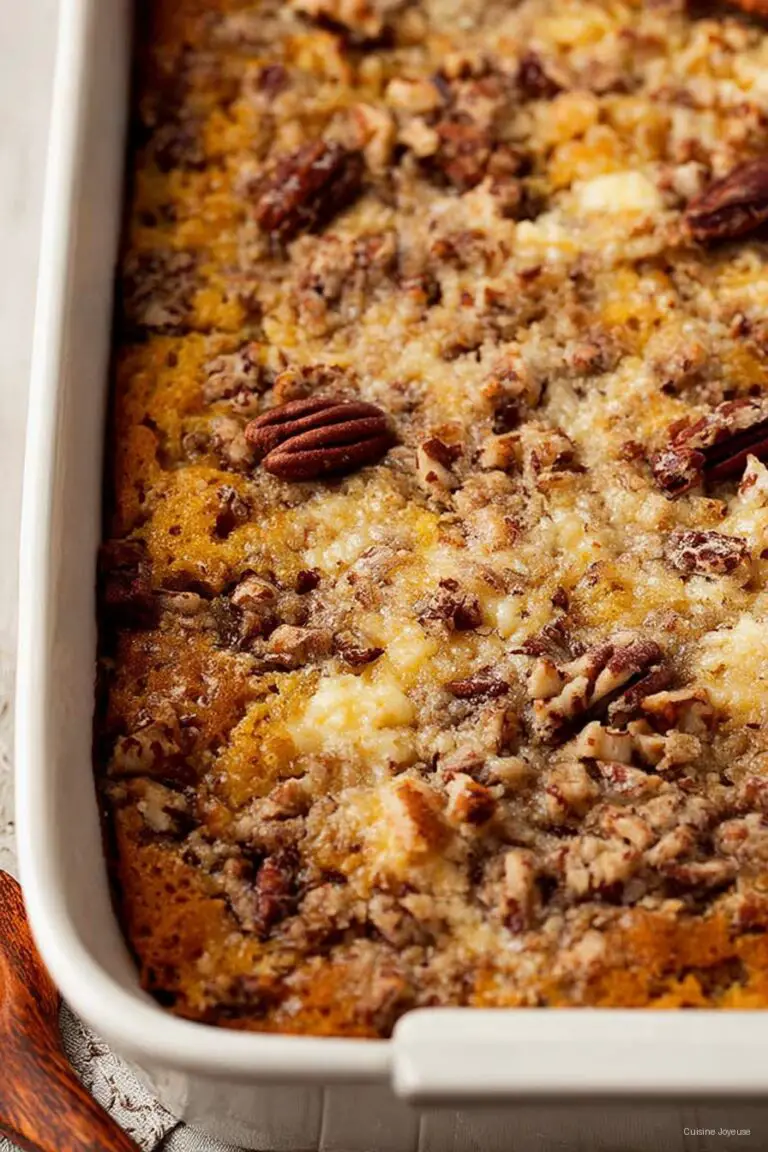
- Now, for the crumbly goodness: Stir together the sugar, cinnamon, and nuts in a separate bowl. If you’re adding chocolate chips, toss ‘em in here too.
- Pour about half the batter into your pan. Sprinkle half the cinnamon-sugar-nut mix on top. (Honestly, I always eyeball these amounts. It’s not rocket science.)
- Add the rest of the batter—spread it gently, it’ll be thick, and probably stick to your spoon. Don’t stress if it looks messy.
- Top with the rest of the cinnamon mixture. I sometimes swirl it a bit with a butter knife. Looks cool, but not necessary.
- Bake for 35–40 minutes or until a toothpick poked in the center comes out clean. This is where I usually sneak a taste of the crispy edges (chef’s privilege!).
- Let it cool for a bit before slicing—I know, easier said than done.
Things I’ve Figured Out (the Hard Way)
- If you overbake it, it gets a bit dry. I once left it in “just five more minutes” and, well, regrets were had.
- Letting it cool for at least 15 minutes before cutting makes it way less crumbly (learned that after burning my fingers and making a mess…twice).
- You can add a simple glaze if you like it sweeter, but honestly, I never bother—this cake’s good as is.
Variations I’ve Actually Tried (and One I Never Will Again)
- Apple slices between the layers: nice in autumn, but makes the cake a bit wetter—eat it fast.
- Lemon zest in the batter gives it a fresh twist.
- Once, I tried swapping in a chocolate cake mix. Not my best idea. It tasted more like a confused brownie.
- If you want it richer, add a splash of vanilla extract to the batter—I do this when I remember.
Equipment (But Don’t Stress If You’re Missing Something)
- 9×13″ pan (If you only have round pans, just split the batter. I’ve done it. The world didn’t end.)
- Mixing bowls—at least two, but I’ve made this with just one and a coffee mug for the cinnamon mix in a pinch.
- Spoon or mixer (or a strong arm and a whisk; I won’t judge)
- Toothpick (for testing doneness—or just trust your nose, it’s not a soufflé)
How to Store It (Not That You’ll Need To…)
If you do have leftovers (rare around here), cover the pan with foil or toss slices in a container. It’s fine at room temp for a day or so, or in the fridge for up to 4 days. I think it tastes even better the next morning, but honestly, in my house it rarely survives the night. If you do stash it in the fridge, give it a quick zap in the microwave before eating.
Serving Ideas (aka How We Eat It)
I love it warm, with my morning coffee—sometimes with a dab of salted butter on top. My sister swears by having it as a late-night snack with ice cream (not traditional, but who am I to judge?). Great for brunch, or just sneaking pieces off the counter while pretending to clean up.
Real-Life Pro Tips So You Don’t Repeat My Mistakes
- Don’t skip greasing the pan. I tried lining it with parchment once and the corners stuck anyway. Not worth it.
- Mix the cinnamon topping in a separate bowl. If you try to sprinkle the ingredients straight from the measuring cup, it’ll clump (trust me—I got a whole bite of cinnamon once and, yikes).
- Actually, I find it works better if you layer the topping, not just dump it on top (I learned that form a friend, and she’s right!).
Questions I’ve Actually Been Asked (Yes, These Are Real)
- Can I use a white cake mix instead? Sure thing! The flavor’s milder, but it’ll still work. Maybe add a dash more vanilla.
- What if I don’t have sour cream? Use Greek yogurt. Or, in a pinch, plain yogurt. Even mayo works for moisture, but honestly, I can’t vouch for the flavor.
- Can I make this gluten free? I haven’t tried it, but there are gluten-free yellow cake mixes out there. If you do it, let me know how it turns out?
- Do I need a stand mixer? Nope! I only have a hand mixer and sometimes just use a fork (muscles!).
- Can I freeze it? Yes, though it’s best fresh. Wrap slices in cling film, then foil. Defrost overnight in the fridge, or just eat it frozen if you’re impatient like my cousin.
Oh and if you’re looking for more ideas for easy brunch bakes, I’ve found Sally’s version super helpful (her photos are way prettier than mine). Or if you’re curious about cake mix hacks in general, this Kitchn roundup is a goldmine. Not that you need an excuse for more cake, but—just saying.
If you give this a try and it comes out a bit lopsided or crumbly, don’t sweat it. That’s just homemade charm. And hey, if all else fails, you’ve still got cake. And cake is never a bad idea.
Ingredients
- 1 box (15.25 oz) yellow cake mix
- 1 cup sour cream
- 3 large eggs
- 1/2 cup vegetable oil
- 1/4 cup granulated sugar
- 2 teaspoons ground cinnamon
- 1/2 cup chopped walnuts or pecans (optional)
- 1/4 cup unsalted butter, melted
Instructions
-
1Preheat oven to 350°F (175°C). Grease a 9×13-inch baking pan.
-
2In a large bowl, combine yellow cake mix, sour cream, eggs, and vegetable oil. Mix until well blended and smooth.
-
3Pour half of the batter into the prepared pan and spread evenly.
-
4In a small bowl, mix together granulated sugar and ground cinnamon. Sprinkle half of the cinnamon-sugar mixture over the batter. Add half of the nuts if using.
-
5Pour the remaining batter over the cinnamon layer and spread evenly. Top with the remaining cinnamon-sugar mixture, nuts, and drizzle with melted butter.
-
6Bake for 35 minutes or until a toothpick inserted in the center comes out clean. Cool slightly before serving.
Approximate Information for One Serving
Nutrition Disclaimers
Number of total servings shown is approximate. Actual number of servings will depend on your preferred portion sizes.
Nutritional values shown are general guidelines and reflect information for 1 serving using the ingredients listed, not including any optional ingredients. Actual macros may vary slightly depending on specific brands and types of ingredients used.
To determine the weight of one serving, prepare the recipe as instructed. Weigh the finished recipe, then divide the weight of the finished recipe (not including the weight of the container the food is in) by the desired number of servings. Result will be the weight of one serving.
Did you make this recipe?
Please consider Pinning it!!