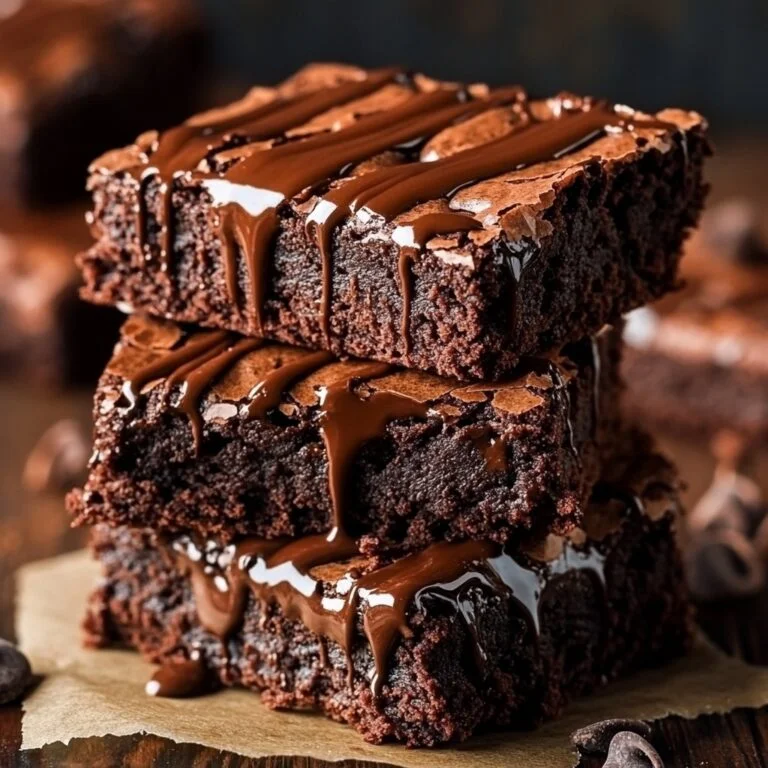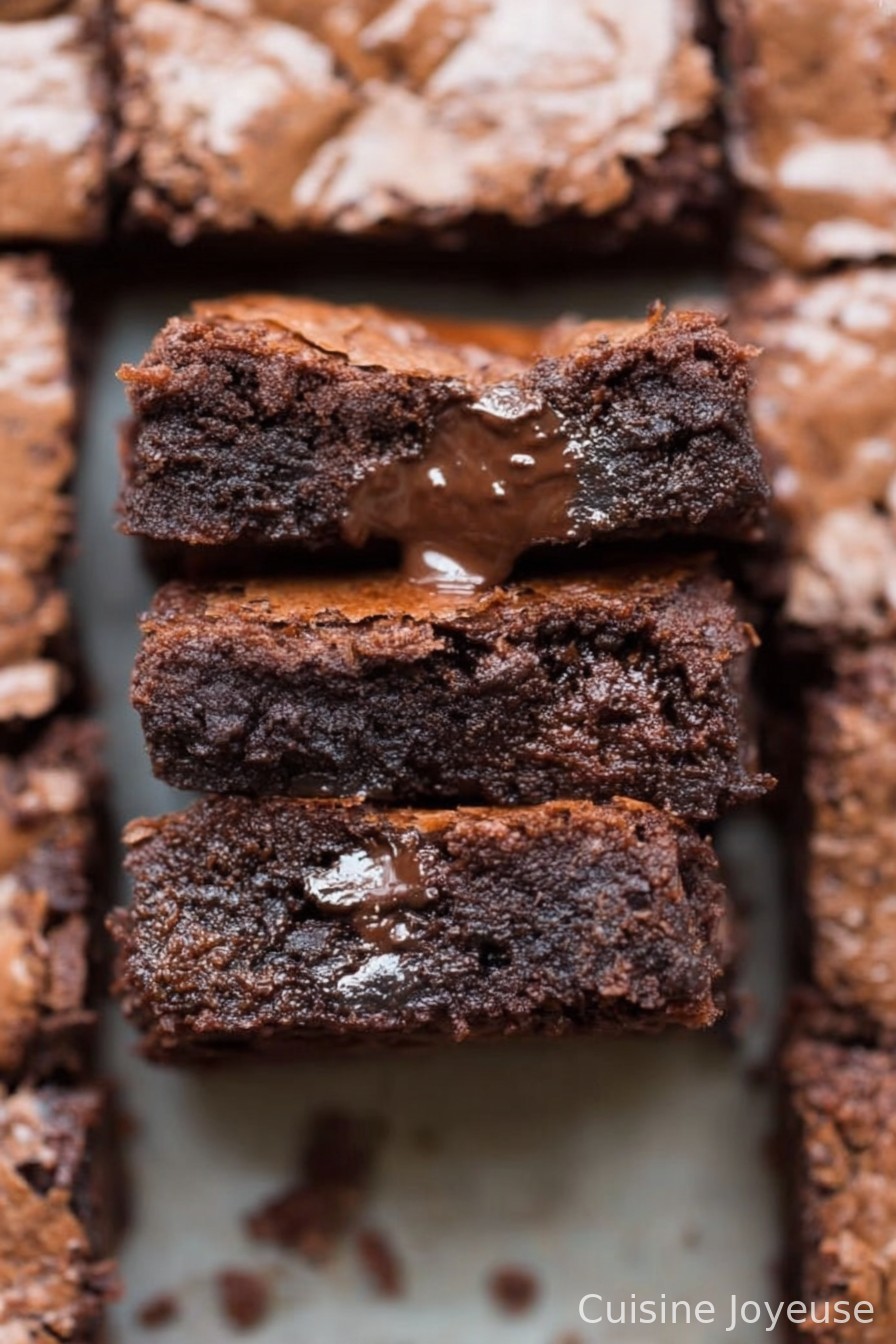
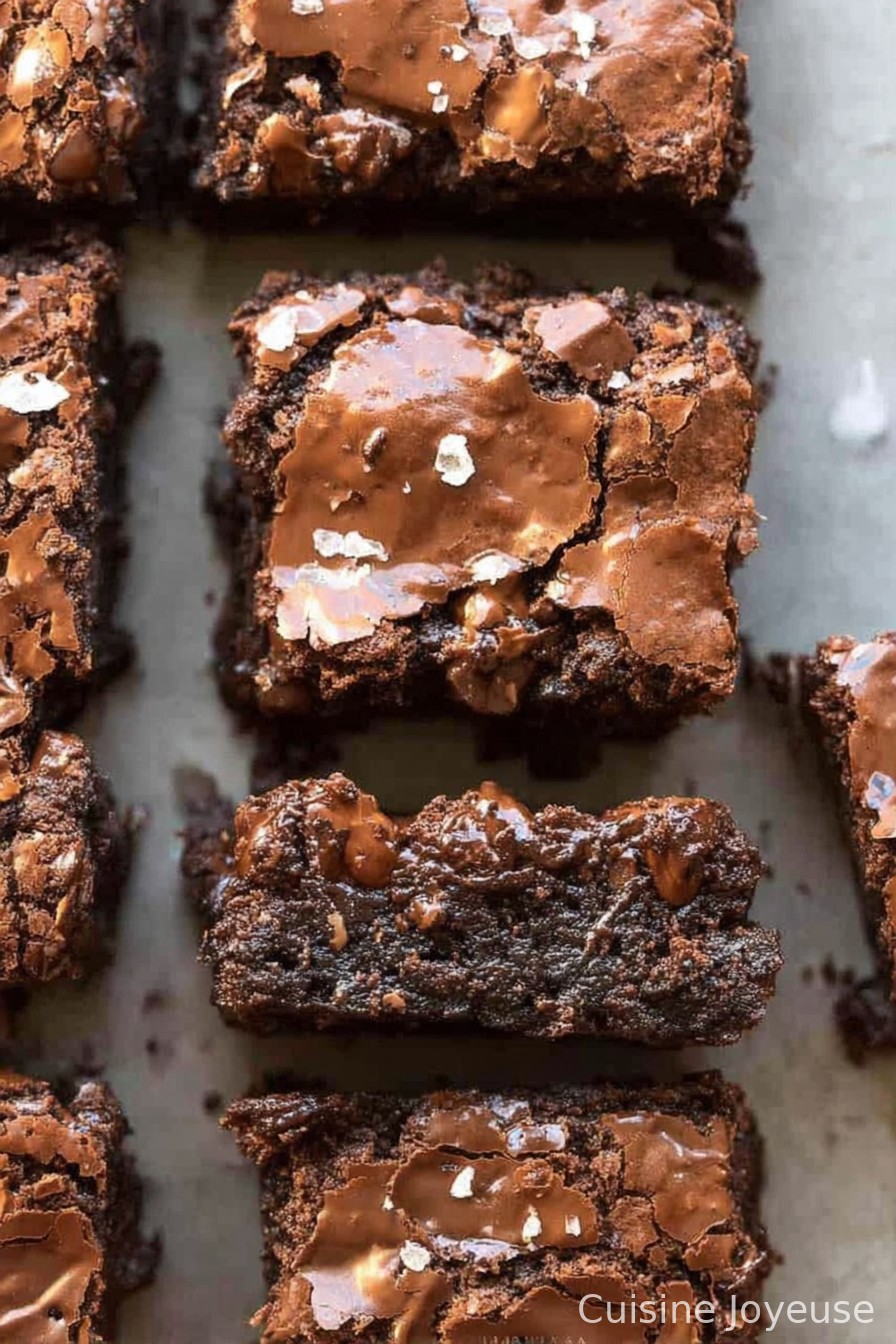
Vegan Brownies
Let Me Tell You About These Vegan Brownies…
So the other night, my sister was over and said, “You still make those vegan Brownies?” (she’s never forgotten that pan I baked two summers ago and, erm, forgot to let cool—so, hot chocolate lava mess everywhere… we still laugh about it). Anyway, I whipped up a batch after dinner, and honestly, I kind of shocked myself with how quickly they disappeared. I mean, I promise I saved at least two for breakfast — or so I told myself. I guess I have a bit of a sweet tooth, huh?
Why You’ll Love This (Apart from the Obvious Chocolate Fix)
I make these whenever I’m craving something indulgent but don’t wanna mess with a million dishes. My family, especially my nephew who claims to “hate vegan food” (eye roll), literally devours these. Also—and maybe I shouldn’t admit this—one time, I forgot to buy fancy vegan chocolate and used cocoa powder with whatever nut butter I found, and it worked fine. (Don’t tell the brownie snobs, seriously!) Sometimes the hardest part is not eating all the batter before it makes it in the pan.
What You’ll Need (Swaps, Shortcuts & Family Secrets)
- 1 cup all-purpose flour (or, I’ll do half whole wheat if I’m feeling virtuous)
- 3/4 cup unsweetened cocoa powder (Grandma always swore by Droste but, uh, store-brand works too)
- 1 cup sugar (sometimes I toss in some brown sugar for chewiness—don’t judge)
- 1/2 tsp baking powder
- 1/4 tsp salt
- 1/2 cup melted coconut oil (or any neutral oil—I once used olive oil; it was… interesting; stick with coconut if you can)
- 1/2 cup unsweetened plant milk (almond, oat, or even, honestly, water in a pinch)
- 1 tsp vanilla extract (if you’re fancy, use real; I basically never do)
- 1/2 cup vegan chocolate chips (those Enjoy Life ones are quite good, but any non-dairy will do)
- Optional: 1/2 cup chopped walnuts (some of my friends claim “nuts ruin brownies” — they’re wrong)
How I Usually Make Them (With a Few Real-Life Sidetracks)
- Preheat your oven to 180°C/350°F. Theoretically, line an 8×8-inch (or so) tray with parchment. Actually, I sometimes just grease well and hope for the best. Works fine as long as you’re patient when cutting.
- In a decent-sized bowl, whisk together flour, cocoa, sugar, baking powder, and salt. Don’t stress if there’s a little lumpiness—smooth brownies are a myth anyway.
- Make a well in the center, pour in your melted coconut oil, plant milk, and vanilla. Mix, but not like you’re trying to win an arm wrestling match—just enough until you can’t see dry flour.
- This is the bit where I sneak a taste. Quality control is important, folks.
- Fold in the chocolate chips and nuts (if you’re living on the wild side). Pour into your tray. If it’s weirdly thick, dribble in a tiny bit more milk—doesn’t have to be rocket science.
- Bake for about 22–25 minutes. Keep an eye around the 20 mark; you want set edges but a slightly squishy center. Overbaked brownies are a crime (OK, maybe not, but still).
- Let them cool, for real. I know, the aroma is like a siren song, but if you wait, you get proper slices instead of scooped-up goo. Unless you actually like goo, in which case, have at it.
Notes from Way Too Many Brownie Experiments
- If you chill these in the fridge overnight, they somehow, magically, taste fudgier (I think it’s science, or maybe just my imagination).
- I’ve swapped coconut oil for applesauce before to cut fat—less fudgy but still good, if a shade more “virtuous” than I generally go for.
- Don’t skip the parchment if you’re bringing them to a friend’s, unless you like picking crumbs out of the pan and awkward apologies.
My Brownie Twists (And One I Wouldn’t Recommend…)
- Peppermint extract in winter—amazing. Like a thin mint cookie met a warm hug.
- Swirl in a couple spoonfuls of peanut butter on top before baking? Yes, please.
- One time I, for reasons I can’t recall, stirred in some shredded coconut and, well, let’s just say it didn’t quite work out. Stick with nuts or chips.
Equipment (And Some Canny Workarounds)
An 8×8-inch baking tray is classic, but honestly, I’ve used anything from a round cake tin to a loaf pan (just takes longer to bake, and you get “brownie logs”—which is fun). If you’re sans whisk, a sturdy fork works fine—I mean, my first batch was literally mixed with a wooden spoon.
How to Store ‘Em (If You Have Leftovers…)
Airtight container for up to four days… though honestly, in my house these rarely see the second sunrise. Sometimes—late-night snack confession—I’ll stash a slice in the freezer and microwave it until warm and gooey. 10/10 recommend for emergencies.
Serving: What Happens in Our House
More often than not, we cut these in chunky squares and eat them right from the pan (forks are for fancy folks). My cousin insists they’re elite with a scoop of homemade vegan ice cream (here’s a great recipe I nicked from Minimalist Baker), and honestly, I agree now. Sometimes, for breakfast, I just go full rebel and eat one with coffee. Sorry, not sorry.
Pro Tips (AKA “Tricks Learned the Hard Way”)
- Don’t rush the mixing—once, in a fit of impatience, I over-mixed and ended up with tough brownies. Go gentle, like you’re petting a kitten (no joke).
- Also, never try slicing while they’re piping hot. All you get is… brownied mush. On second thought, still tasty, but not presentable—so let them cool, at least a bit.
- If you’re after fancy swirls, Gemma’s tips over on Bigger Bolder Baking are gold.
Brownie FAQ—Real Questions, Real Answers
- Are these actually healthy?
- Umm, depends on your definition. There’s no eggs or butter, so… healthier-ish? But there’s sugar and chocolate, so they’re a treat.
- Can I use gluten-free flour?
- Yep, swap in a 1:1 baking blend. I tried rice flour once, it was a bit gritty—maybe try oat or almond if you have those, but it’s always a little experimental!
- Can I freeze these brownies?
- For sure. Slice, freeze on a tray, then pile in a bag. They thaw pretty quick. Actually, frozen chunks straight— weirdly good. Don’t ask how I found out.
- Can I cut back on the sugar?
- Kinda. Drop a couple of tablespoons and they’ll still be nice. Go too low and they lose their oomph (I speak from sad, bland experience).
- Why do my brownies come out dry sometimes?
- Usually from overbaking, or maybe that oven runs hot (mine’s as fickle as a British summer). Check early and trust your nose; brownies are done when the center’s just a bit set.
By the way, if you love baking vegan treats, I found a wonderful list of vegan baking swaps here at Nora Cooks—super helpful. Anyway, if you try these, let me know how they go! And if your brownies don’t turn out perfect, just call them warm pudding squares—worked for me. That’s the craic, as my Irish mate would say.
Ingredients
- 1 cup all-purpose flour
- 1/2 cup unsweetened cocoa powder
- 1 cup organic cane sugar
- 1/2 cup melted coconut oil
- 1/2 cup unsweetened almond milk
- 1/2 cup dairy-free dark chocolate chips
- 1 teaspoon pure vanilla extract
- 1/2 teaspoon baking powder
- 1/4 teaspoon salt
Instructions
-
1Preheat oven to 350°F (175°C) and line an 8×8-inch baking pan with parchment paper.
-
2In a large bowl, whisk together flour, cocoa powder, sugar, baking powder, and salt.
-
3Add melted coconut oil, almond milk, and vanilla extract to the dry ingredients. Stir until just combined.
-
4Fold in the dairy-free chocolate chips.
-
5Spread the batter evenly in the prepared pan and bake for 30 minutes or until a toothpick inserted in the center comes out mostly clean.
-
6Allow to cool completely in the pan before cutting into squares and serving.
Approximate Information for One Serving
Nutrition Disclaimers
Number of total servings shown is approximate. Actual number of servings will depend on your preferred portion sizes.
Nutritional values shown are general guidelines and reflect information for 1 serving using the ingredients listed, not including any optional ingredients. Actual macros may vary slightly depending on specific brands and types of ingredients used.
To determine the weight of one serving, prepare the recipe as instructed. Weigh the finished recipe, then divide the weight of the finished recipe (not including the weight of the container the food is in) by the desired number of servings. Result will be the weight of one serving.
Did you make this recipe?
Please consider Pinning it!!