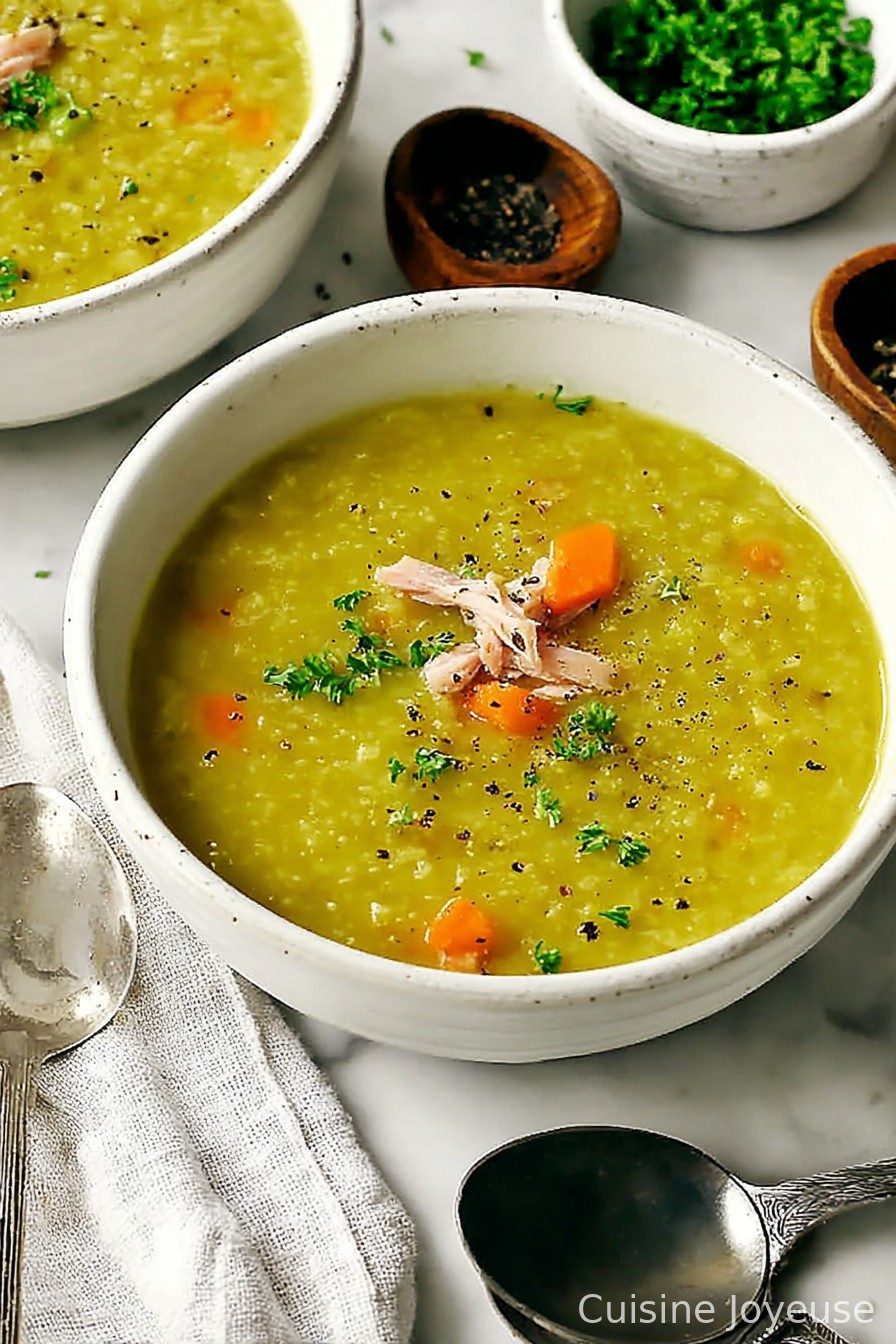
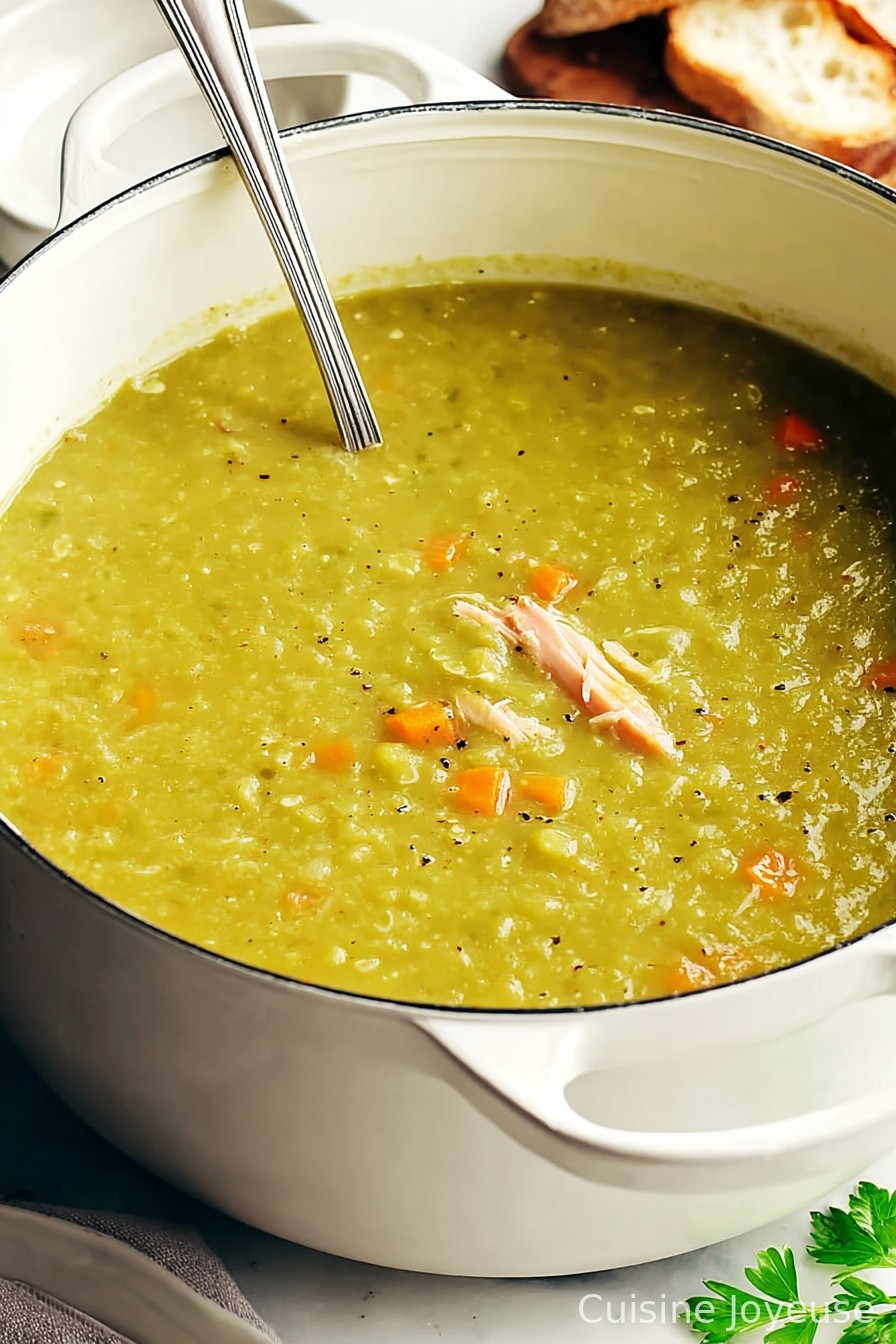
Split Pea Soup
So, Split Pea Soup: My Little Green Comfort in a Bowl
Alright, I’ll admit it—split pea soup was not my favorite as a kid. (Actually, I was convinced it was just lunchroom mystery goop.) But at some point, I gave it another shot, mainly because I ended up with a bag of split peas after a very poorly planned shopping trip, and now it’s kind of my go-to when I want something hearty without a heap of fuss. If I were talking to you in my kitchen right now (probably while searching for the lid that always disappears), I’d say: make this when you’re craving something warm, filling, and, let’s be honest, incredibly budget-friendly.
Why You’ll Want to Make This (Even if You Think You Won’t)
I make this soup when I want dinner with barely any chopping. My family goes crazy for this because it’s one of those rare dishes that gets better as it sits—and unlike most green things, no one complains. (Well, except that one time I tried to sneak in extra celery. That didn’t fly.) You know, when I’m low on groceries, this is the soup I know I can pull off. Plus, it uses up that parmesan rind or leftover ham bone I always mean to throw away but can’t because, what if I need it? You get it.
What You’ll Need (And What You Can Totally Swap)
- 1 tablespoon olive oil (though I’ll use butter if I’m feeling fancy)
- 1 large onion, chopped (red onion works fine if that’s what’s rolling around in your veggie drawer)
- 2 carrots, peeled and diced (or a handful of baby carrots, chopped up – no judgment)
- 2 stalks celery, diced (I sometimes skip this when I’m out – still good)
- 3 garlic cloves, minced (let’s be real, I often use the jar stuff when I’m lazy)
- 2 cups dried split peas, rinsed and checked for rocks (does anyone else always find one?)
- 6 cups vegetable broth (chicken works too, and honestly, water plus a bouillon cube does the trick in a pinch)
- 1 smoked ham hock or leftover ham bone (totally optional – makes it richer, though)
- 1 bay leaf (I’ve forgotten it before; still tasty)
- 1 teaspoon dried thyme (fresh is nice, but who has that on a Tuesday?)
- Salt and black pepper to taste (Careful—if your broth is salty, go easy!)
- Chopped fresh parsley or chives, for serving (totally optional—I forget half the time)
How to Make It: Not Fussy, I Promise
- Heat the olive oil in a big heavy pot over medium heat. Toss in the onion, carrots, and celery. Stir them around till they soften (about 6-7 minutes, though if you wander off and they brown more, that’s fine too).
- Add the garlic and give it a quick stir for 30 seconds. Try not to let it burn—learned that one the hard way.
- Pour in the split peas (after making sure you picked out any rogue pebbles), broth, ham hock (if using), bay leaf, and thyme. Give it a good old stir.
- Bring it up to a boil, then drop the heat so it’s barely bubbling. Slap on a lid (or, actually, I half-cover mine because I read somewhere that helps with the texture—maybe?) and simmer for about 1 to 1½ hours, stirring occasionally. If it gets super thick, just splash in more water or broth.
- Remove the bay leaf and ham hock. If you had a ham hock, pull off any meat, chop it up, and toss it back in. If not, no worries.
- This is where I usually sneak a taste, realizing I probably need more salt and pepper. Season it up, but go slow—you can always add, never subtract, right?
- If you want it really smooth, go wild with an immersion blender for a bit. Personally, I like it chunky (and, you know, dirtying fewer dishes).
- Ladle into bowls, top with a sprinkle of fresh parsley or chives if you remembered them. Eat!
Notes from Many Attempts
- The soup thickens as it sits—sometimes too much. I just add a bit of hot water to loosen it up the next day.
- If you forget to soak your peas (which I always do), that’s fine. Just stew it a bit longer.
- If you use a ham bone rather than a hock, leave out some salt at the start—it can get salty quick.
Variations I’ve Tried (For Better or Worse)
- Once, I swapped carrots for parsnips. Tasted a bit like I dropped a root cellar in my soup. Not my fave, but try it if you’re curious.
- Sometimes, I dice up a potato for extra body. It makes it creamier (which is nice on a cold day).
- Going full veggie? Skip the ham—smoked paprika can add a bit of that depth, though it’s not exactly the same.

What If I Don’t Have a Dutch Oven?
Use any big pot—honestly, I’ve used a crusty old soup pot from a yard sale for years. And if things stick a bit, just scrape and call it “caramelized.”
Storing Leftovers (If You Have Any)
Let soup cool, pop it in airtight containers, and refrigerate. Lasts about 4-5 days—though honestly, in my house it never lasts more than a day! You can freeze it too, just add a drop of water when reheating as it gets super thick.
Serving It Up: What Goes With Split Pea Soup?
I love it with a hunk of buttered bread (the toastier, the better). Sometimes, I’ll serve with a sharp cheddar wedge on the side—my uncle swears by it. It’s also great with a dollop of sour cream if you’re feeling wild.
Here’s What I’ve Messed Up: Important Pro Tips
- I once tried rushing the simmering; peas were still hard. Really, don’t skimp on simmer time—it’s worth it.
- Forgot to stir a couple times and the bottom scorched. If that happens, just don’t scrape the bottom—pour the soup into another pot and pretend nothing happened.
- Putting in too much salt early can backfire, especially with a salty ham bone. Oops.
Questions I Actually Get About This Soup
Do I really have to soak the split peas first? Nope! They cook just fine straight from the bag—just give ’em a rinse, and you may want to cook a little longer. Sometimes, I forget this step and it turns out fine.
Will kids eat this? Well, mine do—surprisingly! Maybe because I call it “Shrek stew” or just put extra bread on the table. Your mileage may vary.
Can I make this vegetarian? Absolutely, just skip the ham bits. Sometimes I throw in a bit of smoky spice so you don’t miss that flavor too much.
Mine is super thick after cooling. What gives? Happens every time! Just stir in a splash of water when reheating. Actually, I tend to like it even thicker the next day for spoon-standing power.
Is it okay to freeze? Yes, totally. Freeze in portions—it reheats like a dream but just give it a stir.
Oh, fun fact: the color gets a bit murky the longer it sits, but hey, the taste only gets better. On second thought, maybe I do like green food after all.
Ingredients
- 1 tablespoon olive oil (though I’ll use butter if I’m feeling fancy)
- 1 large onion, chopped (red onion works fine if that’s what’s rolling around in your veggie drawer)
- 2 carrots, peeled and diced (or a handful of baby carrots, chopped up – no judgment)
- 2 stalks celery, diced (I sometimes skip this when I’m out – still good)
- 3 garlic cloves, minced (let’s be real, I often use the jar stuff when I’m lazy)
- 2 cups dried split peas, rinsed and checked for rocks (does anyone else always find one?)
- 6 cups vegetable broth (chicken works too, and honestly, water plus a bouillon cube does the trick in a pinch)
- 1 smoked ham hock or leftover ham bone (totally optional – makes it richer, though)
- 1 bay leaf (I’ve forgotten it before; still tasty)
- 1 teaspoon dried thyme (fresh is nice, but who has that on a Tuesday?)
- Salt and black pepper to taste (Careful—if your broth is salty, go easy!)
- Chopped fresh parsley or chives, for serving (totally optional—I forget half the time)
Instructions
-
1Heat the olive oil in a big heavy pot over medium heat. Toss in the onion, carrots, and celery. Stir them around till they soften (about 6-7 minutes, though if you wander off and they brown more, that’s fine too).
-
2Add the garlic and give it a quick stir for 30 seconds. Try not to let it burn—learned that one the hard way.
-
3Pour in the split peas (after making sure you picked out any rogue pebbles), broth, ham hock (if using), bay leaf, and thyme. Give it a good old stir.
-
4Bring it up to a boil, then drop the heat so it’s barely bubbling. Slap on a lid (or, actually, I half-cover mine because I read somewhere that helps with the texture—maybe?) and simmer for about 1 to 1½ hours, stirring occasionally. If it gets super thick, just splash in more water or broth.
-
5Remove the bay leaf and ham hock. If you had a ham hock, pull off any meat, chop it up, and toss it back in. If not, no worries.
-
6This is where I usually sneak a taste, realizing I probably need more salt and pepper. Season it up, but go slow—you can always add, never subtract, right?
-
7If you want it really smooth, go wild with an immersion blender for a bit. Personally, I like it chunky (and, you know, dirtying fewer dishes).
-
8Ladle into bowls, top with a sprinkle of fresh parsley or chives if you remembered them. Eat!
Approximate Information for One Serving
Nutrition Disclaimers
Number of total servings shown is approximate. Actual number of servings will depend on your preferred portion sizes.
Nutritional values shown are general guidelines and reflect information for 1 serving using the ingredients listed, not including any optional ingredients. Actual macros may vary slightly depending on specific brands and types of ingredients used.
To determine the weight of one serving, prepare the recipe as instructed. Weigh the finished recipe, then divide the weight of the finished recipe (not including the weight of the container the food is in) by the desired number of servings. Result will be the weight of one serving.
Did you make this recipe?
Please consider Pinning it!