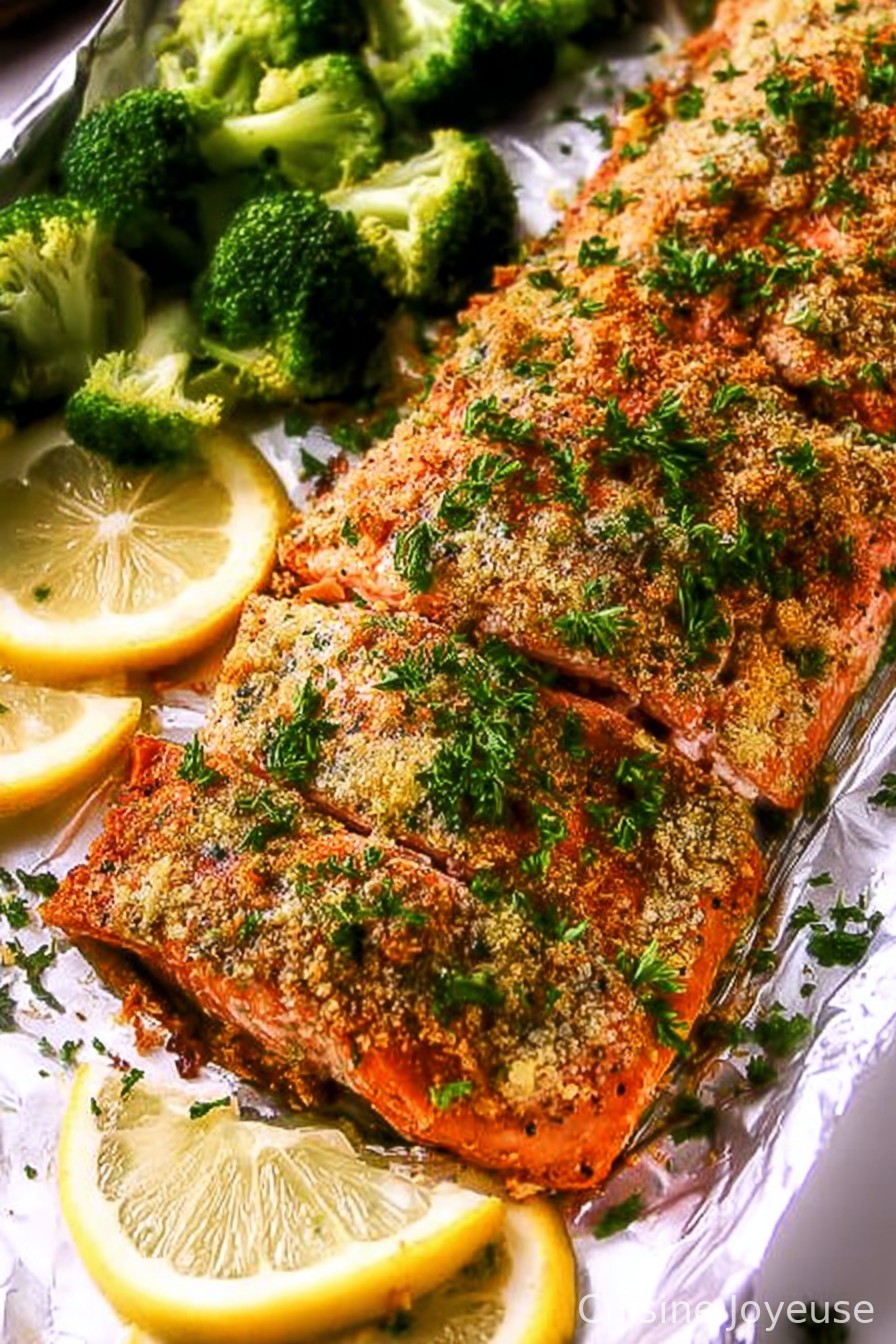
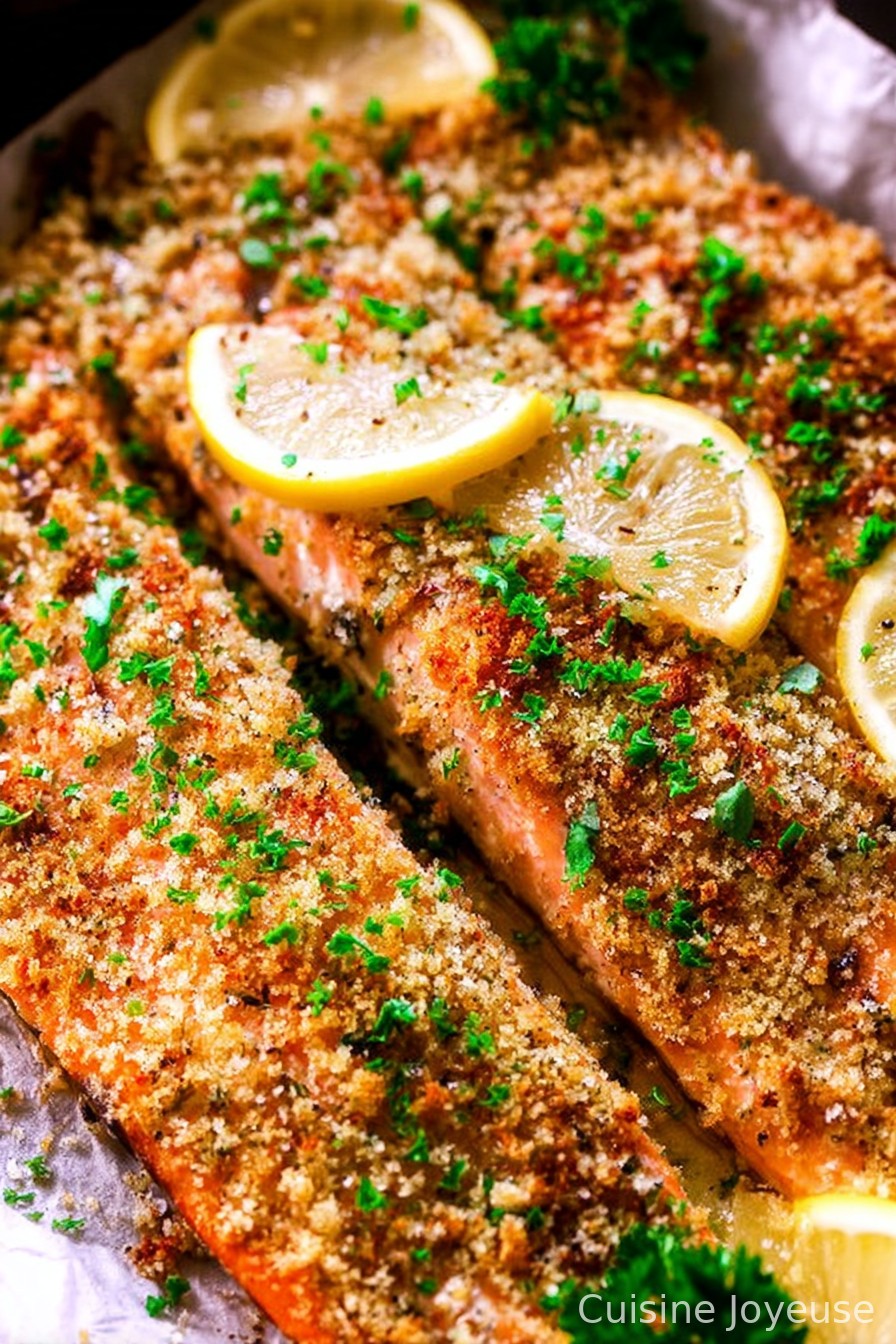
Lemon Garlic Butter Salmon
Let Me Tell You About Lemon Garlic Butter Salmon
You ever get that feeling where you just need something impressive for dinner, but also, wow, you really do not feel like spending ages in the kitchen? That’s me, basically every Thursday. And that’s where this Lemon Garlic Butter Salmon comes in — it sounds posh, but honestly, half the fuss is just finding the salmon in the fridge (or freezer, let’s be honest). First time I cooked this was after a friend brought back a huge side of salmon from a fishing trip (I think he expected me to know how to fillet it, big mistake on his part). After some mildly panicked texts to my mum, it turned out fine. I mean, truly tasty. And now it’s a weeknight go-to whenever I want something a bit special, but not complicated.
Why You’ll Love This (Maybe Even Too Much)
I make this when I want to impress someone, or honestly just myself after a long day. My family goes absolutely bonkers for this (one time I tried a tofu version… let’s just say it wasn’t my best idea). I also love that you don’t need too many crazy ingredients or time. Plus, the clean up is barely a thing because you can do it all in one pan — my sort of magic trick. (Full disclosure: I once dropped garlic butter on the floor at exactly the worst moment, so be careful with those slippery pans. Lessons learned, right?)
The Stuff You’ll Need (A.K.A. Ingredients)
- 4 salmon fillets, skin-on or off (skin gets crispy, but I sometimes use skinless because it’s less fiddly)
- 3 tablespoons unsalted butter (I’ve used margarine in a pinch, but butter has more oomph)
- 3 garlic cloves, finely chopped — or a fat teaspoon of that jarred stuff if you’re in a mad rush
- Zest and juice of 1 large lemon (I’ve even used bottled lemon one desperate Tuesday; not the same, but still yum)
- Salt and pepper, just a good pinch of each
- A sprinkle of paprika (optional, but I like a bit of dodgy colour)
- Fresh parsley, chopped, to finish (if you have it, but sometimes I just use the dried stuff no shame)
- Olive oil for the pan — a glug or two
How To Actually Make It
- First things first: pat your salmon fillets dry with kitchen roll. I know, it’s a pain, but it helps you get a nice sear instead of a sad steam. Season both sides with salt, pepper, and that little hit of paprika if you’re feeling jazzy.
- Heat up a wide pan (non-stick makes life easier but cast iron is the business if you’ve got good wrists) and drizzle in your olive oil. When it’s shimmery, plonk down your salmon, skin-side down. Don’t move it! Resist the urge. Let it go about 3-4 minutes; you’ll see the colour creep up the sides.
- Flip very gently. This is where you might need a big spatula — I have one that I call the “fish flipper deluxe”, but honestly, even a regular old butterknife works if you’re careful. Cook another 2-3 minutes, until cooked to your liking. (I usually sneak a taste around now, not strictly necessary, but — well.)
- Scoot the salmon aside or pop it on a plate briefly. Add butter to the pan (it’ll get foamy and smell divine), then throw in the garlic. Stir for 30 seconds, just until you can smell it; don’t brown it, or the whole kitchen will reek, trust me.
- Add in lemon zest and juice; swirl it all around, then put your salmon back in and coat with those buttery pan juices. Taste and adjust salt if you’re so inclined.
- Sprinkle parsley over top. I like to serve straight from the pan — fewer dishes, better flavour, more drama.

Random Discoveries (A.K.A. Notes)
- Using wild salmon instead of farmed gives a much richer flavour, but it’s pricier. Still, when it’s on offer.
- I used to think you had to zest the lemon before squeezing, but sometimes I forget and it works fine anyway, though it’s a bit of a faff.
- If your butter splits in the pan, take it off the heat a few seconds; it comes back together pretty easily (not always, but usually).
The Weird Variations I’ve Tried
- Subbing lime for lemon: Honestly, surprisingly good, but a bit more tang. The kids called it “taco salmon” (not sure why).
- Chili flakes in the butter: Actually, I find it works better if you add just a smidge, otherwise it overpowers the garlic.
- Swapping trout for salmon: Tastes almost the same, but the colour throws my mum off every time.
- That tofu experiment I mentioned? Not a repeat. Not even my dog wanted leftovers.
Kit You’ll Need (But You Can Wing It)
- Wide frying pan or skillet (I say “essential”, but once made it in a baking tray under the grill. It worked, just messier.)
- Fish spatula, or whatever helps you flip things without flinging them onto the floor
- Garlic press is optional, I just use a knife — less faff
Keeping Leftovers… If There Are Any
Technically, you can store cooled salmon in an airtight container in the fridge for up to 2 days. But honestly, in my house it never lasts more than a single evening before it magically ‘disappears’ (I’m looking at you, midnight snackers). If you do keep it, I think it tastes even better the next day flaked through a salad or scrambled eggs.
My Favourite Ways to Serve
We’re all about big messy platters in my family, so I just stick it in the middle and let everyone grab their own. Side of roasted veggies and couscous, maybe some crusty bread (for mopping up the sauce, obviously). Sometimes, if it’s Sunday, we’ll go OTT and do a garlicky mash. Oh, once I paired it with baked beans but my brother still won’t let me live that down.
Lessons Learned (Real Pro Tips… Sorta)
- I once tried rushing the salmon and flipped too soon; ended up losing half of it to the bottom of the pan. Always give it a minute longer than you think.
- If you add the garlic before the butter’s melted, it tends to clump up. Or maybe that’s just me. Anyway, easier to melt first.
- The lemon zest makes a big difference. I forgot it once and everyone noticed (that never usually happens with, say, parsley).
Q&A: Stuff People Genuinely Ask Me
- Can I make this with frozen salmon? Sure! I just thaw it first. Or, if I’m extra hungry, cook gently from frozen, but know it takes a bit longer.
- What if I don’t have fresh garlic? Use jarred, or even garlic powder (about half a teaspoon?). It works, though not quite as punchy.
- Do I have to use butter? Technically, no — you can use a mild olive oil, but for the love of all things tasty, butter just gives it that comfort-factor.
- How do I tell when salmon’s done? I poke it gently with a fork — if it flakes easily and isn’t see-through in the middle, you’re good!
- What sides go with this? Rice, greens, roast potatoes, honestly, whatever’s in the fridge. Or just eat it with toast like my gran sometimes did.
Quick digression: one time I accidentally made the butter sauce much too lemony (I got distracted by my dog doing something suspicious under the table). It was…well, let’s call it “bracing.” But you know, you learn as you go. This recipe forgives a lot — and that’s what makes it a real keeper, if you ask me.
Ingredients
- 4 salmon fillets (about 6 oz each)
- 3 tablespoons unsalted butter, melted
- 3 cloves garlic, minced
- 1 lemon (zested and juiced)
- 1 tablespoon fresh parsley, chopped
- 1 tablespoon olive oil
- Salt and freshly ground black pepper, to taste
- Lemon slices, for garnish
Instructions
-
1Preheat oven to 400°F (200°C). Line a baking sheet with parchment paper or lightly grease it.
-
2Place the salmon fillets skin-side down on the prepared baking sheet. Drizzle with olive oil and season with salt and pepper.
-
3In a small bowl, mix together melted butter, minced garlic, lemon juice, and lemon zest.
-
4Pour the lemon garlic butter mixture evenly over the salmon fillets.
-
5Bake for 15-18 minutes, or until the salmon flakes easily with a fork.
-
6Garnish with fresh parsley and lemon slices before serving.
Approximate Information for One Serving
Nutrition Disclaimers
Number of total servings shown is approximate. Actual number of servings will depend on your preferred portion sizes.
Nutritional values shown are general guidelines and reflect information for 1 serving using the ingredients listed, not including any optional ingredients. Actual macros may vary slightly depending on specific brands and types of ingredients used.
To determine the weight of one serving, prepare the recipe as instructed. Weigh the finished recipe, then divide the weight of the finished recipe (not including the weight of the container the food is in) by the desired number of servings. Result will be the weight of one serving.
Did you make this recipe?
Please consider Pinning it!!