Sourdough Dinner Rolls
Let’s Chat: The First Time I Made These Sourdough Dinner Rolls
Alright, so I have to tell you about the disaster that was my very first attempt at sourdough Dinner Rolls. Picture this: flour clouds hanging in the air like some weird indoor weather, dough stubbornly cemented to my hands, and my grandma quietly witnessing the chaos (her only comment was, ‘Ambitious, aren’t you?’). But, after a few tweaks and way too many flour-dusted tea towels, these rolls have turned into a family thing for us—especially when it’s chilly and you want to make the house smell like a bakery. Plus, there’s something almost therapeutic about poking bubbly dough, waiting (a tad impatiently, not gonna lie), and then seeing those golden pillows come out of the oven. And don’t even get me started on how they look on the table—everyone always grabs one too soon and burns a finger. Classic.
Why You’ll Love These Rolls (From One Home Baker to Another)
I make these when the weather’s just grey enough that I want an excuse to turn the oven on and ignore the laundry for a bit. My family just about loses their minds for them because they’re so fluffy—like, proper elastic bread but with that tangy sourdough thing happening. (My oldest still insists they’re best with way too much butter… he’s not wrong.) I used to dread all the waiting, but now I just use the rise time as my snack break. If you’ve ever wanted to make bread but the idea of working with yeast kinda spooks you, these rolls are much more forgiving than they let on at first glance.
Gathering the Ingredients (Flexible Options Welcome!)
- 1 cup (about 240g) active sourdough starter (mine’s sometimes a bit sluggish—it still works, promise)
- 3/4 cup warm water (not volcanic, just cozy)
- 2 tablespoons sugar (I swap honey in when I’m feeling fancy)
- 3 cups bread flour (honestly, all-purpose is fine in a pinch, and my grandma used to insist on King Arthur but any brand gets the job done)
- 1 1/2 teaspoons salt (I’ve forgotten this before; just… don’t.)
- 1/4 cup unsalted butter, melted (sometimes I use olive oil if I’m running low on butter and can’t face going to the shop)
- 1 egg (for brushing, or skip it to keep things simple)
- Optional: dried herbs or a sprinkle of seeds—only if you’re feeling adventurous
My Kind of Directions (aka The Real Step-by-Step)
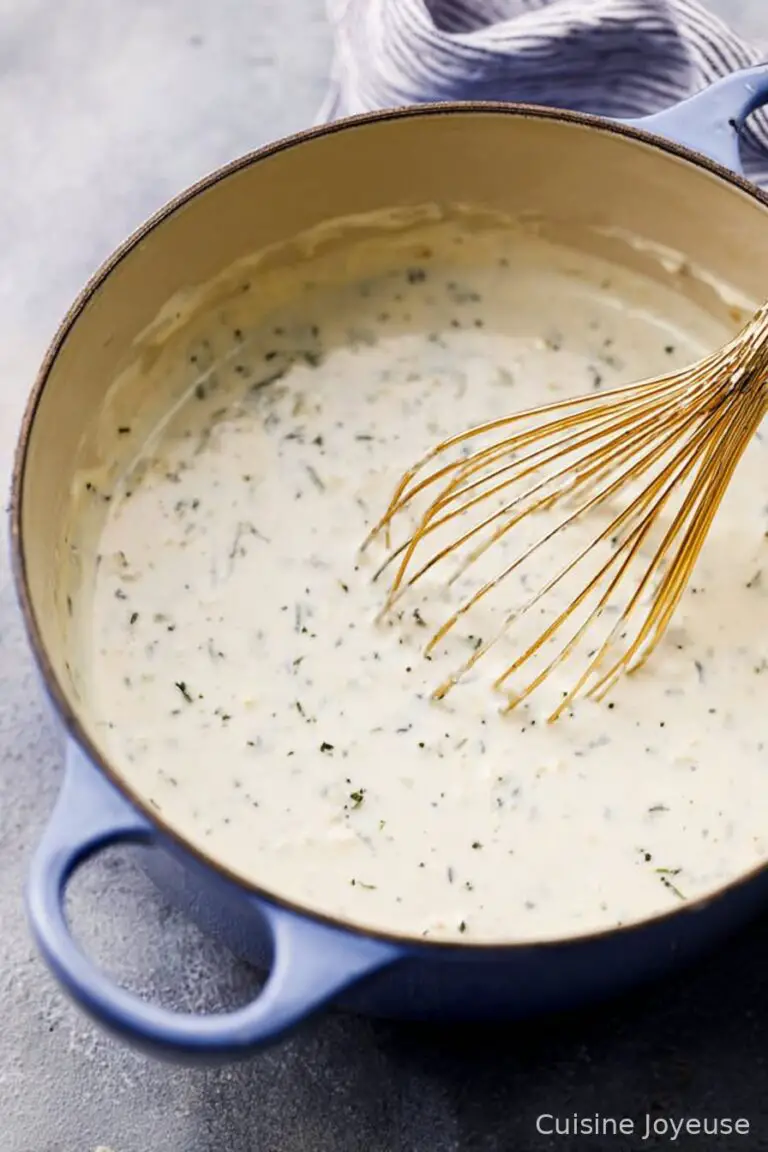
- Start with Your Starter: In a big-ish bowl, mix together the active sourdough starter and warm water. Give it a swirl; smells great, right? Add the sugar (or honey), then stir in about half of the flour and all of the salt. It’s gonna look awkward at this point—almost gluey. Don’t fret.
- Add Melted Butter: Pour in the melted butter, mixing with a wooden spoon or, if you’re bold (and I encourage it), your hands.
- Add the Rest of the Flour: Toss in the rest bit by bit. Stop adding if it feels like the dough can’t handle any more. It should be just slightly sticky but not an absolute mess. If you accidentally dump in too much, add a splash of water—problem solved.
- Knead: Knead for 6-8 minutes. Sometimes I get tired and just do five, shh. You want it smooth, stretchy, and a little bouncy. It’s basically playdough for grownups.
- First Rise: Stick the ball in a greased bowl, cover with a damp tea towel (I use one with a suspicious tomato sauce stain) and leave for 4-6 hours, until it’s puffy and roughly doubled. Honestly, I often run errands during this, so don’t stress exact timing.
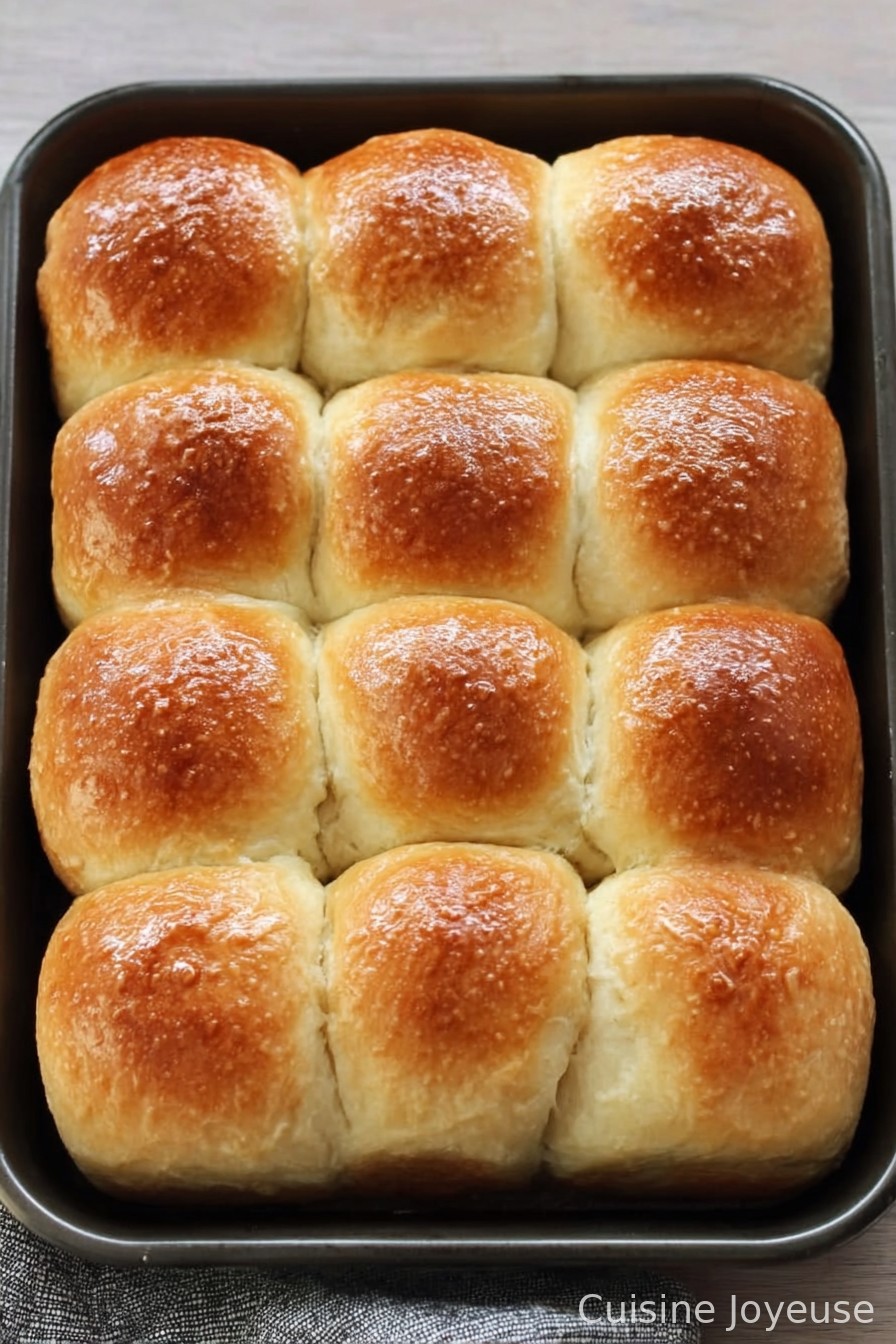
- Shape the Rolls: Dump the dough onto a floured surface, pat down, and cut into 10-12 blobs. Roll each into a ball-ish shape. They’re never perfectly round; c’est la vie.
- Second Rise: Place in a buttered or parchment-lined dish (a cake tin, a tray, whatever fits), cover, and let clingfilm-magic do its thing. Another 2-3 hours, or until they’re puffy enough that you want to poke them (gently).
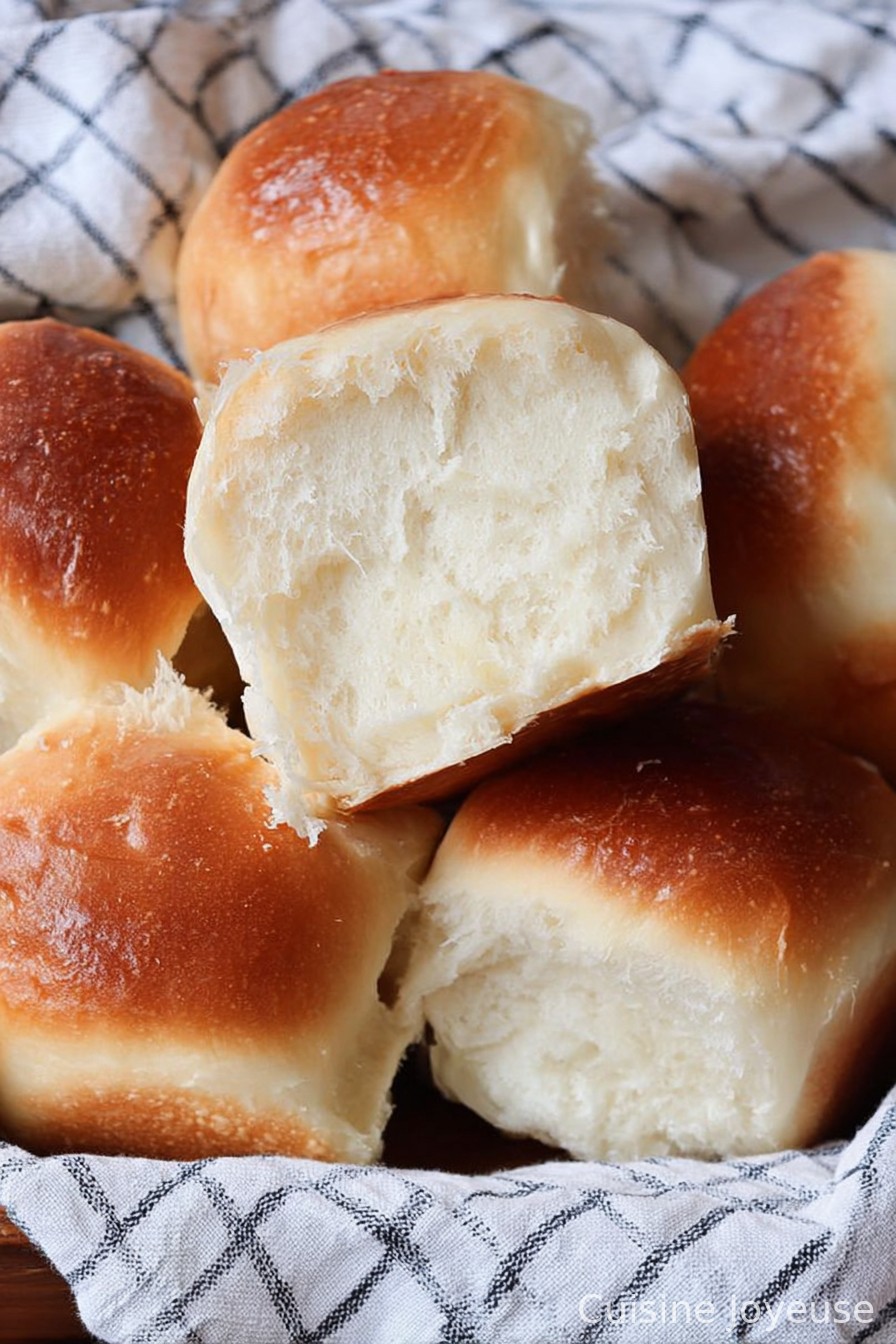
- Bake: Preheat oven to 375°F (190°C). Beat the egg and brush the tops if you want that bakery glow (I sometimes just go plain). Bake for 22-27 minutes, turning once if your oven is, well, moody like mine. Tops should be golden brown, possibly a little uneven—life’s too short for uniform rolls.
- Cool Slightly: Try to give them 10 minutes to cool. Or just tear one apart and burn your mouth for the full experience.
Some Random Notes I’ve Picked Up (the Hard Way)
- If you only have bubbly starter but not active: just let the dough rise longer. Nothing bad happens; it just takes its sweet time.
- Sometimes my dough looks a bit flat at the first rise—almost always perks up during the second rise so don’t panic early.
- I cleaned my oven halfway through once and got distracted, left the door open a touch too long—rolls survived, just a bit crispier than I’d planned. Not awful though.
Variations: Kitchen Experiments That (Mostly) Worked
- Garlic Butter Rolls: Brushed warm rolls with garlicky melted butter. Friends inhaled them.
- Cheese Scatter: Tossed grated cheddar in before shaping. Slightly wild but very gooey.
- Whole Wheat Attempt: Swapped half the white flour for whole wheat—let’s just say it was a bit too earthy for us. Maybe 1/3 is safer.
Equipment: No Fancy Gadgets Here (Well, Mostly)
I usually use a stand mixer because I’m lazy, but I’ve kneaded by hand plenty of times (though usually with dough sticking between my fingers). If you don’t have a bench scraper, just grab a butter knife. And honestly, any oven-proof dish works, just don’t go too shallow.
Storage—Not That You’ll Get the Chance
Technically, you can keep these in an airtight box for about two days, or freeze for up to a month. But honestly? In my house, there’s maybe one left in the morning and that’s only if someone forgot their late snack.
How We Serve Them: The Family Ritual
We’re big on splitting them open and slathering with salted butter. Sometimes soup’s involved, sometimes it’s just a stealthy roll pilfered on the way past the kitchen. My dad likes his with homemade jam—odd, but it works.
The Ah-ha Moments: ‘Pro’ Tips I Learned the Hard Way
- Once I rushed the second rise and wound up with, um, hockey pucks. Actually, I find it works better if you don’t skip that step.
- Too much flour dries them out, so err on the side of sticky (you can always dust with flour after).
- Oh, and don’t forget the salt. They taste strangely bland and weirdly sweet without it.
Some FAQs I’ve Actually Been Asked (No, Really)
- What if my starter isn’t super bubbly?
- It’s fine! Just give your dough longer to do its thing—or refresh your starter first if you’re feeling extra cautious.
- Can I use all whole wheat flour?
- You can, though they’ll be a bit heftier (and not quite as fluffy). I’d go with a mix, honestly.
- Why did my rolls end up flat?
- Usually it’s under-fermentation or you got a bit heavy on the flour. Let them rise longer next time and try less flour—trust me, I’ve messed this up before!
- Do I have to use an egg wash?
- Nah, skip it if you want. They’ll just be a little paler, but still delicious.
- Can I mix by hand?
- Yup. It’s a bit of a workout, but oddly satisfying. Use a wooden spoon (or, when you lose that, just your hands).
Anyway, I hope you give these a crack! Sourdough dinner rolls are honest-to-goodness easier than they seem, and baking them always makes you feel (just a little) like a wizard.
Ingredients
- 2 cups bread flour
- 1 cup all-purpose flour
- 1 cup active sourdough starter (100% hydration)
- 3/4 cup whole milk, lukewarm
- 2 tbsp unsalted butter, softened
- 1 tbsp sugar
- 1 tsp salt
- 1 egg, for egg wash
Instructions
-
1In a large bowl, mix together the bread flour, all-purpose flour, sugar, and salt.
-
2Add the active sourdough starter, lukewarm milk, and softened butter. Mix until a dough forms.
-
3Knead the dough for about 8-10 minutes until it is smooth and elastic. Cover and let rise at room temperature for 90 minutes, or until doubled in size.
-
4Divide the dough into 12 equal pieces. Shape each piece into a ball and arrange in a greased baking dish.
-
5Cover the rolls and let them rise for another 45 minutes. Preheat the oven to 375°F (190°C).
-
6Brush the tops with beaten egg and bake for 20-22 minutes, or until golden brown. Let cool slightly before serving.
Approximate Information for One Serving
Nutrition Disclaimers
Number of total servings shown is approximate. Actual number of servings will depend on your preferred portion sizes.
Nutritional values shown are general guidelines and reflect information for 1 serving using the ingredients listed, not including any optional ingredients. Actual macros may vary slightly depending on specific brands and types of ingredients used.
To determine the weight of one serving, prepare the recipe as instructed. Weigh the finished recipe, then divide the weight of the finished recipe (not including the weight of the container the food is in) by the desired number of servings. Result will be the weight of one serving.
Did you make this recipe?
Please consider Pinning it!!