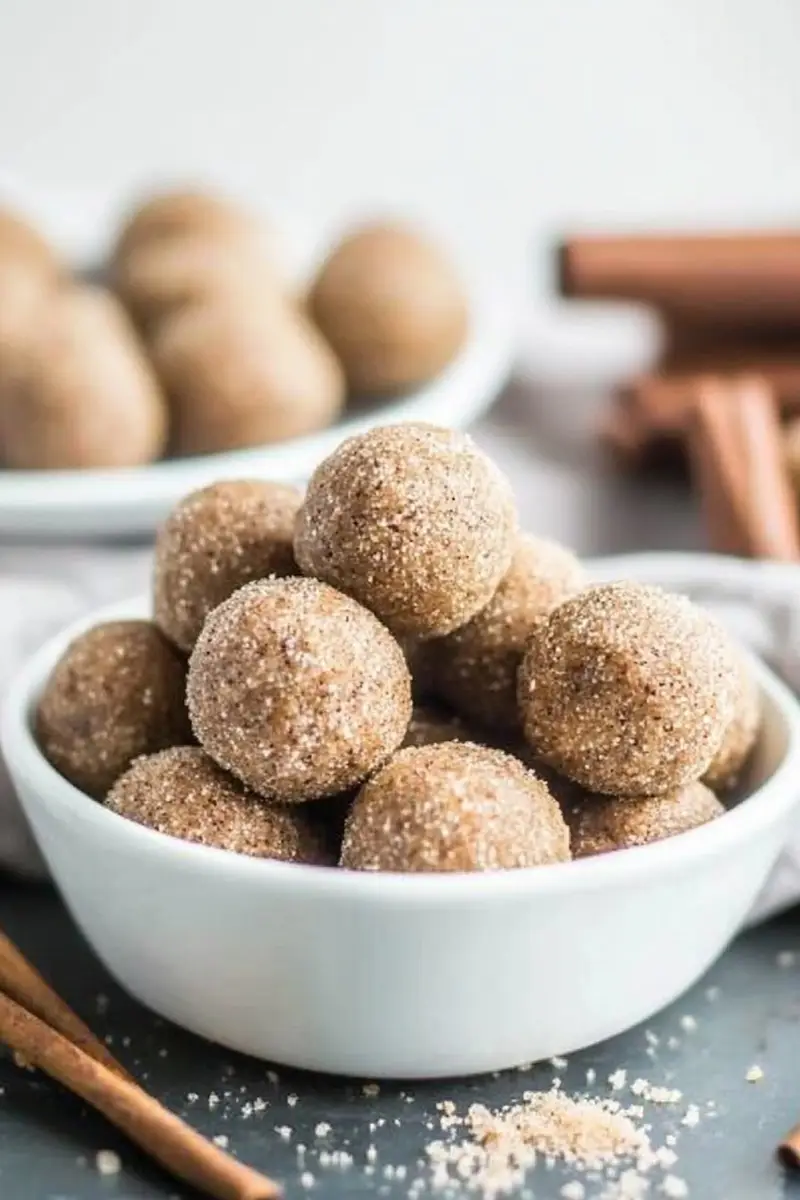
Snickerdoodle Protein Balls (Gluten Free)
Hey there friend! So, I was rummaging through my pantry the other day, looking for a snack that wasn’t just another handful of almonds, when I stumbled upon this recipe for Snickerdoodle Protein Balls. Honestly, who doesn’t love snickerdoodles, right? It took me back to my college days when I’d whip up a batch while cramming for finals – those were the days of caffeine and cookies. But now, I’ve transformed this nostalgic treat into something a tad healthier. Let’s dive in!
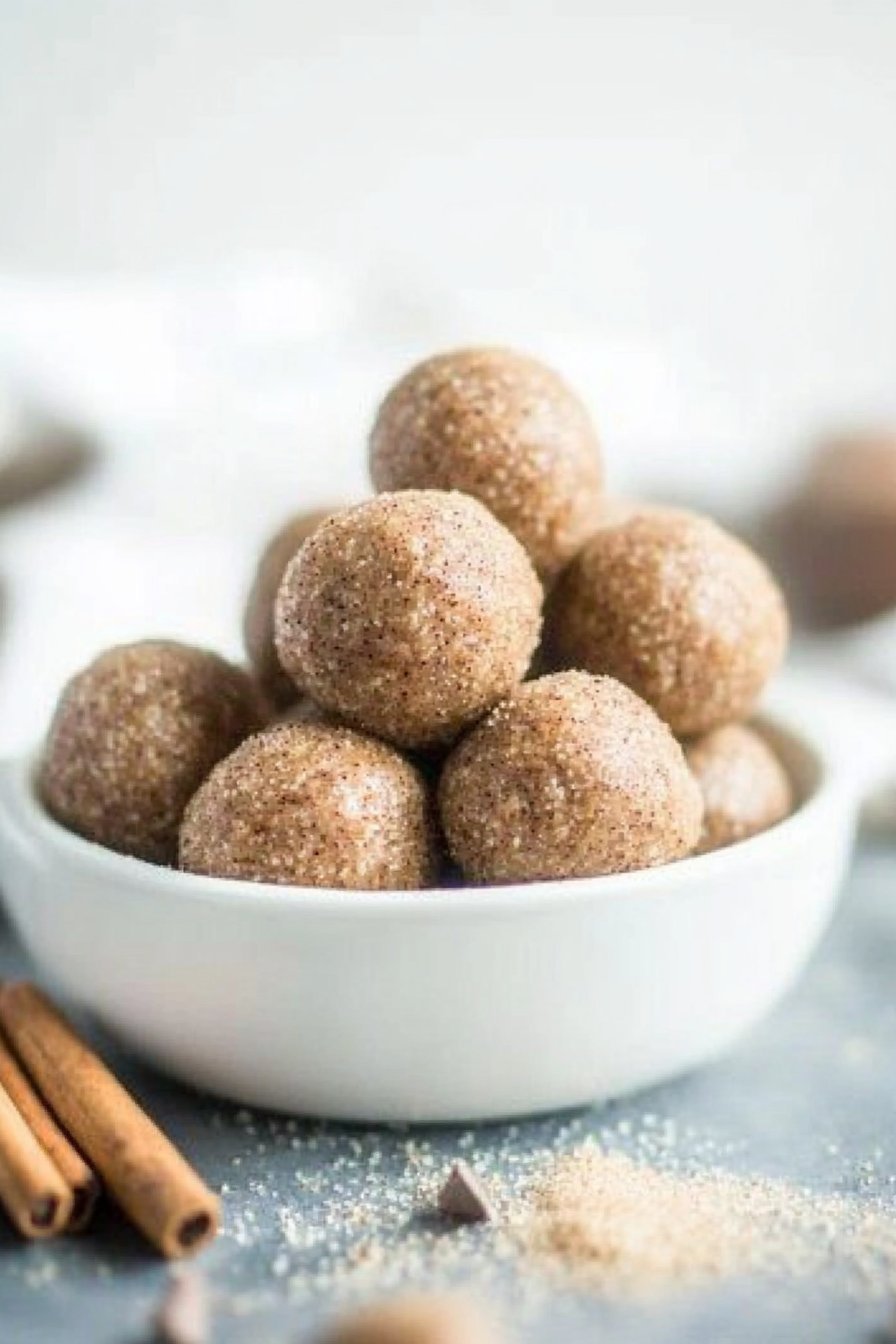
Why You’ll Love This
I make these whenever I’m in need of a quick, healthy snack that feels a little indulgent. My family goes crazy for them because they’re just sweet enough to satisfy those mid-afternoon cravings (without the sugar crash). Plus, they’re gluten-free, which is a must in our house. And honestly, I love how easy they are to throw together – a little too easy maybe, since they disappear so fast!
What You’ll Need
- 1 cup almond flour (sometimes I swap this for oat flour if I’m out)
- 1/2 cup vanilla protein powder – any brand works
- 1/4 cup maple syrup (or honey, if you prefer)
- 1 tsp cinnamon (my grandma was adamant about using Ceylon, but I say use what you’ve got)
- 1/2 tsp vanilla extract
- A pinch of salt
- Optional: 1/4 cup mini chocolate chips for extra yum
How to Make ‘Em
- Mix together the almond flour, protein powder, cinnamon, and salt in a bowl. This is where I usually sneak a taste – quality control, right?
- Add in your maple syrup and vanilla extract. Stir until everything’s well combined. Don’t panic if it looks a bit dry, just keep mixing – it’ll come together.
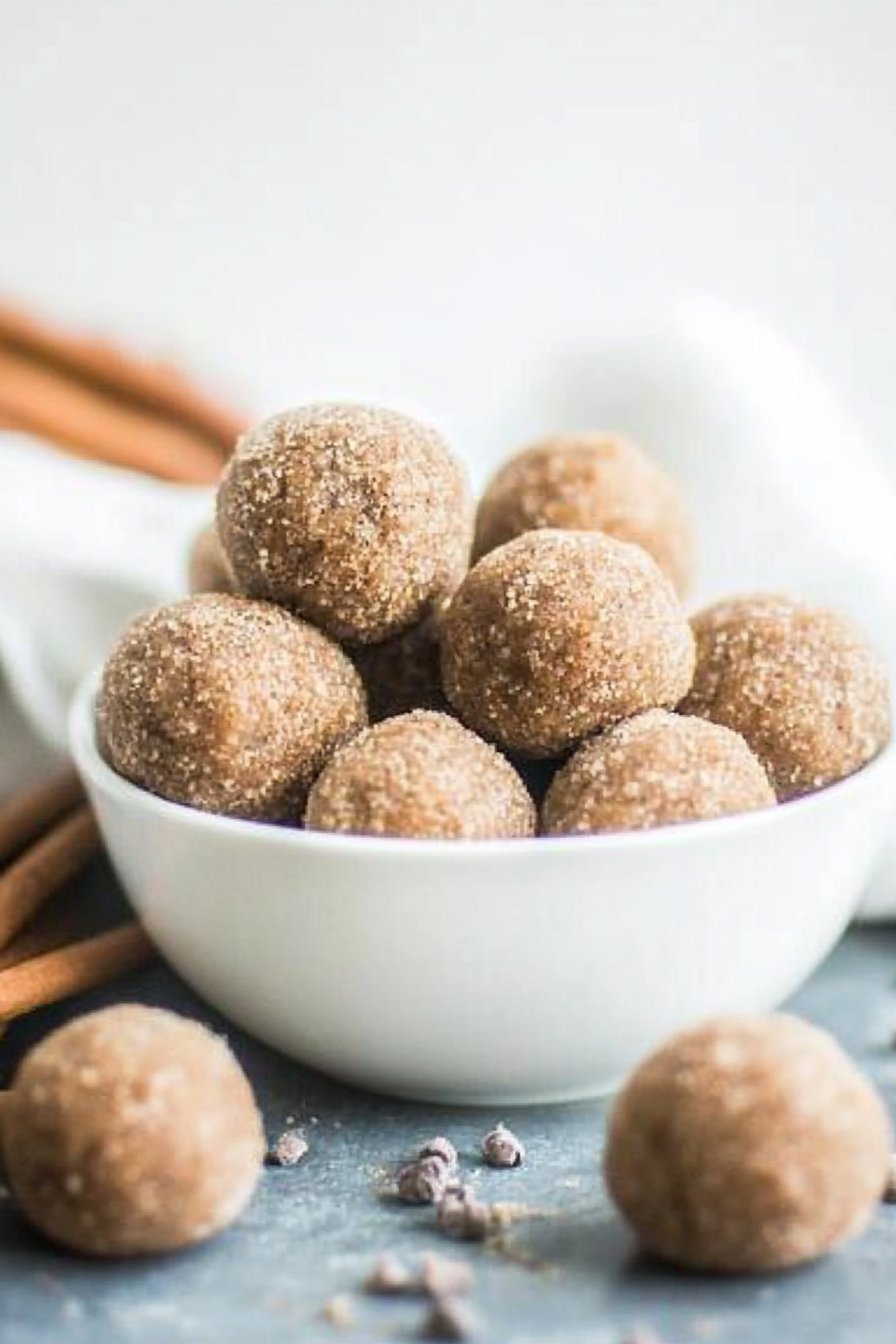
- Here’s the fun part: Roll the mixture into small balls. I make mine about a tablespoon each, but who’s really measuring?
- If you’re feeling fancy, roll the balls in a little extra cinnamon for that extra snickerdoodle kick.
- Pop them in the fridge for about 30 minutes to firm up. Or, you know, just start snacking immediately if you can’t wait.
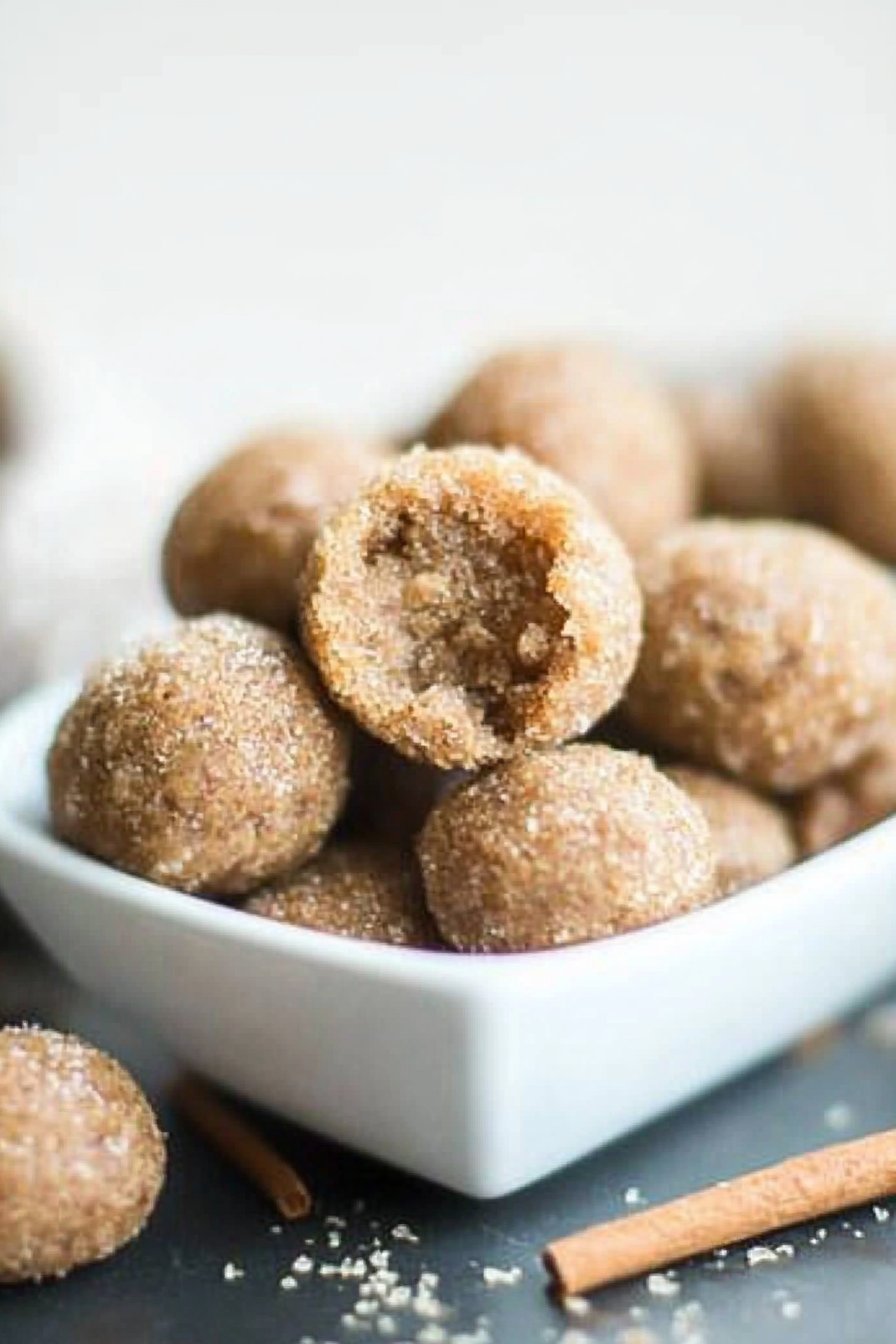
My Notes on the Process
Honestly, I’ve learned that a little extra maple syrup can make the texture just right if it’s too crumbly. Oh, and rolling them in cinnamon sugar is totally worth the sticky fingers.
Variations I’ve Tried
Once I got adventurous and added a sprinkle of nutmeg – not my best idea. But adding a scoop of peanut butter? Pure magic. Try it!
Tools You’ll Need (Or Not)
A mixing bowl and a sturdy spoon are key. Though if you don’t have a mixing bowl, a big Tupperware works in a pinch. And a spoon. Or just use your hands, like I often end up doing.
Storage (If They Last That Long!)
These should keep in an airtight container in the fridge for about a week. But honestly, in my house, they never last more than a day.
Serving Ideas
I love having these with my morning coffee for a little extra protein kick. My kids love them as an after-school snack (with a glass of milk, of course).
Pro Tips to Avoid My Mistakes
I once tried making a double batch and rushed through the mixing – big mistake. Take your time with it, and they’ll turn out perfect.
FAQs From My Kitchen to Yours
- Can I freeze these? Absolutely – just pop them in a freezer bag. They’re great when you need a quick snack!
- What if I don’t have protein powder? No worries, just add extra almond flour and a bit more vanilla if you like.
- Are these okay for kids? Definitely! My little ones love them, though they’d eat anything covered in cinnamon.
And there you have it, a totally tasty treat that’s easy to whip up and even easier to devour. Happy snacking!