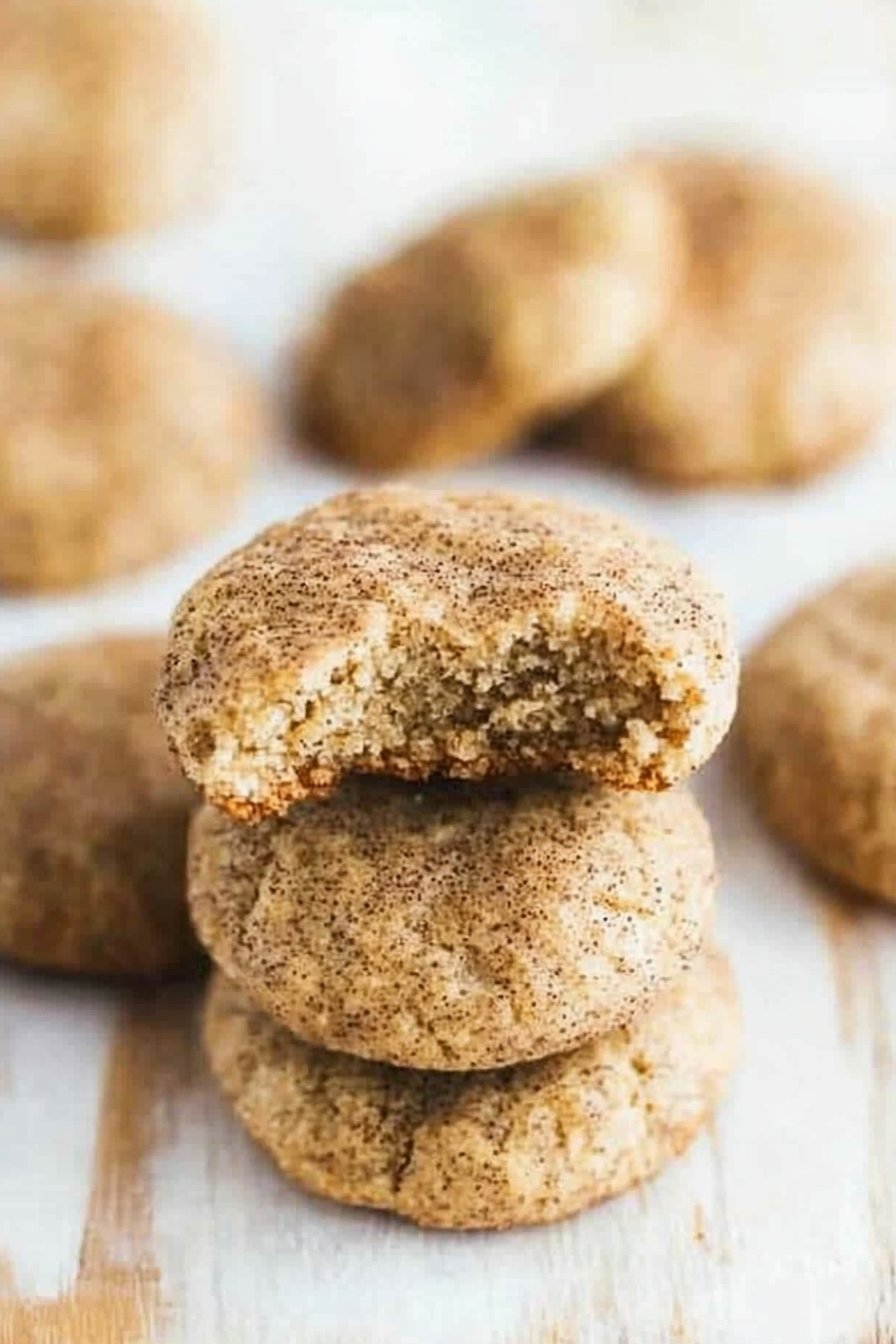
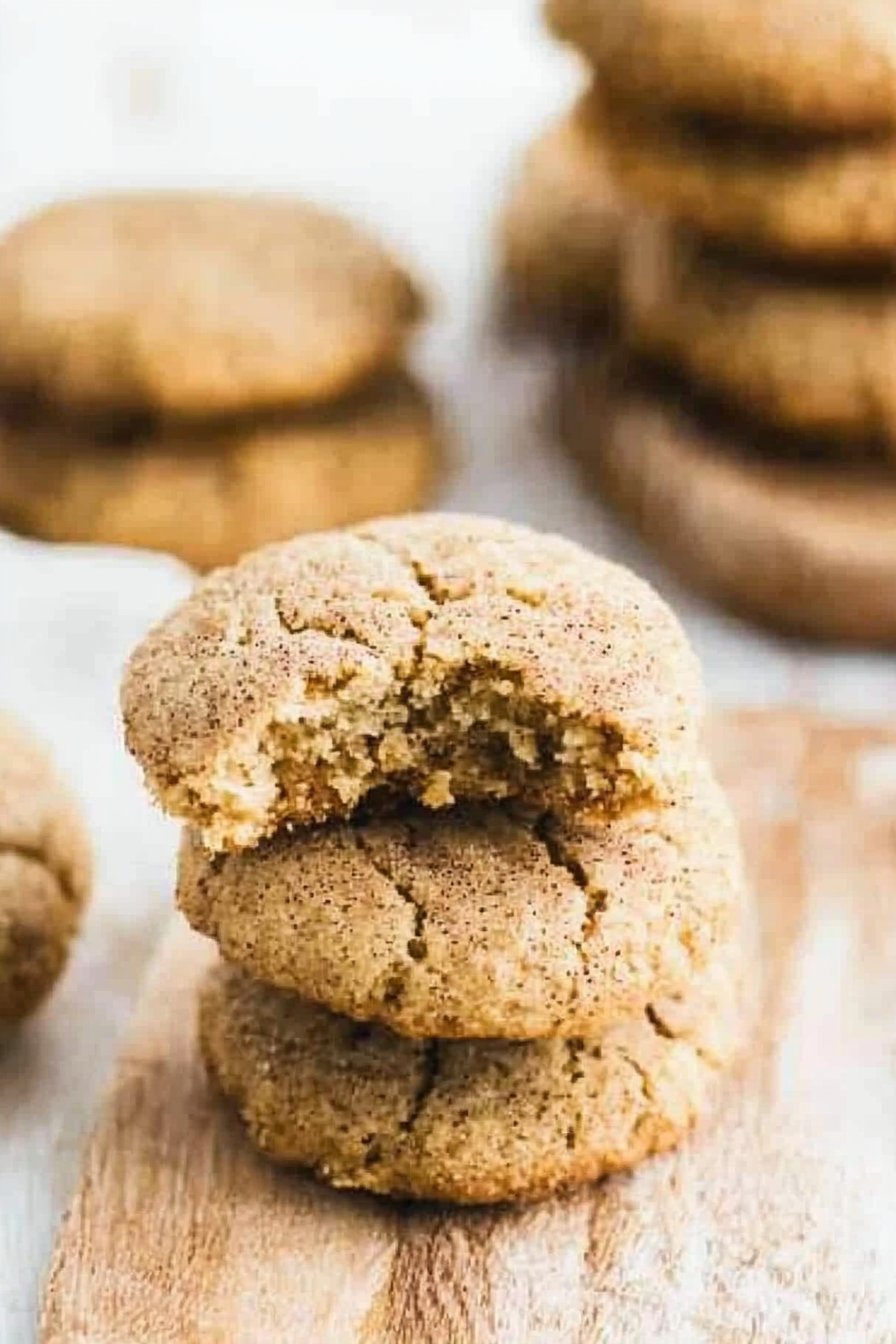
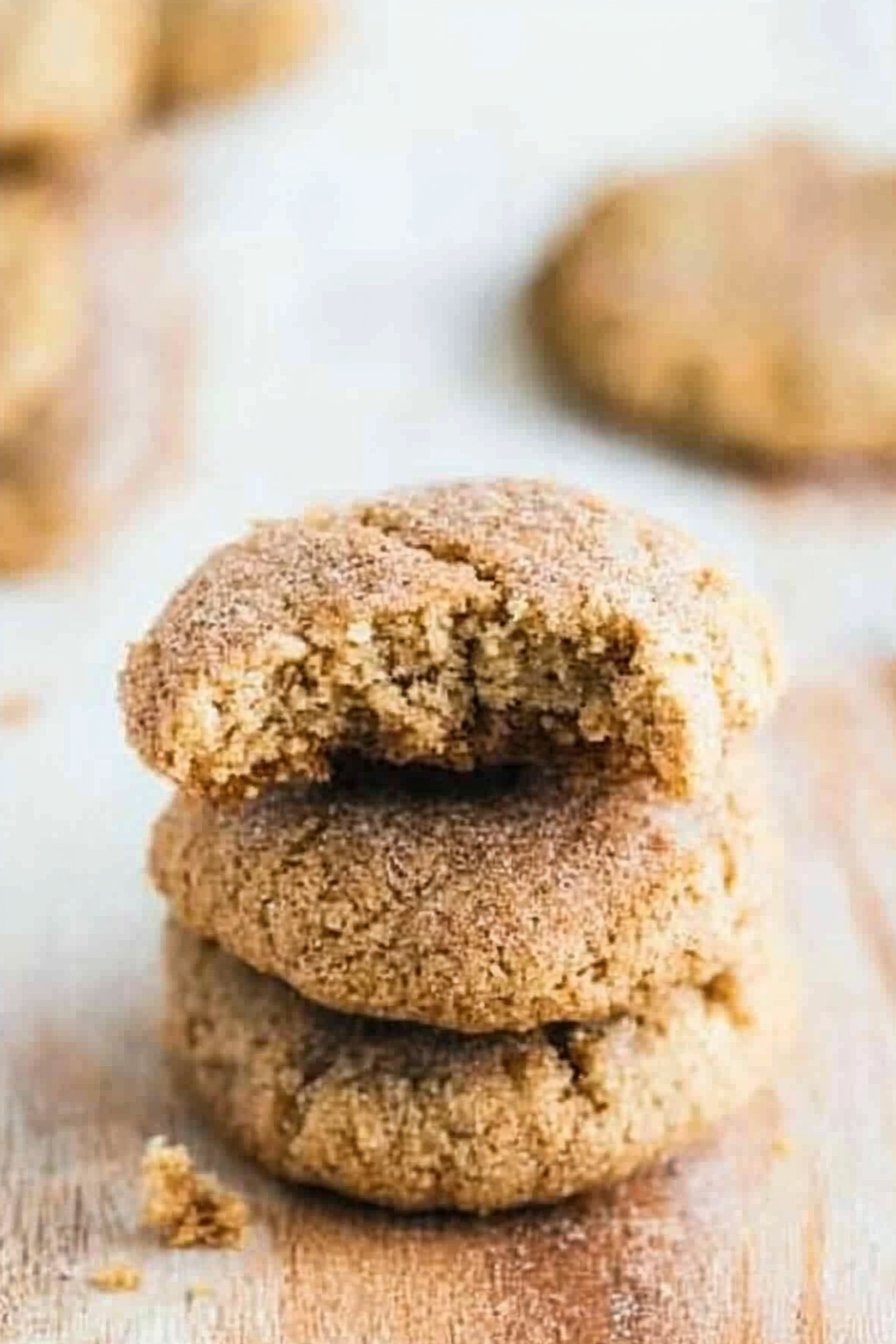
Paleo + Gluten Free Snickerdoodles
Hey friend! So, let me tell you about this time I tried making snickerdoodles without the usual wheat flour. You see, I had just started on this paleo kick—yeah, me, avoiding grains—and I was craving something sweet. Honestly, I didn’t even know what paleo meant at first, but it turns out you can still enjoy cookies, which is a relief because, who can say no to a good snickerdoodle, right? Anyway, these Paleo + Gluten Free Snickerdoodles have become a staple in my house, and I think you’ll love them too.
Why You’ll Love This
I make these whenever there’s a cozy afternoon calling for some baking therapy, and my family? They go absolutely nuts for them (not literally, thankfully, since they’re nut-free). Sometimes I even catch them sneaking into the kitchen for just one more. Plus, they don’t take long at all, which is perfect because patience isn’t my strong suit—especially when there’s cinnamon involved. Oh, and the smell while they’re baking? Heavenly.
What You Need
- 2 cups almond flour (I’ve tried hazelnut flour too, but it gets pricey!)
- 1/4 cup coconut oil, melted (butter works if you’re not strictly paleo)
- 1/4 cup honey (maple syrup if I’m out)
- 1 teaspoon vanilla extract (or a splash more if I’m feeling wild)
- 1 teaspoon baking soda
- 1/4 teaspoon salt
- 1 tablespoon ground cinnamon
- 1/4 cup coconut sugar for rolling
How to Make ‘Em
- Preheat your oven to 350°F (175°C). This is about the time I start dancing around the kitchen, just because.
- Mix the almond flour, baking soda, and salt in a bowl. I usually sneak a taste here, because, why not?
- In another bowl, combine the melted coconut oil, honey, and vanilla. Mix until it looks pretty well combined—like, a bit gooey but not too much.
- Combine the wet and dry ingredients. You might think it looks a bit crumbly, but keep mixing. It all comes together!
- In a small bowl, mix the cinnamon and coconut sugar. Roll the dough into small balls, then coat them in this sugary cinnamon goodness.
- Place the balls on a baking sheet lined with parchment paper. Gently flatten them with your hand. Not too thin—just a little squish.
- Bake for 8-10 minutes. They’ll look a bit underdone at first, but trust me, they’ll firm up as they cool. And don’t worry if they seem too soft when they come out—they harden up nicely.
Some Notes
I once tried replacing the coconut oil with olive oil. Let’s just say, my taste buds weren’t impressed—it was a bit too savory. If you’re out of coconut sugar, regular sugar works too, but it changes the texture a bit. Actually, I find it works better with coconut sugar since it gives that nice caramel hint.
Fun Variations
I’ve experimented with adding a pinch of nutmeg or cardamom for a warm twist. Once, I tried adding chocolate chips—because, chocolate—but they didn’t quite hold together. Lesson learned: less is more sometimes!
If You Don’t Have…
Don’t have a rolling pin handy? A wine bottle does the trick! I mean, it’s round, and in my house, always within reach.
Storing These Beauties
You can keep these in an airtight container for about a week. But honestly, in my house, they never last more than a day! If you’re thinking of making a double batch, maybe consider hiding a few for later.
Serving Suggestions
These cookies are perfect for dunking! My family loves having them with a glass of almond milk. We even have this tradition of sharing them during movie nights. It’s cozy, and they feel like a treat without being overly indulgent.
Pro Tips
I once tried rushing the cooling process by putting them in the fridge, only to find out that they get a bit too hard. Best let them cool naturally; patience is key here!
Curious About…
Do I really need coconut sugar? Well, I think it adds a unique flavor, but regular sugar works if you’re in a pinch. But if you’re after that caramel note, coconut is your buddy.
Can I freeze the dough? Yes! Roll them into balls, freeze on a baking sheet, then pop them into a bag once frozen. Perfect for when you just want a few fresh cookies (or have unexpected guests).
Why do they look underdone? Ah, don’t worry! They continue to cook a bit on the baking sheet. They’ll firm up nicely, I promise.