One Pan Dumpling Bake
The Cozy, Clumsy Magic of One Pan Dumpling Bake
If you, like me, have found yourself standing in the kitchen on a Wednesday night, staring down a pile of dirty dishes and wondering how life got this complicated — well, this recipe is for you. One Pan Dumpling Bake is my weeknight lifeline, especially when I don’t want to choose between real food and my sanity. I first whipped this up when my old mate Dave came over and announced (with no warning) that he’s gone vegetarian for the month; turns out, you can swap fillings and nobody complains when there are carbs and a golden crust involved. Anyway, if you like dinner that doesn’t judge you for eating seconds (or thirds – hey, no judgment here), come along!
Why You’ll Love This (And Why I Make It… A Lot)
I make this One Pan Dumpling Bake when: the weather’s making everything grey, my fridge is looking a bit sad, or I just want the whole place to smell like a hug. My family goes bananas for this because they can dig straight in and nobody fights over crispy edges (who are these people who don’t eat the corners first?).
Oh, and if you’re thinking you’ll need ten mixing bowls — nope, just one trusty pan (and maybe a spatula if you’re feeling fancy). I used to get stressed about the dumplings sinking — light as a feather, not every time — but now I figure, happy accidents taste just as good.
Here’s What You’ll Need (Substitutions Welcome!)
- 2 cups all-purpose flour – I’ve sometimes swapped in half whole-wheat flour when I’m feeling virtuous – not that you’ll notice much.
- 1 tablespoon baking powder – my grandmother always swore by Clabber Girl, but honestly, store brand works.
- 1/2 teaspoon salt (a pinch more if you’re feeling cheeky)
- 1/2 cup cold unsalted butter, cubed (I’ve literally melted and cooled margarine in a pinch; it’s not bad!)
- 3/4 cup milk (dairy or unsweetened oat milk both serve, and in emergencies… watered-down yogurt, though don’t ask how I found that out)
- 1 large egg (or skip it entirely, the bake survives)
- 2 cups mixed cooked veggies (anything goes – I’ve done leftover roasted potatoes, peas, carrots, even green beans once, but leave out corn if you must)
- 1 1/2 cups shredded cooked chicken, mushrooms, or tofu – depends on the guest, honestly
- 1 can condensed cream of chicken soup (or mushroom – when Dave’s around, can’t forget!)
- 1/2 cup grated cheddar (though a handful more never hurts, or whatever’s at the bottom of the cheese drawer)
- Fresh herbs if you’ve got ‘em (and if not, no worries; dried parsley is your mate)
How to Make It (A Little Chaos is Normal)
- Preheat your oven to 200°C/400°F. Or 390F, if your oven has “attitude” – mine is always 10 degrees off, and I just live with it.
- Grab a large ovenproof skillet or casserole dish; if you only have a roasting pan, use that. Grease it with butter or a quick spray of oil (don’t be shy, it loves a bit extra).
- In a bowl, tip in the flour, baking powder and salt. Mix together. Toss in the butter chunks, then rub them in with your fingers. It’ll look like crumbly sand. (Oddly relaxing, actually.)
- Stir in milk and the egg – kind of gently, don’t overthink it. If it’s a little sticky, that’s just right.
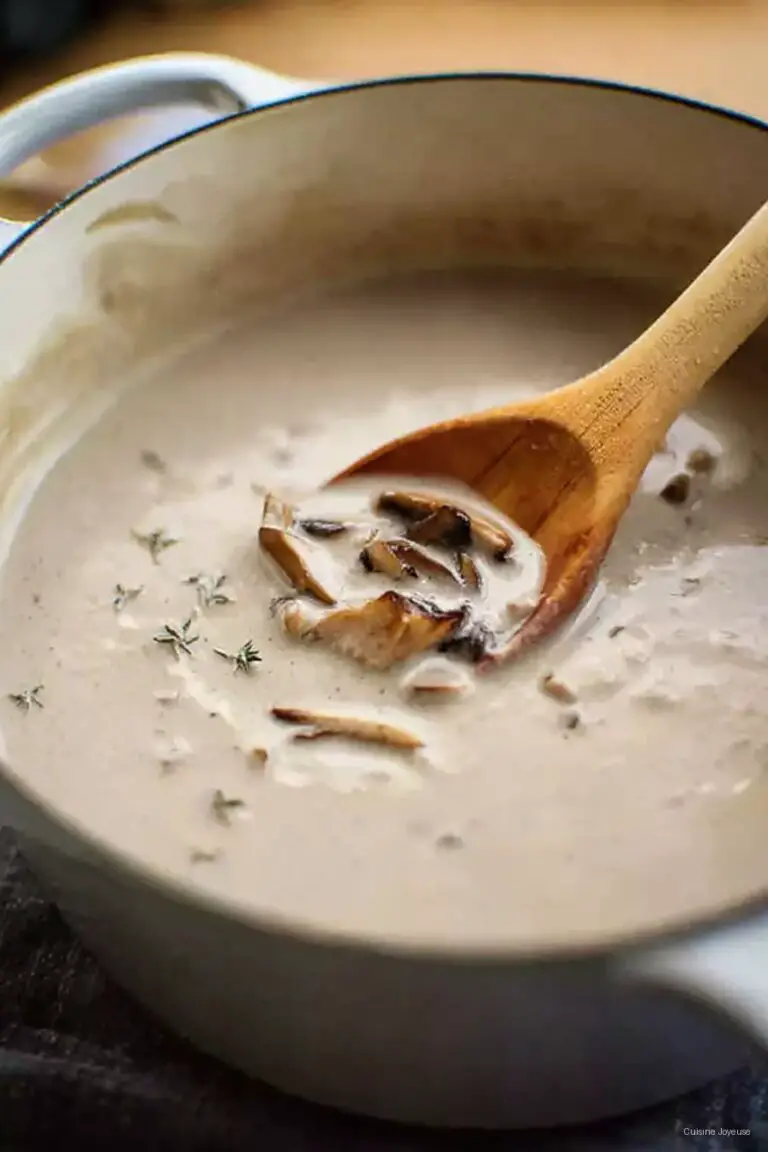
- Now, here’s where I usually panic about the filling – mix the veggies, meat (or whatever), soup, and about half the cheese directly in the pan. Just spread it out, don’t fuss. Splay the dumpling dough over the top in rough spoonfuls.
- Scatter the rest of the cheese and any herbs you like over the whole thing. Pause to sneak a shred or two. It’s part of the process, trust me.
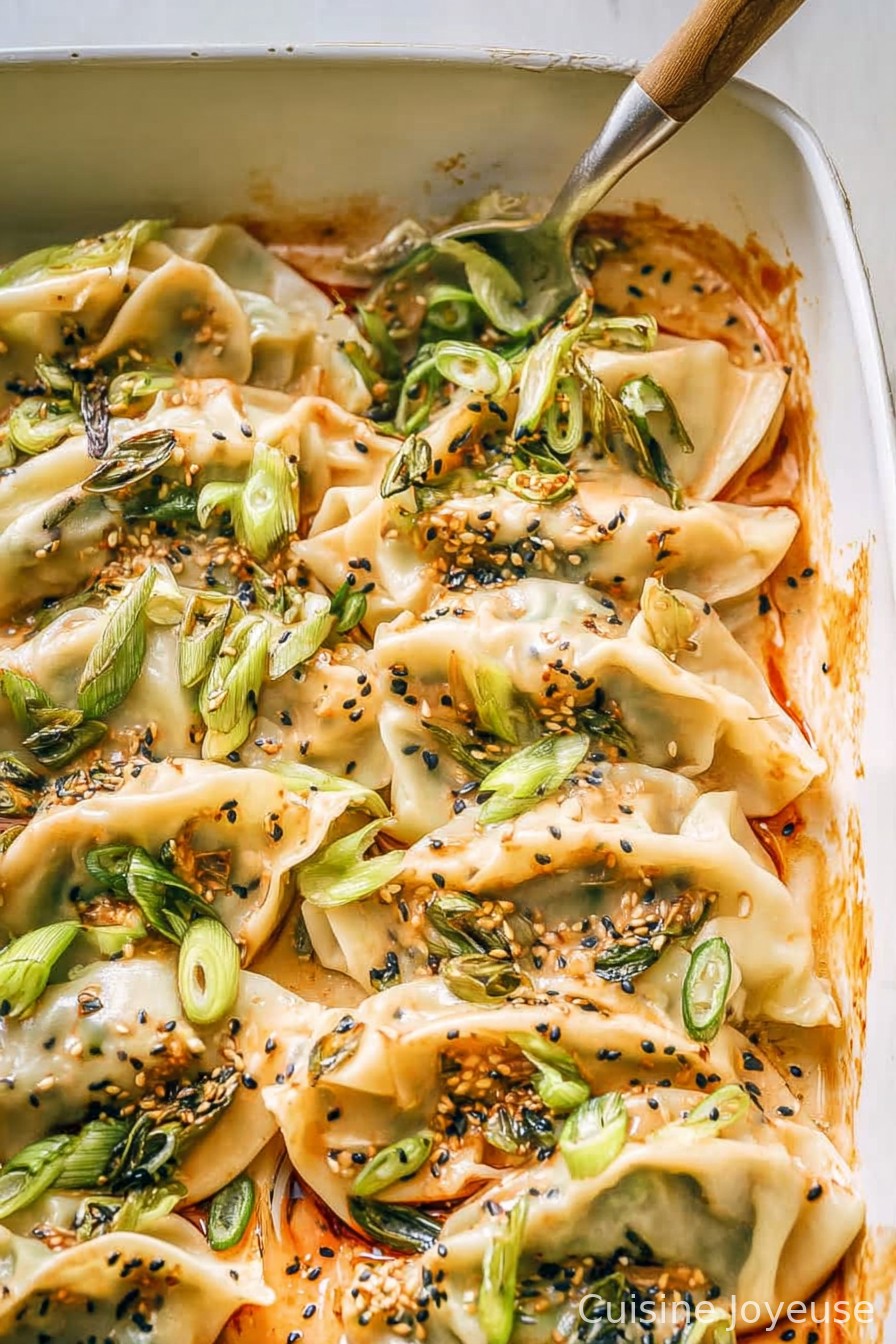
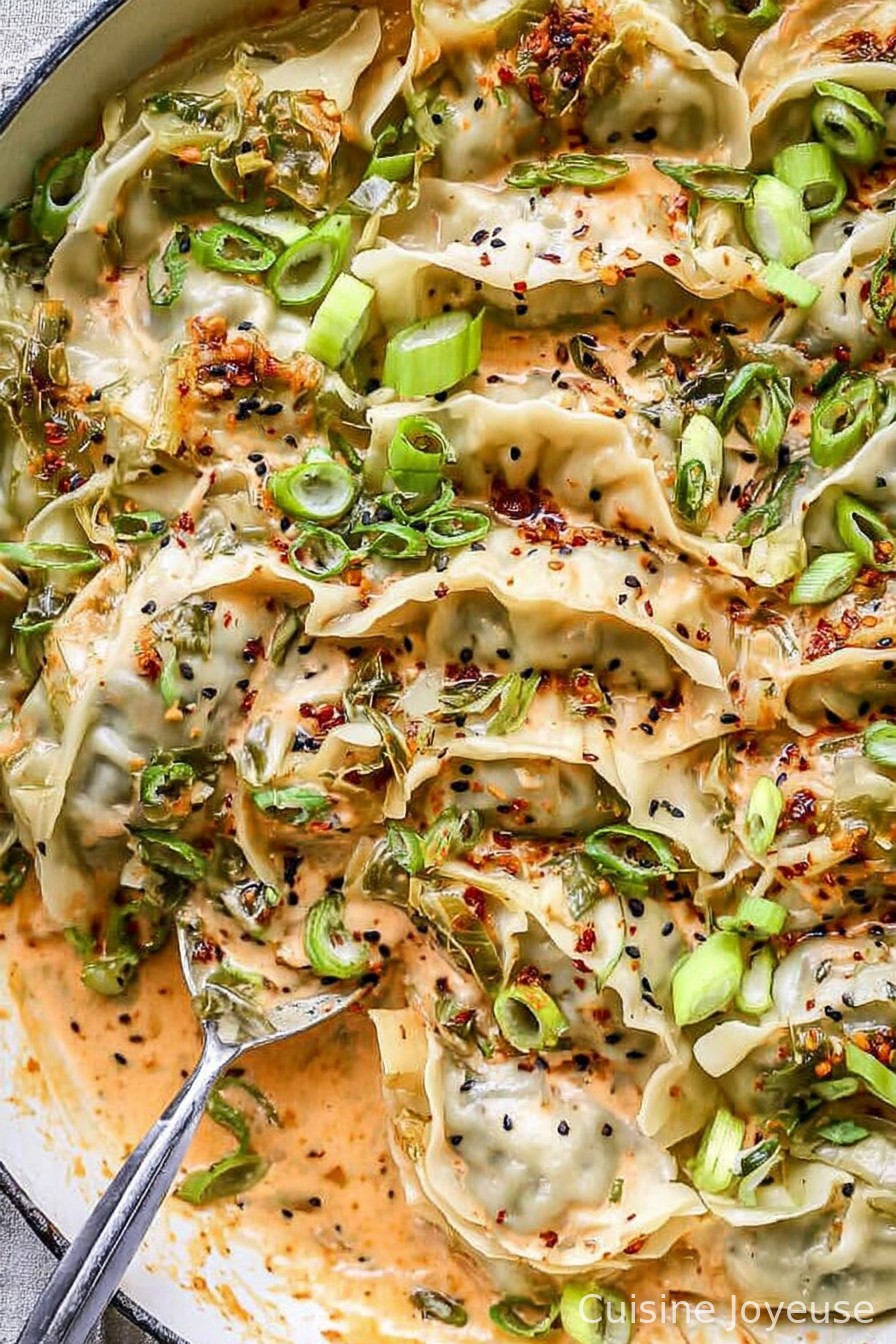
- Bake, uncovered, for about 25 minutes (I check after 20). If you see golden, puffy dumpling islands and bubbling edges, you’ve nailed it. And if it looks a little lumpy, that’s even better.
- Cool for 5 minutes (or as long as you can stand – my patience is questionable here), then serve straight from the pan.
What I’ve Learned from Making This (Notes)
- If you want super crispy tops, brush a little extra milk over the dumplings before baking. Or don’t. It’s decent either way.
- You can mix everything up to a few hours in advance – just refrigerate, then bake when you want. (I did forget it overnight once. Tasted fine.)
- My biggest tip: trust your nose. If it smells toasty and comforting, it’s probably done even if the timer isn’t convinced.
Some Variations (Good, Bad, and Weird)
- I tried adding hot sauce to the dough – it didn’t go over well, but if you’re feeling adventurous, maybe a little splash in the filling is nicer.
- Lentil filling works, but if you go all beans, it might get a bit mushy (lesson learned.)
- Top with sliced tomatoes or jalapeños for something different. The cheese underneath kind of bubbles like a pizza; extra fun if you’ve got skeptical kids.
What If You Don’t Have a Casserole Dish? (Equipment Talk)
You technically need a casserole dish or a skillet that’s safe for the oven, but I once made this in a foil roasting tray. Worked fine! Honestly, use what you’ve got; I even doubled the recipe once and used a battered lasagna pan. Just don’t use your best nonstick skillet—it warps under high heat, which is how I learned.
How Do I Store This? (And Will You Even Need To?)
To be honest, this dish rarely lasts overnight at my place; my partner’s usually standing at the fridge picking at it before bedtime. But if you do have leftovers, store in the fridge (airtight container, smart thing) for up to 2 days. Microwave or oven reheats work. I think it even tastes better the next day, but maybe that’s just me.
How I Like to Serve It
I love it with a heaping spoon of tangy yogurt or sour cream on top. My kid dunks it in ketchup (don’t judge). Sometimes we pile it on steamed greens; once, I spooned it over reheated rice – not traditional, but that’s home cooking, right?
My Pro Tips, Learned the Hard Way
- I once tried to rush the baking step; the dumplings looked set but were still doughy in the middle – not my finest moment. Actually, I find it works better if you let it bake right until the tops are seriously golden.
- Don’t overmix the dough – or it’ll get tough. (Though honestly, a little chewy edge is fine by me.)
Your Questions, Answered
- “Can I use self-raising flour instead?”
Sure, just skip the baking powder. I do this when I can’t be bothered to measure properly! - “Is there a vegan way?”
Absolutely, swap the milk and butter for plant based, skip the egg, and use a creamy vegan soup. It’ll be slightly different, but still grand. - “Does it freeze?”
Eh, it’s okay. The texture’s a bit softer after defrosting, but totally edible. Wrap well if you go this route. - “Do I have to pre-cook the filling?”
I recommend it, but honestly, if everything’s bite-sized and you bake long enough, you can get away with raw – just check with a fork before serving. (Ask me how I know…) - “Why is my bake runny?”
Probably too much soup or big veggies – or you just like it saucy! If you want it thicker, cut back on the liquid next time.
And before I forget – once my neighbour borrowed a cup of cheese for his version and brought back half a pan as thanks. (I say, keep a little extra cheese on hand. You never know when you’ll need it.)
Ingredients
- 2 cups cooked shredded chicken
- 1 cup frozen mixed vegetables
- 1 small onion, diced
- 2 cloves garlic, minced
- 1 can (10.5 oz) cream of chicken soup
- 1/2 cup milk
- 1 cup all-purpose flour
- 1 1/2 teaspoons baking powder
- 1/2 teaspoon salt
- 1/2 cup milk (for dumplings)
- 2 tablespoons unsalted butter, melted
- 1/4 teaspoon black pepper
Instructions
-
1Preheat the oven to 400°F (200°C).
-
2In a large oven-safe skillet, combine the cooked chicken, frozen mixed vegetables, diced onion, minced garlic, cream of chicken soup, 1/2 cup milk, salt, and black pepper. Stir well and heat over medium until bubbling.
-
3In a separate bowl, whisk together the flour, baking powder, and a pinch of salt. Stir in 1/2 cup milk and melted butter until a soft dough forms.
-
4Drop spoonfuls of the dumpling dough evenly over the chicken and vegetable mixture in the skillet.
-
5Transfer the skillet to the preheated oven and bake for 30-35 minutes, or until the dumplings are golden and cooked through.
-
6Let cool for a few minutes before serving. Enjoy warm.
Approximate Information for One Serving
Nutrition Disclaimers
Number of total servings shown is approximate. Actual number of servings will depend on your preferred portion sizes.
Nutritional values shown are general guidelines and reflect information for 1 serving using the ingredients listed, not including any optional ingredients. Actual macros may vary slightly depending on specific brands and types of ingredients used.
To determine the weight of one serving, prepare the recipe as instructed. Weigh the finished recipe, then divide the weight of the finished recipe (not including the weight of the container the food is in) by the desired number of servings. Result will be the weight of one serving.
Did you make this recipe?
Please consider Pinning it!!