New Recipe: Buffalo Cauliflower Wings (With Real-Life Tips & Mishaps!)
Buffalo Cauliflower Wings: My Not-So-Secret Weeknight Obsession
So here’s the deal—I never thought I’d love cauliflower this much. Truly, it’s one of those veggies I mostly ignored as a kid (except when my mum tried to sneak it into cheese sauce). But then, a couple years ago, my mate Jess brought these Buffalo Cauliflower Wings to a potluck and, I kid you not, they vanished in ten minutes. I tried to act casual but honestly, I hovered suspiciously close to the snack table all night. Since then, this recipe’s become my go-to for game days, movie nights, or honestly, just when I want to feel like I’m eating wings but, y’know, not actually eating wings. Oh, and if you’re wondering about the Buffalo part—no buffaloes were harmed, promise. (Just a lot of cauliflower florets!)
Why You’ll Love This (Or At Least, Why I Keep Making It)
I make these when I’ve got a craving for something spicy and crispy, but don’t want to faff about with raw chicken. My family goes absolutely bonkers for these; my brother basically inhales them and then acts all innocent. They’re also great for sneaking extra veg into a meal (never tell my nephew it’s cauliflower though—he still thinks they’re magic trees). And sometimes, when I’m feeling lazy, I just dip them in the sauce straight from the oven (pro tip: don’t do this if you care about not burning your tongue). Honestly, there was a time when I tried to skip the batter. Big mistake. Like, don’t do what I did. That cauliflower was about as crisp as a soggy chip.
What You’ll Need (And What I Sometimes Use Instead)
- 1 medium head cauliflower, chopped into bite-sized florets (I’ve also used pre-cut bags when I can’t be bothered)
- 3/4 cup all-purpose flour (But if you’re gluten-free, any GF blend works. My gran swears by Bob’s Red Mill, but I’ve used Tesco’s own and it was fine)
- 1/2 cup water (or oat milk if you’re feeling fancy or dairy-free)
- 1 teaspoon garlic powder
- 1 teaspoon onion powder
- 1/2 teaspoon smoked paprika (or regular if it’s what you’ve got—sometimes I just skip it, no biggie)
- Salt and black pepper, to taste
- 2 tablespoons melted butter (vegan or regular, doesn’t matter much in my opinion)
- 1/2 cup buffalo hot sauce (Frank’s RedHot is my go-to, but Sainsbury’s own is grand too)
- Cooking spray or a bit of oil (whatever’s handy)
How I Actually Make These (With a Few Tangents)
- Preheat your oven to 220°C/425°F. If you forget, like I often do, it’s fine—just wait a bit longer for things to crisp up.
- Line a baking sheet with parchment paper (makes cleanup a breeze—unless you run out, then just oil the tray).
- In a big bowl, whisk together the flour, water (or oat milk), garlic powder, onion powder, paprika, and a good pinch of salt & pepper. Should look like pancake batter. If it’s lumpy, don’t worry—mine usually is, and it’s never ruined anything.
- Toss the cauliflower florets in the batter until they’re good and coated. Use your hands if you like getting messy—I always do.
- Spread them out on the tray in a single layer. They’ll stick if they’re too close, but whatever, just pry them apart later.
- Bake for about 20 minutes, then flip (or just shake the tray, if you’re feeling lazy).
- While they bake, mix the melted butter and buffalo sauce together in a bowl. Try not to eat it with a spoon. (Or do. No judgment.)
- After 20 minutes, pull the tray out and brush or drizzle the sauce mixture all over the cauliflower. I use a pastry brush, but my mate once used a spoon and it worked fine.
- Pop it back in the oven for another 15-20 minutes, or until they’re crispy and a bit browned at the edges. This is where I usually sneak a piece—just to “test,” you know?
- Let them cool a couple minutes so you don’t absolutely destroy your mouth. Trust me.
Things I’ve Learned (Aka: Notes)
- The batter’s forgiving, but don’t make it too thick—did that once, turned out like glue.
- If you use oat milk, the batter browns a bit faster. No clue why, but it tastes great.
- Hot sauce brands matter less than people say. Use what you’ve got, just taste it first.
- If you forget to flip halfway, they’ll still be fine. Maybe more golden on one side. Call it “rustic.”
Variations I’ve Messed Around With
- Spicy BBQ: Swapped the buffalo sauce for BBQ and tossed in a splash of sriracha. Not bad!
- Cheesy: Sprinkled grated cheddar straight after baking. Delicious, but not vegan (obviously).
- Air fryer: Tried this once, but I overfilled it and they steamed instead of crisped. Whoops. Worth another go though!
- Extra Crunchy: Dipped battered florets into panko before baking. Takes longer but wow, that crunch.
Equipment: What I Use (Or Don’t)
- Baking tray—any old sheet will do.
- Parchment paper—if not, a greased tray is fine. Just soak it straight away after so you don’t have to chisel bits off later.
- Mixing bowl—sometimes I just use a big saucepan if all the bowls are in the dishwasher.
- Pastry brush for sauce, or just drizzle with a spoon (or your hands, but that’s messy even for me).
How Do You Store These? (Or, Do They Even Last?)
Stick leftovers in a tub in the fridge for up to two days (though honestly, in my house they never last more than a day!). If you want them crispy again, pop them in the oven at 180°C/350°F for about 10 minutes. Microwave works too but, well, they’ll be a bit squishy. Still tasty though.
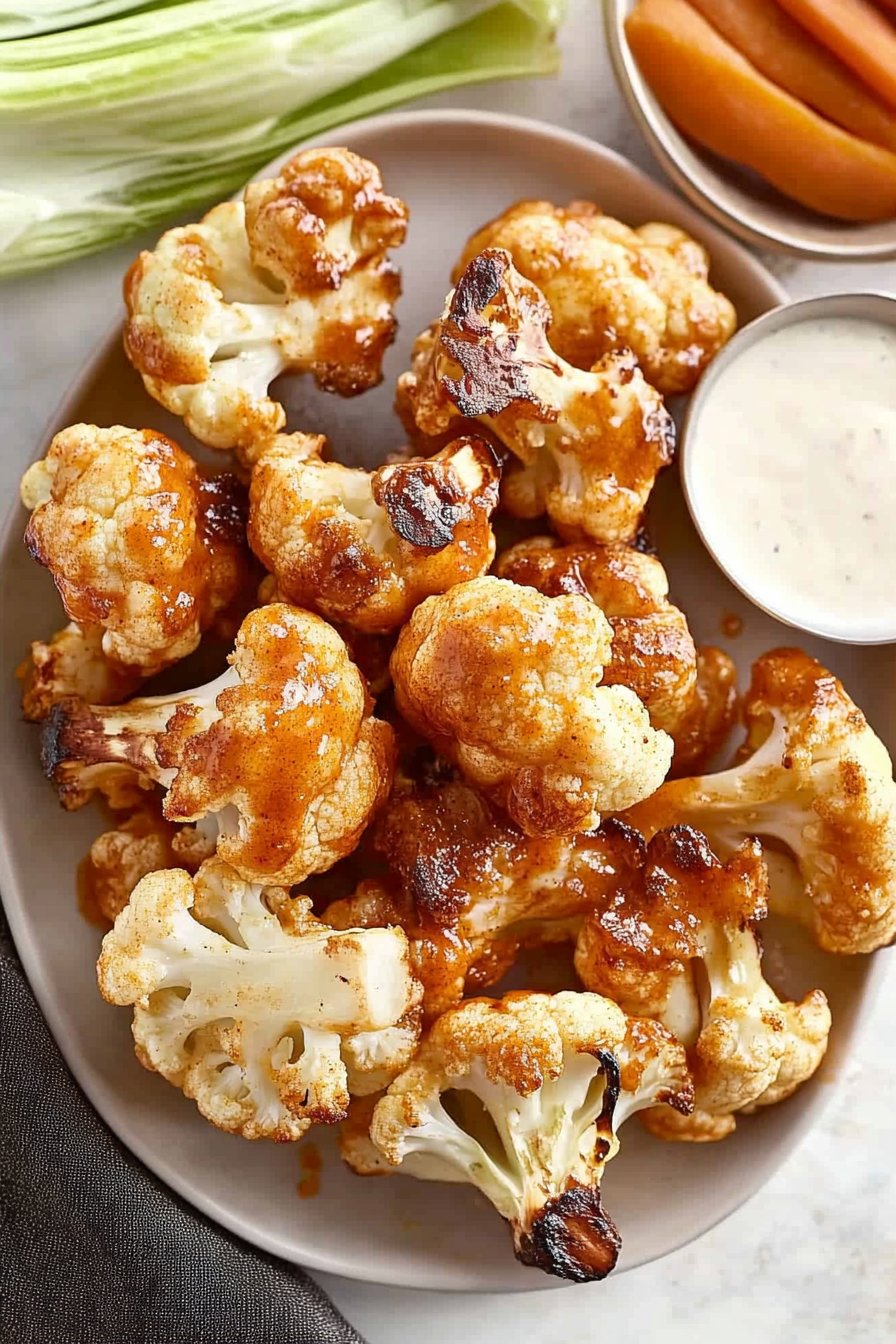
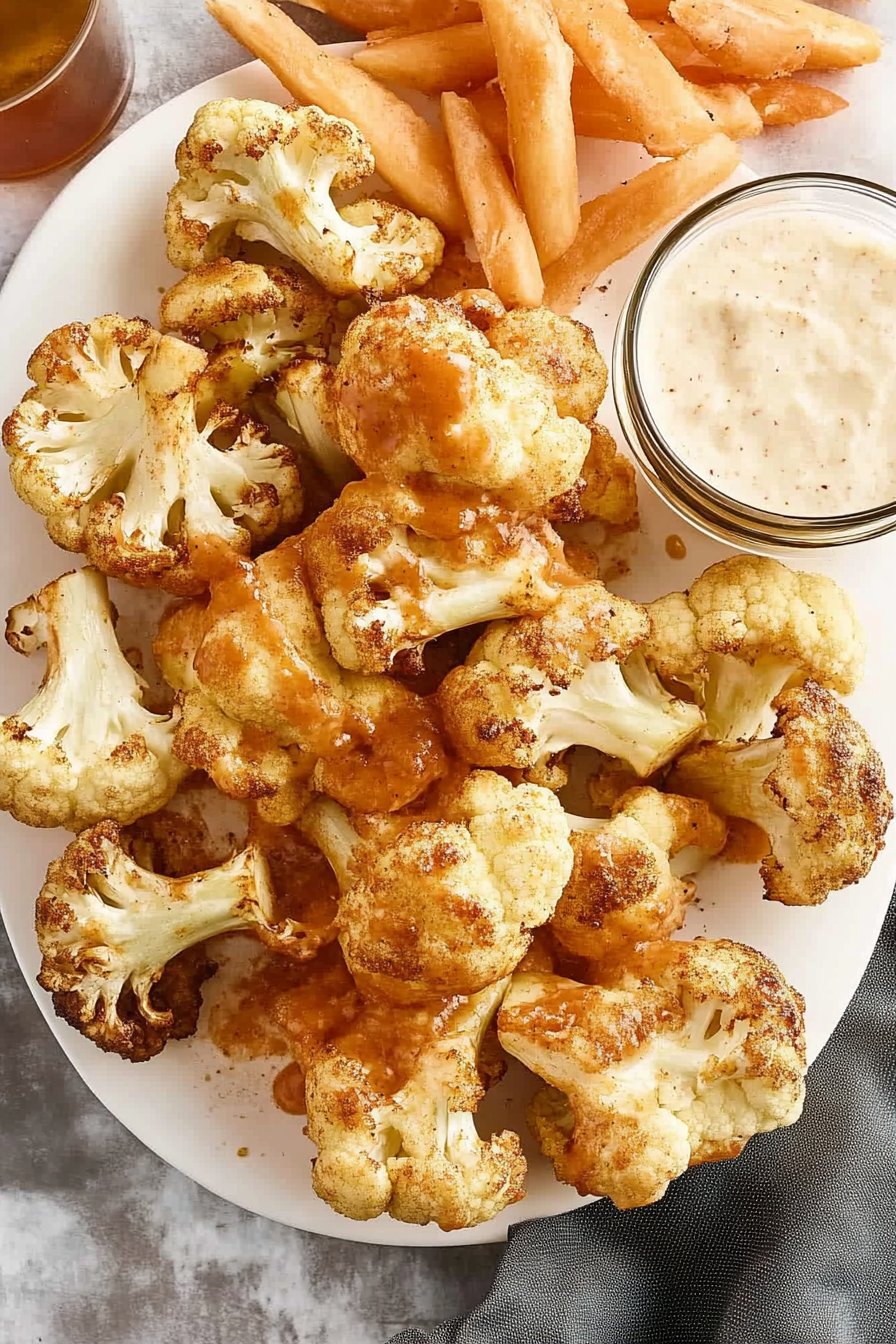
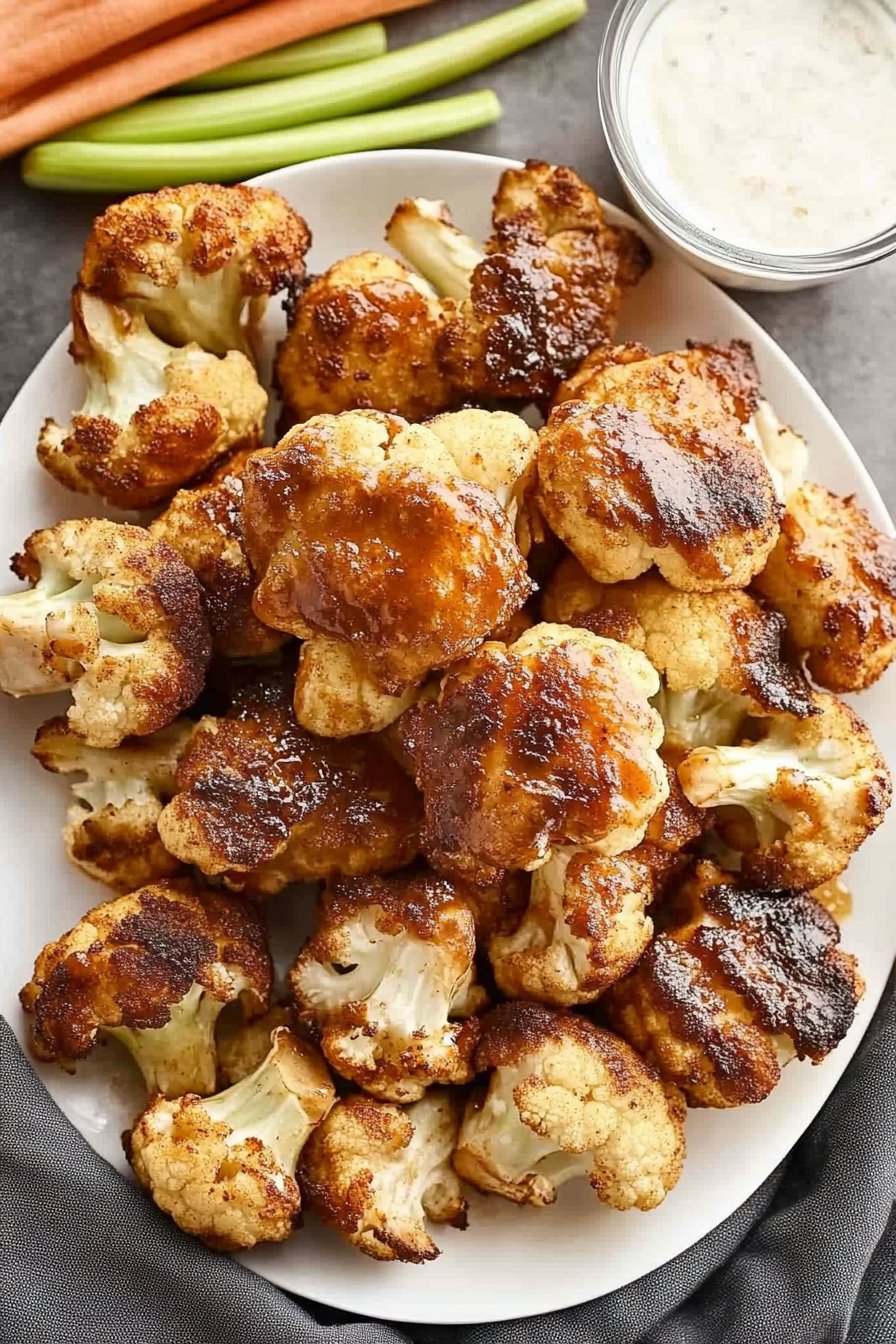
How I Like To Serve Buffalo Cauliflower Wings
I usually pile them up with celery and carrot sticks and, if we’re feeling fancy, a bowl of blue cheese dip. My mum likes ranch instead, which is fair play. Oh, and if it’s movie night, sometimes I just eat them straight off the tray with a cold lager. Hey, Yorkshire folk know how to snack.
Lessons I’ve Learned The Hard Way (AKA, Pro Tips)
- Don’t rush the baking time. I once tried cranking the oven up to speed things along. Result: burned outside, raw inside. Not ideal.
- If you skip the parchment, spray the tray really well or you’ll be scraping for ages.
- Taste your hot sauce before using—some are way saltier than others, and I learned that the, um, hard way.
- Actually, I find it works better if you let the wings rest a couple minutes before digging in—the sauce soaks in a bit and the flavor’s better. Or maybe I’m just impatient.
Questions I Get All The Time (And My Honest Answers)
- Can I make these gluten-free? Yes! Use any GF flour blend. I’ve even tried chickpea flour. Surprisingly good.
- Are they spicy? Depends on your hot sauce. Frank’s is mild, but if you use something like homemade buffalo sauce, it could kick like a mule.
- Can I use frozen cauliflower? Actually, yes, but you have to thaw and dry it really well—otherwise, the batter slides off and it’s a soggy mess. Learned that the weird way.
- Can I air fry them? Probably, but do it in batches or they won’t crisp. Here’s a good guide I like: Air Fryer Cauliflower Wings
- Can I double the recipe? Oh absolutely, but use two trays or the florets will just steam. Trust me, I tried cramming them all in once and it was, well, not my best idea.
Okay, quick side note: last time I made these, I got distracted by a phone call from my mate in Manchester and completely forgot about the second batch. The smell reminded me about 10 minutes too late (oops), but even my burnt ones were picked at. Goes to show, you can’t really mess these up too badly. Enjoy, and let me know if you find a new twist that actually works out—the world needs more Buffalo Cauliflower innovation, in my humble opinion!
Ingredients
- 1 large head cauliflower, cut into florets
- 3/4 cup all-purpose flour
- 3/4 cup water
- 1 teaspoon garlic powder
- 1 teaspoon smoked paprika
- 1/2 teaspoon salt
- 1/4 teaspoon black pepper
- 1 cup buffalo sauce
- 2 tablespoons olive oil (optional, for extra crispiness)
Instructions
-
1Preheat the oven to 425°F (220°C) and line a baking sheet with parchment paper.
-
2In a large bowl, whisk together the flour, water, garlic powder, smoked paprika, salt, and black pepper until a smooth batter forms.
-
3Add the cauliflower florets to the batter and toss until well coated.
-
4Arrange the coated cauliflower on the prepared baking sheet in a single layer. Bake for 20 minutes, flipping halfway through.
-
5Remove from the oven and toss the baked cauliflower with buffalo sauce and olive oil. Return to the oven and bake for an additional 10 minutes until crispy and golden.
-
6Serve hot with your favorite dipping sauce and enjoy!
Approximate Information for One Serving
Nutrition Disclaimers
Number of total servings shown is approximate. Actual number of servings will depend on your preferred portion sizes.
Nutritional values shown are general guidelines and reflect information for 1 serving using the ingredients listed, not including any optional ingredients. Actual macros may vary slightly depending on specific brands and types of ingredients used.
To determine the weight of one serving, prepare the recipe as instructed. Weigh the finished recipe, then divide the weight of the finished recipe (not including the weight of the container the food is in) by the desired number of servings. Result will be the weight of one serving.
Did you make this recipe?
Please consider Pinning it!!