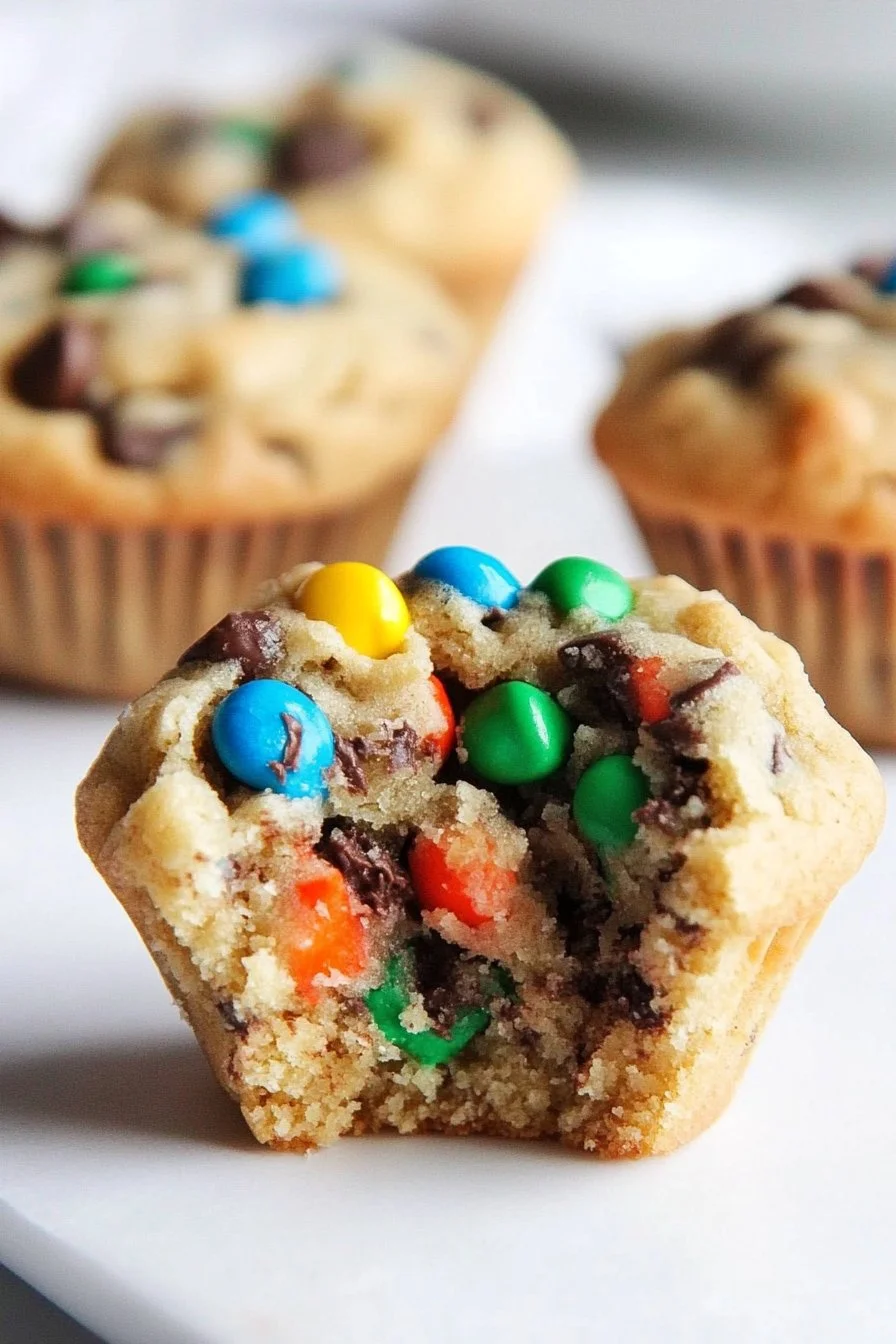
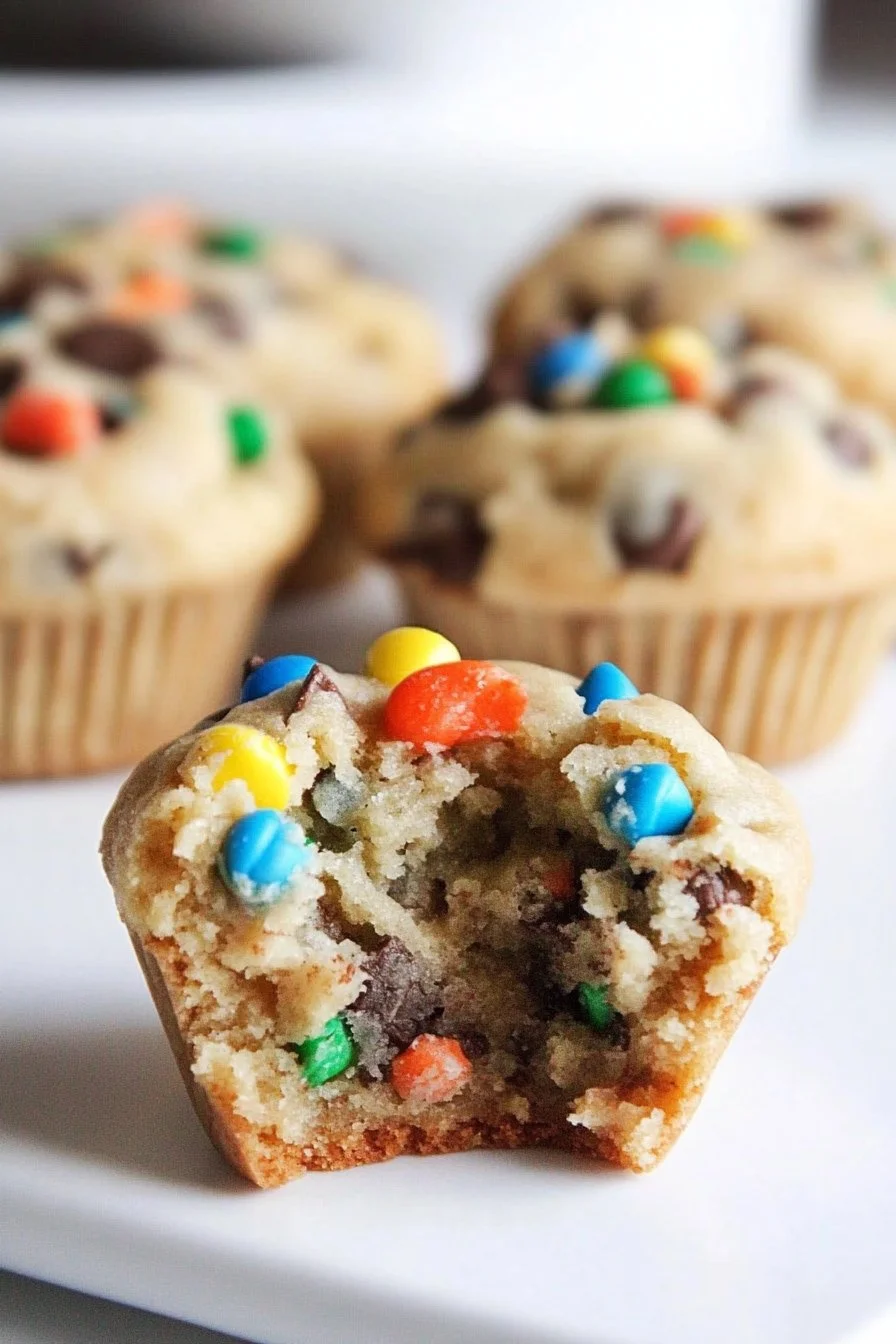
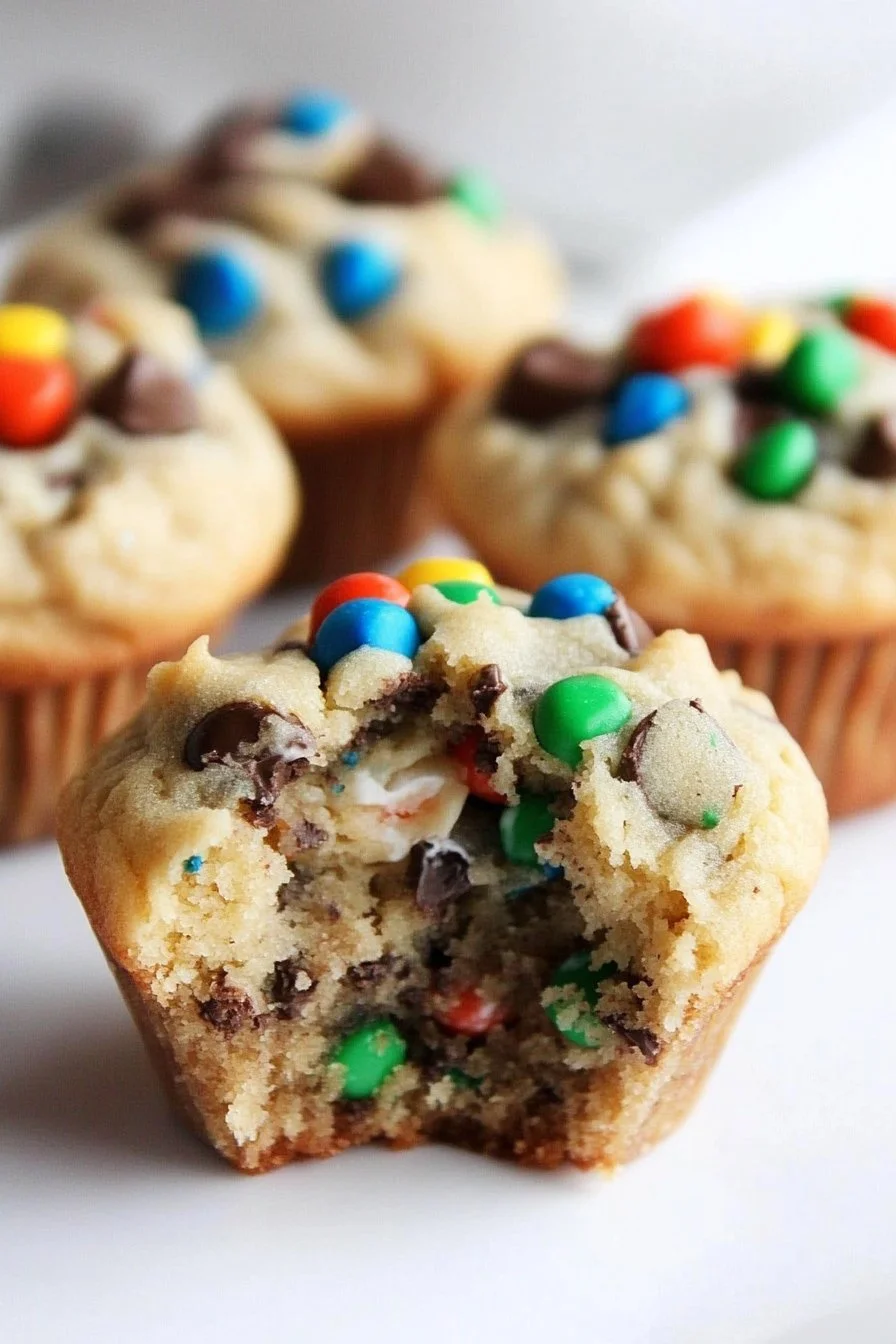
Monster Cookie Cups
Hey there, fellow dessert enthusiast! I’ve got a treat that’s been a wild ride for my kitchen adventures – Monster Cookie Cups. You know those days when you just want to bake something that’s both fun and absolutely delicious? That’s when I dive into this recipe. It all started during a rainy weekend when the kids were restless and, honestly, so was I. We grabbed what was in the pantry and boom – monster cookies in cup form were born. The rest is history!
Why You’ll Love This
I make these cookie cups when I’ve got a serious craving for something sweet that doesn’t take itself too seriously (unlike those fancy pastries that require a PhD in baking). My family goes bananas for these, especially my little one who’s convinced there are real monsters involved – probably because of the chocolate smudges I get on my face. And let’s be honest, sometimes I make them just to sneak a few chocolate chips while ‘cleaning up’.
Ingredients You’ll Need
- 1/2 cup butter, softened (I sometimes use margarine in a pinch, but buttery goodness is best)
- 1/2 cup sugar (white or brown, or a mix if you’re feeling rebellious)
- 1/2 cup peanut butter (crunchy or smooth – both work fine)
- 1 egg (large is ideal, but medium won’t ruin the day)
- 1 cup all-purpose flour (my grandma swears by Brand X flour, but, honestly, any will do)
- 1 tsp baking soda
- 1/4 tsp salt
- 1 cup oats
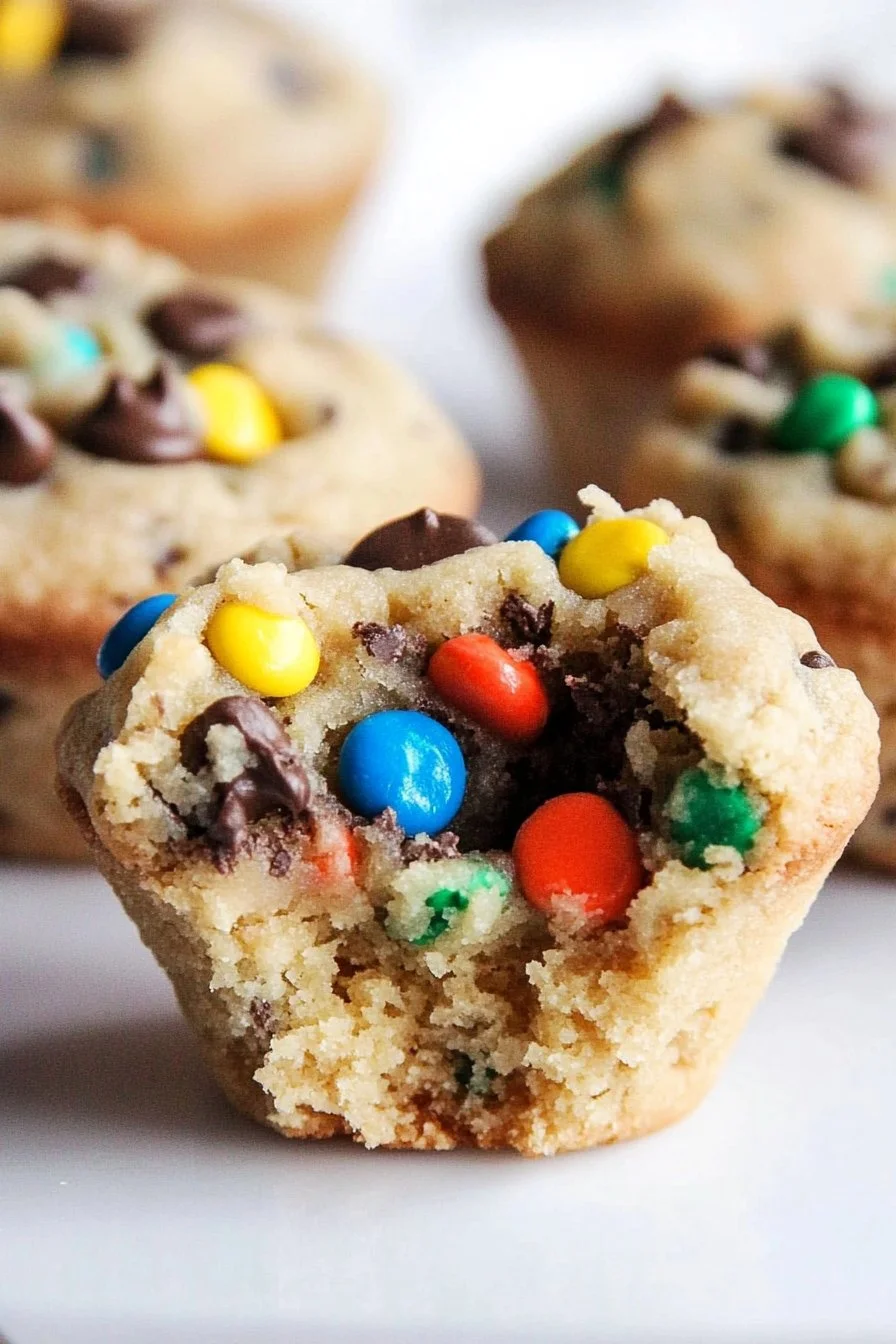
- 1/2 cup chocolate chips (or M&Ms if you’re feeling colorful!)
Let’s Get Baking!
- Start by preheating your oven to 350°F (175°C). While it’s warming up, grease a muffin tin – trust me, you don’t want these sticking.
- Cream together the butter, sugar, and peanut butter until it’s all smooth. I tend to sneak a taste here (who could resist?).
- Add in the egg and mix until it looks like a delightful mess. Don’t worry if it doesn’t look perfect – it’s not supposed to yet!
- Mix in the flour, baking soda, and salt. Then fold in the oats and chocolate chips. It’ll look chunky, but that’s the magic part.
- Spoon the mixture into the muffin tin, filling each cup about 3/4 full. They’ll puff up a bit, so don’t overdo it.
- Bake for 10-12 minutes. They should be golden brown and irresistibly fragrant. At this point, your kitchen will smell like a bakery.
- Let them cool in the tin for about 5 minutes before transferring them to a wire rack (but who’s counting?).
A Few Notes
If you accidentally use baking powder instead of soda – been there, done that – they’ll still taste fine but might not rise as expected. Also, using crunchy peanut butter adds a delightful texture, but if you’re not a fan, smooth works just as well.
Fun Variations!
I once tried adding a pinch of cinnamon – it was surprisingly delicious! Just don’t try raisins; they ended up like tiny chewy rocks. Trust me on this one.
Equipment Thoughts
If you don’t have a muffin tin, try using silicone molds – they’re a bit more forgiving when it comes to sticking.
How to Store These Beauties
You can store them in an airtight container for up to a week, but honestly, in my house, they’re usually gone by morning. They’re just that good!
How to Serve
I like to serve these with a glass of cold milk or a scoop of vanilla ice cream for an extra indulgent treat. It’s almost like a mini dessert party in a cup!
My Top Tips
Don’t rush the cooling process; once, I tried and they crumbled everywhere – what a mess! Patience pays off, trust me. Oh, and always taste the dough; it’s a rule in my kitchen!
FAQ’s
Can I make these gluten-free? Sure thing! Just swap the flour with a gluten-free blend. I haven’t tried it myself, but I’ve heard good things from friends who have.
What if I don’t like chocolate? First, who are you? Just kidding! You can use white chocolate chips or even butterscotch chips for a twist.
Are these monster enough for a birthday party? Oh, absolutely! Just call them ‘monster party cookies’ and watch them disappear.