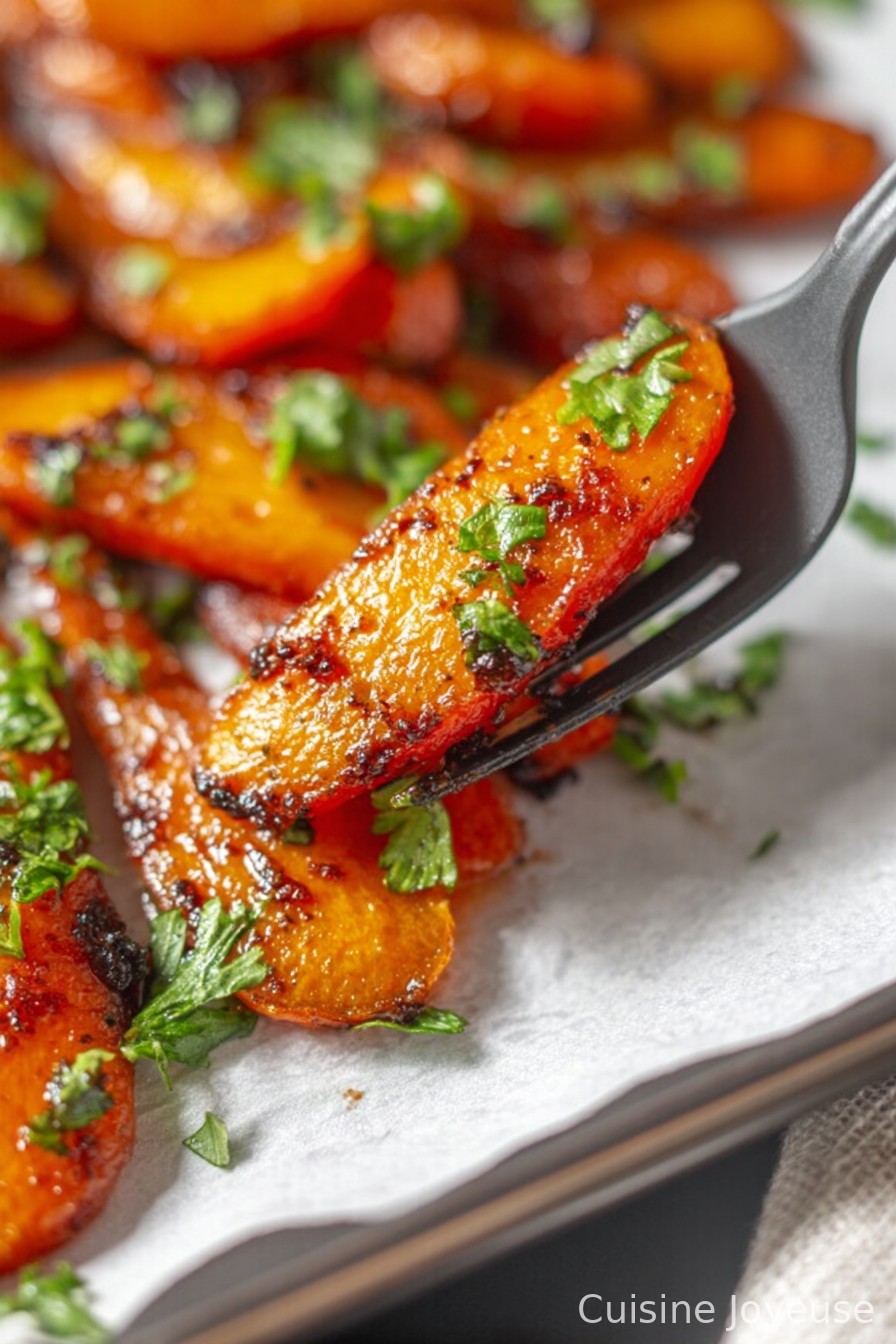
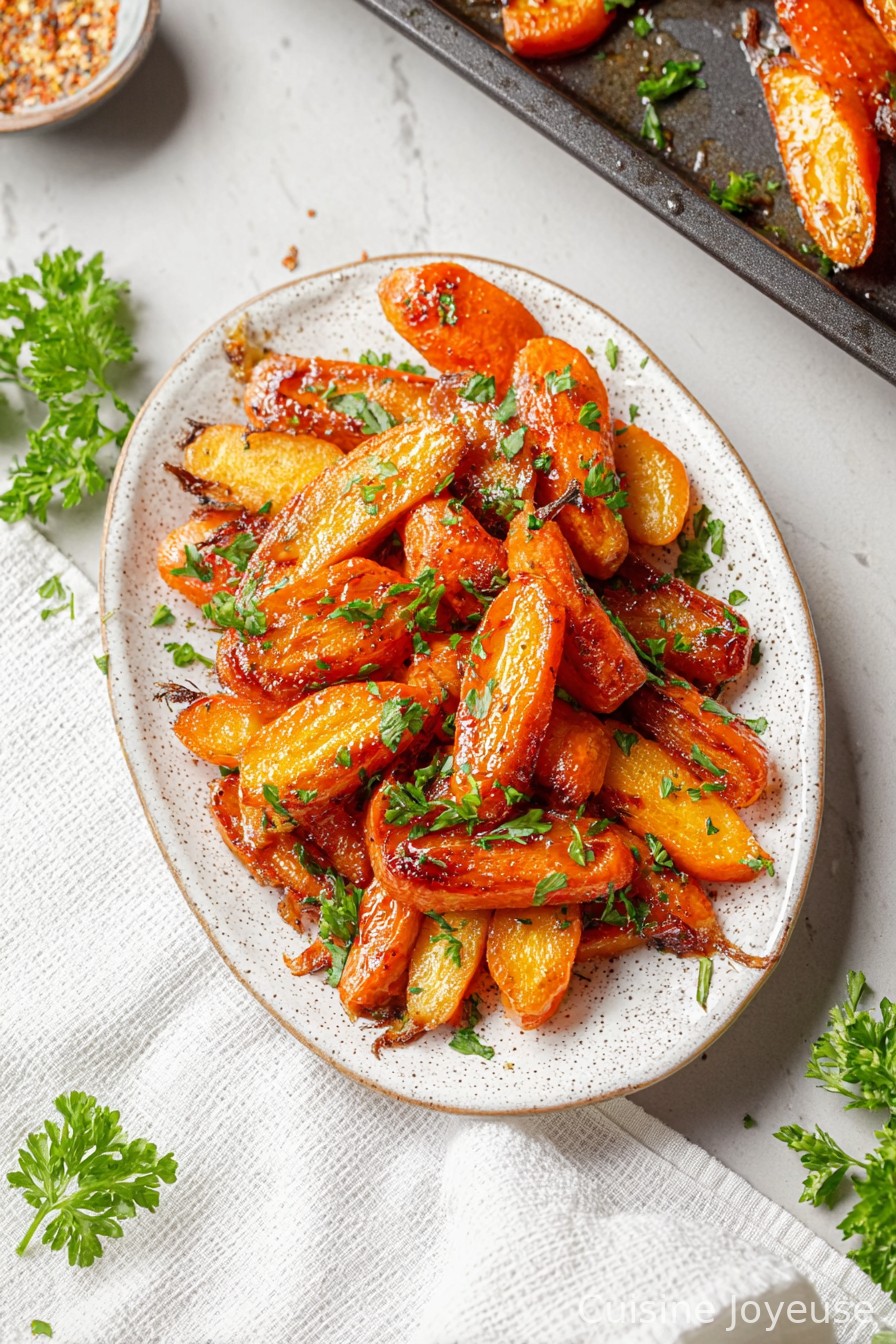
Maple Glaze Carrots
Maple Glaze Carrots – The Sweet Side Dish I Always Come Back To
Alright, so let me paint you a picture: It’s a Wednesday night, I’ve got exactly 23 minutes before my kid’s “I’m starving!” whine reaches full pitch, and I have a bag of slightly wonky Carrots at the bottom of the fridge. What do I do? Maple glaze ’em, every time. Honestly, I think it started at one awkward family potluck when I accidentally doubled the maple syrup (yes, accidentally—it was chaos, but delicious). Now, everyone expects these maple glaze carrots at holidays, or randomly, like when Russell’s dog daycare lady comes by for dinner… don’t ask. Anyway, I’m kind of a sucker for sticky, shiny vegetables, and this is one recipe that nails it. Plus, it makes me look fancier than I actually am.
Why You’ll Love This (or at least why I do!)
I make this dish when I need something reliable and a little showy—kids gobble it up (and so do the “grown-ups”, though my husband pretends not to love anything with a glaze). My friends call these carrots “candy veggies,” which is probably not the pinnacle of nutrition, but hey, they’re carrots, so it’s basically health food, right? Sometimes, when I’m feeling all posh, I do a sprinkle of flaky salt at the end. Oh, and you know what used to drive me nuts? When the sauce would go runny and not stick—now I’ve figured out my little hack (see notes below, it’s embarrassingly simple!).
Ingredients – My Way, But Feel Free to Improvise
- About 1 pound (or a big handful) of carrots – peeled, sliced into chunky sticks or rounds (I use rainbow carrots when I want to be fancy, but regular ol’ orange is great)
- 2 tablespoons real maple syrup – not the fake stuff if you can help it, though honestly, I used pancake syrup once and nobody noticed…
- 1 tablespoon butter (if you’re dairy-free, olive oil works alright, though you lose a little magic)
- 1/2 teaspoon salt – my grandmother always insisted on Maldon, but honestly, anything’s fine
- A generous sprinkle of black pepper
- 1/2 teaspoon dried thyme, or fresh if you’ve remembered to buy some
- (Optional) pinch of chili flakes – for a little something-something
- (Optional) Zest of half an orange – adds a real zip, up to you
How To Make Maple Glaze Carrots (According to My Attention Span)
- Prep your carrots. Peel ’em, chop ’em, whatever shape floats your boat. I go chunky so they don’t turn to mush. If they’re a bit uneven, meh, it all comes out in the wash.
- Steam or boil the carrots for about 4-6 minutes, just ’til they’re tender but not limp—test with a fork, and if it slides in easily you’re good. (This is where I usually sneak a taste… you know, for quality control.) Don’t stress if they get a bit over—still tasty, just softer.
- Drain the carrots & set aside. Right here I always think I’ve finished, but wait—there’s more!
- In a big skillet or frying pan (nonstick is your friend, but you can survive without it), melt the butter over medium heat. Once it’s foamy, dump in the carrots. Give them a little toss.
- Add maple syrup, salt, pepper, thyme, and orange zest/chili flakes if using. Stir it all up so the carrots are nicely coated. Cook for about 5-7 minutes, stirring every so often. You want that glaze to cling—not drown the carrots. If things look a little separated, don’t panic—just keep stirring, and it usually comes together for me.
- Once they’re shiny and the syrup’s thickened up (sort of syrupy, not watery), take ’em off the heat. Taste, sneak a carrot or two (nobody’s watching), maybe add another pinch of salt if it needs it.
- Bang them into your serving dish, and if you remembered, finish with a sprinkle of something fresh—herbs, flaky salt, I don’t know, whatever you’re into.
Notes – Lessons I Learned on the Job
- Actually, I find it works better if you use slightly older carrots; baby carrots taste good but don’t glaze quite as well (they go a bit too soft, in my experience).
- If you forget to drain the carrots well, the glaze might come out runny; I blot them with a paper towel now.
- No maple syrup? Honey absolutely works, though it’s a bit stronger. Golden syrup was a weird experiment; I’d skip it.
Variations I’ve Tried (Some Duds, Some Genius)
- Swapped in parsnips once when I thought I had more carrots—tasted great, actually, even if the kids gave me the side-eye.
- Added roughly chopped pecans on top for crunch; my mate called it “fancy” (and then picked them all off—her loss).
- Tried roasting instead of pan-frying. Tbh, it’s a totally different vibe, kinda smokier. Maybe do both and see which you like?
- One time I tried adding balsamic at the end. Yeah… not my finest hour. Sort of overpowered the maple.
Equipment – But You Don’t Need a Gadget Drawer
- Large frying pan or skillet (nonstick is nice but—on second thought—you can make do with any big pan, just lower the heat and stir a bit more)
- Pot for boiling/steaming
- Sharp knife for carrot wrangling
- Don’t have a peeler? Use the edge of a spoon, works in a pinch (but is a bit faffy)
How to Store Leftovers (If You Even Have Any)
Chuck any leftovers in an airtight container, stick it in the fridge, and, well, they’re fine for up to three days. But honestly, in my house these barely make it to the next meal. (Actually, I tend to think they taste even better cold—am I odd?) Warm in a pan or microwave, whatever’s easiest. They might get a little softer but still tasty, promise.
Ideas for Serving – Traditions, Habits, and Random Combos
I always serve these with roasted chicken, mostly because that’s what I grew up with. My cousin likes piling them up with mashed potatoes and gravy—says the syrupy glaze cuts through the richness. One Thanksgiving, I sprinkled over pumpkin seeds and everyone raved (then nobody asked for it again, hmm). Anyway, don’t be precious. If it’s Tuesday night and you’re eating them with a cheese toastie, who am I to judge?
What I’ve Learned (a.k.a. “Oops, Won’t Do That Again”)
- Rushing the glazing step makes the carrots watery—trust me, I once tried it with the heat high and it went pear-shaped. Patience is your mate here!
- Be careful with the salt; I once got cocky and overdid it, and let’s just say the dog wouldn’t even give ’em a sniff.
- Don’t crowd the pan—it needs a little breathing room so things actually glaze, not steam. (I always try to save on washing up, but this is worth it.)
FAQ – Seriously, Folks Have Asked Me
- Can I use baby carrots right from the bag? Totally! Might be softer, but they’ll do the trick. Just watch the cooking time, they go quick.
- What if I don’t have maple syrup? Use honey or agave. Or, well, skip it entirely for buttered carrots—not the worst fate.
- Can I prep these ahead? Sure thing. I’ve made them in the morning for a dinner party. Just rewarm gently. If they look dull, quick splash of maple in the pan perks ’em right up.
- Can I serve these cold? Oddly enough, yes—I once mixed leftovers into a green salad and it was ace.
- I don’t like thyme! What else works? Flat-leaf parsley, a dusting of cumin, or even just more salt and pepper (sometimes simplicity is best, right?)
P.S. If you find a carrot shaped like a duck while peeling, that’s extra good luck. Not that I’m superstitious, but…
Ingredients
- 1 lb (450 g) carrots, peeled and sliced into 1/2-inch pieces
- 2 tablespoons unsalted butter
- 3 tablespoons pure maple syrup
- 1 tablespoon brown sugar
- 1/4 teaspoon ground cinnamon
- 1/4 teaspoon salt
- 1/8 teaspoon black pepper
- 2 tablespoons chopped fresh parsley (optional, for garnish)
Instructions
-
1Bring a large pot of salted water to a boil. Add the sliced carrots and cook for 6-8 minutes until just tender. Drain and set aside.
-
2In a large skillet over medium heat, melt the butter. Stir in the maple syrup, brown sugar, cinnamon, salt, and pepper.
-
3Add the cooked carrots to the skillet and toss to coat. Cook, stirring occasionally, for 5-7 minutes, until the glaze thickens and coats the carrots.
-
4Remove from heat. Transfer the glazed carrots to a serving dish.
-
5Sprinkle with chopped fresh parsley if desired before serving.
Approximate Information for One Serving
Nutrition Disclaimers
Number of total servings shown is approximate. Actual number of servings will depend on your preferred portion sizes.
Nutritional values shown are general guidelines and reflect information for 1 serving using the ingredients listed, not including any optional ingredients. Actual macros may vary slightly depending on specific brands and types of ingredients used.
To determine the weight of one serving, prepare the recipe as instructed. Weigh the finished recipe, then divide the weight of the finished recipe (not including the weight of the container the food is in) by the desired number of servings. Result will be the weight of one serving.
Did you make this recipe?
Please consider Pinning it!!