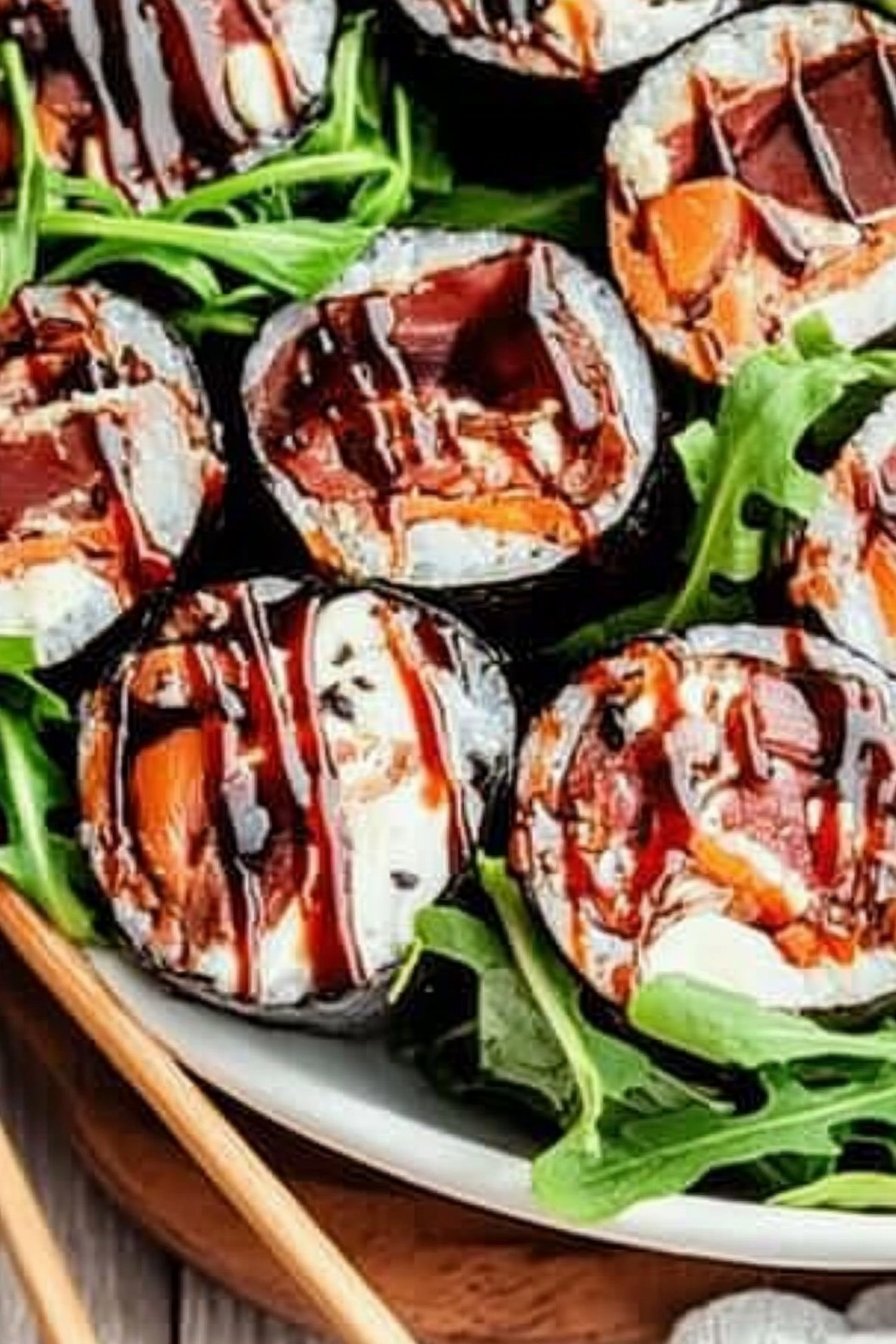
Italian Sushi
Okay, let me set the scene: it’s a Friday night, my fridge is looking a bit sad (seriously, parsley and half a ball of mozzarella?), and I want something that feels fancy but comes together quick. Enter Italian Sushi—a glorious mashup I stumbled into when I tried to impress my cousin who’d just returned from Japan. Spoiler: she was confused at first, but three rolls in, she was hooked. Weirdly, this recipe now pops up all the time—especially when friends are over and I want to sound more adventurous than I really am. And, not to brag, but it usually gets a laugh. Or at least a raised eyebrow.
Why You’ll Love Making This (or, Why I Do)
I make this when I want to feel a little fancier without, y’know, actually working too hard (sushi mats and I have a complicated history—don’t ask). My family goes nuts for these because they’re finger food but still taste like, well, pizza in a tuxedo. I’ve even made this for my book club, and even though half of them mistook the prosciutto for bacon (bless them), it was still a hit. Plus, if you’re like me and sometimes get annoyed when rice is involved, you’ll love that we use simple bread instead. No sticky fingers, no drama.
What You’ll Need (and What I Actually Use)
- 6-8 slices soft white sandwich bread (I’ve totally used whole wheat when I ran out; my grandma would probably sigh, but it works)
- 100g thinly sliced prosciutto, or swap in salami if you want to shake things up
- 1 ball fresh mozzarella (roughly 125g), drained well. I sometimes use shredded mozz if that’s all I have
- 1 ripe tomato, sliced super thin (or sun-dried tomato if you’re feeling bougie)
- Fresh basil leaves—a handful, torn roughly (no need to get all cheffy about it)
- 2 tbsp olive oil (extra-virgin, but regular works, too. My aunt insists on the fancy stuff, but honestly…)
- Salt and black pepper, to taste
- Optional: balsamic glaze for drizzling (if you like it sweet and tangy)
How I (Mostly) Put This Together
- First, grab your bread and, using a rolling pin (or, if you’re like me and can’t find it, a clean wine bottle works fine), flatten each slice until it’s nice and thin. Don’t stress if they’re a bit uneven—imperfection is part of the charm.
- Here’s where I brush each slice with a smidge of olive oil, but not too much—you don’t want soggy bread. Sprinkle with a little salt and pepper. (This is the bit where I sometimes get carried away and daydream, so keep an eye on yourself!)
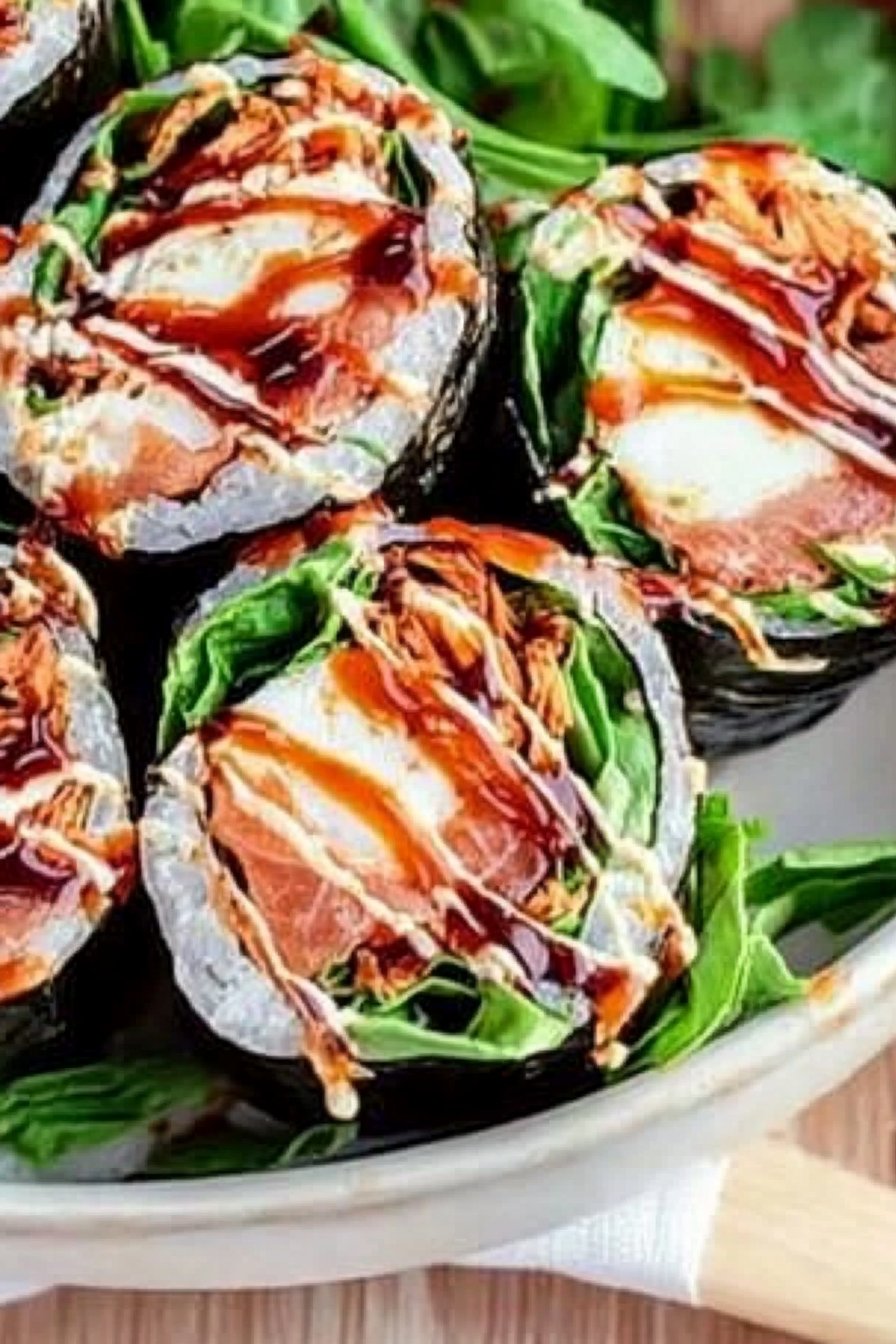
- Lay a slice of prosciutto (or salami, whatever you grabbed), then arrange a few bits of mozzarella and tomato over the top. Try to keep it close to one edge—not smack in the middle—makes rolling easier.
- Add torn basil leaves. Sometimes I sneak a taste here—you know, for quality control.
- Gently roll up each slice, starting at the loaded edge. If the bread cracks a little, just squish it back together; it’ll be fine. Sometimes I wrap them in a little plastic wrap and shove them in the fridge for 10 minutes—makes slicing easier, but honestly, who has the patience?
- Slice into bite-sized rounds (about an inch thick). Arrange on a plate. I usually drizzle with balsamic glaze at this point, but if you’re not a fan, just skip it.
Stuff I Learned the Hard Way
- If the bread’s too fresh, it can tear when you roll. Day-old works better (who knew?)
- Mozzarella can be watery—pat it dry, or you’ll have a soggy situation. Been there, not fun.
- Don’t overload with fillings. I know, it’s tempting, but trust me: less is more.
Wild Variations I’ve Tried (Some Good, Some… Eh)
- Roasted red peppers instead of tomato—really tasty and sweet, highly recommend.
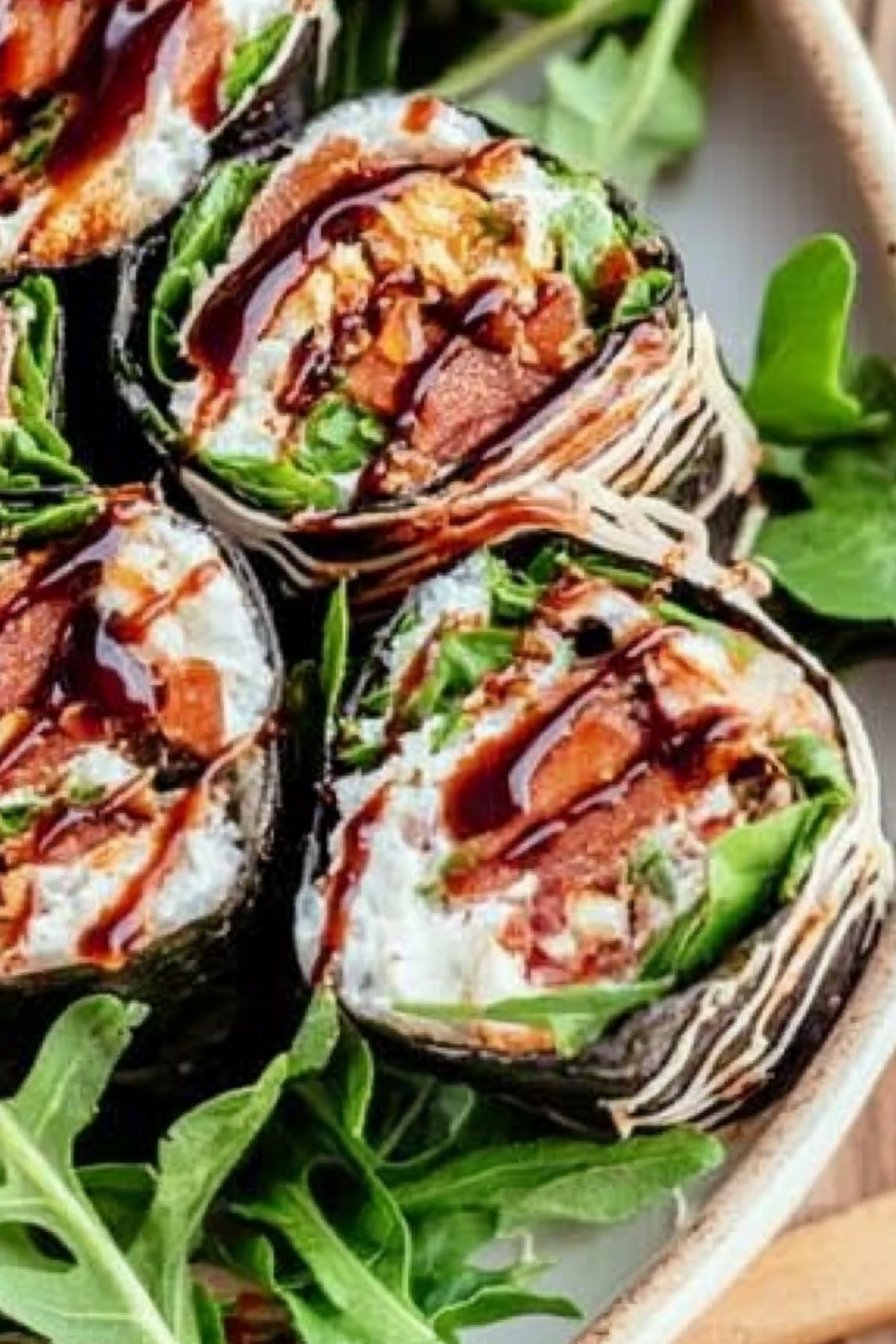
- Arugula instead of basil. Honestly, a bit too peppery for my taste but my neighbor loved it.
- Once, I tried smoked salmon with cream cheese and capers. That was… basically not Italian anymore, but, hey, it still tasted all right.
- Tried using gluten-free bread once. It crumbled to bits—if you have a better method, please let me know!
Do You Really Need Fancy Equipment?
Look, a sushi mat would make these tighter, but I just use my trusty hands (and that one old wine bottle I mentioned). If you’re short on gadgets, don’t sweat it—just improvise. These aren’t supposed to look like something you’d get at Nobu.

Keeping Leftovers (If You Even Have Any)
They’ll keep in an airtight container in the fridge for about a day, maybe two tops. Although, honestly, in my house, they vanish quicker than you can say mangia. I think they taste even better after a little chill, but I might be in the minority there.
How I Like to Serve These (Yours Can Be Different)
I pile them up on a big platter, sprinkle over some extra basil, and put them out with toothpicks for easy grabbing. Sometimes, I do a little bowl of extra balsamic glaze on the side (my nephew dunks everything, so why not?). Oh, and a glass of something bubbly doesn’t hurt.
Pro Tips I Learned by Messing Up
- I once tried to speed through rolling the bread—ended up with a lumpy mess. Go slow, it’s worth it.
- Slicing with a wet knife helps keep things neat. Or, just embrace the chaos if you’re feeling rustic.
- If you forgot to dry your mozzarella, don’t panic—just wrap it in some paper towel for a few minutes. Actually, I find this step is more forgiving than the internet says.
Real Questions I’ve Actually Gotten
- Can you make these ahead? Yeah, for sure! Actually, I think they’re better if you let them chill for a bit. Just don’t add the balsamic glaze until serving or they’ll get sad and soggy.
- Is this really sushi? Sort of? Not really. It’s more like sushi vibes, but with all the Italian flavors you’d want in a panini. Call it whatever you want, honestly.
- What else can I add? Oh, sky’s the limit. Try artichokes, olives, even a swipe of pesto (my last attempt looked wild but tasted good). Just don’t expect it to roll perfectly the first time—I still mess it up now and then.
- Where do you get your balsamic glaze? Honestly, I grab whatever’s on sale at the supermarket. Or you can make your own—my friend swears by this recipe from Serious Eats.
- Do you have a favorite mozzarella? I like the BelGioioso brand (not sponsored, I promise), but really, any fresh mozz will do the trick. If you’re curious about cheese pairings, this guide is super helpful.
And if you’re reading this and thinking, “But is this sacrilege to Italians?” Well, probably, but food’s meant to be fun. Try it for yourself, tweak as you go, and don’t take it (or yourself) too seriously. For more playful Italian mashups, I like to browse Giallo Zafferano for inspiration (warning: may lead to major snack cravings).
Ingredients
- 1 cup Arborio rice
- 2 cups chicken broth
- 1/2 cup grated Parmesan cheese
- 8 slices prosciutto
- 1/2 cup sun-dried tomatoes, chopped
- 1/2 cup fresh mozzarella, cut into strips
- 1/4 cup fresh basil leaves
- 2 tablespoons olive oil
- Salt and black pepper to taste
Instructions
-
1In a medium saucepan, heat olive oil over medium heat. Add Arborio rice and stir for 2 minutes until lightly toasted.
-
2Gradually add chicken broth, stirring frequently, until the rice is creamy and cooked through, about 18-20 minutes. Stir in Parmesan cheese, salt, and black pepper. Let the risotto cool completely.
-
3Lay out a sheet of plastic wrap on a flat surface. Arrange 2 slices of prosciutto slightly overlapping to form a rectangle.
-
4Spread a thin layer of cooled risotto over the prosciutto, leaving a 1-inch border. Add strips of mozzarella, chopped sun-dried tomatoes, and fresh basil leaves along one edge.
-
5Using the plastic wrap, carefully roll up the prosciutto and rice into a tight log. Repeat with remaining ingredients to make additional rolls.
-
6Chill the rolls in the refrigerator for at least 15 minutes. Remove plastic wrap, slice into sushi-style rounds, and serve.
Approximate Information for One Serving
Nutrition Disclaimers
Number of total servings shown is approximate. Actual number of servings will depend on your preferred portion sizes.
Nutritional values shown are general guidelines and reflect information for 1 serving using the ingredients listed, not including any optional ingredients. Actual macros may vary slightly depending on specific brands and types of ingredients used.
To determine the weight of one serving, prepare the recipe as instructed. Weigh the finished recipe, then divide the weight of the finished recipe (not including the weight of the container the food is in) by the desired number of servings. Result will be the weight of one serving.
Did you make this recipe?
Please consider Pinning it!!