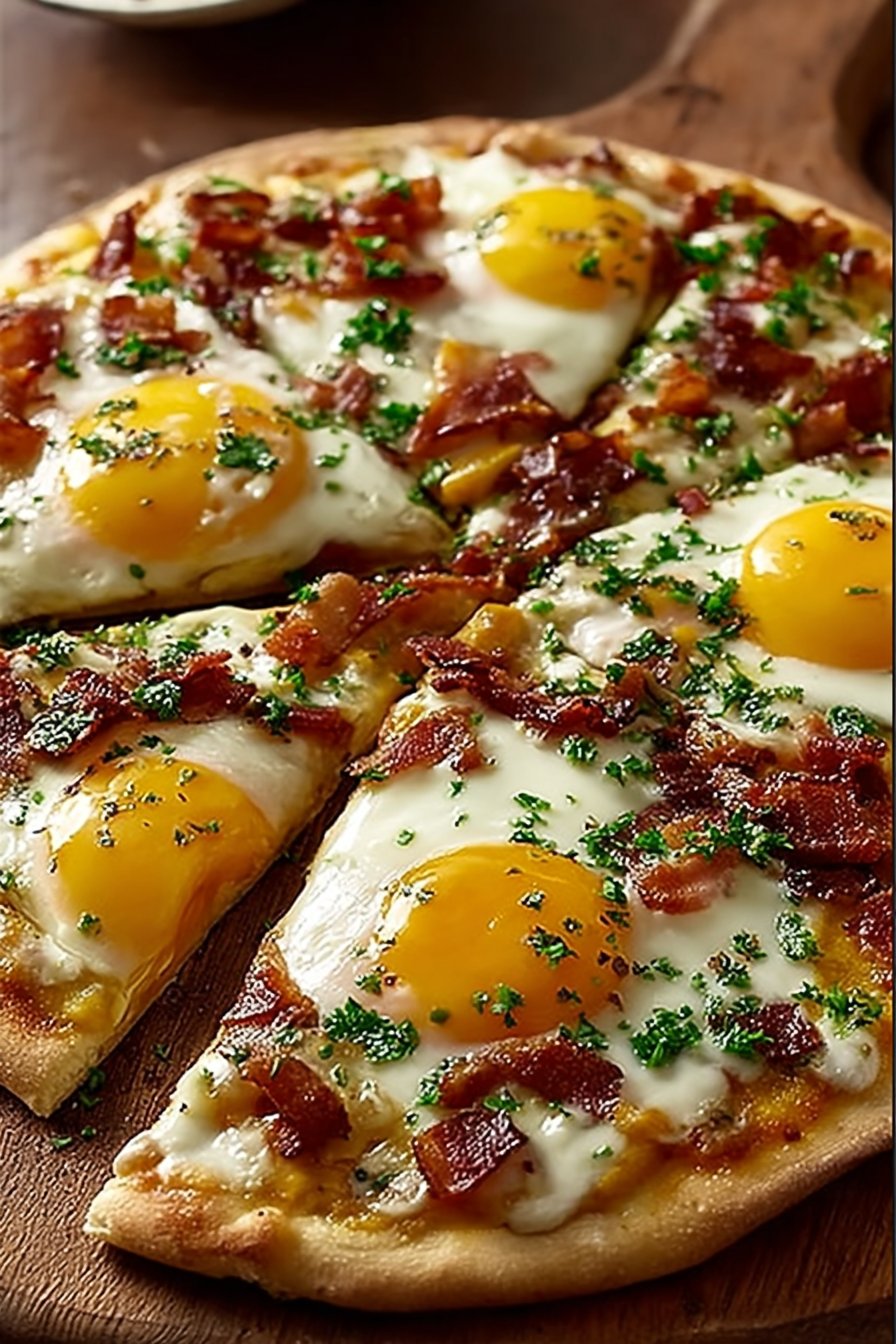
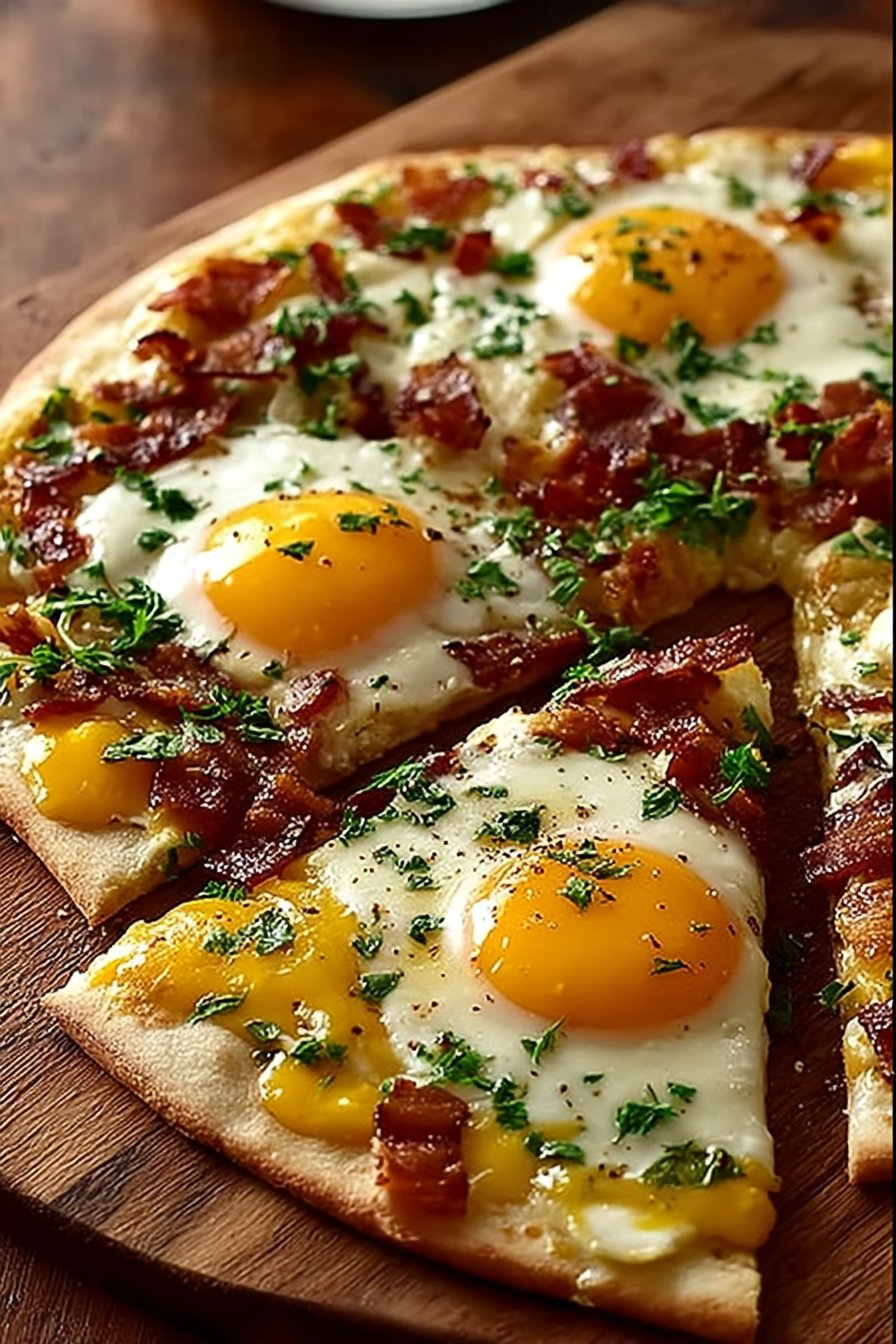
Irresistible Breakfast Pizza: A Perfect Brunch Delight
Let Me Tell You About This Breakfast Pizza Adventure
Ok, so let me start with a confession: I used to be the person who thought pizza had its place—dinner, maybe lunch if you’re being cheeky—but breakfast? No way. But then one chilly Sunday, my neighbor Karen (who bakes like it’s her side hustle) dropped off a slice of her breakfast pizza as a thank you for feeding her cat, and, mate, I was instantly hooked. Ever since, it’s become my go-to for lazy weekend brunches, or honestly, any time I want to impress someone with minimal effort. I mean, who can resist breakfast and pizza in the same bite? Not me. Oh, and apologies in advance if you develop a new addiction here. It happens.
Why You’ll Love This (Or At Least Why I Do)
I whip this up when someone in my house announces they’re “starving” but all I’ve got are odds and ends in the fridge. My family goes absolutely bonkers for it (especially if I add extra cheese, which is pretty much a must). The kids argue over the crispy bits round the edge; the dog just watches, forlorn, hoping for a dropped slice. It’s versatile, forgiving, and—trust me—if you’ve ever been let down by soggy eggs or sad, dry toast, this breakfast pizza is a proper game-changer. There was that one time when I burned the crust a bit, and honestly, everyone still demolished it. So, yeah, it’s pretty foolproof.
The Ingredients (And Some Lazy Swaps)
- 1 ball of pizza dough (store-bought, or this easy one if you fancy making it; to be honest, I grab the supermarket one most times)
- 3-4 large eggs (if you’re running low, two will manage in a pinch)
- 1 cup shredded cheese (cheddar, mozzarella, or whatever’s lurking at the back of the fridge—my grandmother swore by Red Leicester, but honestly, anything melty works)
- 2-3 breakfast sausages, cooked and crumbled (or bacon, or skip if you’re veggie; sometimes I use last night’s roast veggies, too)
- 1/4 cup milk or cream (I’ve used oat milk before, and it was grand—don’t stress)
- 1/2 bell pepper, diced (optional, but pretty)
- 1/4 red onion, thinly sliced (I skip this if I’m feeling lazy, honestly)
- Handful of baby spinach or rocket (arugula) (again, optional)
- Salt & pepper (to taste, obviously)
- Olive oil for brushing
How I Throw It All Together (A.K.A. Directions)
- Preheat your oven to 220°C/430°F—or as hot as it’ll go. If you’ve got a pizza stone, chuck it in now, but not a dealbreaker. I’ve definitely done this with just a tray.
- Roll out your dough on a floured bit of baking parchment or the clean counter. I go for a sort of oval; but if it’s a weird shape, who cares?
- Brush the base with olive oil. This is where I usually sneak a nibble of cheese, just to test the quality, you know?
- Scatter your cheese over the base, followed by crumbled sausage (or whatever toppings you’ve got). Add red onions, bell pepper—really, this part is a free-for-all.
- Crack the eggs into a bowl with the milk or cream, salt, and pepper. Whisk it up a bit. Then, pour gently over the pizza. Sometimes the egg tries to run off—you can sort of nudge it back with a spatula. Don’t panic if it looks like a puddle. It bakes just fine.
- Bake for about 12-15 minutes, until the edges are golden and the egg’s set but still a bit soft in the middle. (If you like the yolk runnier, go for less time. Or longer if you want it firm. No judgment!)
- Toss a handful of spinach or rocket on top as soon as it’s out. Or don’t. Sometimes I just dig in without the greens.
Notes: Real-Life Discoveries
- Once, I tried using only egg whites. Nope. Just, don’t bother—the yolks are where the magic happens.
- If you forget to oil the crust, it’ll still taste good. Just maybe a bit less golden. Live and learn.
- Actually, I find it works better if you let the pizza rest 2-3 mins before slicing. Not sure why, but it just… does.
Variations I’ve Tried (Some Worked, Some… Not So Much)
- Veggie-packed: Loaded it with mushrooms, spinach, and feta. Delicious (though my son claimed it “tasted too healthy”).
- Hot sauce swirl: Drizzled Sriracha before baking. If you like a kick, highly recommend.
- Smoked salmon & dill: Honestly, it sounded fancy but got odd looks from everyone except my partner, who said it was “quirky.” Not my best.
Equipment (Workarounds Welcome)
If you’ve got a pizza stone, fab. If not, just a regular old baking tray works—just heat it up in the oven first. Don’t have a rolling pin? I’ve used a wine bottle in a pinch. Once, I even just pressed the dough out with my hands. Rustic is in, right?
What About Leftovers? (If There Are Any)
So, technically, you can store leftovers in the fridge for up to two days, wrapped up. But honestly, in my house, it never lasts more than a day; I’ve caught my husband eating it cold for a midnight snack. If you do want to reheat, a quick blast in a frying pan gets the bottom nice and crispy again.
How I Love to Serve It
We usually just plonk the pizza in the middle and let everyone grab slices, but I sometimes add a simple green salad if I’m feeling virtuous. My cousin swears by a mug of strong coffee on the side (try Stumptown—I’m obsessed), and if I’m feeling extra, a splash of hot sauce does wonders.
Pro Tips (a.k.a. Mistakes I’ve Made So You Don’t Have To)
- Don’t rush rolling out the dough. I once tried to just stretch it fast and it tore. Slow and steady wins here.
- Let the pizza cool a bit before attacking it. I know, patience isn’t my strong suit either, but it really does taste better (and you won’t burn your mouth… again).
FAQ: The Real Questions I’ve Been Asked
- Can I make this ahead?
- Sort of! You can prep the toppings and roll out the dough the night before, but I’d bake it fresh. Reheating works, but it’s just never as good as straight from the oven.
- What if I don’t have pizza dough?
- Flatbread or even a big tortilla can work in a pinch. It won’t be quite the same, but honestly, it still disappears.
- Can you freeze it?
- I’ve frozen leftovers before, and it’s okay, but the eggs can get a bit rubbery. Maybe just halve the recipe if you’re not feeding a crowd.
- Is it good cold?
- Oh, absolutely. Sometimes I even think it tastes better the next day (but that might just be laziness talking).
- What if my eggs spill everywhere?
- Happens to the best of us! Maybe use a rimmed tray next time. Or just embrace the rustic look. No one’s judging here.
By the way, if you want more breakfast ideas or just love a good food read, check out Smitten Kitchen—Deb’s stuff never fails me.
Anyway, hope you love this as much as my slightly chaotic family does. Let me know what weird combos you try—always up for a new experiment!
Ingredients
- 1 prepared pizza dough (about 12 inches)
- 4 large eggs
- 1 cup shredded mozzarella cheese
- 1/2 cup shredded cheddar cheese
- 4 slices bacon, cooked and crumbled
- 1/2 cup cherry tomatoes, halved
- 1/4 cup sliced green onions
- 1 tablespoon olive oil
- Salt and black pepper to taste
Instructions
-
1Preheat your oven to 425°F (220°C). Line a baking sheet with parchment paper or lightly grease a pizza pan.
-
2Roll out the pizza dough to a 12-inch circle and transfer it to the prepared pan. Brush the surface with olive oil.
-
3Sprinkle mozzarella and cheddar cheese evenly over the dough, leaving a small border around the edges.
-
4Create 4 small wells in the cheese and carefully crack an egg into each well. Top with crumbled bacon, cherry tomatoes, and sliced green onions. Season with salt and black pepper.
-
5Bake for 15-18 minutes, or until the crust is golden and the egg whites are set but yolks are still slightly runny.
-
6Remove from the oven, let cool slightly, slice, and serve warm. Enjoy your irresistible breakfast pizza!
Approximate Information for One Serving
Nutrition Disclaimers
Number of total servings shown is approximate. Actual number of servings will depend on your preferred portion sizes.
Nutritional values shown are general guidelines and reflect information for 1 serving using the ingredients listed, not including any optional ingredients. Actual macros may vary slightly depending on specific brands and types of ingredients used.
To determine the weight of one serving, prepare the recipe as instructed. Weigh the finished recipe, then divide the weight of the finished recipe (not including the weight of the container the food is in) by the desired number of servings. Result will be the weight of one serving.
Did you make this recipe?
Please consider Pinning it!!