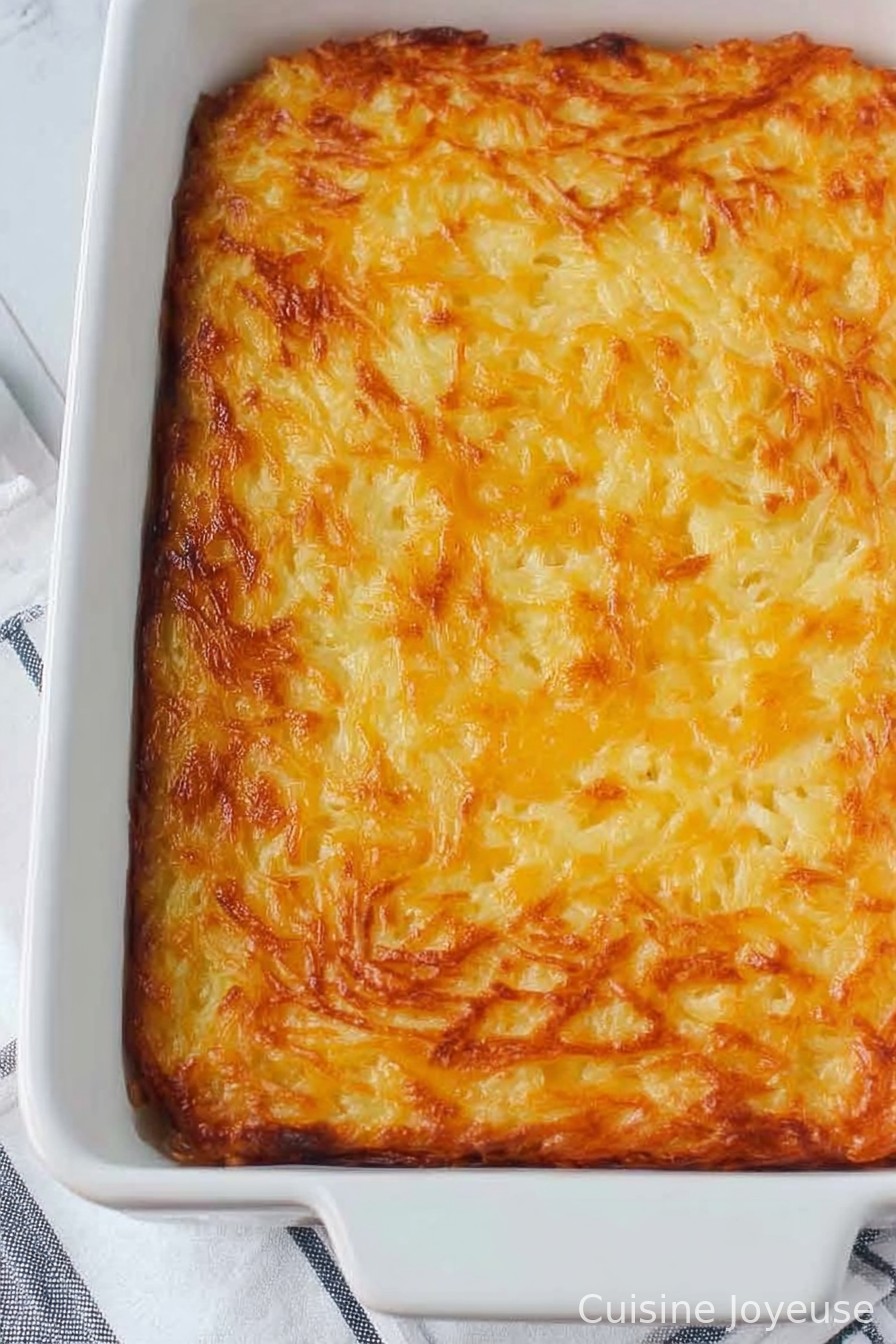
Hashbrown Casserole
So, About This Hashbrown Casserole (or, Why My Kitchen Smells Amazing Right Now)
Ever had one of those recipes that sort of sticks to you (and maybe your hips, but let’s not dwell)? This hashbrown casserole is exactly that, but in the best possible, grandma’s-house-on-a-cold-morning kinda way. I started making it back when my son refused to eat anything “mushy”, but—got him with this. In fact, once my neighbor Susan took a pan for ‘just a bite’ and somehow brought it back empty. Accidents happen. At least she washed it?
Why I Keep Coming Back to This
I make this whenever I need comfort food, can’t be fussed to cook meat, or there’s company coming and I want to actually enjoy conversation (instead of clanging pots around the whole time). My kids go bananas (wrong fruit?) for the crispy cheesy bits on top. The only problem is the actual waiting—there’s something a bit torturous about smelling hashbrown-y goodness for almost an hour. Also, confession: I misread the recipe once and dumped in way too much pepper; they cleaned their plates anyway. Guess the joke’s on me.
What Goes Into My Hashbrown Casserole (And What Doesn’t, Unless You Feel Like It)
- 1(2lb/900g) bag frozen shredded hashbrowns, thawed (I sometimes use cubed hashbrowns if I’m feeling reckless)
- 1 can (10.5 oz/298g) condensed cream of chicken soup (cream of mushroom works, or I’ve even gone rogue with cream of celery once—nobody noticed)
- 2 cups (8 oz/225g) shredded sharp cheddar cheese (mild’s fine if that’s what you’ve got)
- 1 cup (8 oz/240g) sour cream (I’ve swapped in Greek yogurt; not bad, bit tangier)
- 1/2 cup (1 stick/115g) unsalted butter, melted (I sometimes do half butter, half margarine—budget reasons mostly)
- 1/3 cup chopped yellow onion (red onion in a pinch, or skip it if onions aren’t your thing)
- 1/2 teaspoon garlic powder (fresh minced garlic if you’re feeling ambitious, but don’t overdo it)
- 1/2 teaspoon salt (my mom liked more, but start mild)
- 1/4 teaspoon black pepper (sometimes I just guess and it works out… usually)
- 1 1/2 cups cornflakes, lightly crushed (or potato chips if you’re out—trust me!)
- 2 tablespoons melted butter for topping (optional but, you know, yum)
Here’s How I Pull It All Together (Don’t Blink or You’ll Miss My Chaos)
- Preheat your oven to 350°F (175°C). Sometimes I forget and only remember halfway, but you’ll wanna do this first.
- In a big ol’ mixing bowl, dump the thawed hashbrowns, soup, 2 cups cheese, sour cream, melted butter, onion, garlic powder, salt, and pepper. Mix it up till things look nicely coated—if it looks too dry, add a splash more sour cream. (This is where I sneak a bite. Quality control.)
- Spoon the whole mess into a greased 9×13-inch baking dish. Smooth it out some, but don’t go wild trying to make it perfect. Mine always looks a bit lopsided—no one’s cared yet.
- Crush your cornflakes (or chips) with your hands or in a bag using a mug (primitive, yet effective). Toss with the 2 tablespoons melted butter. Sprinkle over casserole. Don’t skip the buttery part—it’s not the same without it, trust me.
- Bake uncovered for about 45–55 minutes. You want bubbling edges and the top golden and maybe even a bit overdone in one corner (that’s the bite I snag before serving). If it jiggles like jelly in the center, give it 5-10 minutes more.
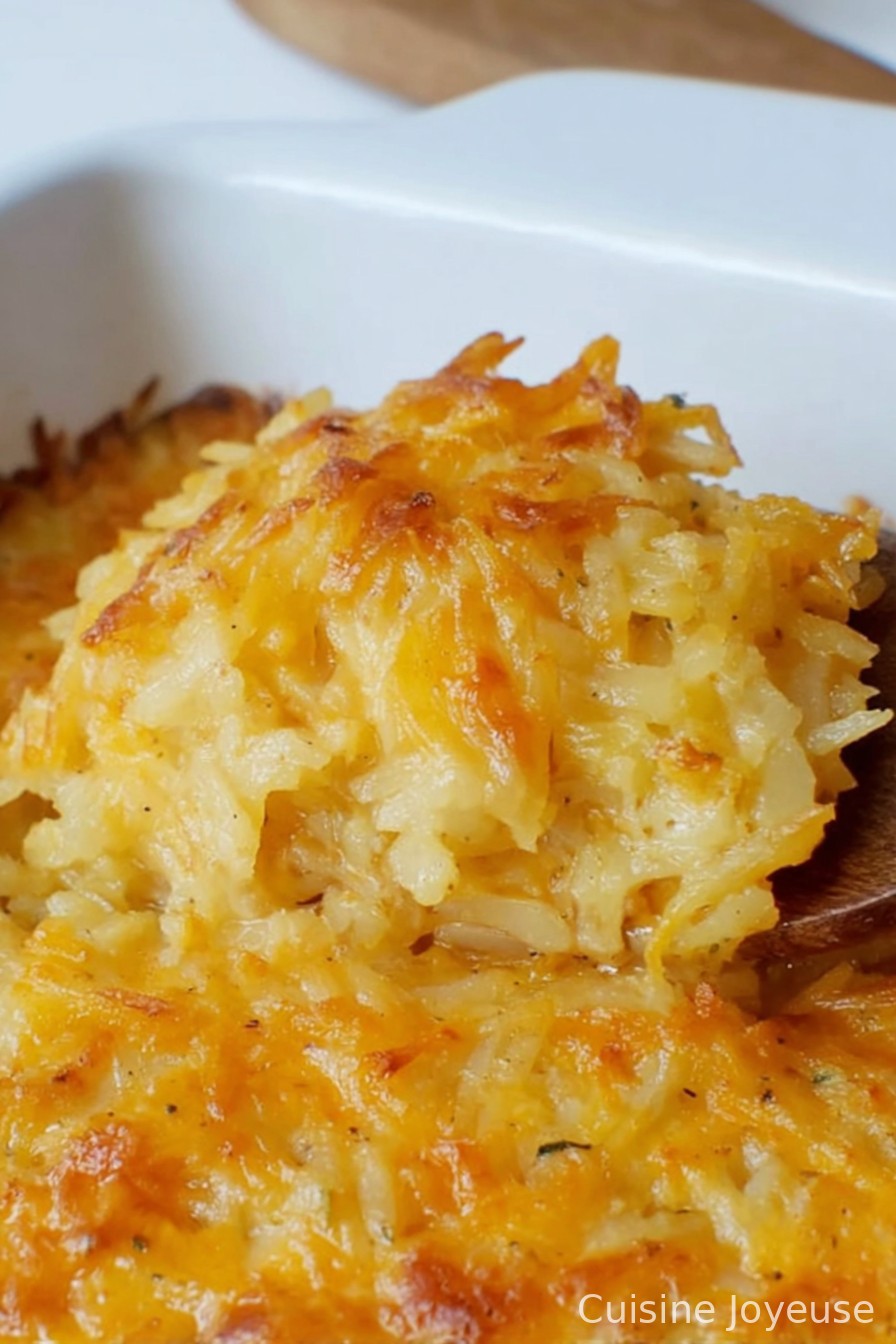
- Let it sit a few minutes—you think you can’t wait, but you kind of have to or it’ll burn your mouth. Learned the hard way. Serve warm and wait for the requests for seconds.
Notes I’ve Gathered (Because I’ve Messed It Up)
- If the hashbrowns are still frozen, the casserole will take forever and maybe get watery. Thaw or microwave ‘em a bit; I’ve been impatient, and regretted it.
- Don’t overmix—once I did, and it got kind of… gluey? Hard to explain. Just fold things together until they’re friendly, not best friends.
- Sometimes, if you’re feeling *real* fancy, sprinkle extra cheese in the last ten minutes. Completely unnecessary, but, well, I do it.
Wild Variations (Or Experiments Gone Sideways)
- Add some diced ham or cooked bacon—totally breakfasty. My cousin threw in diced bell peppers once; I thought it’d clash, but it was actually great.
- Spice it up with a pinch of cayenne or smoked paprika.
- I tried topping with Ritz crackers instead of cornflakes; didn’t get as crispy, though.
- Vegetarian version – swap in cream of mushroom and go for veggie cheese. It’s not quite the same, but good enough when my vegetarian friend visits.
What You Actually Need (Or How I Improvise Every Time)
- Large mixing bowl (or whatever you’ve got—one time I used a huge soup pot, worked fine)
- 9×13-inch casserole dish (metal or glass, doesn’t seem to matter in my experience)
- Big spoon or spatula
- Oven (No oven? I tried to make a half batch in a toaster oven. It worked… sort of.)
Stashing the Leftovers (If There Are Any)
Cool leftovers completely (emphasis on “completely”—otherwise condensation makes it watery, ew) and keep in an airtight container in the fridge. Should last 3-4 days. Except, in reality, it’s always gone in a day at my place, so sometimes I just cover the dish with foil and call it done.
If You Want to Serve This Like We Do
We usually scoop it next to eggs and sausages—that’s our Sunday ritual. But, just last week, I ate the leftovers cold for lunch, and, surprise! Still delicious. My daughter likes it with a dab of hot sauce, and my neighbor swears by ketchup (I do not endorse that but, hey, you do you).
Personal “Don’t Do As I Did” Pro Tips
- Don’t rush the baking. Once I took it out early, and it just tasted like wet potatoes. No one talks about that day.
- If your kids are picking out onions, chop them super fine. I now do this after too many attempts at onion subterfuge.
- Don’t use fat free sour cream. Tried it once—regretted it, tasted like defeat.
Real Questions (Because This Recipe’s a Legend Around Here)
- Can I make this ahead of time? Yes, totally. Mix and refrigerate (skip crunchy topping till just before baking). May need an extra 10 minutes or so in the oven if going cold-to-hot.
- What if my freezer only has tater tots? Smush ‘em up and go for it! Actually, my son says he likes the tots version more—go figure.
- Can I freeze leftovers? Yep, though the topping gets a bit chewy upon thawing; not a dealbreaker, but just so you know.
- No cornflakes—what else works? I’ve used potato chips, crushed crackers, even Goldfish once (don’t recommend that last one, ha).
- How do I reheat it? Oven’s best for the crispy bits, but microwave works for a quick fix. Just don’t tell your mother-in-law; she insists on oven only.
Quick little tangent—one time I tried putting some leftover casserole in a grilled cheese, and yeah, I’m not sure it’ll catch on. But it was surprisingly satiating! Anyway, make it your own. This isn’t rocket science—it’s cheesey, cozy, slightly chaotic comfort food. Enjoy!
Ingredients
- 1(2lb/900g) bag frozen shredded hashbrowns, thawed (I sometimes use cubed hashbrowns if I’m feeling reckless)
- 1 can (10.5 oz/298g) condensed cream of chicken soup (cream of mushroom works, or I’ve even gone rogue with cream of celery once—nobody noticed)
- 2 cups (8 oz/225g) shredded sharp cheddar cheese (mild’s fine if that’s what you’ve got)
- 1 cup (8 oz/240g) sour cream (I’ve swapped in Greek yogurt; not bad, bit tangier)
- 1/2 cup (1 stick/115g) unsalted butter, melted (I sometimes do half butter, half margarine—budget reasons mostly)
- 1/3 cup chopped yellow onion (red onion in a pinch, or skip it if onions aren’t your thing)
- 1/2 teaspoon garlic powder (fresh minced garlic if you’re feeling ambitious, but don’t overdo it)
- 1/2 teaspoon salt (my mom liked more, but start mild)
- 1/4 teaspoon black pepper (sometimes I just guess and it works out… usually)
- 1 1/2 cups cornflakes, lightly crushed (or potato chips if you’re out—trust me!)
- 2 tablespoons melted butter for topping (optional but, you know, yum)
Instructions
-
1Preheat your oven to 350°F (175°C). Sometimes I forget and only remember halfway, but you’ll wanna do this first.
-
2In a big ol’ mixing bowl, dump the thawed hashbrowns, soup, 2 cups cheese, sour cream, melted butter, onion, garlic powder, salt, and pepper. Mix it up till things look nicely coated—if it looks too dry, add a splash more sour cream. (This is where I sneak a bite. Quality control.)
-
3Spoon the whole mess into a greased 9×13-inch baking dish. Smooth it out some, but don’t go wild trying to make it perfect. Mine always looks a bit lopsided—no one’s cared yet.
-
4Crush your cornflakes (or chips) with your hands or in a bag using a mug (primitive, yet effective). Toss with the 2 tablespoons melted butter. Sprinkle over casserole. Don’t skip the buttery part—it’s not the same without it, trust me.
-
5Bake uncovered for about 45–55 minutes. You want bubbling edges and the top golden and maybe even a bit overdone in one corner (that’s the bite I snag before serving). If it jiggles like jelly in the center, give it 5-10 minutes more.
-
6Let it sit a few minutes—you think you can’t wait, but you kind of have to or it’ll burn your mouth. Learned the hard way. Serve warm and wait for the requests for seconds.
Approximate Information for One Serving
Nutrition Disclaimers
Number of total servings shown is approximate. Actual number of servings will depend on your preferred portion sizes.
Nutritional values shown are general guidelines and reflect information for 1 serving using the ingredients listed, not including any optional ingredients. Actual macros may vary slightly depending on specific brands and types of ingredients used.
To determine the weight of one serving, prepare the recipe as instructed. Weigh the finished recipe, then divide the weight of the finished recipe (not including the weight of the container the food is in) by the desired number of servings. Result will be the weight of one serving.
Did you make this recipe?
Please consider Pinning it!