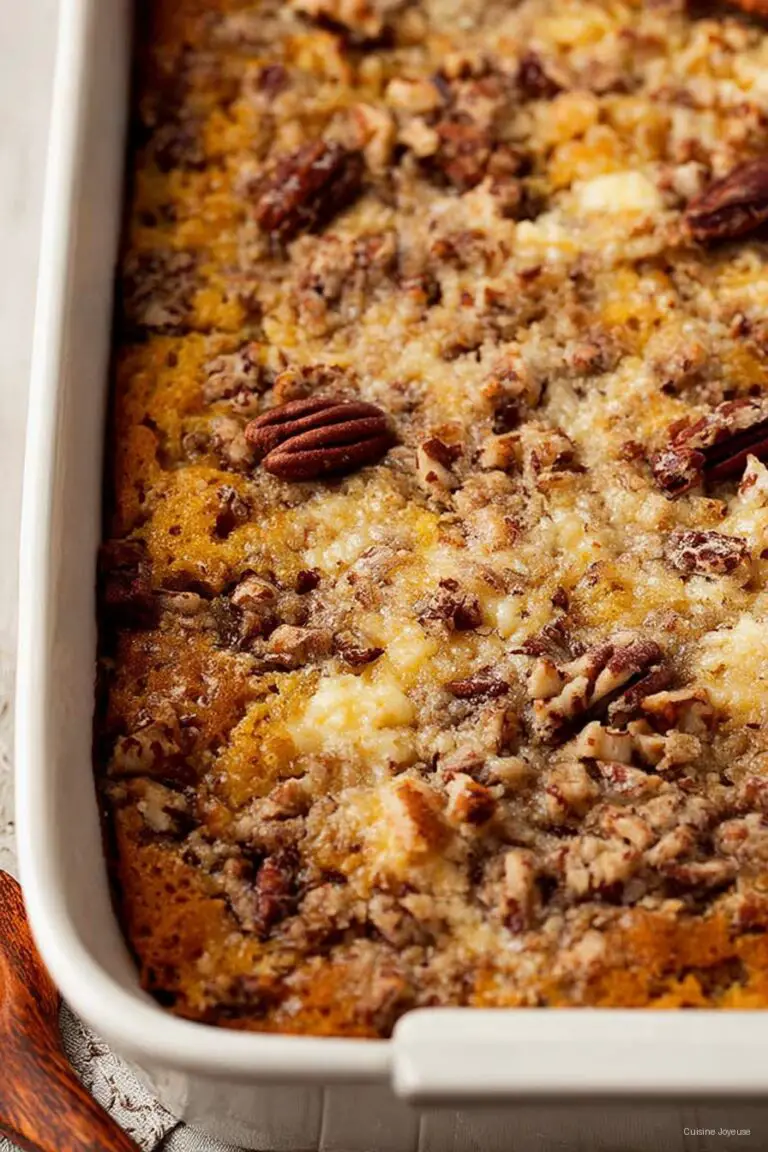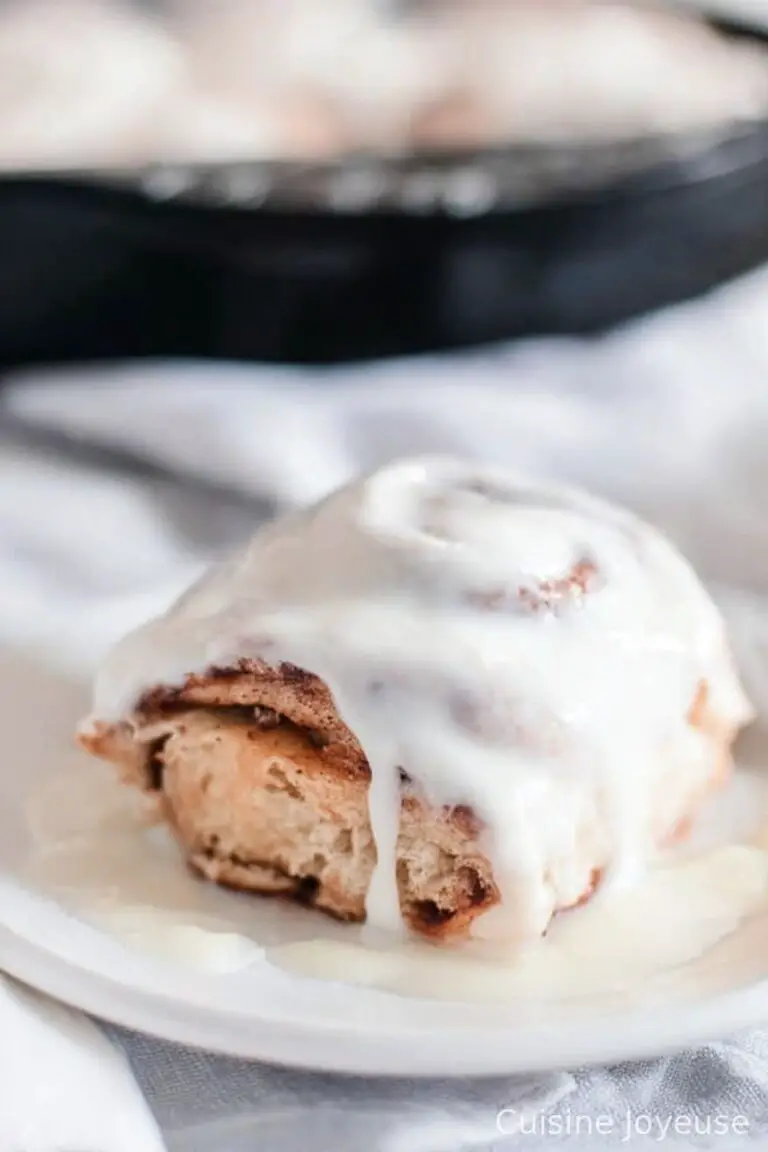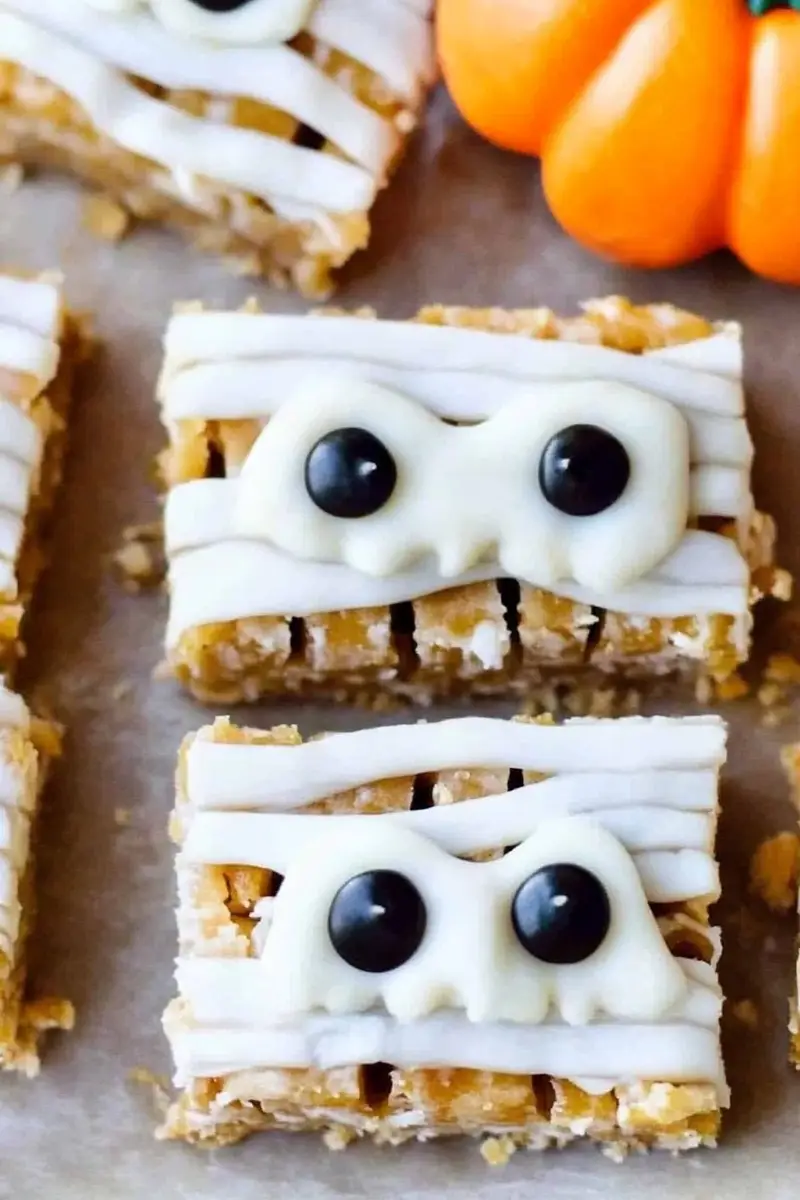
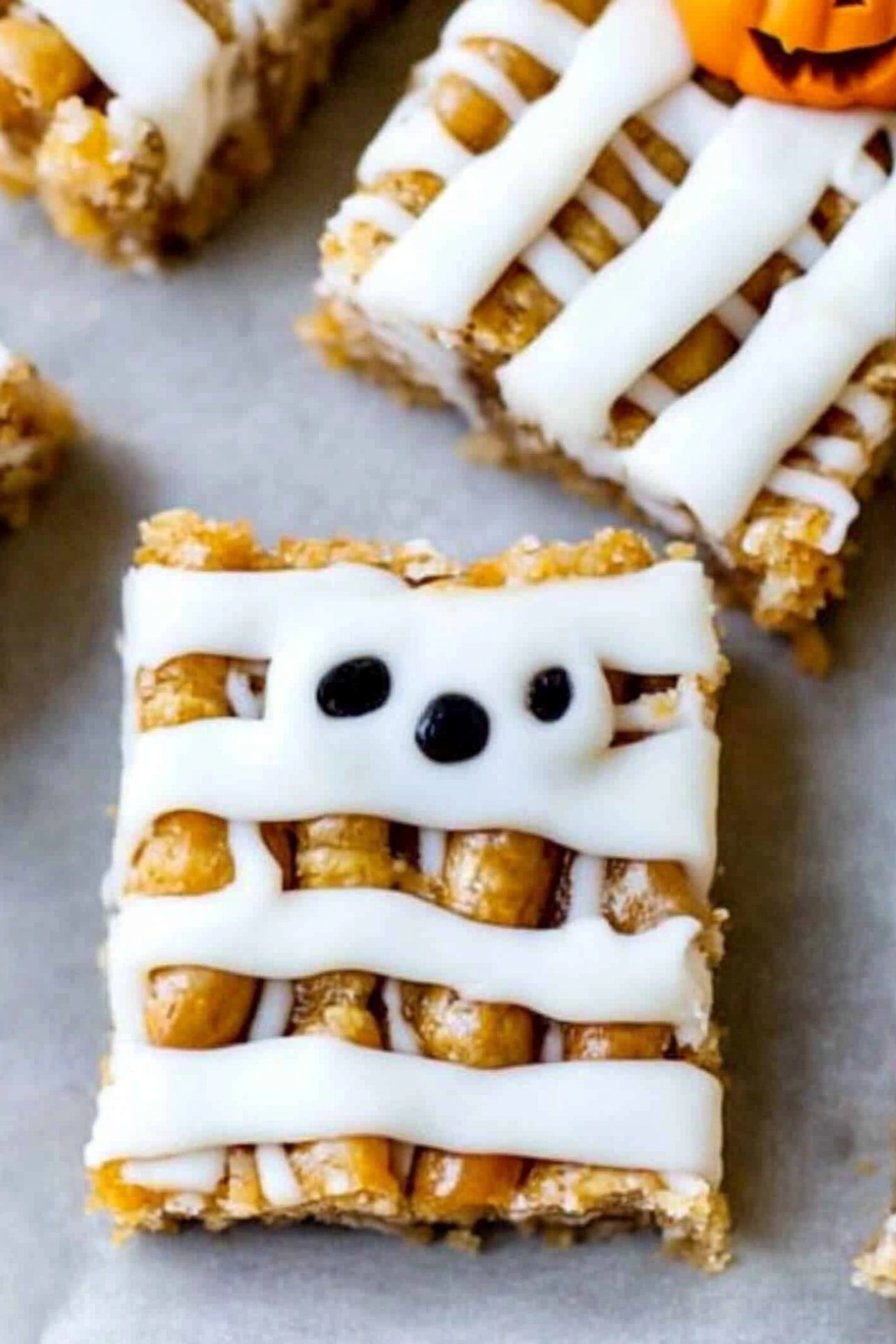
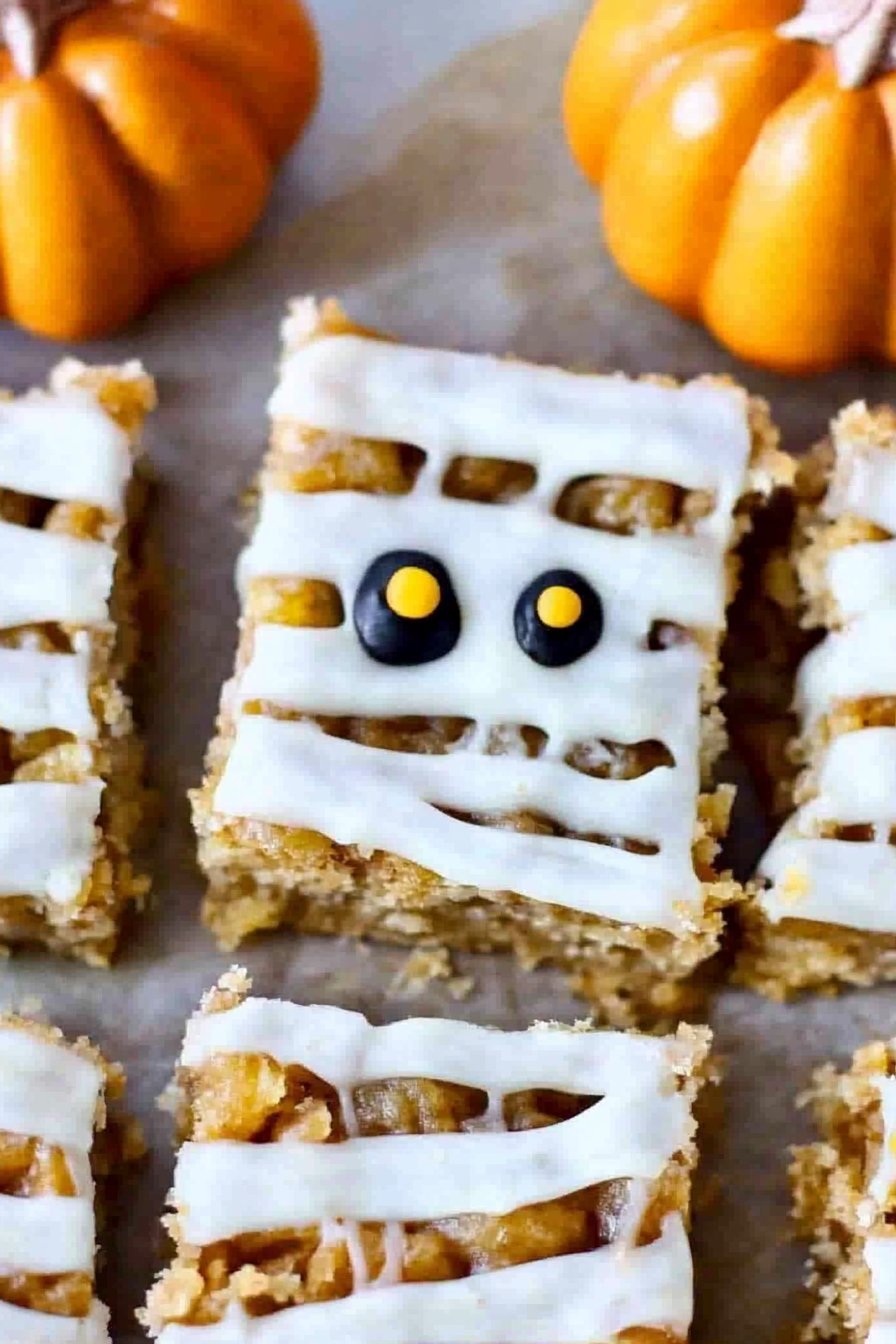
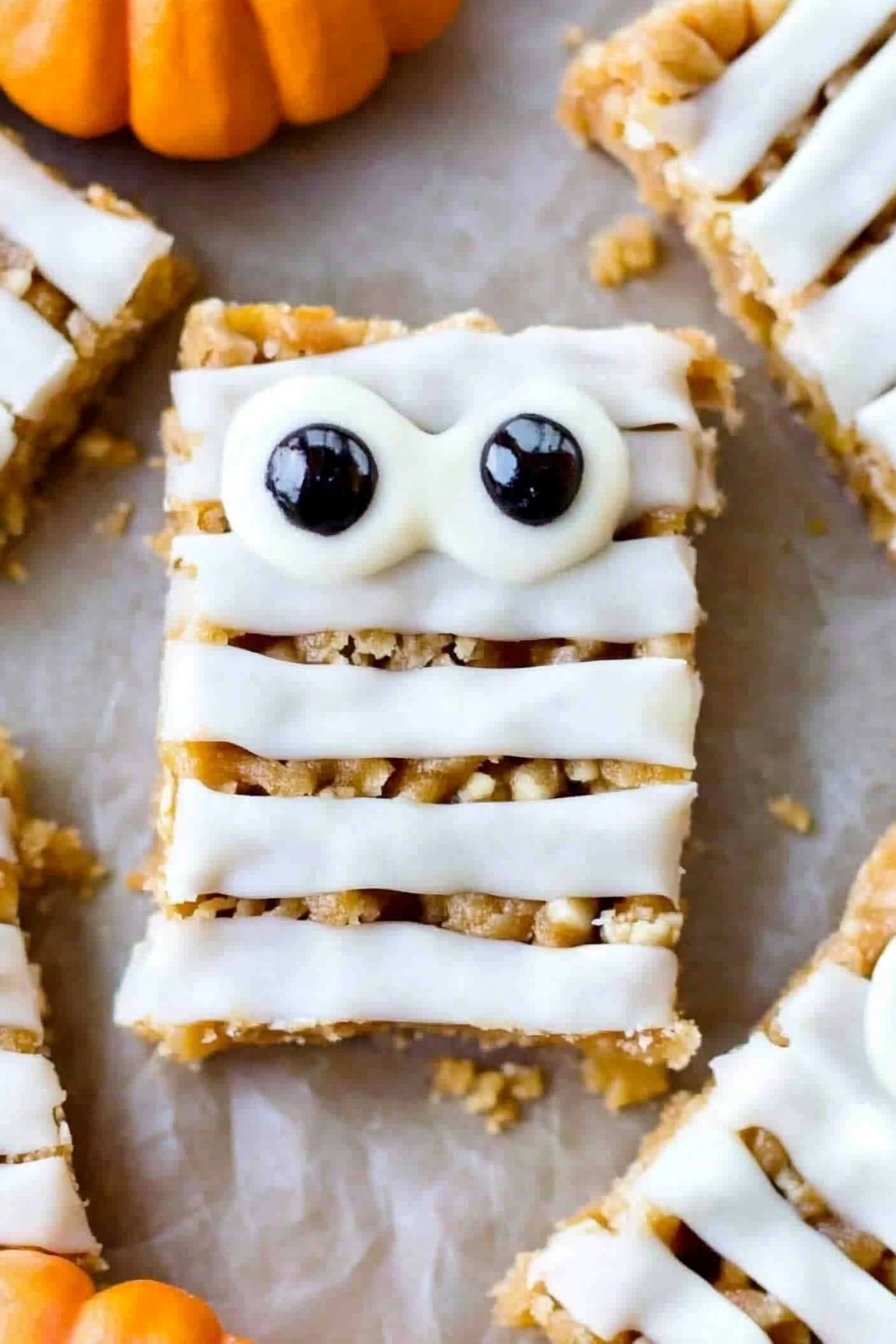
Halloween Mummy Pumpkin Bars
Okay, folks, gather ’round! Let me tell you about this spooky little treat that’s become a bit of a legend in our family—Halloween Mummy Pumpkin Bars. It all started when I tried to outdo my sister’s vampire cupcakes at our annual Halloween bash (she’s a baking wizard, by the way). The kids loved these bars so much that they’ve become a staple at our spooky gatherings. And if you’re anything like me, the combination of pumpkin and cream cheese is just what the witch doctor ordered!
Why You’ll Love This
I whip these up when I want to impress without too much fuss (or when my sister’s cupcakes haunt my pride). My family dives into these like there’s a prize hidden inside—they’re just that good. Plus, transforming a simple bake into mummies? It’s a hoot, albeit a tiny bit messy!
What You’ll Need (Ingredients)
- 1 cup pumpkin puree (not the pie filling)
- 1 cup granulated sugar
- 1/2 cup vegetable oil (I’ve swapped in melted butter when I’m feeling fancy)
- 2 large eggs
- 1 cup all-purpose flour (gluten-free works too, promise!)
- 1 tsp baking powder
- 1/2 tsp baking soda
- 1/2 tsp salt
- 1 tsp cinnamon (go wild if you love spice)
- 4 oz cream cheese, softened
- 1/4 cup powdered sugar
- 2 tbsp milk
- Mini chocolate chips (for the mummy eyes, because why not?)
How to Make It (Directions)
- Preheat your oven to 350°F (or about 175°C for those of us using Celsius) and grease a 9×13 inch pan. Trust me, non-stick spray works wonders here.
- Mix together the pumpkin, sugar, oil, and eggs in a bowl—you’ll want it smooth. I usually take a moment here to lick the spoon (don’t judge me).
- In another bowl, combine the flour, baking powder, baking soda, salt, and cinnamon. And then, mix these dry ingredients into your pumpkin mixture. This is where it might look a bit clumpy, but hang in there.
- Pour the batter into your greased pan and bake for about 25-30 minutes. You’ll know it’s ready when a toothpick comes out clean (or mostly clean, if you’re as impatient as I am).
- While it’s baking, beat together the cream cheese, powdered sugar, and milk until smooth. This is when I usually end up with a sugar dust cloud in my kitchen.
- Once the bars are cool, drizzle the cream cheese mixture to create ‘mummy bandages’. Seriously, don’t sweat it if they look off—mummies aren’t known for their neatness.
- Pop on those chocolate chip eyes, and you’re all set!
Collected Wisdom (Notes)
I once tried to make them too healthy with whole wheat flour—it was a bit dense, to be honest. If you’re feeling adventurous, a dash of nutmeg or ginger spices things up nicely.
Switching It Up (Variations)
I’ve attempted these with a swirl of melted chocolate on top—looked more like chocolate zombies than mummies, but hey, they were still devoured.
What If You Lack a Tool? (Equipment)
No mixer? No worries. A sturdy whisk and some elbow grease will get you there. Trust me, I’ve been there.
Keeping Your Bars (Storage)
If you somehow have leftovers, wrap them up tight and refrigerate. Though, in my house, they rarely make it past the next day!
How We Eat Them (Serving Suggestions)
We like to serve them with a warm cider on the side, and sometimes I add a scoop of vanilla ice cream—just to take it over the top!
Things I Learned the Hard Way (Pro Tips)
I once thought I could skip the cooling stage and frost them immediately—bad idea. The cream cheese turned into a soupy mess.
Your Questions, Answered (FAQ)
Can I use canned pumpkin pie filling instead of puree?
I’d stick with the puree to avoid extra spices and sugar—unless you’re up for a flavor surprise!
What if I don’t have mini chocolate chips?
Regular ones work fine or even raisins, if you’re into that sort of thing. Just wing it!
Can I double the recipe?
Absolutely, but you’ll need a bigger pan or bake in batches. Or, just make more friends to share with!