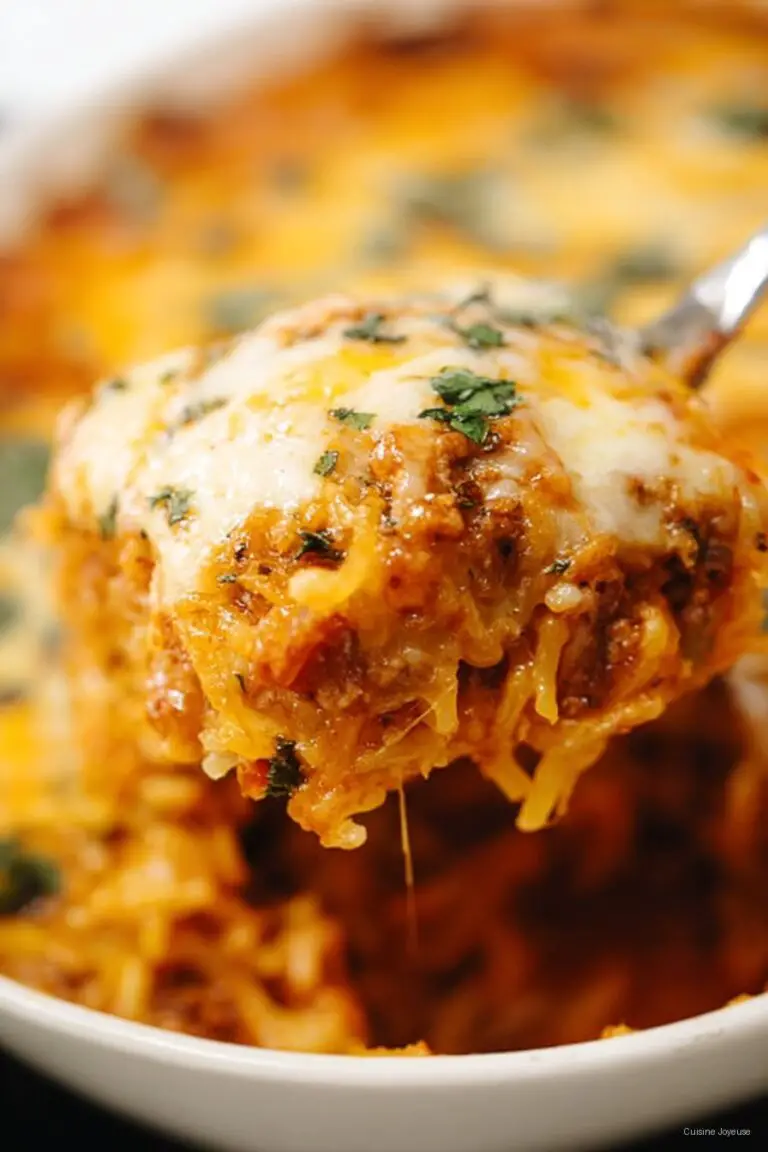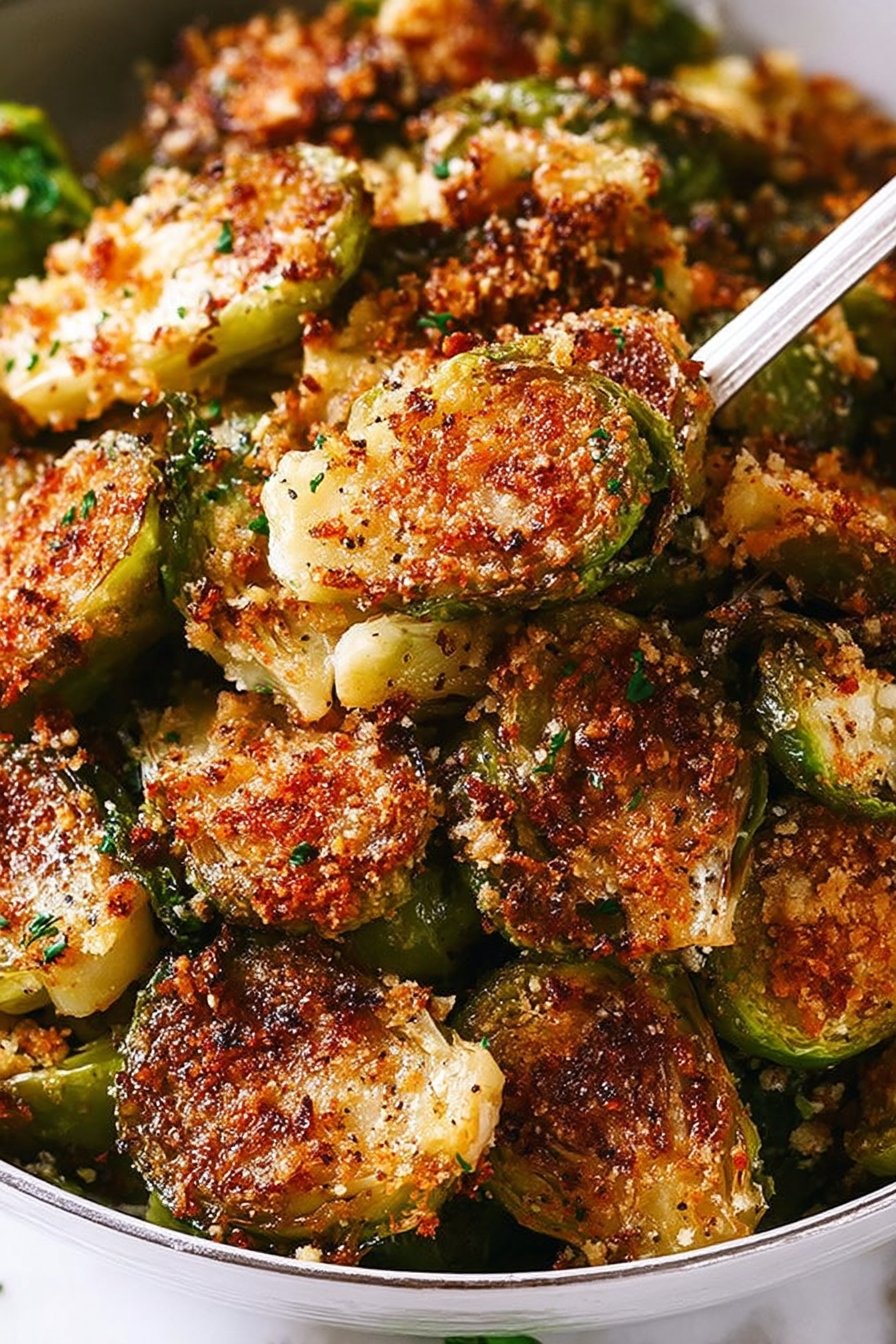
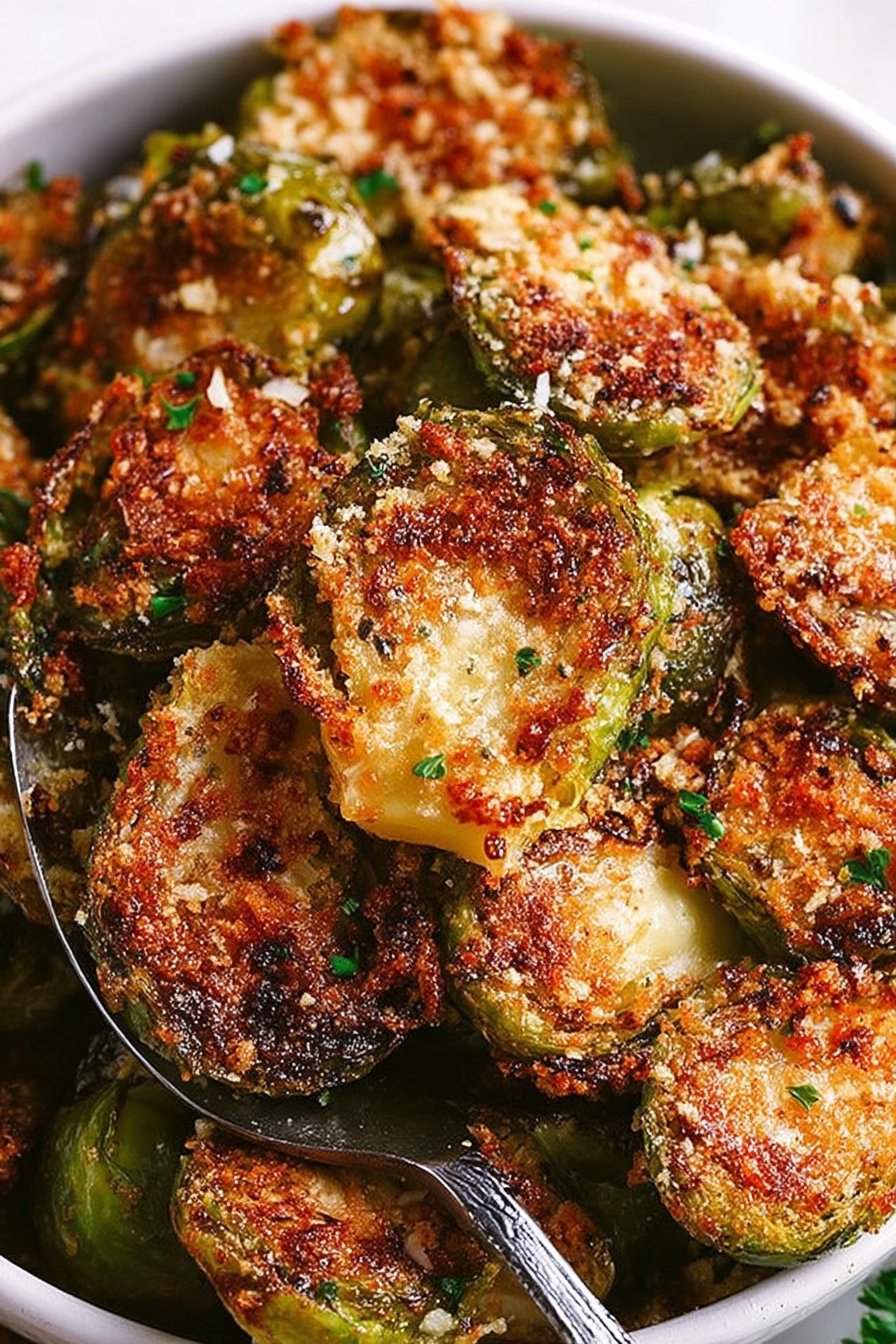
Garlic Parmesan Roasted Brussels Sprouts
Hey there! So, I just have to share this super easy and totally delish recipe for Garlic Parmesan Roasted Brussels Sprouts. I remember the first time I made it, I thought, “There’s no way my kids are going to eat this.” But guess what? They gobbled it up like it was candy! True story. Maybe it’s the cheese, maybe it’s the garlic magic, but whatever it is, it works.
Why You’ll Love This Recipe
I make this dish when I need to whip up something quick but still want to impress (you know, like when the in-laws pop over unexpectedly). My family goes crazy for this because it’s crispy, cheesy, and has a garlicky kick that makes it surprisingly addictive. And honestly, I think it just smells like comfort food. Plus, there’s something quite satisfying about seeing a veggie haters’ face light up after that first bite – who would’ve thought Brussels sprouts could do that?
Ingredients You’ll Need
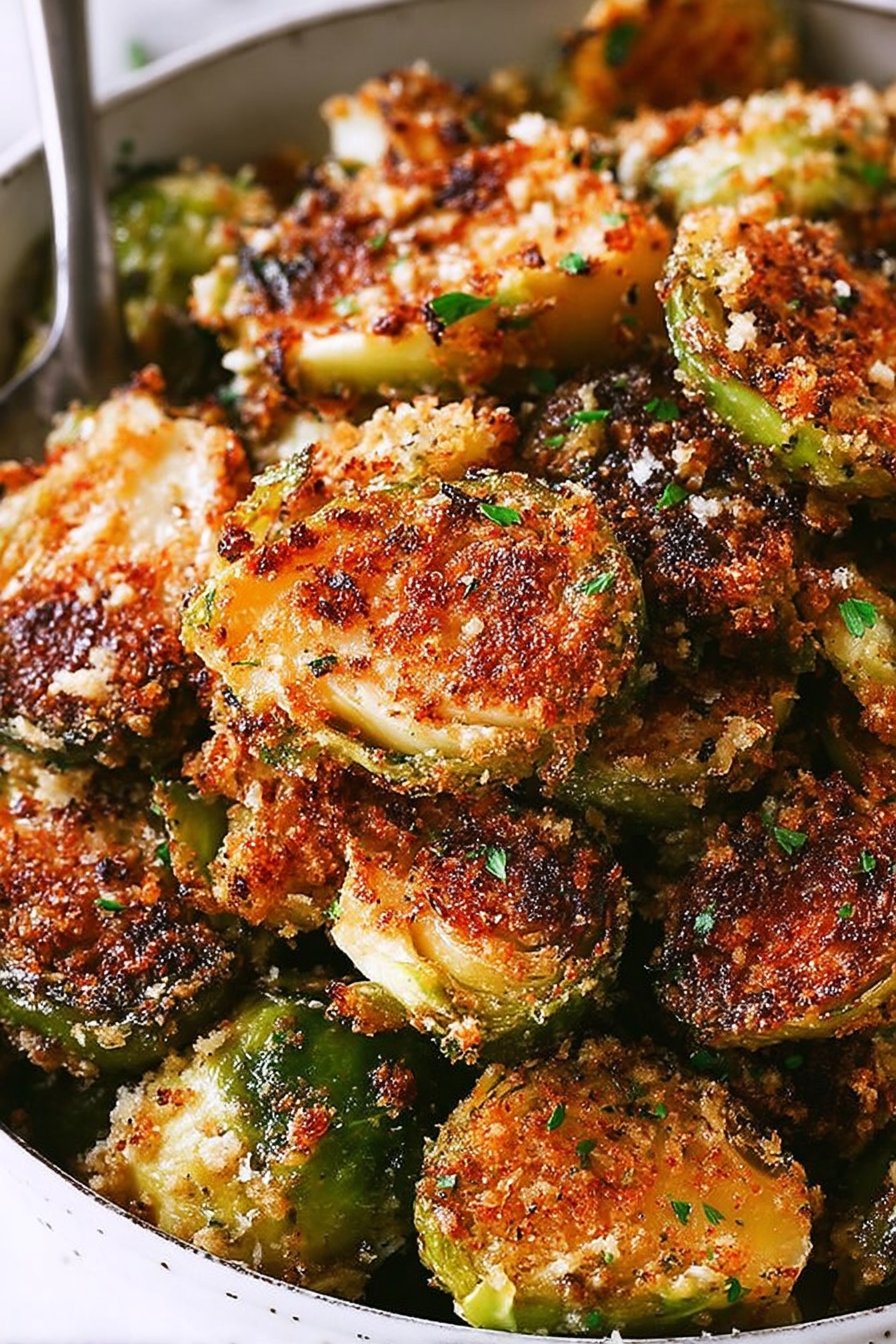
- 1 lb Brussels sprouts, halved
- 3 tablespoons olive oil (I sometimes use avocado oil when I’m feeling fancy)
- 3 cloves garlic, minced (once, I tried using garlic powder, but it just wasn’t the same)
- 1/4 cup grated Parmesan cheese (my grandmother always used the stuff in the green can, but freshly grated is a game-changer)
- Salt and pepper, to taste
- Optional: a squeeze of lemon juice at the end (it adds a nice zing!)

How to Make ‘Em
- Preheat your oven to 400°F (or about 200°C). Yeah, preheating really does matter here.
- Toss those Brussels sprouts with olive oil, garlic, salt, and pepper in a large bowl. Use your hands – it’s the best way to make sure they’re all coated evenly. This is where I usually sneak a taste.
- Spread them out on a baking sheet. Don’t crowd them or they’ll steam instead of roast. It’s a bit like a crowded dance floor – no one wants to be squished!
- Roast in the oven for about 20-25 minutes. You know they’re done when they’re crispy on the outside and tender on the inside.
- Sprinkle the Parmesan over the top and pop them back in the oven for another 5 minutes. Don’t worry if it looks a bit weird at this stage – it always does!
- Serve ‘em warm with an optional squeeze of lemon juice. Enjoy your masterpiece!
Notes
Okay, so here’s the deal. If you find your Brussels sprouts aren’t getting as crispy as you’d like, try bumping up the oven temperature just a tad. I once learned the hard way that patience is key – don’t rush ‘em or you’ll end up with soggy sprouts.
Variations
I’ve tried tossing in some bacon bits (because, why not?), and it was a hit. On the flip side, I once tried adding honey, thinking it’d caramelize beautifully, but that was a sticky mess – not recommended!
Equipment
You’ll want a sturdy baking sheet for this. But if you don’t have one handy, a cast-iron skillet can work in a pinch too, though it might cramp their style a bit.
Storage Info
If you do manage to have leftovers (rare in my house), just pop them in an airtight container and they’ll keep in the fridge for a couple of days. Though honestly, I think they taste even better the next day – if they last that long!
Serving Suggestions
I like serving these with grilled chicken or steak. But they’re also fabulous as a standalone snack. My cousin insists they’re perfect with a cold beer, and I’m not about to argue with that logic!
Pro Tips
I once tried rushing the roasting time and regretted it because they came out way too soft. Trust me, let them get that nice golden brown color – it’s worth the wait!
FAQ
Can I use frozen Brussels sprouts? Honestly, fresh is best for this recipe. But if frozen is all you’ve got, just make sure they’re thoroughly thawed and patted dry to avoid sogginess.
Is there a dairy-free option? Absolutely! I’ve used nutritional yeast instead of Parmesan for my vegan pals, and it’s surprisingly good.
Do I really have to preheat the oven? You betcha! Preheating is key to achieving that lovely crispy texture.