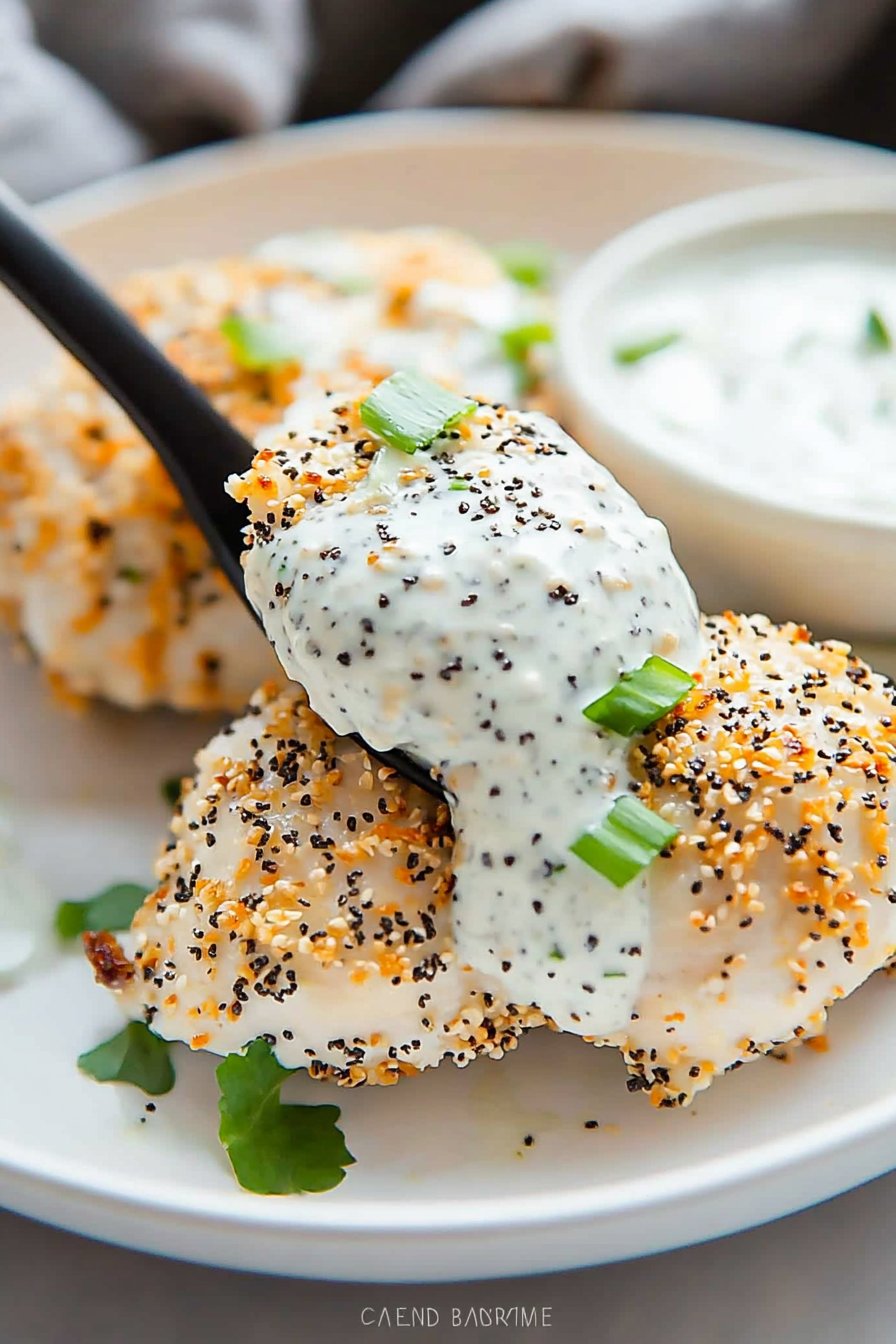
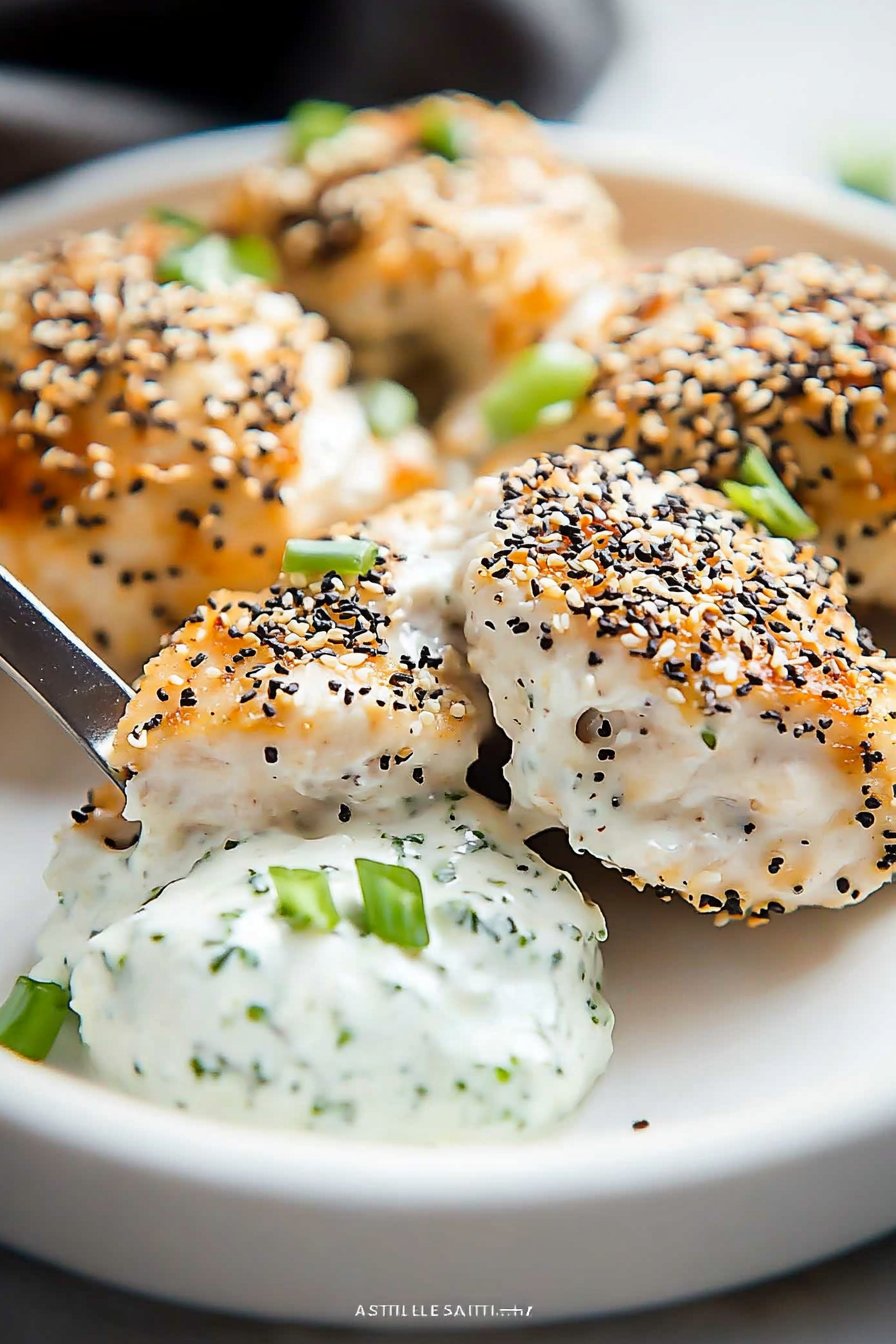
Everything Bagel Chicken with Scallion Cream Cheese Sauce
Let Me Tell You About This Everything Bagel Chicken
Oh, friend, you have got to try this one. I actually made it for the first time during a particularly lazy Sunday when the only things in my fridge were, I kid you not, a half-block of cream cheese, some sad-looking scallions, and chicken thighs I was supposed to cook three days earlier. The everything bagel seasoning was a total afterthought—my husband is obsessed with it, and frankly, I was tired of hearing him ask where all the bagels had gone (spoiler: I ate them). Long story short, we ended up licking the pan and there was a minor debate over who got the last spoonful of sauce. No one won.
Why You’ll Love This (Or At Least Why I Do)
I make this when I want dinner to feel a little bit fun but still require almost zero brain power. The everything bagel crust is salty and crunchy and, honestly, addictive. My kids go nuts for the sauce – they dip their veggies in it, their chicken, one time even a pretzel (not my finest dinner, but hey, it worked). Plus, it’s one of those things you can slap together after a long day when you don’t have the energy to fuss.
Oh, and if you’re the sort of person who hates cleaning up a ton of greasy pans (I see you), this only uses like two. Sometimes I make it just so I have less to wash up. Not kidding.
Here’s What You’ll Need (Give or Take)
- 4 boneless, skinless chicken breasts (I usually use thighs, but breasts work too. Or, in a pinch, chicken tenders. I mean, who’s checking?)
- About 1/2 cup everything bagel seasoning – the kind from Trader Joe’s is great, but honestly, I’ve tried the off-brand and it’s fine
- 1 cup Panko breadcrumbs (I once ran out and used crushed Ritz crackers. Wouldn’t recommend unless you’re desperate, but hey, it works)
- 2 eggs, beaten
- 2 tablespoons plain flour – or honestly, skip if you’re out. I do, and nothing bad has happened yet
- For the sauce:
- 1/2 block (about 4oz) cream cheese, softened. Full-fat is tastier but I won’t judge if you use light
- 3 scallions, thinly sliced. (I once used chives because my garden was out of control — also tasty)
- 2 tablespoons milk, to loosen things up (I usually eyeball it)
- 1 teaspoon lemon juice (sometimes I forget this, but it does help brighten it up)
- Pinch of salt and black pepper
How To Actually Make It (Without Losing Your Mind)
- Preheat your oven to 425°F (220°C). Or 400°F if your oven is moody like mine and everything burns at the higher temp.
- Line a baking sheet with parchment paper (I usually have to unearth mine from the bottom of the drawer—why is it always buried?)
- Set up three bowls: one for flour, one for the eggs, one for the panko mixed with the everything bagel seasoning.
- Pat the chicken dry with a kitchen towel. I used to skip this, but actually, it helps the coating stick so much better.
- Dip each piece in flour, then into the eggs, and finally into the panko–bagel mix. Press gently to really get that coating on there. If your hands get gunky, congratulations, you’re doing it right.
- Arrange the chicken on the baking sheet and give them a spritz of oil (or brush with melted butter if you’re feeling fancy).
- Bake for about 20–25 minutes until golden and cooked through. I usually poke the thickest one with a thermometer, but honestly, if the juices run clear and it’s hot, you’re fine.
- While that’s going, make the sauce: in a medium bowl, mash together the cream cheese, scallions, milk, lemon juice, salt, and pepper. If it’s too thick, just add more milk by the spoonful. This is where I always sneak a taste, then adjust the salt.
- Serve up the chicken hot, with a big dollop of sauce on the side or slathered right on top. Or, if you’re feeling rebellious, serve the sauce cold.
Stuff I Learned (Usually the Hard Way)
- The first time I made this, I forgot the flour step. It honestly still worked, but the crust was patchy. So, do it if you can.
- Don’t use pre-shredded cheese in the coating – I tried it once and it just melted into a weird mess. Not worth it.
- Sometimes the bagel seasoning is really salty. Taste before you add more salt to the sauce.

If You Wanna Mix It Up (Or Just Ran Out of Something)
- Once I swapped in smoked salmon for the chicken and made little bites for a party. That was a hit, but honestly, the chicken’s easier.
- I tried the sauce with Greek yogurt instead of cream cheese. It was… okay, but a bit tangy for me. Maybe you’ll love it?
- Sometimes I add a handful of chopped dill to the sauce for a herby kick. But my kids picked it out, so now I don’t bother.
If You Don’t Have Fancy Tools
Look, a meat thermometer is handy, but if you don’t have one, just slice open the thickest bit and check for pink. I also used to think you needed a wire rack, but parchment on a regular tray works just fine. No whisk? Fork works. Or just use your clean hands (they’re the best tool, really).
How Long Does This Keep? (Not Long, If You Ask My Family)
Store leftovers in a sealed container in the fridge. They’re best eaten within two days, though honestly, in my house it never lasts more than a day! If you have extra sauce, it’s magic on crackers or veggies. Reheat chicken in the oven to keep it kinda crispy—microwave makes it a bit sad, but still edible.
What Should You Serve With It?
We usually have this with roasted broccoli or a big pile of greens and some crusty bread. My sister insists it’s best with sweet potato fries for dipping (not a bad idea). For a real treat, pile the chicken on a toasted bun with extra sauce—kind of a ‘fancy’ chicken sandwich night!
Things I Wish I’d Known (So You Don’t Have to Learn the Hard Way)
- I once tried rushing the breadcrumb step and ended up with sad, half-bare chicken. Take the extra minute to coat it well.
- Don’t skip the oil spray or butter. It’s what makes the coating crispy in the oven.
- Actually, letting the chicken sit for 5 minutes before slicing makes it juicier. But sometimes we’re too hungry. Oh well.
FAQ (Because People Actually Ask Me These)
- Can I make this gluten-free?
- Yep! Just use GF flour and gluten-free breadcrumbs. Trader Joe’s has a good one (here’s a link to their Everything But the Bagel seasoning, too).
- Does the sauce keep?
- Mostly, yes. It does thicken in the fridge, so give it a stir and maybe another splash of milk before serving.
- Can I use a different protein?
- I’ve heard people do this with tofu or salmon, but honestly, I’ve only tried chicken and the one salmon experiment I mentioned earlier. If you try something wild, let me know?
- Where do you get everything bagel seasoning?
- I get mine at TJ’s, but I’ve also ordered on Amazon. Or you can make your own! (Google has a million recipes but I like this one from Simply Recipes)
Oh—and one final thing: don’t stress if yours doesn’t look exactly like the photos on Pinterest. Mine never does and we’re still alive and well. Enjoy, and send me a message (okay, or just a mental high-five) if you make it!
Ingredients
- 4 boneless, skinless chicken breasts
- 3 tablespoons everything bagel seasoning
- 1 tablespoon olive oil
- 1/2 teaspoon salt
- 1/4 teaspoon black pepper
- 4 ounces cream cheese, softened
- 1/4 cup sour cream
- 3 scallions, finely sliced
- 1 tablespoon lemon juice
Instructions
-
1Preheat the oven to 400°F (200°C). Line a baking sheet with parchment paper.
-
2Pat the chicken breasts dry with paper towels. Brush both sides with olive oil and season with salt and black pepper.
-
3Sprinkle the everything bagel seasoning evenly over both sides of the chicken breasts, pressing gently to adhere.
-
4Place the chicken on the prepared baking sheet and bake for 22-25 minutes, or until the chicken is cooked through and juices run clear.
-
5While the chicken bakes, prepare the sauce: In a bowl, mix together the cream cheese, sour cream, scallions, and lemon juice until smooth and creamy.
-
6Serve the baked chicken topped with a generous spoonful of scallion cream cheese sauce.
Approximate Information for One Serving
Nutrition Disclaimers
Number of total servings shown is approximate. Actual number of servings will depend on your preferred portion sizes.
Nutritional values shown are general guidelines and reflect information for 1 serving using the ingredients listed, not including any optional ingredients. Actual macros may vary slightly depending on specific brands and types of ingredients used.
To determine the weight of one serving, prepare the recipe as instructed. Weigh the finished recipe, then divide the weight of the finished recipe (not including the weight of the container the food is in) by the desired number of servings. Result will be the weight of one serving.
Did you make this recipe?
Please consider Pinning it!!