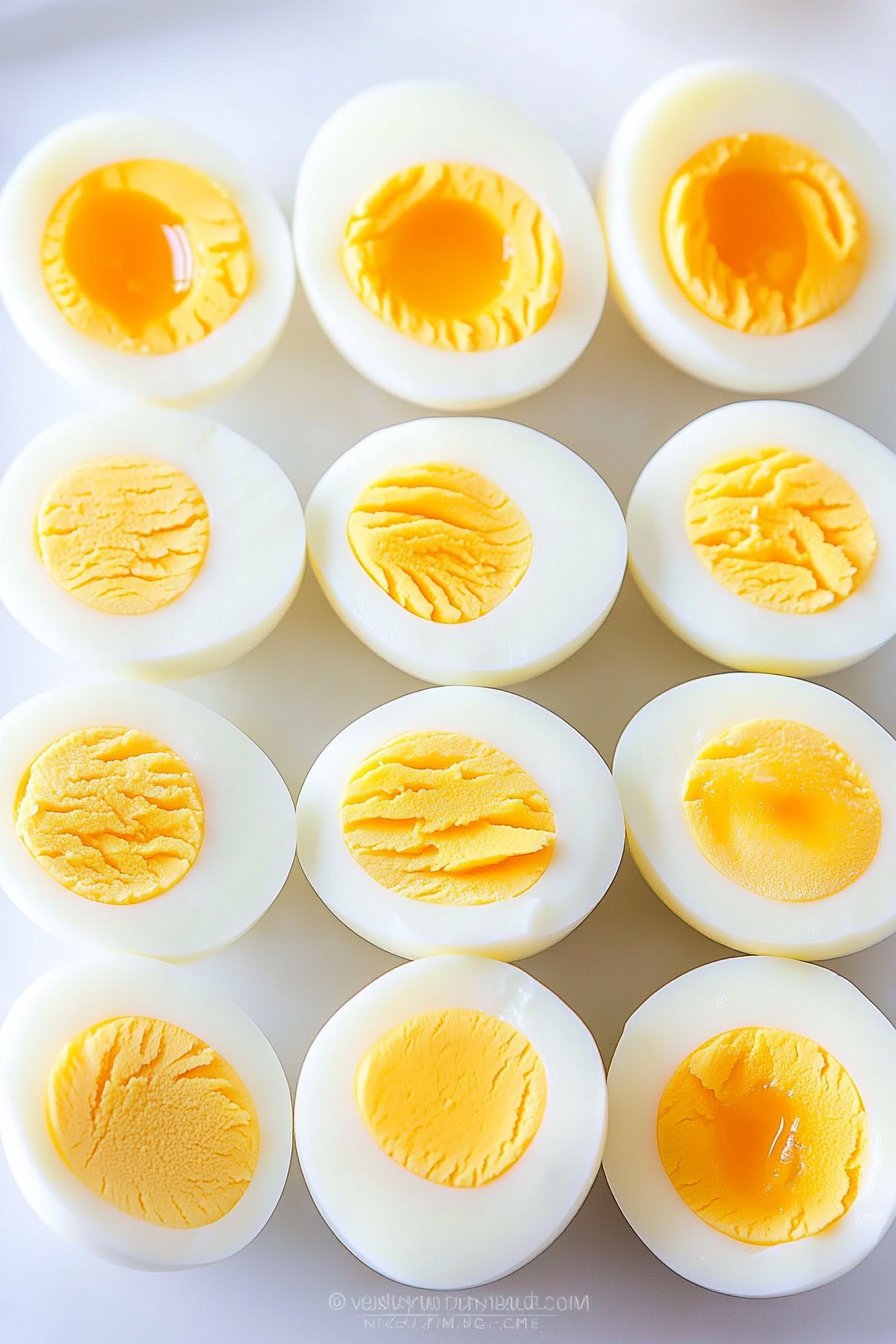
Easy Peel Hard- and Soft-Boiled Eggs
Alright, so let me tell you about my rocky relationship with boiled eggs. I remember thinking these little guys were simple as pie (ironically, pie is way harder), but more often than not, I’d end up with shells that just refused to budge. Picture bits of eggshell flying everywhere and tears of frustration in my eyes. But then, I found a method that worked like a charm, and okay—I’m not saying it’s foolproof, but it’s pretty darn close.
Why You’re Gonna Love These
I whip these up whenever I need a quick breakfast or snack that’s not gonna make me want to nap immediately after. My kids? They go wild for them (especially the soft-boiled ones, where the yolk is like a little pool of sunshine). And, hey, if you’re anything like me, you might have had a few egg disasters—I once tried the old rolling-pin-to-crack-the-shell trick and that was messy—so this method is a breath of fresh air.
What You’ll Need
- 6 large eggs (though any size will do, really)
- Water (about an inch over the eggs in the pot)
- Ice cubes (optional, but trust me on this one)
- Salt (I sometimes skip this, but if you like a bit more flavor, go ahead)
- Vinegar (my grandma swore by it, but honestly, I find it’s optional)
Directions
- Place your eggs in a saucepan and cover them with water; you want about an inch of water above them. Bring it to a boil over medium-high heat. (I often use this time to catch up on my emails—just don’t get too distracted!)
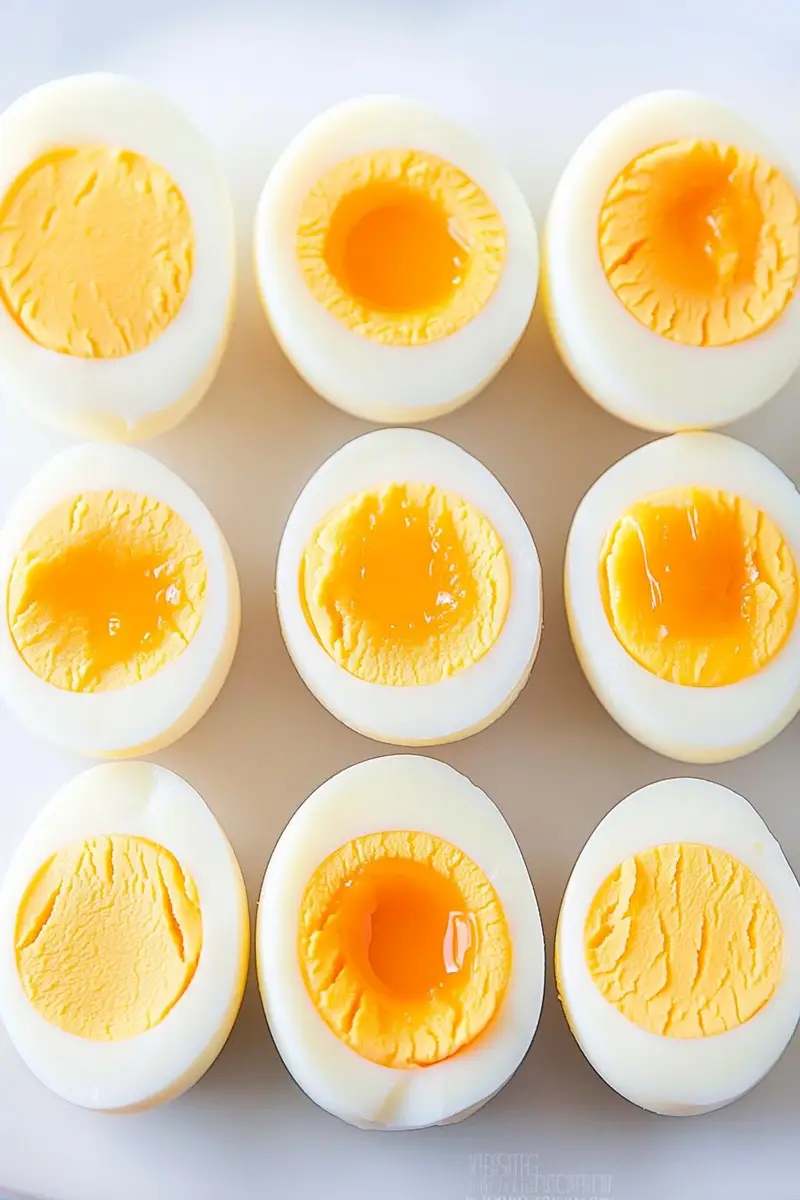
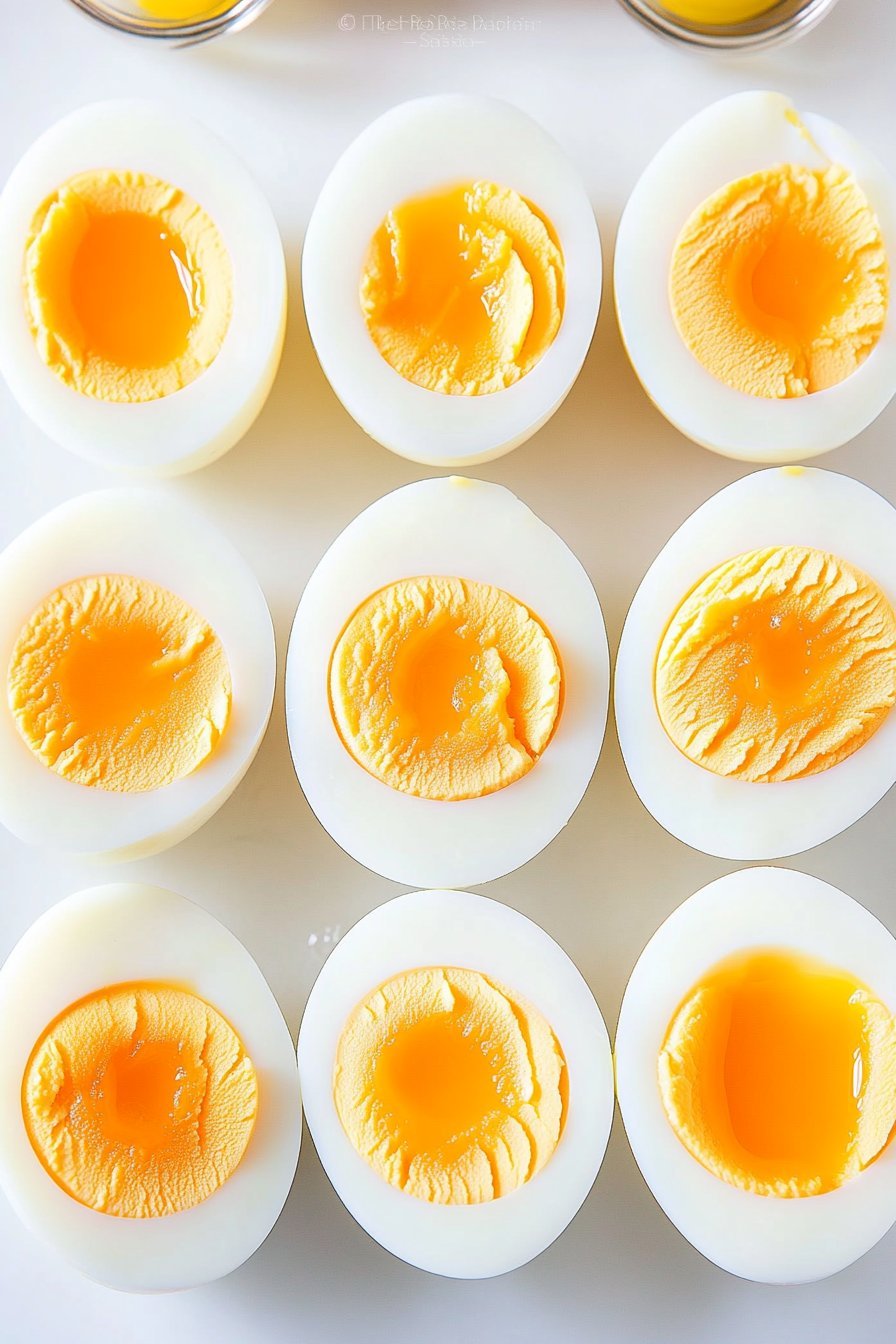
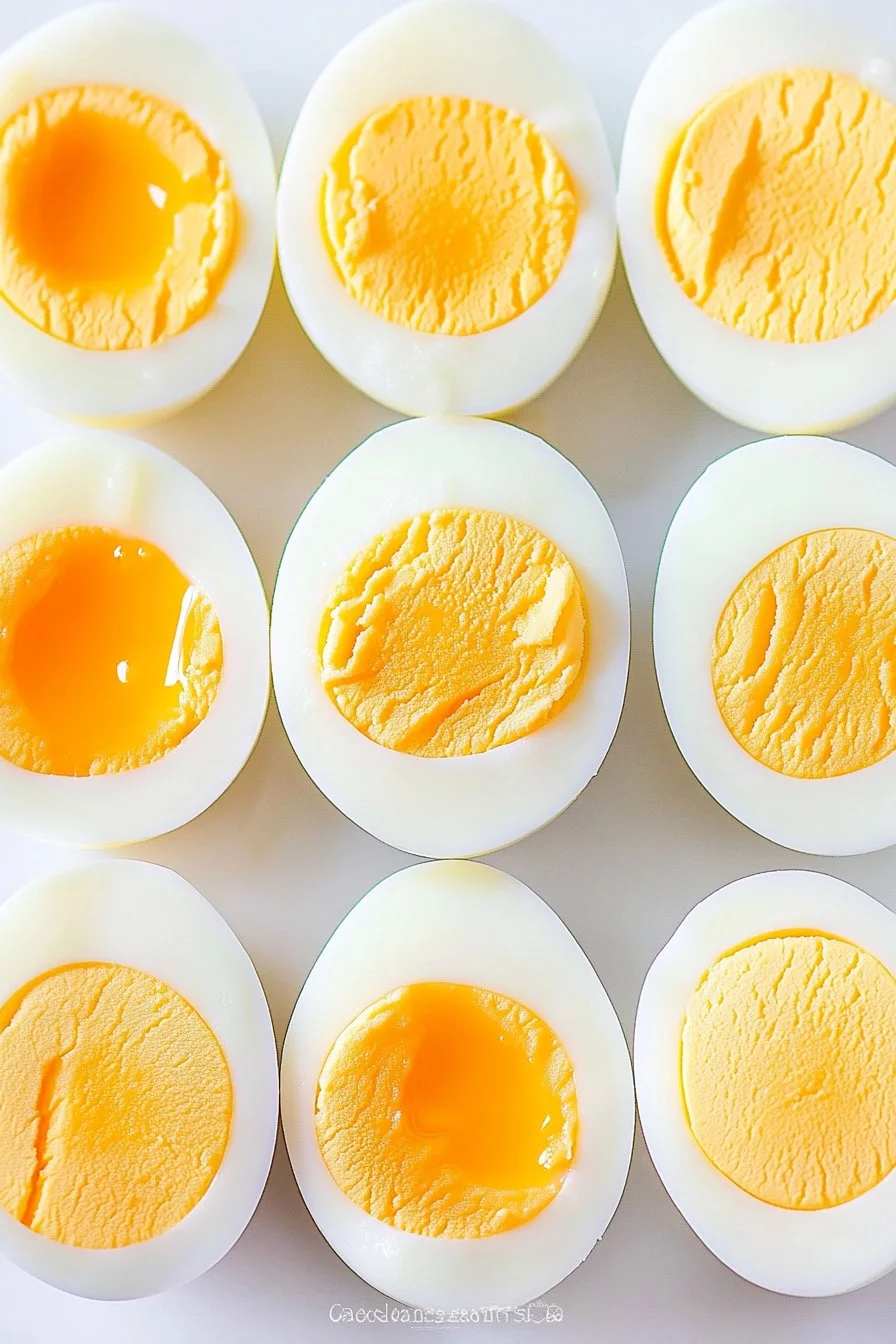
- Once it’s boiling, cover the pan with a lid and remove it from heat. Let them sit for about 9 minutes for hard-boiled or around 5 for soft-boiled. Trust me, this is when that pool of sunshine happens.
- Meanwhile, prepare a bowl of ice water. After the timer’s up, transfer the eggs to this bowl. This is where I usually sneak a taste, but mostly of the ice cubes (weird, I know).
- Let them chill for 5 minutes, then gently tap them on the counter and peel away. Don’t worry if you have a little trouble at first—it’s all part of the fun!
What I’ve Learned
Turns out, fresh eggs are harder to peel because the egg white sticks to the shell more. So, if you’re planning for perfect eggs, maybe use ones that’ve been sitting in the fridge a week or so. I learned this after demolishing a dozen fresh ones!
Some Fun Variations
I’ve experimented with adding different things to the boiling water like a splash of soy sauce for a bit of flavor infusion. They’re not quite deviled, but close! And once, I tried using a microwave. Do not—I repeat—do not try that experiment unless you want an egg-splosion.
Tools of the Trade
All you need is a saucepan and a lid. But if you don’t have a lid, a heatproof plate works in a pinch. I once used a frying pan lid—not perfect, but it did the job!
How to Store Them
Store your perfectly peeled eggs in the fridge for up to a week. Honestly though, in my house, they never last more than a day before they’re all snacked up.
How We Serve ‘Em
I love these with a sprinkle of salt and pepper, maybe even a dash of hot sauce if I’m feeling adventurous. They also make a great addition to salads or a quick protein boost in your lunchbox.
Pro Tips (or Things I Learned the Hard Way)
Don’t try to rush the ice bath step—just don’t. I once thought I could skip it and ended up with eggs that were hot and sticky. Not fun.
Eggy FAQs
Can I use older eggs? – Yes, definitely! As I said, they’re easier to peel this way.
How do I know if an egg is fresh? – Good question! A fresh egg sinks in water while an older one floats. See? Science!
What’s the perfect boiling time? – Depends if you like ’em hard or soft. But I say 9 for hard, 5 for soft. Give it a go!