Easy Pancake Bites Recipe
Let Me Tell You About Pancake Bites (And That One Time They Vanished Before I Blinked)
You ever wake up on a Saturday, dragging your feet into the kitchen, only to realize you’re not really in the mood for the whole pancake production line? Yup, same here. Fast-forward to me scribbling this on a napkin—Pancake Bites were a happy accident at my house when my oldest asked for pancakes “like muffins.” Muffin tins, pancake batter, and about twenty minutes later—bam, little puffs of happiness. Truth be told, I once tried adding chopped bacon, but my youngest fished every bit out and lined them up like a runway. So: stick to what the crowd loves and maybe eat the bacon on the side.
Why You’ll Love This: No More Flipping!
I make these when I just can’t deal with flipping pancakes at the stove (which, for me, is nearly every school morning). My kids go bananas for them—especially because I let everyone pick their own add-ins. (Just a heads up: chocolate chips disappear first.) I used to find making pancakes a pain—first few are too pale, last few are burnt, my arms get tired. These bites? Oven does the work. Plus, the cleanup barely scrapes a “major hassle.”
What You’ll Need (Don’t Stress Substitutions)
- 1 cup all-purpose flour (or whole wheat if I feel guilty about something)
- 2 tablespoons sugar (sometimes I sneak in brown sugar instead if it’s staring at me)
- 1 teaspoon baking powder
- 1/2 teaspoon baking soda
- 1/4 teaspoon salt
- 3/4 cup milk (I swear oat milk is just as good; my gran used to grumble about that, though)
- 1 large egg
- 2 tablespoons unsalted butter, melted (if you’re out, a splash of oil does the trick)
- 1 teaspoon vanilla extract
- 1/3 cup mini chocolate chips, blueberries, or, well, whatever you fancy (I’ve tossed in chopped strawberries, which worked; peanut butter chips, which didn’t — 0/10, would not recommend)
Here’s How I Make ‘Em (Mostly)
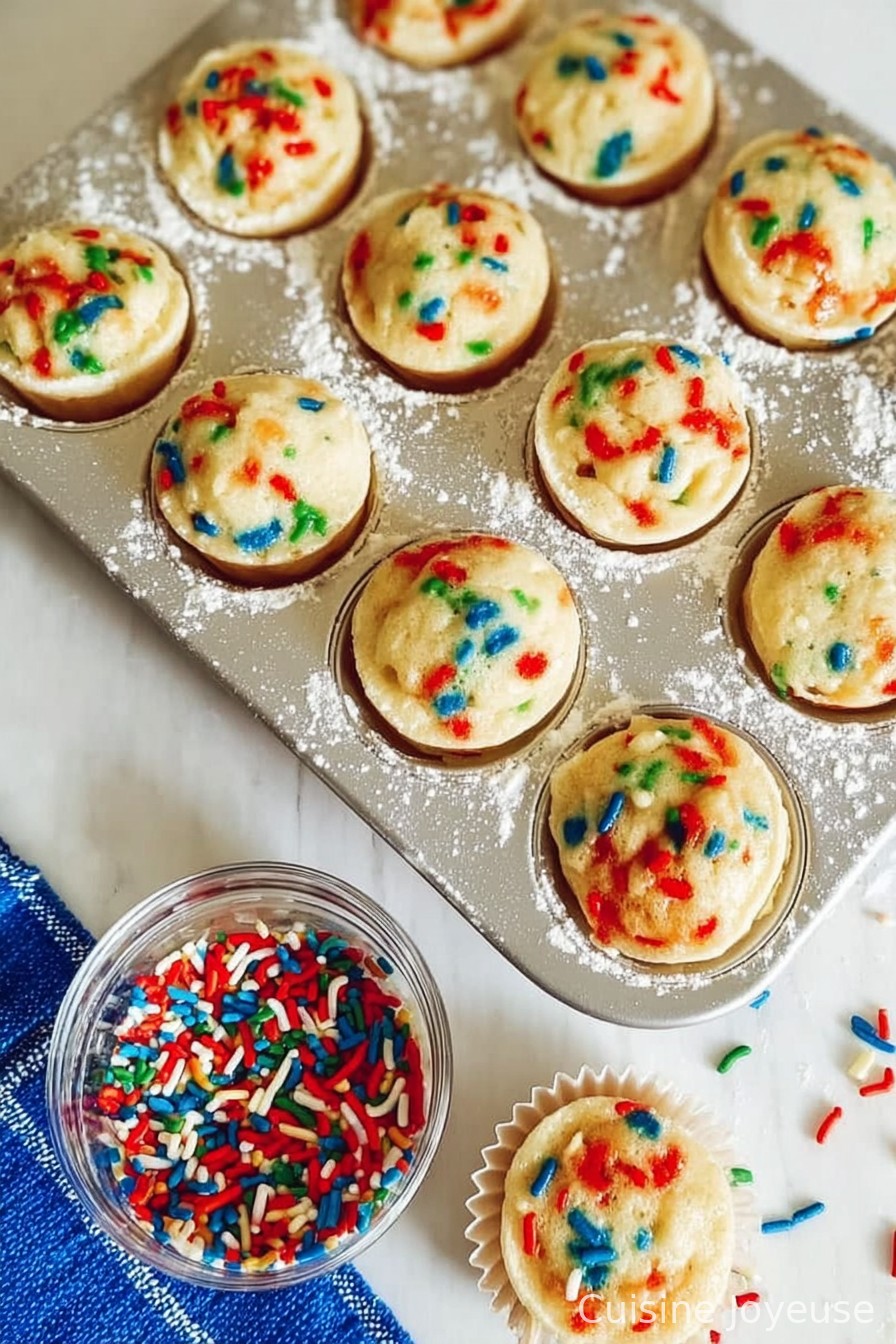
- Preheat your oven to 350°F (180°C). Grab a mini muffin tin (makes about 20 bites) and give it a spritz of nonstick spray, unless you love scrubbing pans. Regular muffin tin works, but baking time’s a bit longer.
- In a big bowl, dump in the flour, sugar, baking powder, baking soda, and salt. Quick whisk—nothing fancy—just to get out the lumps and mix it up.
- Pour milk into a jug with the egg, melted butter, and vanilla. I use my favorite chipped mug. Stir it all up with a fork.
- Make a well in your dry mix (technical term, ha), pour in the wet stuff. Gently combine everything—do NOT overmix (seriously, it will go rubbery; learned that the hard way on a Monday). Some lumps are totally fine. Actually, I think they make it fluffier.
- Fold in your add-ins. This is where I usually taste the batter—live dangerously. And yes, it’s fine.
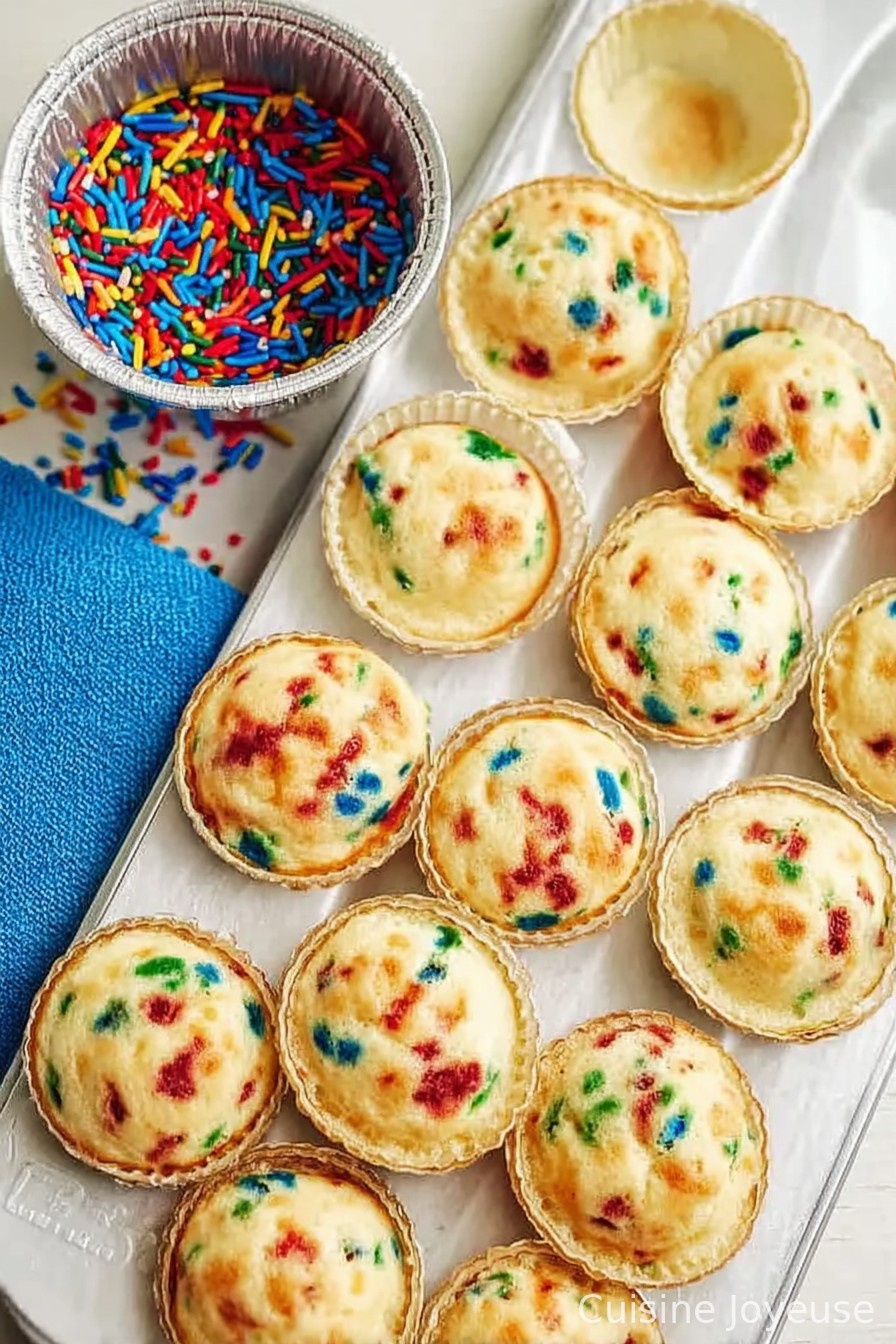
- Spoon the batter into the greased mini muffin cups—go almost to the top. Batter will puff up in the oven, but they don’t explode (unlike my first failed attempt at full-sized muffins…different story!).
- Bake 11-13 minutes, till the tops look golden and a toothpick comes out clean(ish). Don’t stress if a tiny bit sticks—it’s pancake, not a wedding cake.
- Let ‘em cool for a couple minutes, then pop them out with a butter knife. Try not to eat six before anyone else shows up.
Stuff I Wish I Knew Earlier (Notes)
- If you overfill, sometimes the bites get muffin tops. Not a disaster, just less photogenic.
- Blueberries are juicier than you’d expect and stain things, including your fingers. And, as it turns out, your cat if they’re nosy.
- These taste strangely better after they sit for 10 minutes—maybe just me?
Variations I’ve Actually Tried, For Better or Worse
- Swapped out chocolate chips for chopped pecans: pretty good with maple drizzle.
- Added shredded coconut once—kids wrinkled noses, but I loved it (so that’s subjective).
- Sneaked in a spoonful of jam in the middle. Oozy and lovely, but a total mess unless you freeze blobs of jam first. Trust me, it was chaos.
Tools You’ll Want (Or Whatever’s Handy)
- Mini muffin tin – if you only have a regular one, just bake a bit longer, 16-ish minutes. Baking sheet with silicone muffin liners actually worked once when I misplaced my tin (long story).
- Mixing bowl and whisk or a fork—no need for fancy gear
- Spoon or small ice cream scoop (keep it casual)
How to Store ‘Em (But Good Luck Having Leftovers)
Room temp in an airtight tin for up to two days, fridge for three. They freeze fine, just nuke ‘em 10 seconds to wake them back up. Though, honestly, in my house they’re gone before dinner rolls around.
How We Serve Pancake Bites (Weekend Laziness Edition)
We pile them up and dust with powdered sugar (sometimes I call it fairy dust, don’t judge me). I dunk mine in coffee—controversial but don’t knock it. Kids love them with warm syrup or a blob of whipped cream. For birthdays, we sneak in a candle or two.
Lessons Learned (a.k.a. Pro Tips I Only Learned When I Messed Up)
- Don’t rush the mixing step. I dumped everything in once and stirred like a maniac… ended up with pancake rocks, not bites.
- Check oven temp. Mine runs hot, so sometimes they were crispy outside, raw-ish inside. Now I use an oven thermometer (most of the time; unless I forget).
Real Questions People Actually Asked (Really)
- Q: Can I use pancake mix instead of making it from scratch?
A: Hey, I’ve done it when I’m wiped out—just follow the same steps, maybe tweak the milk amount if your mix is thick. It works surprisingly all right. - Q: Do these work with gluten-free flour?
A: Sure, though sometimes they stick more. A bit more oil in the batter helps. Actually, I find it works better if you line the muffin tin, just to be safe. - Q: They came out flat! What happened?
A: Ahh, either the baking powder was old (been there) or maybe overmixed? Sometimes just luck of the draw, honestly. - Q: Can I double it?
A: Bless you for feeding a crowd. Yes, double everything and bake in batches, unless you’ve got a mega oven. - Q: Why are mine gummy?
A: Probably too much stirring, or maybe too much liquid—on second thought, scale back the milk a touch next time. Or, just eat them anyway and call it “chewy” if anyone asks.
And that’s it. Oh—if you figure out how not to eat three in a row, let me know. I still can’t manage it!
Ingredients
- 1 cup all-purpose flour (or whole wheat if I feel guilty about something)
- 2 tablespoons sugar (sometimes I sneak in brown sugar instead if it’s staring at me)
- 1 teaspoon baking powder
- 1/2 teaspoon baking soda
- 1/4 teaspoon salt
- 3/4 cup milk (I swear oat milk is just as good; my gran used to grumble about that, though)
- 1 large egg
- 2 tablespoons unsalted butter, melted (if you’re out, a splash of oil does the trick)
- 1 teaspoon vanilla extract
- 1/3 cup mini chocolate chips, blueberries, or, well, whatever you fancy (I’ve tossed in chopped strawberries, which worked; peanut butter chips, which didn’t — 0/10, would not recommend)
Instructions
-
1Preheat your oven to 350°F (180°C). Grab a mini muffin tin (makes about 20 bites) and give it a spritz of nonstick spray, unless you love scrubbing pans. Regular muffin tin works, but baking time’s a bit longer.
-
2In a big bowl, dump in the flour, sugar, baking powder, baking soda, and salt. Quick whisk—nothing fancy—just to get out the lumps and mix it up.
-
3Pour milk into a jug with the egg, melted butter, and vanilla. I use my favorite chipped mug. Stir it all up with a fork.
-
4Make a well in your dry mix (technical term, ha), pour in the wet stuff. Gently combine everything—do NOT overmix (seriously, it will go rubbery; learned that the hard way on a Monday). Some lumps are totally fine. Actually, I think they make it fluffier.
-
5Fold in your add-ins. This is where I usually taste the batter—live dangerously. And yes, it’s fine.
-
6Spoon the batter into the greased mini muffin cups—go almost to the top. Batter will puff up in the oven, but they don’t explode (unlike my first failed attempt at full-sized muffins…different story!).
-
7Bake 11-13 minutes, till the tops look golden and a toothpick comes out clean(ish). Don’t stress if a tiny bit sticks—it’s pancake, not a wedding cake.
-
8Let ‘em cool for a couple minutes, then pop them out with a butter knife. Try not to eat six before anyone else shows up.
Approximate Information for One Serving
Nutrition Disclaimers
Number of total servings shown is approximate. Actual number of servings will depend on your preferred portion sizes.
Nutritional values shown are general guidelines and reflect information for 1 serving using the ingredients listed, not including any optional ingredients. Actual macros may vary slightly depending on specific brands and types of ingredients used.
To determine the weight of one serving, prepare the recipe as instructed. Weigh the finished recipe, then divide the weight of the finished recipe (not including the weight of the container the food is in) by the desired number of servings. Result will be the weight of one serving.
Did you make this recipe?
Please consider Pinning it!