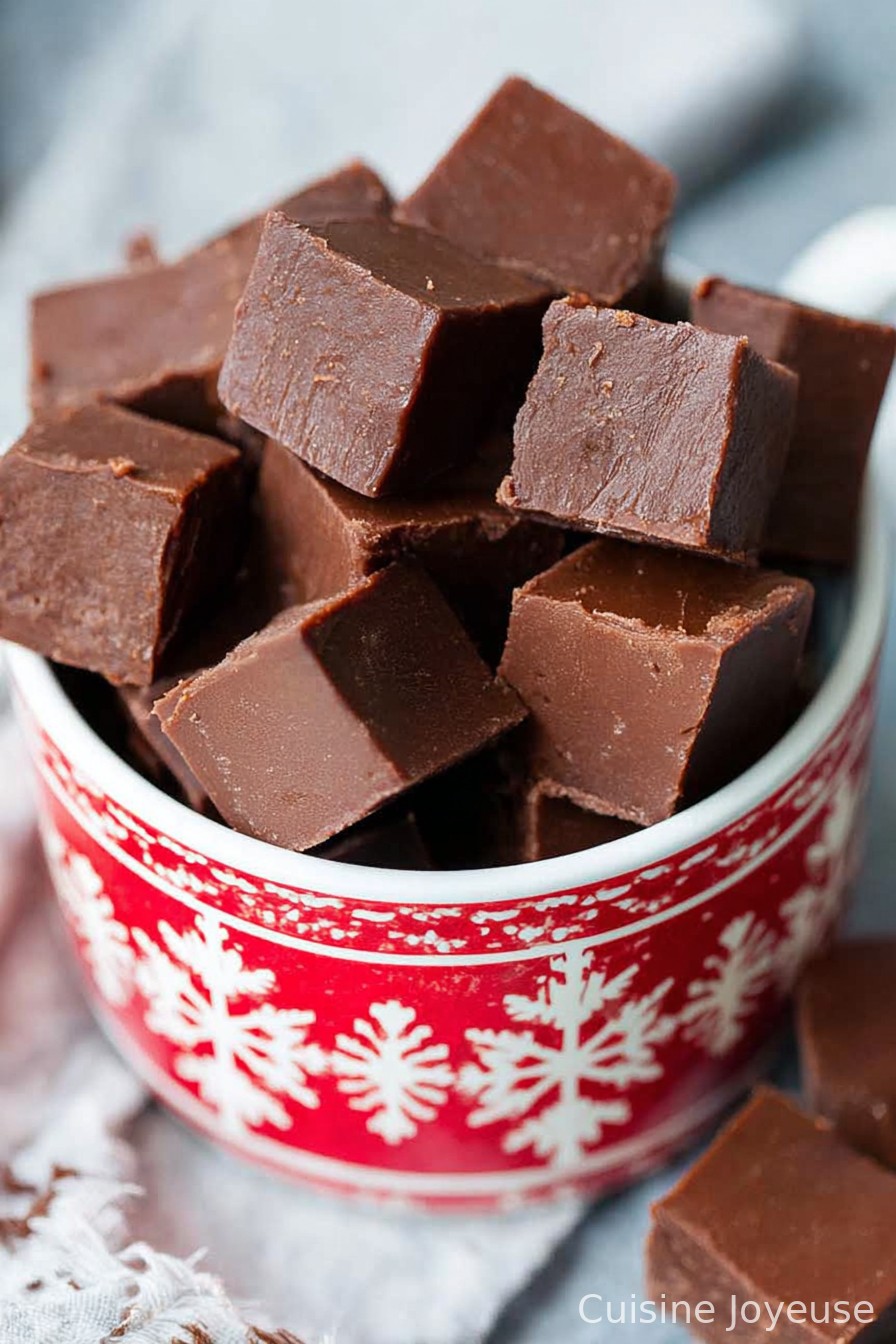
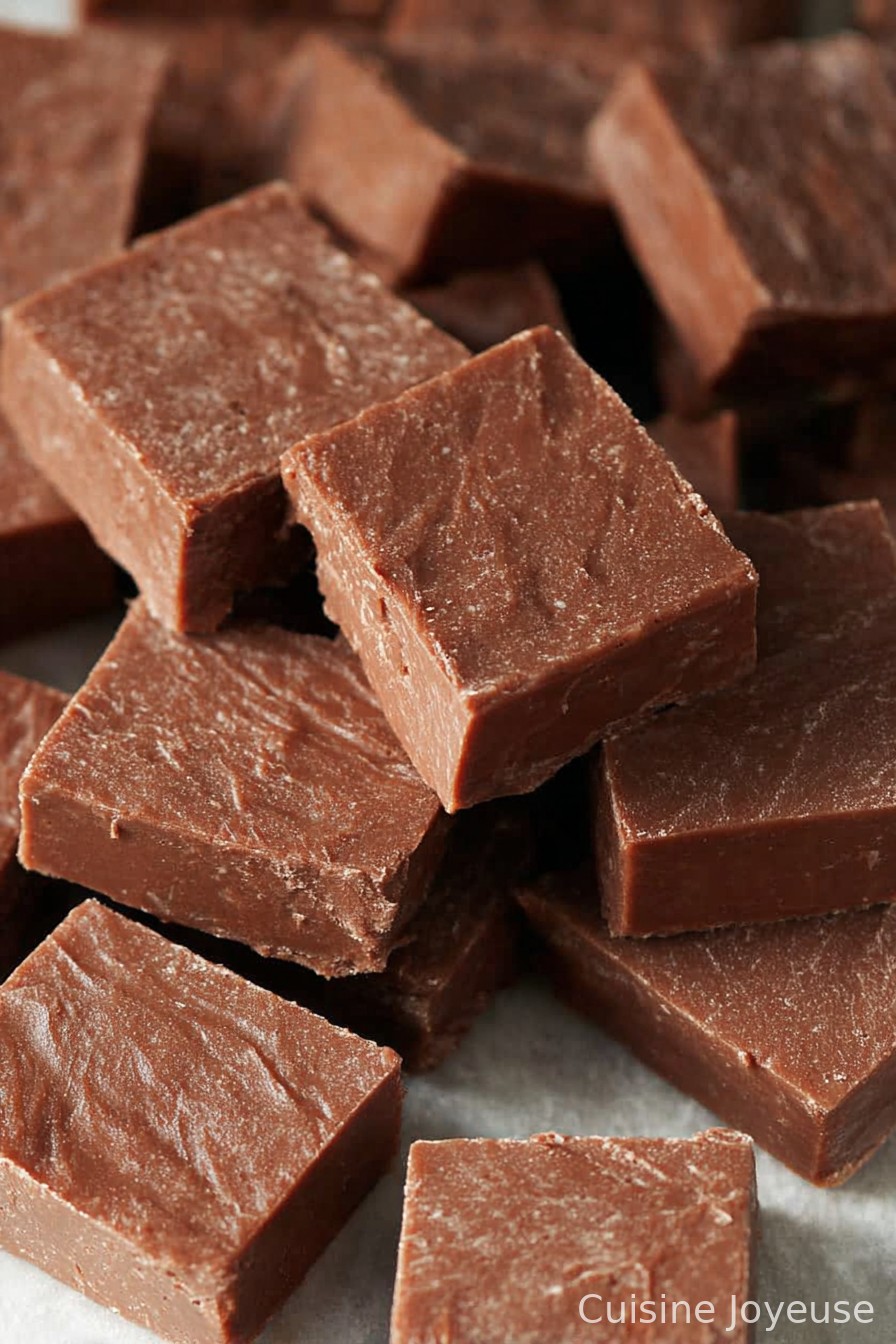
Easy Fudge Recipe
Making Fudge When the Sweet Tooth Calls (aka My Go-To Quick Fix)
You ever get that wild urge for something chocolatey that just won’t quit? That’s me about once a week. And honestly, this Easy Fudge Recipe has been my culinary life raft more than a few times. I remember the first time I made it—burnt the pan, ate it anyway, and blamed the funny taste on “artisan caramelization” (my sister didn’t buy it). Ever since, this is the only fudge my family trusts me with, because, well, they basically inhale it.
Why I Keep Coming Back to This
I make this fudge when unexpected guests show up, or when everyone’s lurking around the kitchen saying, “Is there dessert?” My family practically tramples each other for the corner pieces (no joke, my cousin developed a black belt-level elbow for the cause). What I love? You don’t need candy thermometers or fancy chef tricks. (Trust me, I tried those just once—major sticky disaster!) Oh, and it’s fast. Sometimes I even skip dinner just to get to this.
Ingredients List: The Play-It-By-Ear Version
- 2 cups (about 350g) semi-sweet chocolate chips (though I’ve used dark chocolate when I’m feeling grown-up, or even a mishmash of leftover chocolate bars—still good!)
- 1 can (14 oz) sweetened condensed milk (My grandma swore by Eagle Brand but, between you and me, the store brand does the trick)
- 2 tablespoons butter (some days I just guess and use “a generous knob”)
- 1/4 teaspoon salt (just a pinch; sometimes I forget, and nobody seems to notice)
- 1 teaspoon vanilla extract (better if it’s real, but I confess I use imitation all the time)
- Optional: Handful of chopped walnuts or pecans, sprinkles, dried fruit, mini marshmallows, or whatever oddball thing you find peeking at you from the pantry
How To Actually Make It (Without Overthinking)
- Line an 8-inch square pan with parchment paper or foil. I usually just crumple a bit in there; nobody cares if the sides are wonky—makes the fudge look rustic, right?
- Dump the chocolate chips, butter, and sweetened condensed milk into a medium saucepan. (Honest moment: Once I put them in the wrong order, it still worked.)
- Warm it all up over low to medium heat, stirring constantly. This part isn’t negotiable—unless you want weird crusty bits at the bottom (ask me how I know). Don’t panic when it looks a little lumpy; just keep stirring until it’s smooth-ish. This is also where I sneak a taste—careful, it’s lava-hot.
- Stir in the vanilla and salt (and nuts or whatever else you’re using). I have genuinely forgotten the vanilla before and nobody rioted. But it’s better with!
- Pour that gooey magnificence into your prepared pan, spread it sort of even—don’t stress the corners (who cares? The middle always disappears first anyway).
- Let it hang out at room temp about two hours (or, if you’re me, stick it in the fridge and check every ten minutes). Slice into little squares—use a sharp knife or, if you’re in a student flat, yes, a pizza cutter does work in a pinch.
Stuff I Learned the Hard Way (Notes, aka My Fudge Confessional)
- If you overheat the mixture, it might get grainy. Doesn’t make it un-eatable, just gives it “character.”
- I kept forgetting the parchment—once just buttered the pan, and honestly, it’s okay; just slightly messy extraction.
- The quality of chocolate makes a difference flavor-wise, but not as much as you’d think (plus kids don’t care—they just want sugar).
- I swear it tastes better the next day. Unless you eat it all first, which…whoops.
Variations I’ve Actually Tried
- I once swapped half the chocolate for peanut butter chips—top marks from the peanut gallery.
- Chopped up Christmas candy canes in December—festive, minty, maybe too crunchy, but folks liked it.
- Tried white chocolate and dried cranberries; looked beautiful, tasted oddly bland. Wouldn’t recommend unless you absolutely love white chocolate.
- Added a shot of espresso powder once—turned out surprisingly grown up. But the kids were not impressed (“Why does it taste like coffee, Auntie?!”)
What If I Don’t Have Fancy Equipment?
Okay, you should use a medium saucepan and a spatula. But honestly, I’ve used a microwave before—just zap everything in a heatproof bowl for short bursts and stir like mad. Works fine as long as you keep an eye on it and don’t walk away to answer the door (yep, did that, chocolate volcano all over the place).
How Do You Store This? (I Mean, If You Actually Need To)
Technically, keep it in an airtight container at room temp for up to a week. Or the fridge if you like it firmer. Though honestly, in my house it never lasts more than a day—unless I hide it behind the broccoli (pro tip: kids never look there).
Serving: How We Do It, Take Or Leave
I love fudge with a mug of strong tea (or sometimes in late-night emergencies, with coffee and a spoon straight out of the pan, shhh). My uncle always insists on it after Sunday dinner, with a scoop of vanilla ice cream. Try cutting it into teeny cubes for snacking—my niece calls them “fudge nuggets” which is now basically a family trademark.
Stuff I’ve Messed Up That Might Help You (Pro Tips)
- Don’t try to rush the cooling. I did once and got a molten mess. Let it be—it’ll firm up!
- Actually, I find it works better if you use fresh parchment—old stuff sticks and that’s no fun.
- Resist the urge to keep scraping the saucepan after pouring; you’ll end up with gritty bits. Just accept a little loss and move on.
Real Questions Folks Have Asked Me (Probably You Too)
Can I make this ahead? Oh yes. It actually slices cleaner if you do. Sometimes I think it’s tastier on day two, weirdly.
Is it gluten free? Pretty much, unless you’re adding mix-ins that aren’t. Always double check your labels though (I mean, better safe than sorry!).
Help, my fudge didn’t set! What’d I do wrong? Usually it’s from undercooking the mixture. Or trying to skip chilling time. Been there, I feel you—just eat with a spoon or freeze for a bit. Fudge soup, anyone?
Can I double the recipe? Absolutely, but use a bigger pan or you’ll have weirdly thick fudge that takes forever to set. (Not the worst problem, if you ask me.)
Does it freeze well? Yep. Cut into squares and throw in the freezer—but, honestly, I’ve never had leftovers long enough to test how long it lasts. If you do, let me know?
Right, I should probably mention—this fudge makes a pretty good homemade gift, but wrap it in wax paper, not cling film. Personal fail: fudge-wrapped-in-plastic = sticky hand disaster.
Ingredients
- 3 cups semi-sweet chocolate chips
- 1 can (14 oz) sweetened condensed milk
- 4 tablespoons unsalted butter
- 1 teaspoon pure vanilla extract
- 1/4 teaspoon salt
- 1 cup chopped walnuts (optional)
- Cooking spray or parchment paper
Instructions
-
1Lightly grease an 8-inch square baking pan with cooking spray or line it with parchment paper.
-
2In a medium saucepan set over low heat, combine chocolate chips, sweetened condensed milk, and butter.
-
3Stir constantly until the chocolate and butter are completely melted and the mixture is smooth, about 5-7 minutes.
-
4Remove from heat, stir in vanilla extract and salt. If using, fold in chopped walnuts.
-
5Pour the fudge mixture evenly into the prepared pan. Smooth the top with a spatula.
-
6Refrigerate for at least 40 minutes or until firm. Cut into squares and serve.
Approximate Information for One Serving
Nutrition Disclaimers
Number of total servings shown is approximate. Actual number of servings will depend on your preferred portion sizes.
Nutritional values shown are general guidelines and reflect information for 1 serving using the ingredients listed, not including any optional ingredients. Actual macros may vary slightly depending on specific brands and types of ingredients used.
To determine the weight of one serving, prepare the recipe as instructed. Weigh the finished recipe, then divide the weight of the finished recipe (not including the weight of the container the food is in) by the desired number of servings. Result will be the weight of one serving.
Did you make this recipe?
Please consider Pinning it!!