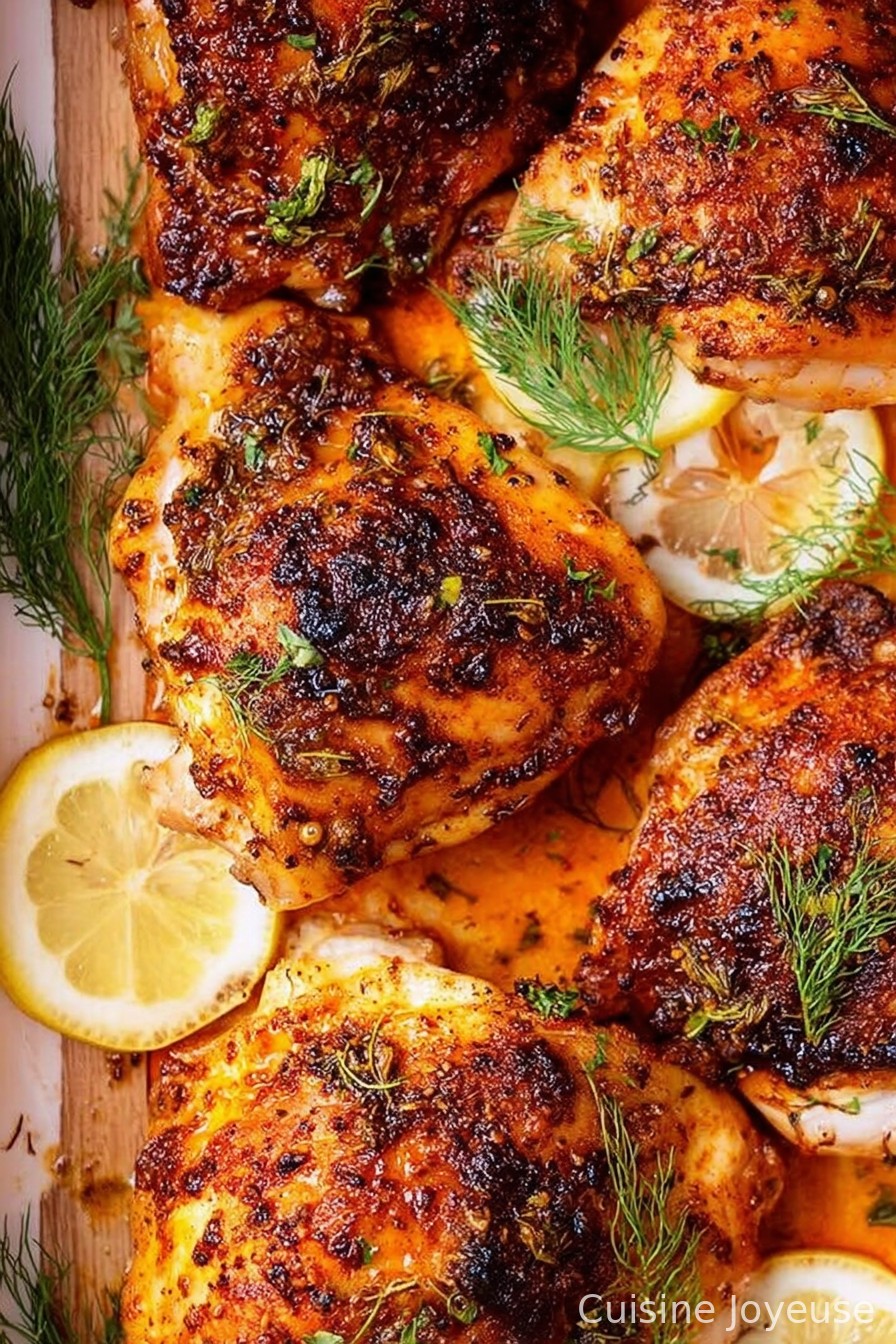
Crispy Baked Chicken Thighs
Let Me Tell You Why Baked Chicken Thighs Rule My Weeknights
You know, I swear these crispy baked Chicken Thighs have bailed me out of more last-minute dinner panics than I care to admit. Picture this: it’s around 6pm, I’ve just discovered we’ve been out of bread again (seriously, I have a bread thief in my house) and there’s a pack of chicken thighs defrosting in the sink, judging me. I pop these in the oven, and about 40 minutes later—crispy, juicy, golden goodness. Actually, last Wednesday, my friend Lucy popped by unannounced and walked in just as I was sneaking a crispy bit of skin. She knew she was staying for dinner; that’s the power of these thighs, honestly.

Before we get too much into it, slight warning: if you’ve ever worried about soggy skin or underseasoned chicken (been there, more than once actually), good news—there’s room for error here. The oven really does the heavy lifting. And if you catch yourself eating those crispy bits that fall off the pan… well, that’s practically chef’s tax.
Why You’ll Love This Recipe as Much as I Do
I make this when I’ve run out of patience for weeknight drama; it’s foolproof-ish. My family goes mad for these thighs because the skin gets truly crispy—like, actual crunch, not the empty promises of certain air-fryers. (I tried, but it came out sort of flabby… never again!) And if I’m being totally honest, this recipe is a lifesaver for indecisive evenings—I barely measure after the first time. The best part? Hardly any cleanup. Well, except for the bits I drop on the floor, but that’s a problem for Future Me.
Alright, Here’s What You’ll Need (Or What I Usually Grab)
- 6 bone-in, skin-on chicken thighs (sometimes I use 4 if it’s a smaller crowd or a bit more if I’m feeling generous; boneless works in a pinch, but you lose the crunch!)
- 2 tablespoons olive oil (I use whatever’s in the cupboard—sunflower oil in emergencies, or even melted butter if I’m feeling cheeky)
- 1 1/2 teaspoons kosher salt (table salt is fine, though you might want a bit less)
- 1 teaspoon black pepper (freshly cracked if you’re fancy; I often just use whatever grinder isn’t empty)
- 1 teaspoon smoked paprika (regular paprika also works—my grandmother always insisted on smoked, but that’s optional)
- 1/2 teaspoon garlic powder (sometimes I skip this and throw in a couple of smashed garlic cloves)
- 1/2 teaspoon onion powder (or not; honestly, it’s fine without it, but adds something)
- 1/2 teaspoon dried thyme (or Italian seasoning—oregano is nice too; I once tried herbs de Provence but it got a bit… flowery)
How I Actually Make These (With Minor Tangents)
- Preheat your oven to 425°F (218°C). Seriously, let it get hot. Skip this and you’ll be sorry; learned that the hard way.
- Pat the chicken thighs dry—like really dry. Use paper towels or a clean tea towel and don’t skip this unless you’re into soggy chicken skin (which, I mean, someone might be?).
- Chuck the thighs into a big bowl or straight onto a rimmed baking sheet, drizzle with olive oil, and sprinkle with salt, pepper, paprika, garlic powder, onion powder, and thyme. Toss around until they’re coated. I usually use my hands, then regret it when I get paprika under my nails.
- Arrange the thighs skin-side up on the baking sheet, giving them a bit of space. Overcrowding = steamed chicken, and we’re not making stew tonight (well, not on purpose).
- Bake on the middle rack for about 35–40 minutes. If they look pale, give ’em a few more minutes. This is where I typically hover near the oven, poking my head in when I smell something good.
- If you want the extra crunch, flip on the broiler for the last 2-3 minutes. Watch closely, though—I’ve definitely set off the smoke alarm doing this. Oops.
- Let them rest for a few minutes right on the pan. Or not, if you can’t resist. (I’ve burnt my tongue more than once. Regrets? Very few.)
Notes—Because I’ve Learned Some Things (the Hard Way)
- If you don’t dry the chicken well—you’re asking for flabby skin. Trust me, I forgot this step once and nobody thanked me for it.
- A darker, sturdy sheet pan works better than a glass dish; more crunch, less weird sticking.
- Actually, sometimes I sprinkle a little baking powder (like 1/2 tsp) on the skin for even more crunch. But only sometimes. Can’t say it’s essential but it’s fun to experiment.
Variations I’ve Tried (and a Fail or Two)
- Tried with lemon zest—nice, fresh pop. My husband didn’t even notice, but I liked it!
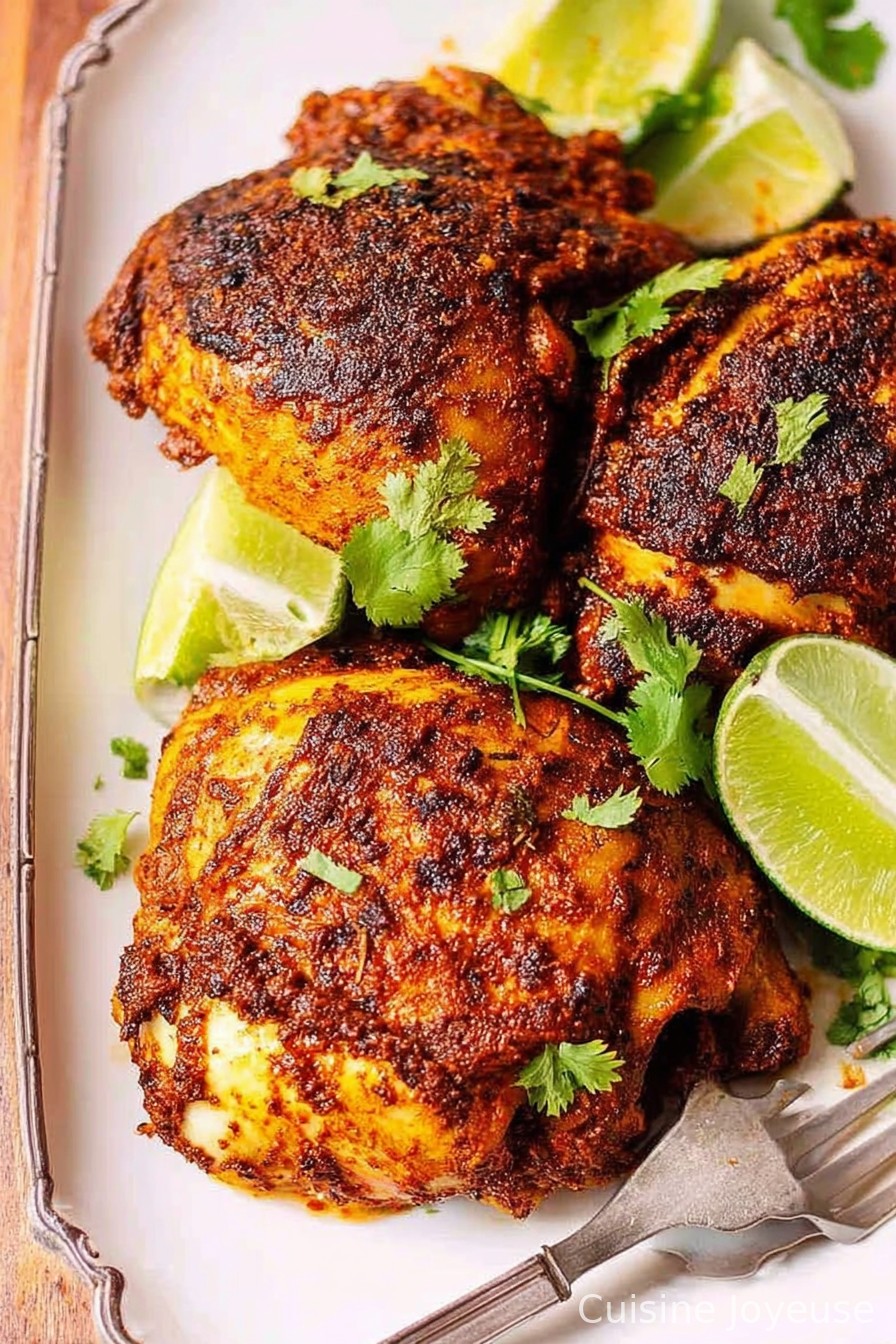
- Swapped smoked paprika for cayenne: wow, spicy! Maybe too spicy for the kids.
- I once “marinated” the chicken in buttermilk before baking—didn’t get as crisp, just sayin’. Tasty but not the goal.
- Add parmesan in the last 5 minutes for a kind of chicken-parm vibe.
Equipment—Don’t Stress If You Don’t Have Everything
- Rimmed baking sheet (if you don’t have one, I’ve used a roasting pan, though you miss out on some crispiness)
- Parchment paper or foil for easier cleanup—sometimes I skip it and just soak the pan after
- Tongs (or your hands, honestly I mostly use my hands)
- Optional: Wire rack. I always say I’ll use it, but usually forget and it turns out fine without.
Storage Info (If You Actually Have Leftovers…)
Tuck any leftover thighs into an airtight container and stash in the fridge. They’ll keep for up to 3 days (though honestly, in my house they vanish the same night—nighttime fridge raids are real). They reheat pretty well, but I’ve found the oven or toaster oven brings back more crunch than the microwave.
How I Like to Serve ‘Em
I love these with some simple roasted potatoes or a big, messy salad (the kind with too much dressing). Sometimes we do a bit of crusty bread to mop up any chicken juice. My little one insists on ketchup, which feels legally questionable with chicken this good, but hey—live and let live.
Some Hard-Learned (aka Oops) Pro Tips
- Don’t crowd the pan or you lose crunch—tried to squeeze in an extra thigh once and regretted it, soggy city.
- Actually, I find it works better if you season under and over the skin. A little more work, but you get flavor all the way through.
- I once tried rushing the resting step and bit straight in—ouch. Waiting 5 minutes is worth it.
Your Questions, Answered—Just Like Texting a Friend
- Can I use boneless thighs? Yep! They cook faster, maybe 25–30 minutes. Not as crispy but totally fine if that’s what you’ve got.
- Is skinless okay? You can do it, but honestly, you’ll miss the crunchy magic. Still tasty, though, maybe add extra olive oil so they don’t dry out.
- Can I freeze the leftovers? Sure thing! Thaw and then reheat in the oven. I always forget to label the container, but at least the mystery is solved quick—crispy chicken has a unique smell!
- How do I know they’re done? Juices run clear, or 165°F in the thickest part. I sometimes poke one with a knife and check if the meat pulls away easily from the bone—top-tier science, right?
- Any must-have spice I can’t skip? Salt. Seriously. Everything else is up for debate, but not salt. That’s from loving experience.
Oh, speaking of loving experience, do yourself a favor and sneak a bite while no one’s looking. It’s the cook’s privilege. Enjoy!
Ingredients
- 6 bone-in, skin-on chicken thighs (sometimes I use 4 if it’s a smaller crowd or a bit more if I’m feeling generous; boneless works in a pinch, but you lose the crunch!)
- 2 tablespoons olive oil (I use whatever’s in the cupboard—sunflower oil in emergencies, or even melted butter if I’m feeling cheeky)
- 1 1/2 teaspoons kosher salt (table salt is fine, though you might want a bit less)
- 1 teaspoon black pepper (freshly cracked if you’re fancy; I often just use whatever grinder isn’t empty)
- 1 teaspoon smoked paprika (regular paprika also works—my grandmother always insisted on smoked, but that’s optional)
- 1/2 teaspoon garlic powder (sometimes I skip this and throw in a couple of smashed garlic cloves)
- 1/2 teaspoon onion powder (or not; honestly, it’s fine without it, but adds something)
- 1/2 teaspoon dried thyme (or Italian seasoning—oregano is nice too; I once tried herbs de Provence but it got a bit… flowery)
Instructions
-
1Preheat your oven to 425°F (218°C). Seriously, let it get hot. Skip this and you’ll be sorry; learned that the hard way.
-
2Pat the chicken thighs dry—like really dry. Use paper towels or a clean tea towel and don’t skip this unless you’re into soggy chicken skin (which, I mean, someone might be?).
-
3Chuck the thighs into a big bowl or straight onto a rimmed baking sheet, drizzle with olive oil, and sprinkle with salt, pepper, paprika, garlic powder, onion powder, and thyme. Toss around until they’re coated. I usually use my hands, then regret it when I get paprika under my nails.
-
4Arrange the thighs skin-side up on the baking sheet, giving them a bit of space. Overcrowding = steamed chicken, and we’re not making stew tonight (well, not on purpose).
-
5Bake on the middle rack for about 35–40 minutes. If they look pale, give ’em a few more minutes. This is where I typically hover near the oven, poking my head in when I smell something good.
-
6If you want the extra crunch, flip on the broiler for the last 2-3 minutes. Watch closely, though—I’ve definitely set off the smoke alarm doing this. Oops.
-
7Let them rest for a few minutes right on the pan. Or not, if you can’t resist. (I’ve burnt my tongue more than once. Regrets? Very few.)
Approximate Information for One Serving
Nutrition Disclaimers
Number of total servings shown is approximate. Actual number of servings will depend on your preferred portion sizes.
Nutritional values shown are general guidelines and reflect information for 1 serving using the ingredients listed, not including any optional ingredients. Actual macros may vary slightly depending on specific brands and types of ingredients used.
To determine the weight of one serving, prepare the recipe as instructed. Weigh the finished recipe, then divide the weight of the finished recipe (not including the weight of the container the food is in) by the desired number of servings. Result will be the weight of one serving.
Did you make this recipe?
Please consider Pinning it!