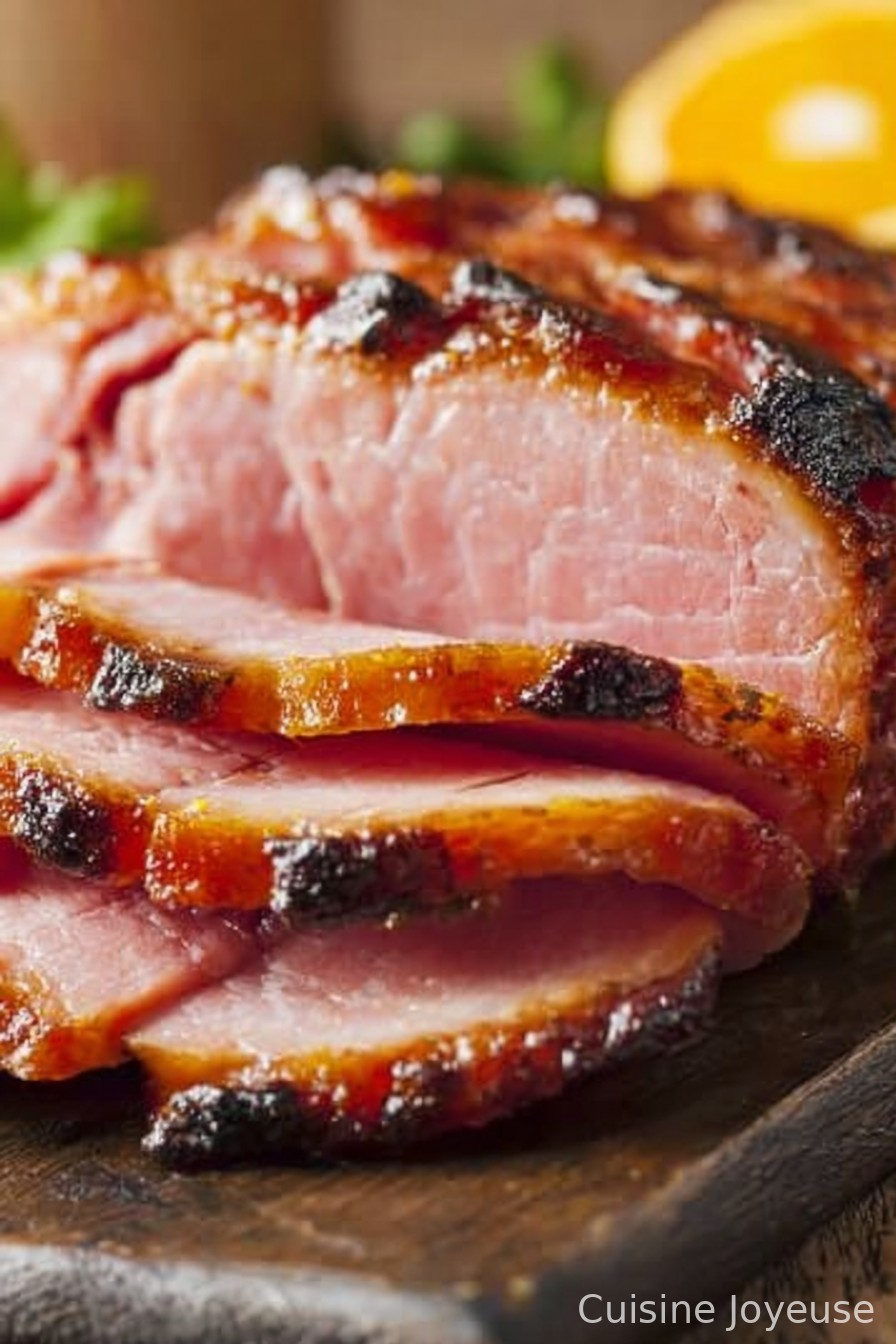
Cooking Honey Baked Ham
Making Honey Baked Ham At Home: A Cozy (Sometimes Clumsy) Tradition
I have to laugh every time I make honey baked ham because—no joke—the first time I tried, I nearly glued the whole thing to the roasting pan. Turns out, you should read at least one step ahead (who knew?!). These days, making one of these sticky, golden beauties is my go-to for holidays, lazy Sundays, or really whenever I feel like showing off a little. Plus, it fills the house with the sort of smells that make neighbors glance enviously at your windows. And just a heads-up: there’s always someone who snags an extra slice before you can even call everyone to the table. Not naming names.
Why I Keep Coming Back To This Ham
I make this when I’ve got a bunch of people coming over—my family actually hovers when it’s resting (patience is not our strong suit). It’s sweet but not sugary, sticky, savory, a bit messy, and it never fails to turn something as humble as a ham into a center-of-attention kind of meal. One time my niece declared it “the only good ham,” which was harsh to my earlier efforts but… teenagers, right? Also, I once burned the glaze because I got distracted watching some silly dog video (rookie mistake!), but honestly, ham forgives a lot of kitchen sins.
What You’ll Need (And What You Can Get Away With)
- 1 bone-in ham (about 6-8 lbs is my go-to—my gran actually insisted on that fancy Smithfield ham, but store brand works if that’s what you’ve got)
- 1 1/2 cups honey (I like the dark, floral kinds best, but I’ve used whatever was in the cupboard—once I used a big squeezy bear from Aldi, and it was fine)
- 1 cup brown sugar (light or dark—it’s not worth a grocery trip just for this, trust me)
- 2 tablespoons Dijon mustard (but I’ve used the sharp yellow kind in a pinch)
- 2 teaspoons ground cinnamon (once, I ran out and dumped in pumpkin pie spice, which actually worked out great)
- 1/2 teaspoon ground cloves (careful, these are bossy; skip if you’re not a fan)
- 2 tablespoons unsalted butter (or—real talk—I’ve absolutely melted margarine here and nobody noticed)
Here’s How I Actually Do It (Give Or Take A Step)
- Preheat your oven: You’re looking for 325°F (about 160°C). Sometimes mine’s set to 315 on accident and it’s still fine.
- Prep the ham: If it’s got a thick rind, trim most of it off, but keep some fat on. It keeps things juicier. Score the surface in a diamond pattern—don’t stress if it’s more wonky zig-zags; it’ll get covered in gooey goodness anyway.
- Tent the ham: Plop it in a big roasting pan, throw in a splash of water, and cover loosely with foil. This is when you’re supposed to use a rack, but I just wadded up foil into rings and rested the ham on those. Works just dandy.
- Bake: Let it go for about 12–15 minutes per pound. Not kidding, set a timer or you will forget. I have.
- Make the glaze: While it’s baking, toss honey, brown sugar, mustard, cinnamon, cloves, and butter in a saucepan over low heat. Stir until glossy and syrupy (this is where I usually sneak a spoonful—quality control and all that). Sometimes it looks grainy. Don’t panic; it’ll smooth out.
- Glaze and finish: With about 30–40 minutes left, yank off the foil and brush the ham all over with glaze (I just use a big spoon and hope for the best). Repeat every 10 mins or so. If you run out of glaze, scrape up the puddles in the pan and re-baste—don’t waste that flavor bomb!
- Rest: Let the ham chill out for 15-20 minutes before carving. It’s hot, folks, and letting it sit makes it juicier, I swear.
Notes From The (Not-So) Test Kitchen
- If your glaze gets too thick, splash in a bit of orange juice or water. I learned this the hard way (sticky saucepan disaster… still not over it).
- The ham gets stickier as it cools, so don’t stress if it looks runny in the oven.
- I find the leftovers have more flavor on Day 2—assuming you don’t have my siblings over.
Stuff I’ve Tried (Some You Might Love, Some… Meh)
- Citrus Glaze: Swap half the honey for orange marmalade. Bright, zesty, gives you that “wait, what’s in this?” vibe.
- Spicy Kick: Add a teaspoon of hot sauce (I used Frank’s Red Hot, because it’s what was in the fridge). Not for everyone, but fun once.
- Maple Instead of Honey: This sounded good in my head, but it was a bit too sweet for my liking; still, my cousin swears by it, so your mileage may vary.
Gear You’ll Need—Or Workarounds If You Don’t
- Roasting pan (but I’ve made do with a deep baking dish and a wad of foil rings for a rack)
- Baster or pastry brush (or just a big spoon; it’s messy but does the job)
- Sharp knife for carving (an electric knife feels silly, but I borrowed one once and it was life-changing—otherwise, just saw away carefully)
Storing Leftovers (But Will You Even Have Any?)
Wrap leftover ham tightly and pop it in the fridge—it keeps for about 3–4 days. Or if you’re like us, it honestly never lasts more than a day because someone raids it for late-night sandwiches. Freezes well, too; just label it so you don’t do what I did and defrost last Thanksgiving’s fudge by accident.
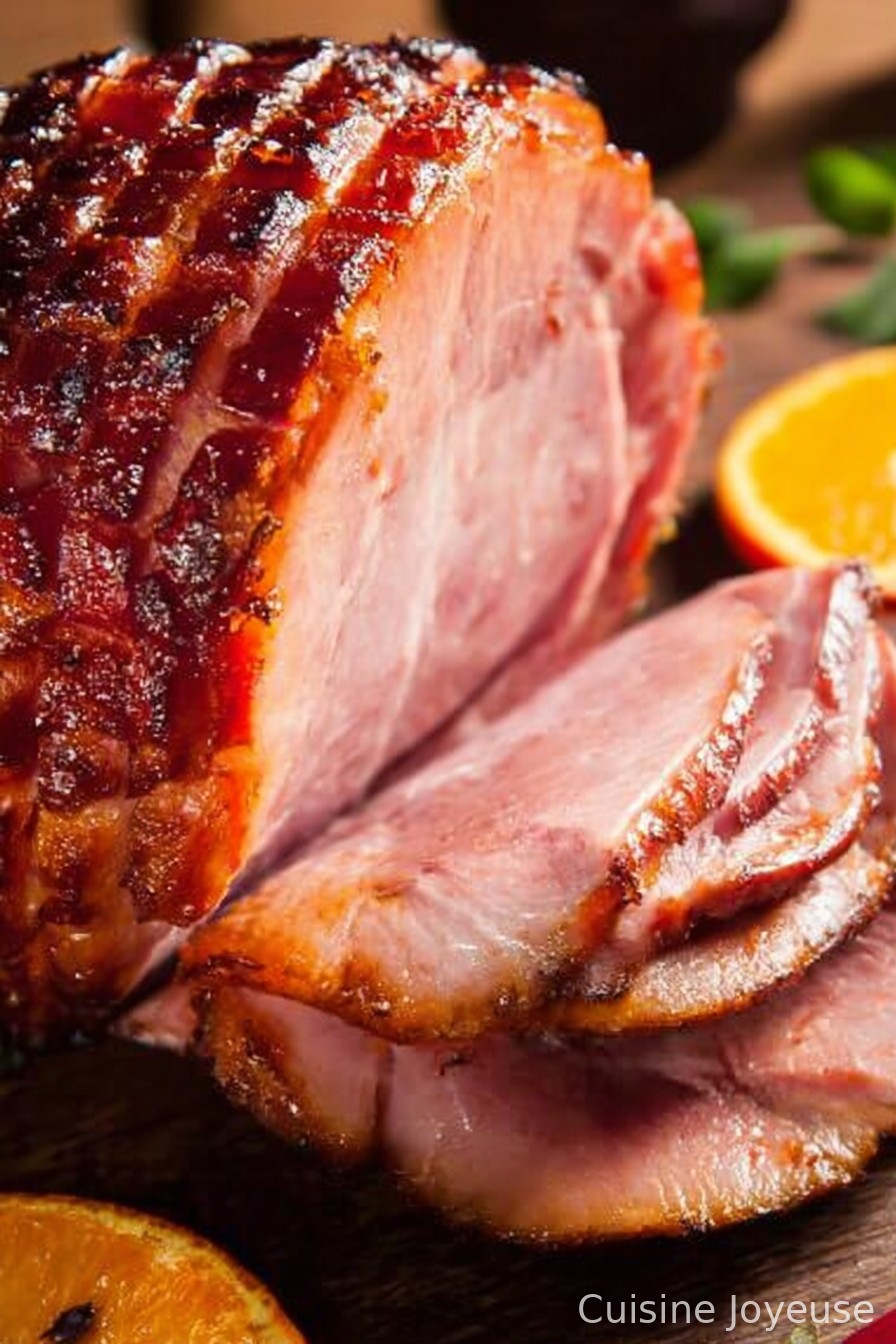
How We Serve It Around Here
Slices go on a big old platter, surrounded by whatever sides are handy. I vote for garlicky green beans or a potato casserole; or if it’s brunch, we slap ham on biscuits with mustard. Traditionally, we sneak the crusty, caramelized edges for ourselves before calling everyone to the table. It’s every cook’s reward, right?
Lessons Learned (A.K.A. My Favorite Mistakes)
- One year I tried rushing the glaze by cranking the oven higher. Ended up with candied ham that was… not good. Let it go low and slow—honestly, patience here pays off.
- Don’t fret if you can’t score perfect diamonds on the ham. It all gets hidden anyway. Actually, I think it crisps up better with a bit of chaos.
Honest-to-Goodness FAQs from Friends and Family
- Can I use spiral-cut ham? Oh, for sure! It soaks up glaze faster. Just be gentle brushing it—those slices try to fall apart like a deck of cards.
- What if I don’t have ground cloves? Skip ’em! Or toss in a pinch of allspice. I’ve done both; neither was a disaster.
- How do you keep the ham from drying out? The foil tent really helps, plus don’t skip the basting. And if things are looking a bit sad, a splash of apple juice in the bottom saves the day.
- I’m nervous about carving! Me too, to be honest. Watch a quick YouTube demo—I like this one—or just take it slow. Besides, raggedy slices taste just as good. Actually, sometimes better.
- What should I do with leftovers? Sandwiches, omelets, ham fried rice, or just eat the cold slices straight form the fridge (we all do it eventually). There’s even some genius lunch ideas at Budget Bytes.
Anyway—that’s how I (mostly) succeed at honey baked ham. Hope yours turns out as sticky-sweet and memorable as ours. And if not, at least you’ll have a story to tell. If you want more ham tricks, there’s a surprisingly friendly baking forum I like: King Arthur Baking. Good luck, and save me a slice?
Ingredients
- 1 fully cooked bone-in ham (about 7-8 lbs)
- 1 cup honey
- 1/2 cup brown sugar
- 1/4 cup Dijon mustard
- 1/4 cup unsalted butter, melted
- 1/2 teaspoon ground cinnamon
- 1/4 teaspoon ground cloves
- 1 tablespoon apple cider vinegar
Instructions
-
1Preheat the oven to 325°F (160°C). Place the ham, flat side down, on a rack in a large roasting pan.
-
2In a small saucepan, combine honey, brown sugar, melted butter, Dijon mustard, cinnamon, cloves, and apple cider vinegar. Heat over medium heat until the mixture is smooth and the sugar has dissolved.
-
3Score the surface of the ham in a diamond pattern using a sharp knife. Brush half of the honey glaze over the ham.
-
4Cover the ham loosely with foil and bake for 1 hour and 30 minutes. Baste with pan juices every 30 minutes.
-
5Remove foil, brush with remaining glaze, and bake uncovered for 30 minutes more, or until caramelized and heated through.
-
6Let the ham rest for 10-15 minutes before slicing. Serve warm and enjoy.
Approximate Information for One Serving
Nutrition Disclaimers
Number of total servings shown is approximate. Actual number of servings will depend on your preferred portion sizes.
Nutritional values shown are general guidelines and reflect information for 1 serving using the ingredients listed, not including any optional ingredients. Actual macros may vary slightly depending on specific brands and types of ingredients used.
To determine the weight of one serving, prepare the recipe as instructed. Weigh the finished recipe, then divide the weight of the finished recipe (not including the weight of the container the food is in) by the desired number of servings. Result will be the weight of one serving.
Did you make this recipe?
Please consider Pinning it!!