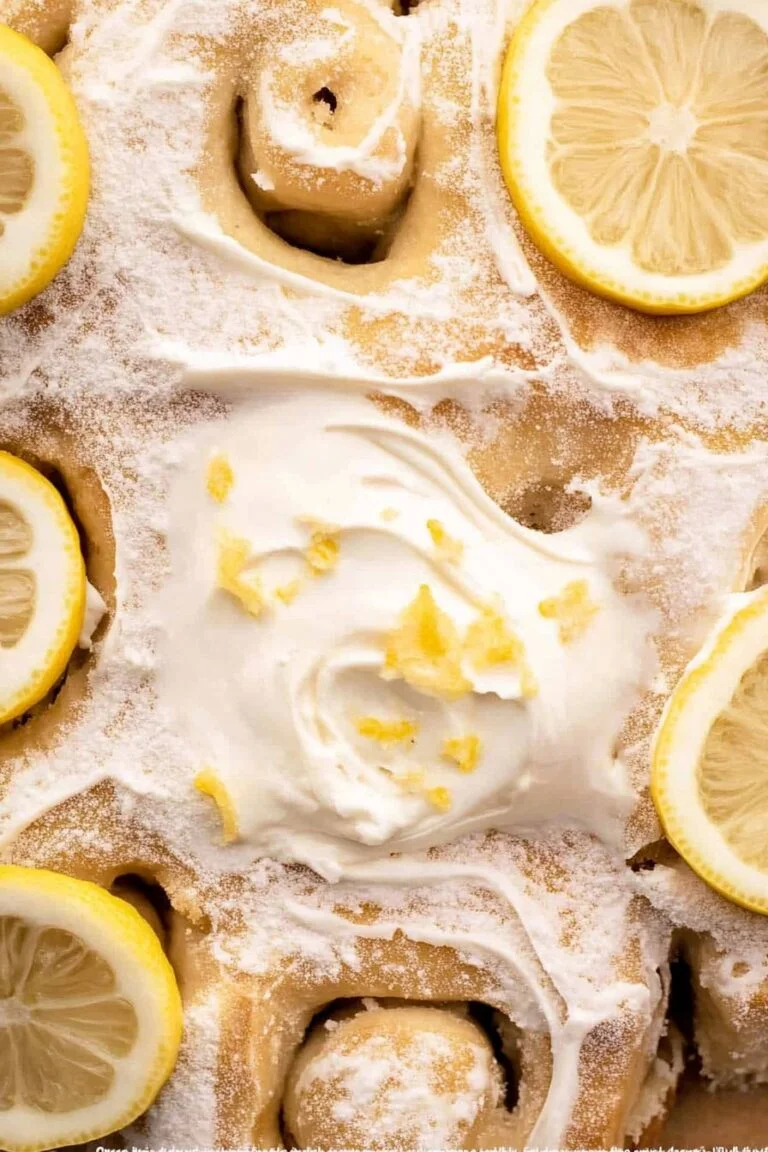
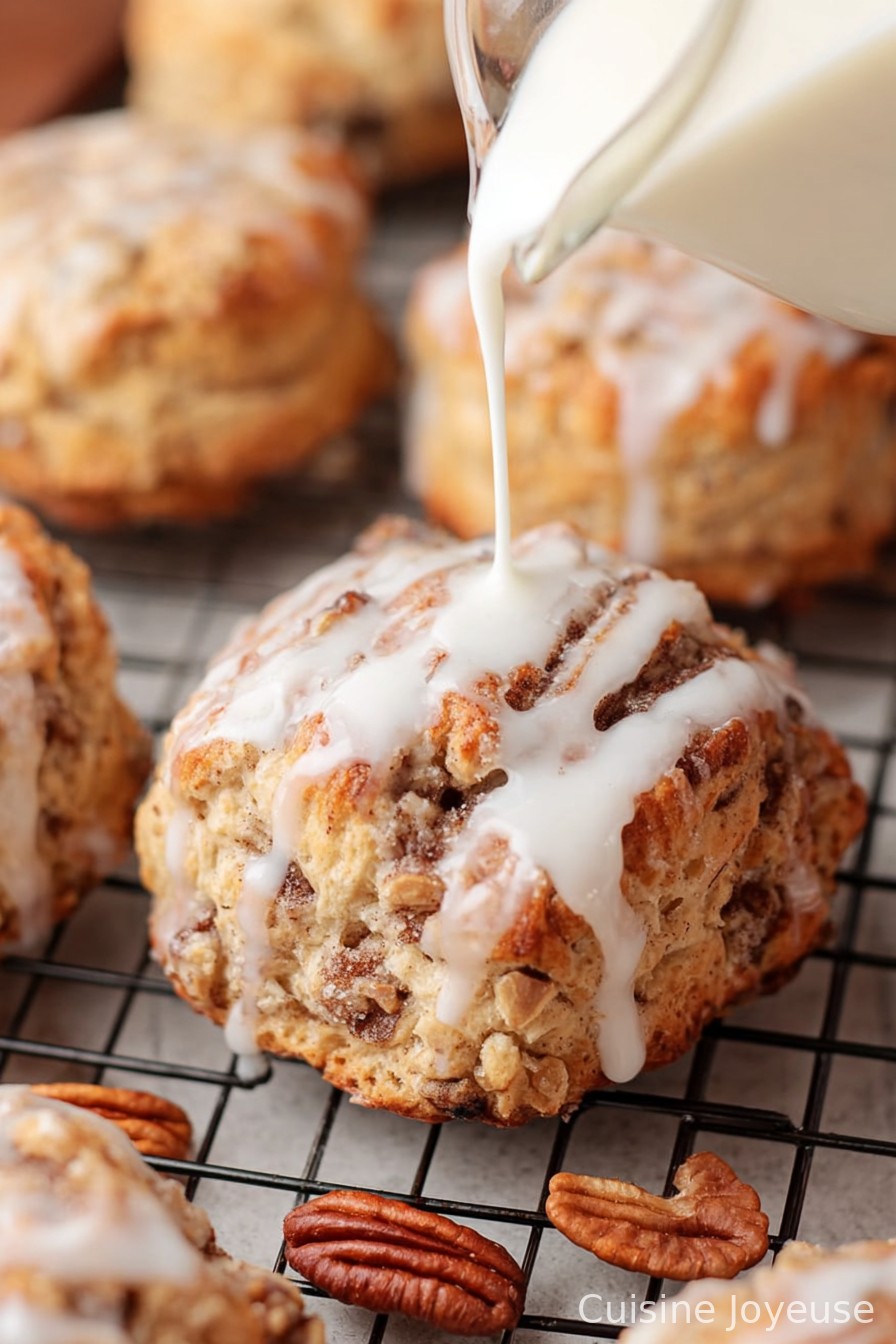
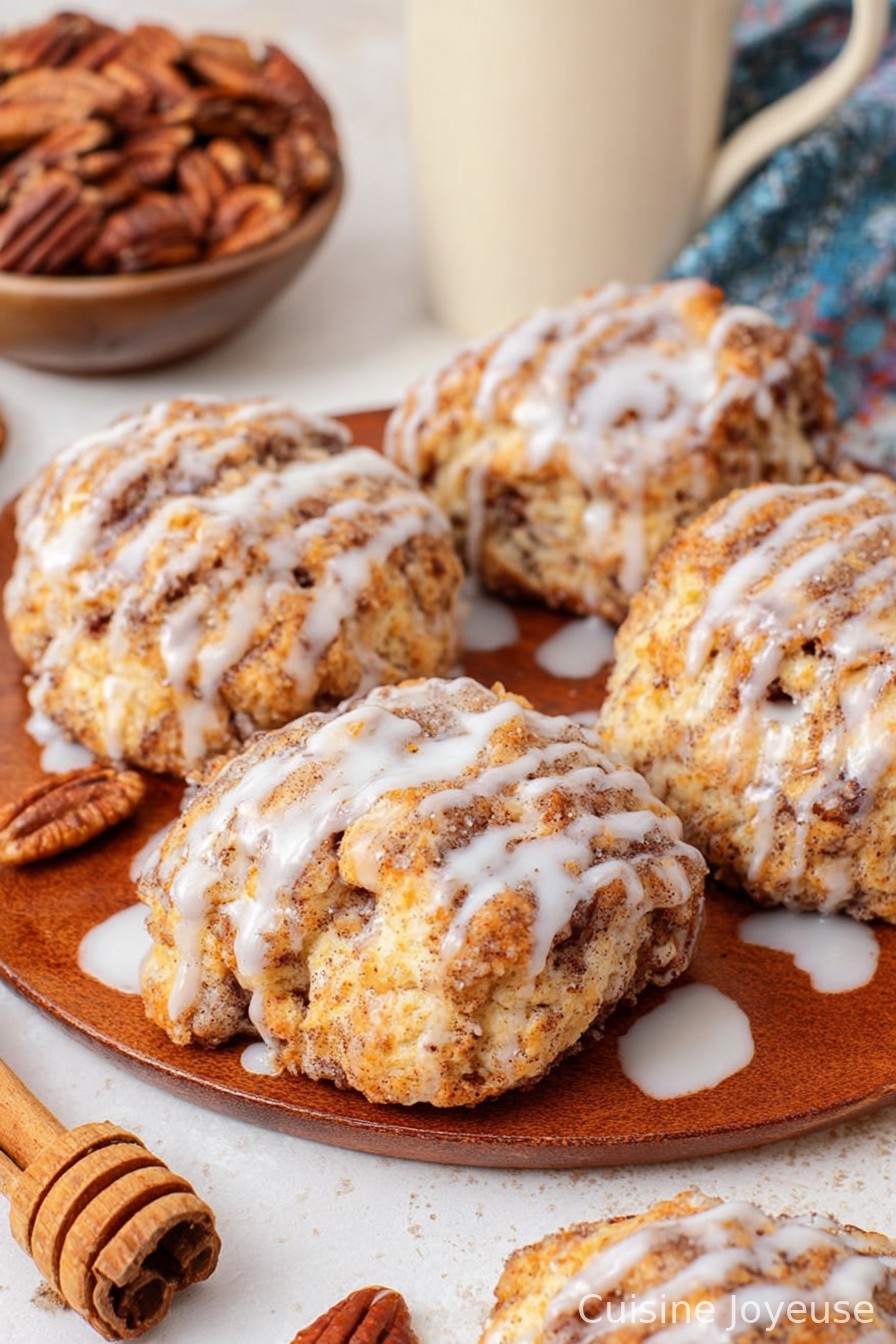
Cinnamon Bun Scones
How I Ended Up Making These Scones (and Now Can’t Stop)
I’ll be entirely honest—I only started making these cinnamon bun scones because I woke up craving cinnamon rolls but the idea of all that rising and waiting? Nah, not before coffee. So I rummaged through my pantry—found just enough flour, cinnamon, and some almost-too-stale raisins—and decided to wing it. A friend popped by unexpectedly (someone always does when there’s baked goods, right?). She thought I’d gone all out, but really, I was just too impatient for a real yeast dough. Now, it’s my go-to when I want to feel like Mary Berry but only have, like, half an hour spare.
Why You’ll Want to Make These, Like, Immediately
I make this recipe when I want the whole place to smell like I actually know what I’m doing in the kitchen (I definitely don’t, but shhh). My kids go wild for the swirly sugar bits—I don’t have the heart to tell them scones usually aren’t this dessert-y. You don’t have to deal with yeast, and hey, you can eat them straight from the oven without feeling like you’re breaking baking law. Fun fact: the first time I made these, I forgot the sugar in the filling—still decent, but it’s definitely less of a crowd-pleaser that way. Live and learn, right?
What’s in ‘Em (And What Isn’t–Up to You!)
- 2 cups all-purpose flour (bread flour works in a pinch; it just gets a bit chewier—my gran always swears by White Lily, but honestly, supermarket own label is fine)
- 1/4 cup granulated sugar (once I used brown sugar out of laziness, and it turned out even better; can recommend)
- 1 tablespoon baking powder (yes, really—otherwise they look sad and wonky)
- 1/2 teaspoon salt (I’ve skipped this when using salted butter, couldn’t tell the difference)
- 1 teaspoon cinnamon (sometimes I go nuts and double it)
- 1/2 cup cold unsalted butter, cubed (salted is ok, but back off the added salt then)
- 2/3 cup heavy cream (whole milk works; once tried oat milk, results were… interesting?)
- 1 egg (medium, large, who’s counting except maybe Paul Hollywood)
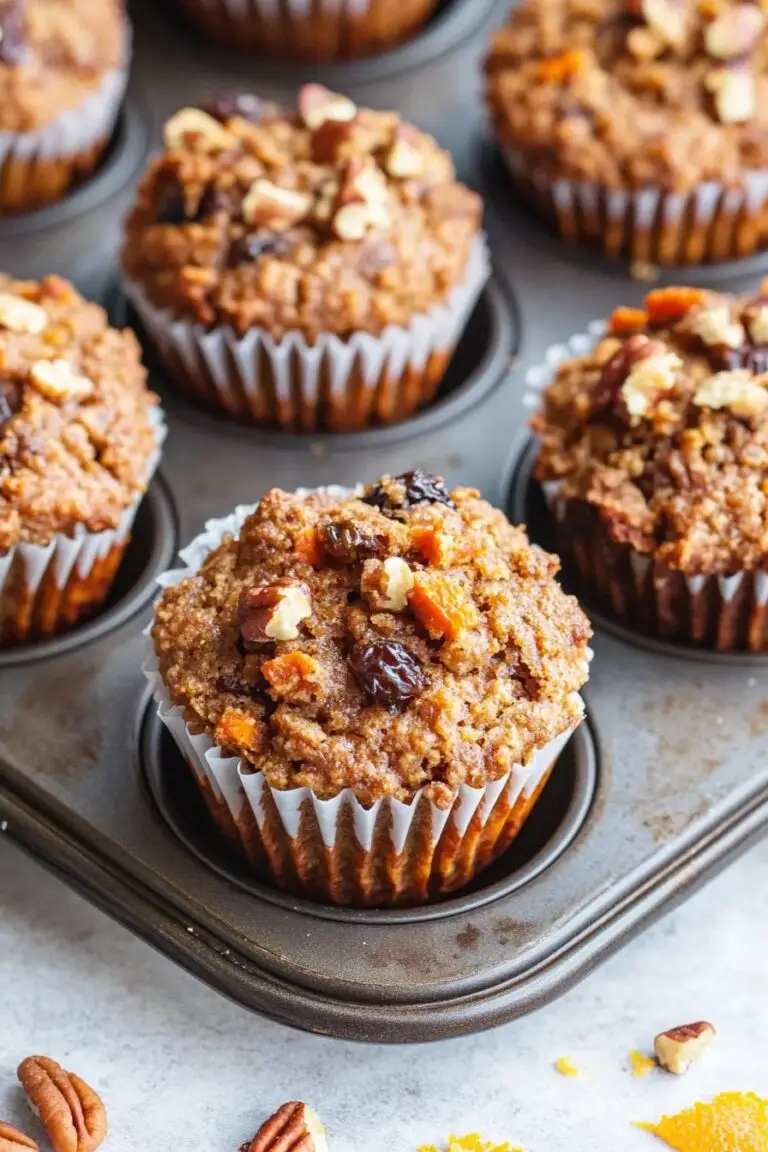
- For the filling: 2 tablespoons soft butter, 2 tablespoons brown sugar, 2 teaspoons cinnamon (add a handful of chopped pecans if you’re feeling fancy)
- For the glaze (optional, but not according to my family): 3/4 cup powdered sugar, 2 tbsp milk or cream, a drop of vanilla (I once did maple syrup in place of vanilla—can’t say I’d repeat it, but worth a try?)
Let’s Make Some Cinnamon Bun Scones
- Get the oven hot. Preheat to 400°F (about 200°C, or as close as your oven will manage; mine’s got a mind of its own).
- Mix the dry stuff. Flour, sugar, baking powder, salt, and cinnamon in a big bowl. Give it a little whisk. When I’m not feeling fussy, I just sort of stir it with whatever’s closest.
- Butter time. Chuck in your cold butter cubes. I use my fingers—some people swear by a pastry cutter, but who actually has one within reach? Rub together until it looks like damp sand. Don’t overthink this; lumpy bits mean flaky bits.
- Wet ingredients. Pour in the cream and crack in the egg. Stir with a fork until the dough just comes together. If it’s super sticky, add a titch more flour—too dry, splash a bit more cream.
- Roll (or pat) it out. Dust your bench (that’s what we call countertops here) and plop the dough down. I pat mine into a rectangle about 1/2 inch thick. Sometimes it’s more of an oval, but the scones never complain.
- Filling time. Spread that soft butter over the top, scatter over the brown sugar and cinnamon. I often sprinkle a handful of nuts, too. Roll it up like a jelly roll—not too tight or it’ll burst, but not too loose or it all falls out. If some filling escapes, just nudge it back in. Or eat it, no judgement.
- Slicing and shaping. Cut the log into 8-ish pieces. Arrange ‘em on a lined tray, spiral-side up. Squish the ends if they look sad; nobody notices once they’re baked.
- Bake ‘til golden. About 15-18 minutes, keeping an eye near the end. This is where I warn: ovens are liars. If yours runs hot, check at 14 minutes; if not, let them go the distance.
- Glaze time! Mix icing sugar, milk, and vanilla in a cup. Drizzle or slather over warm scones. (I’d say let them cool, but who are we kidding?)
My Not-So-Secret Discoveries
- If you overmix the dough, you get something a bit rubbery. Decent, but not what you’re after. Keep it shaggy.
- Forgotten the glaze more times than I’d admit? Still delicious.
- Actually, I find they stay a bit moister if wrapped up before they’re fully cool, though the top gets a bit sticky. Win some, lose some.
Experiments That Actually (And Didn’t) Work
- Chopped apples in the filling: pretty good, but made them a bit wetter—tasty, though!
- Raisins instead of nuts: classic, but not for everyone
- Once tried a cream cheese swirl instead of butter in the filling… meh. Oozed everywhere and made a right mess (but my dog was thrilled, I think?)
Don’t Have All the Gear?
Look, a rolling pin is ideal, but I’ve used a wine bottle (empty, of course—doesn’t roll straight, but gets the job done). For mixing, just use your hands if you like a bit of messiness. Baking paper’s great for easy cleanup, but as long as you grease that tray, you’ll survive.
How (If) to Store Them
They’ll keep in a tin or Tupperware for two days—but honestly, in my house, they never last more than a day! I’ve tried freezing them (works okay) but they’re best warm, right out the oven. Pop one in the microwave for 10 seconds if it’s gone a bit firm overnight.
How We Eat Ours
I love them with strong coffee, or frankly, sometimes just by themselves standing by the counter (who needs plates?). On birthdays we pretend they’re breakfast—candles and all. My mate Beth swears by a dollop of Greek yogurt on top. That’s a new one to me, but hey, live and let live.
Oops, Don’t Make My Mistakes
- Once I tried to skip chilling the butter. Nope. Scones turned out sad and flat. Never again.
- If you really rush the rolling step, you end up with uneven layers. Tastes fine; just looks weird. Not the end of the world.
Frequently Asked (and Occasionally Weird) Questions
- Can I use self-raising flour? Actually, yeah, you can. Just skip most of the baking powder or they’ll balloon like UFOs.
- Why are my scones tough? Might’ve overmixed. Honestly, it happens to the best of us—just be gentle next time.
- Can you make these vegan? I’ve tried—using oat milk and vegan butter. Didn’t win any awards, but they’re edible! Maybe toss in a bit more sugar for flavor.
- Why is my filling leaking out? Too warm, or too much rolling. Try not to fuss; just eat the crispy caramelized bits (I always do).
- Do I have to glaze them? Absolutely not. I often skip it when I can’t be bothered washing another bowl.
A quick digression: One rainy day while making these, Spotify decided to play nothing but 90s hits. It’s now tradition—a cinnamon scone in one hand, questionable dance moves in the other. Cooking’s more fun when it’s a bit silly, right?
Ingredients
- 2 cups all-purpose flour
- 1/4 cup granulated sugar
- 2 tsp baking powder
- 1/2 tsp salt
- 1/2 cup cold unsalted butter, cubed
- 2/3 cup heavy cream
- 1 large egg
- 1/2 cup brown sugar
- 2 tsp ground cinnamon
- 1 cup powdered sugar (for glaze)
- 2 tbsp milk (for glaze)
Instructions
-
1Preheat oven to 400°F (200°C) and line a baking sheet with parchment paper.
-
2In a large bowl, whisk together flour, granulated sugar, baking powder, and salt.
-
3Cut in the cold butter with a pastry cutter or fingers until the mixture resembles coarse crumbs.
-
4In a separate bowl, whisk together heavy cream and egg, then pour into the dry ingredients and mix just until combined.
-
5In a small bowl, mix brown sugar and cinnamon. Turn the dough out onto a floured surface, pat into a rectangle, sprinkle the cinnamon-sugar mixture over, then fold and shape into a circle about 1 inch thick.
-
6Cut into 8 wedges, transfer to baking sheet, and bake for 16-18 minutes or until golden. Mix powdered sugar and milk to make a glaze and drizzle over cooled scones.
Approximate Information for One Serving
Nutrition Disclaimers
Number of total servings shown is approximate. Actual number of servings will depend on your preferred portion sizes.
Nutritional values shown are general guidelines and reflect information for 1 serving using the ingredients listed, not including any optional ingredients. Actual macros may vary slightly depending on specific brands and types of ingredients used.
To determine the weight of one serving, prepare the recipe as instructed. Weigh the finished recipe, then divide the weight of the finished recipe (not including the weight of the container the food is in) by the desired number of servings. Result will be the weight of one serving.
Did you make this recipe?
Please consider Pinning it!!