Caramel Marshmallow Rice Krispie Balls Recipe
Hey There, Fellow Sweet Tooth!
You know those recipes that just transport you back to childhood? Well, this Caramel Marshmallow Rice Krispie Balls recipe does just that for me. I remember the first time I made these was with my mom in her tiny, cluttered kitchen. We had the radio on, and we were laughing so hard when she accidentally dropped the entire bag of marshmallows on the floor. (Five-second rule, anyone?)
Why You’ll Love This
I whip up a batch of these whenever I’m in need of a sweet pick-me-up or when unexpected guests pop by. My kids go absolutely crazy for them, especially when I let them roll the sticky mixture into balls. (Warning: you’ll find them snacking more than rolling!) They’re quick to make, and the best part? Hardly any dishes to wash afterward.
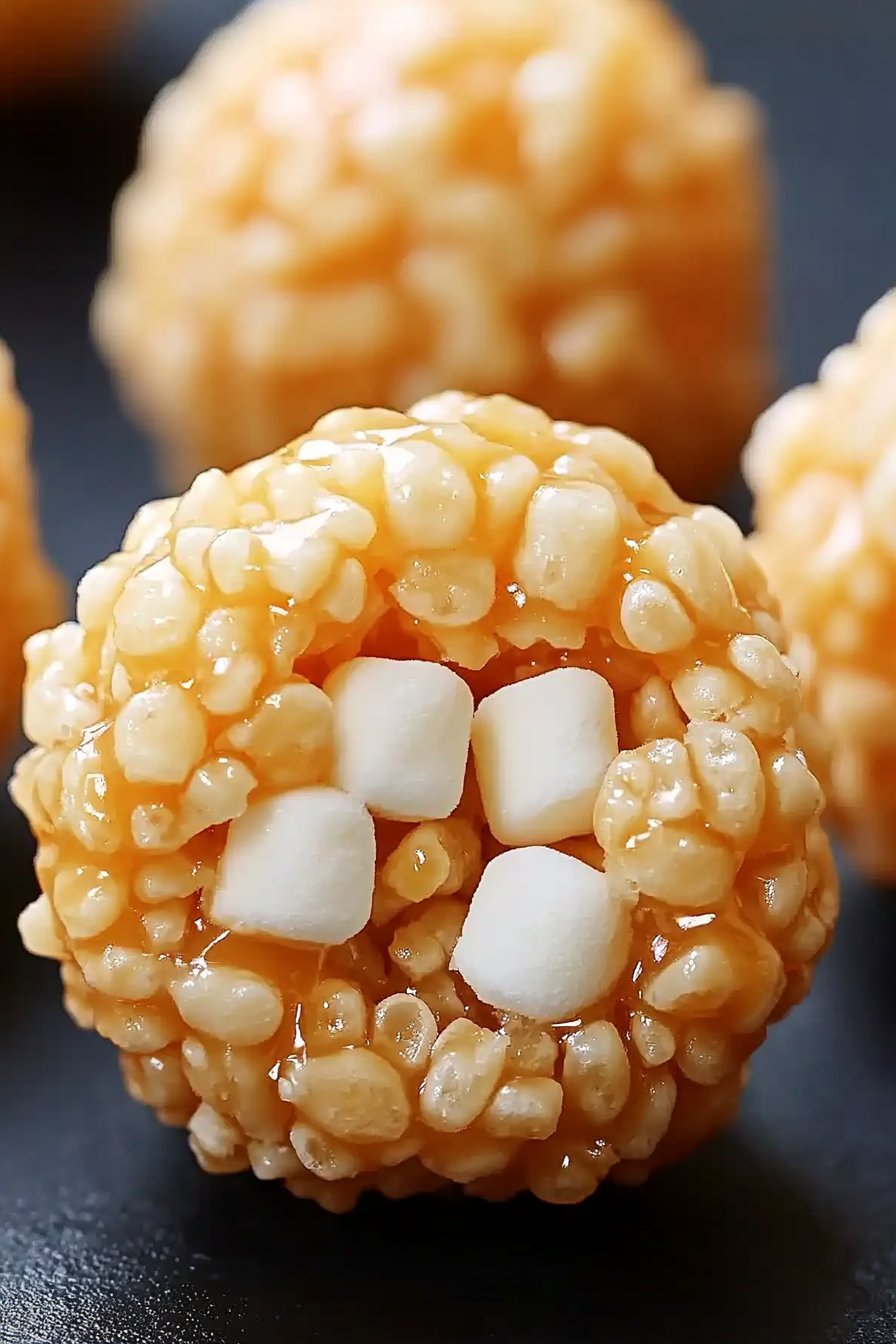
What You’ll Need
- 50g of butter (sometimes I use salted if that’s what I’ve got on hand).
- 250g of marshmallows – any brand will do, but my grandma swore by the pink ones for ‘extra flavor’.
- 1/2 cup of caramel sauce (store-bought works just fine).
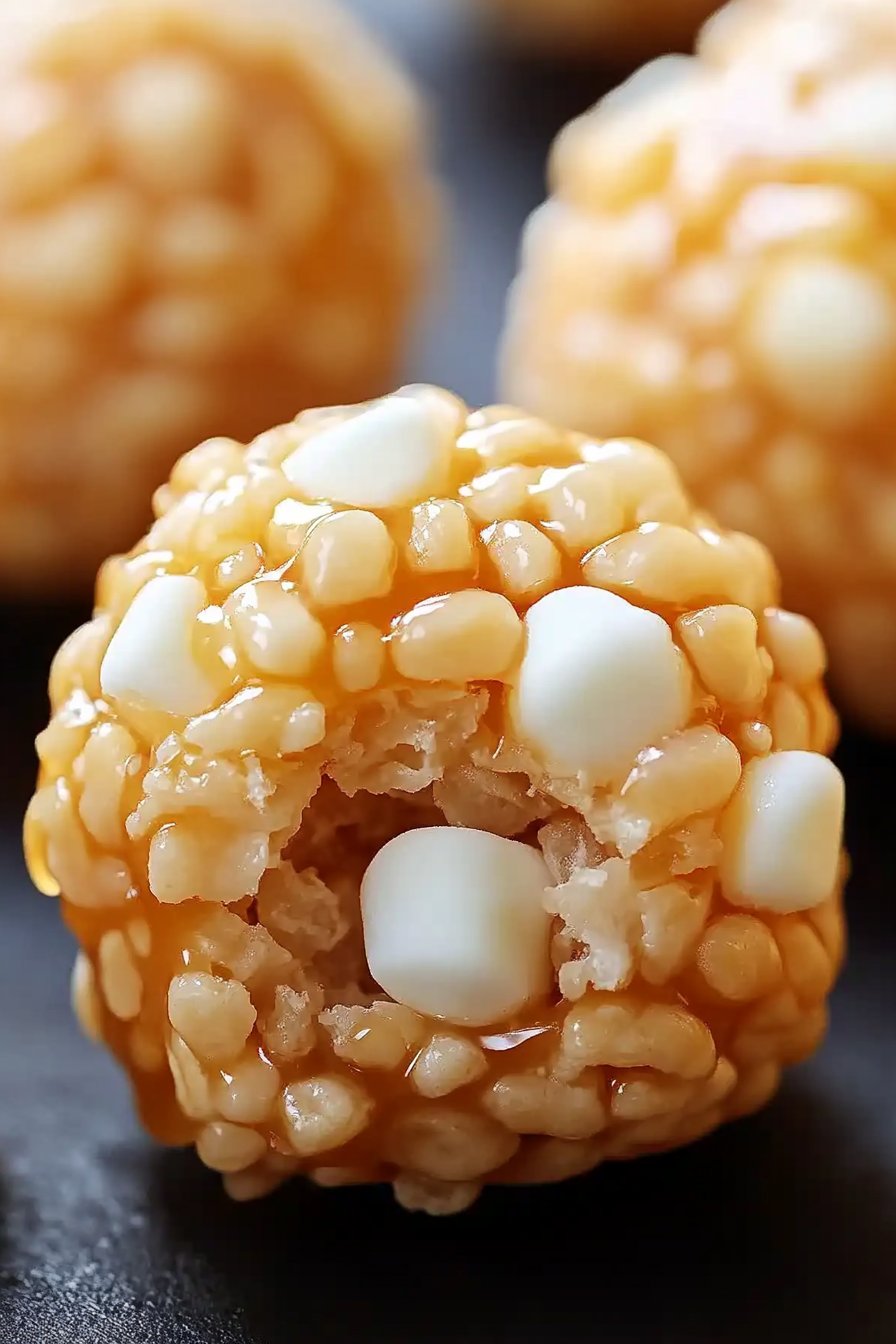
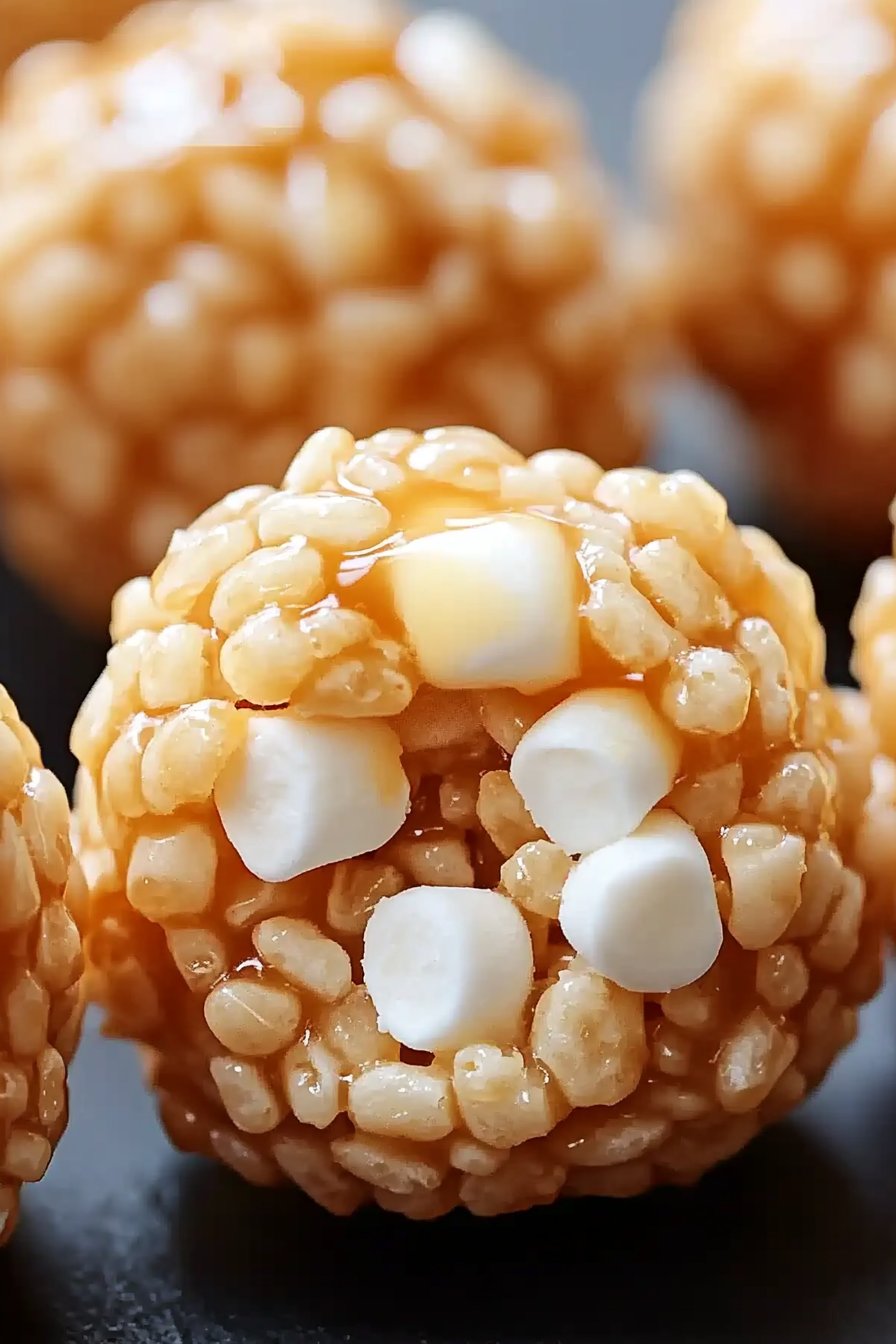
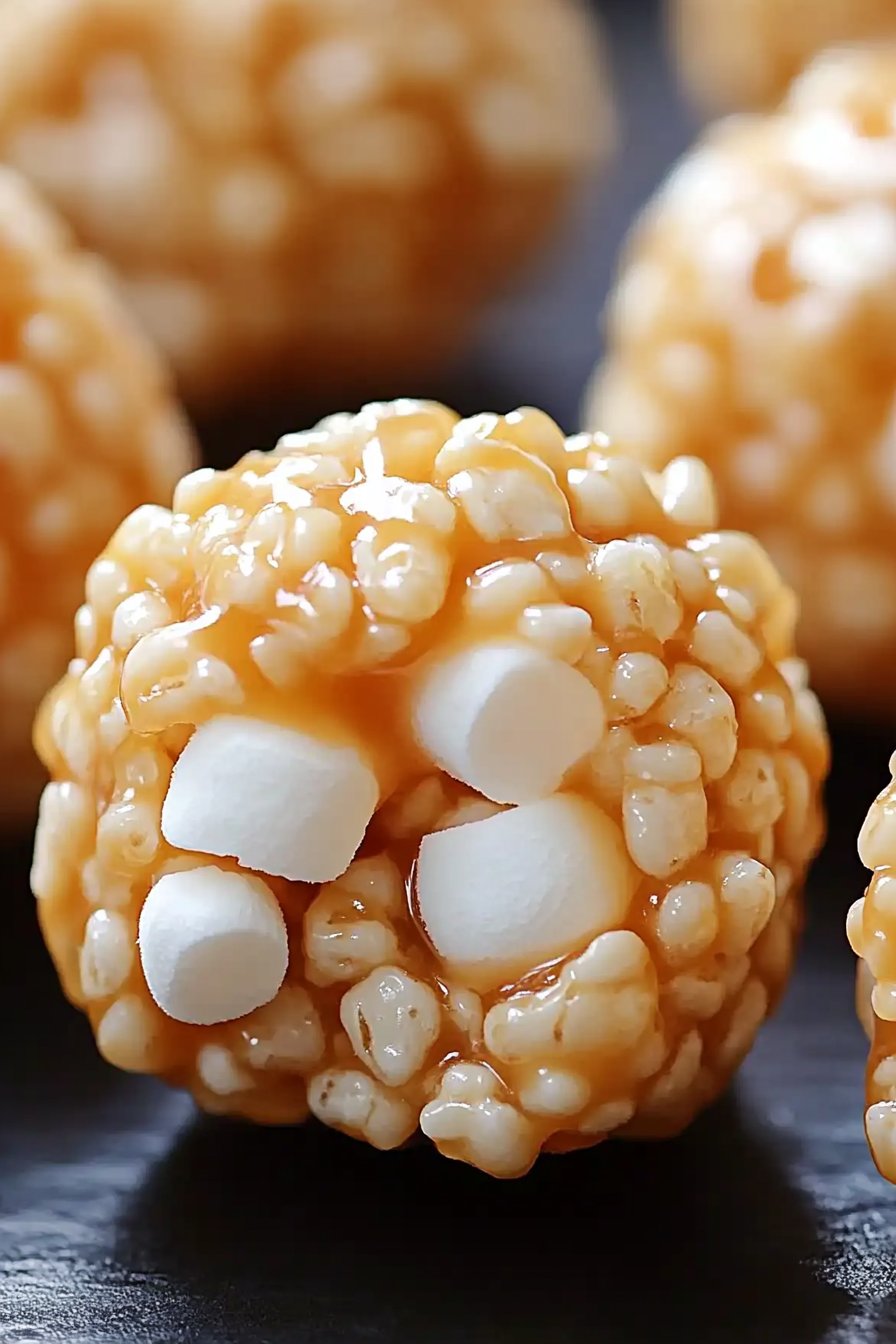
- 4 cups of Rice Krispies cereal (sometimes I swap these for the store-brand version, and nobody notices!).
Let’s Get Cooking!
- Melt the butter in a large pot over low heat. Add the marshmallows and stir until they’re melted and smooth (this is where I usually sneak a taste!).
- Stir in the caramel sauce until everything’s well combined. Don’t worry if it looks a bit weird at this stage – it always does!
- Remove the pot from heat and add in the Rice Krispies. Mix until they’re evenly coated. Try not to eat it all before rolling!
- Once slightly cooled, use your hands to form the mixture into small balls. If it sticks too much, a bit of butter on your hands works wonders.
Some Handy Notes
Over time, I’ve found that if you let the mixture cool just a tad before rolling, they hold their shape better. Also, don’t stress if the balls aren’t perfectly round. I’ve yet to see a perfect one but hey, they’re still delicious!
Variations I’ve Experimented With
One time, I tried adding chocolate chips—spoiler: they melted into a gooey mess. But crushed pretzels added a nice salty kick!
No Fancy Tools? No Problem!
If you don’t have a pot big enough, just split the batch into two – a bit more work, but it does the trick. Or you can check out this great guide on choosing the right kitchen pot size.
Storing These Treats
These guys can be stored in an airtight container for up to a week, although, honestly, in my house, they never last more than a day!
How We Serve ‘Em
These are perfect for a casual dessert night with friends. We often serve them with a scoop of vanilla ice cream – a match made in heaven!
Learned the Hard Way: Pro Tips
Don’t rush the melting process. I once did and ended up with a burnt mess. Slow and steady wins the race here.
Got Questions? I’ve Got Answers!
Can I make these vegan? Sure thing! Use dairy-free butter and marshmallows. Works like a charm.
What if I don’t have caramel sauce? You can melt some soft caramel candies with a bit of cream. It’s a bit more effort, but worth it.
Do I really need marshmallows? Well, they are kind of the star of the show, but you could experiment with other sticky binders… just don’t blame me if it flops!