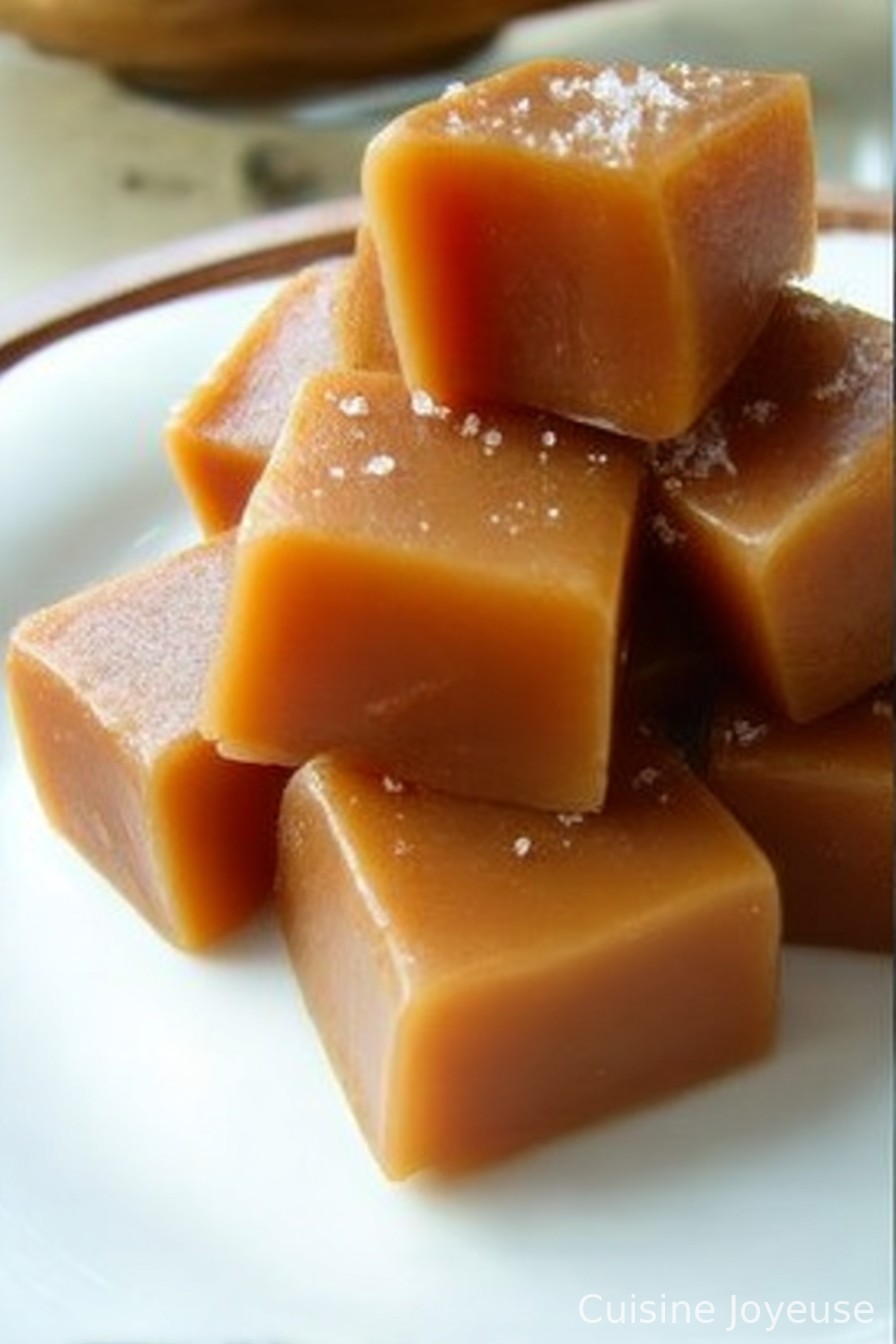
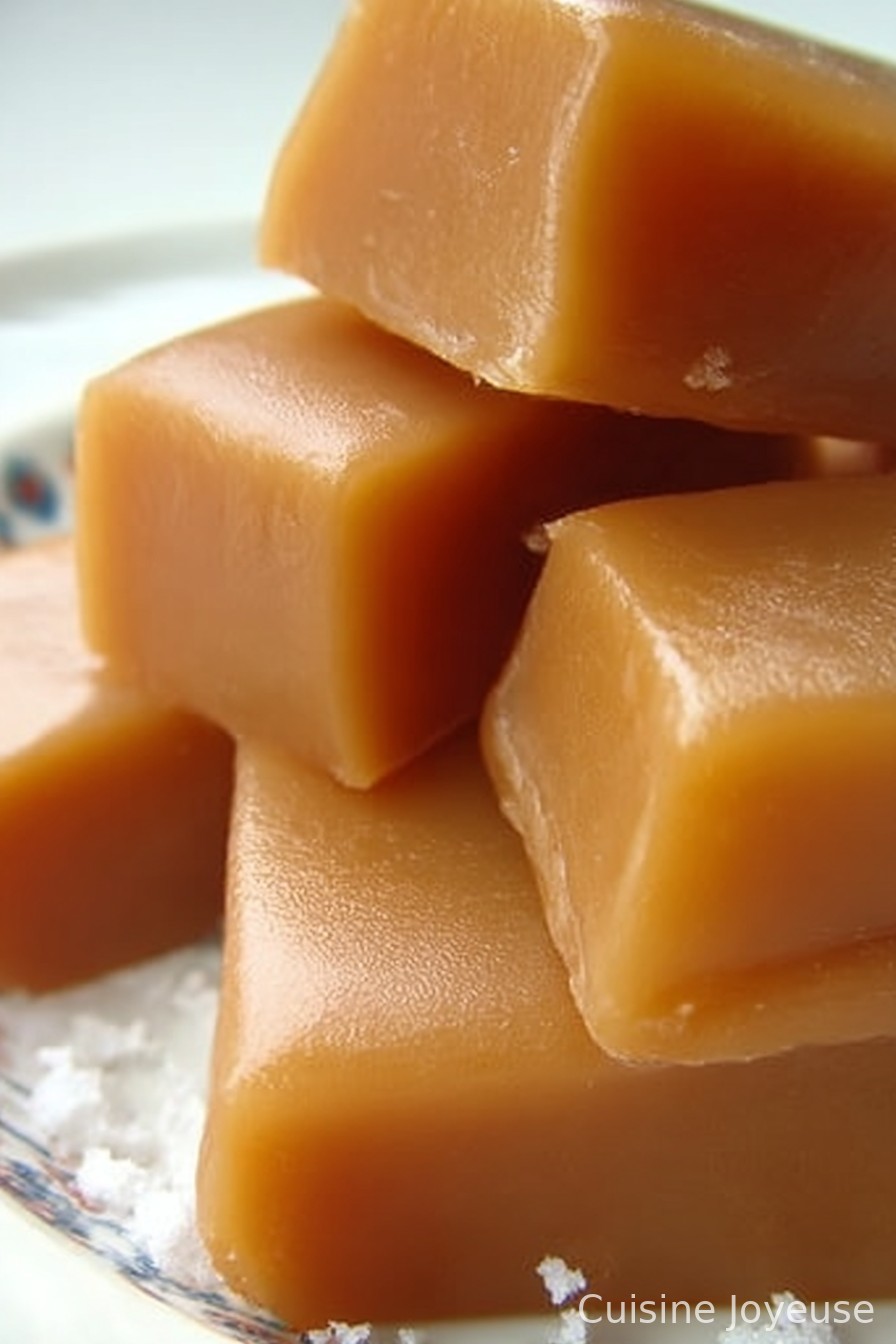
BEST HOMEMADE CARAMELS RECIPE
The Story Behind These Chewy Little Squares
Okay, so you know how some folks get all misty-eyed thinking about grandma’s pie or mum’s roast chicken? Well, for me, it’s homemade caramels. And not some store-bought thing in shiny plastic, but the BEST homemade caramels recipe (yes, I said it!). Honestly, I can still picture the Christmases where we’d practically fight over that last sticky caramel at the bottom of the tin—and one year, someone (naming no names, Uncle Pete) actually hid a handful in their pocket “for later.” True story—and yes, those pockets were ruined. Anyway, these caramels are everything: buttery, a little salty, and just soft enough that you don’t lose a filling. Well, most of the time.
Why You’ll Love This Recipe (Or At Least I Do)
I make these every December, and sometimes in July, because why not, and let me tell you: my family swarms the kitchen like locusts. I think it’s because the texture is just right (I used to screw that up all the time) and they keep well if you can hide them long enough. Oh, and you don’t need to be all fancy—I made these last week wearing fluffy slippers and they turned out ace. When I’m bored with cookies, I make caramels instead—though, kidding aside, I once scorched the batch while being distracted by a cat video (would not recommend—burnt sugar is its own punishment).
What You’ll Need (With My Real-Life Substitutions)
- 1 cup (225g) unsalted butter — If salted is all you’ve got, that’s fine, just skip extra salt later.
- 2 1/4 cups (450g) brown sugar — Light or dark; I sometimes use half white sugar in a pinch.
- 1 cup (240ml) light corn syrup — Golden syrup also works (my gran swore by Lyle’s).
- 1 can (14oz/397g) sweetened condensed milk — I’ve tried the low-fat kind. It was…not my proudest moment.
- 1 tsp vanilla extract — If you’ve got a vanilla bean hanging around, go wild!
- 1/2 tsp flaky sea salt — Optional, but why not? Maldon is fancy, but table salt will do.
Let’s Get Cooking (And Try Not to Burn Anything…)
- Butter Things Up: Line an 8×8 inch pan with parchment, leaving a little overhang. Grease the parchment. This is not the time to be frugal—sticky caramel is savage to clean.
- Melt and Mix: In a heavy-bottomed saucepan (that means not your thin, bent-up one), toss in the butter, brown sugar, corn syrup, and condensed milk. Stir over medium heat until everything looks like it’s having a cozy, buttery party.
- Bubble Time: Crank up the heat a smidge—bring it to a gentle boil. Stir and keep stirring (seriously, don’t wander off now) for about 15 minutes. You want the candy thermometer to hit 245°F (firm ball stage for caramel nerds). If you don’t have one, drop a bit into cold water: it should set softly, not melt away.
- Off the Heat, Add Flavour: Pull the pan off the stove (sigh of relief here), stir in the vanilla and half the salt. Sneak a spoonful—it’s basically doctor’s orders. (Careful, hot sugar is a menace.)
- Pour & Cool: Quickly, before it firms up, pour the caramel into your prepared pan. Wobble the pan so it evens out. Sprinkle extra salt on top if you like. Leave it alone for a few hours, or overnight if you have superhuman self-control (I do not).
- Cut & Wrap: Once set, lift it out using the parchment, and cut into little squares with a sharp knife (I oil my knife, it helps). Wrap them in wax paper if you want to look professional—or just toss them into a tin if you don’t care about presentation. Both taste the same, honestly!
Things I’ve Learned the Hard Way (Notes)
- If the caramel looks a bit grainy while boiling, don’t panic—it usually smooths out once poured.
- Humidity messes with setting time. On really damp days, mine sometimes stay tacky for hours, but by morning, they’re perfect.
- I tried skipping the parchment once—never again. Scrubbing caramel glue off a pan is my nemesis.
Variations I’ve Tried (And a Flop or Two)
- Swapping in maple syrup instead of corn syrup made for a richer flavor, though a slightly chewier texture (not sure it’s for everyone—I liked it, the kids didn’t).
- Once I tossed chopped toasted pecans on top. Bit of a hit for the nut lovers; my youngest tried to pick them out, go figure.
- Attempted half dark, half milk chocolate swirl on top. Looked cool, but set awkward. Better to drizzle rather than swirl, I think!
- Honestly, I don’t love trying coconut condensed milk here—too runny, and, well, coconutty?
Basic Kit (But With My Shortcuts)
- Heavy-bottomed saucepan (I once used a regular one and it scorched—wouldn’t do that again)
- Candy thermometer; if you don’t have one, just go with the cold water method (see directions above—it works in a pinch, and honestly, that’s how my gran did it)
- Parchment paper and tin. No parchment? Butter the absolute heck out of your pan. Like, no dignity spared.
- Sharp knife—an oiled pizza cutter does wonders too!
How To Keep ‘Em (If You Can…)
Store the wrapped caramels in an airtight container at room temperature—supposedly they last up to 2 weeks, haha, though honestly, in my house they never last more than 24 hours! If it’s summer, or your kitchen gets toasty, the fridge helps them keep their shape, but they’re softest and nicest eaten at room temp.
How We Serve These (A Little Family Ritual)
Usually, we just set the tin smack in the middle of the table and let chaos reign. But if I’m feeling fancy (or we’ve got guests who I want to impress), I’ll arrange them with some apple slices or in mini paper cases. My cousin dunks hers in coffee, which, honestly…try it. Works better than I expected!
Lessons I’ve Definitely Learned The Hard Way (Pro Tips)
- Do NOT rush the boil—low and slow is boring, but a burnt batch is worse. I tried to speed it up once—regretted it for days.
- Let them cool completely. Slicing early = sticky disaster that looks like melted cheese instead of caramels. Ask me how I know.
- If the mixture splits a little (looks separated), just keep stirring and have faith—it usually comes back together, though sometimes a few muttered prayers help, too.
Questions People (Okay, Mostly My Kids) Ask Me
- Can I double the recipe? Yep, but beware: it takes longer to hit the right temperature, and you’ll need a bigger pan, or you’ll end up with caramel lava on your stove (don’t ask).
- Can I use honey instead of corn syrup? Sort of? It gets a bit stickier, and the flavor is obviously floral, but I’ve done it in a pinch—wasn’t my favorite, but it was still caramel.
- Why are my caramels too hard/soft? Temperature’s the boss here. Too high = jawbreakers, too low = goo. Get friendly with your thermometer, or get ready for caramel roulette!
- Can I make this vegan? Actually, I haven’t cracked that one yet (though I’ve heard this vegan caramel recipe might be close—let me know if you try it, please).
- Do I really need a candy thermometer? Not strictly—cold water test is fine (see King Arthur Baking’s notes). But a thermometer is honestly easier and more precise, especially if you’re easily distracted like me.
- What else can I do with leftover caramels? Leftover? That’s adorable. Chop ’em into ice cream or melt them for caramel apples—if you have any left, that is.
Last thing—I know this isn’t the fastest homemade treat, but it might be the most satisfying, especially when you see everyone’s goofy grins after sampling their first square. Give it a whirl, let me know what you think (or what you fixed—someone always finds a way to make it better), and if you accidentally eat one while wrapping, well, that’s basically tradition now. Cheers!
Ingredients
- 1 cup (226g) unsalted butter
- 2 1/4 cups (450g) light brown sugar, packed
- 1 cup (240ml) light corn syrup
- 1 can (14 oz/396g) sweetened condensed milk
- 1 tsp vanilla extract
- 1/2 tsp sea salt, plus extra for sprinkling
- 1/4 cup (60ml) water
Instructions
-
1Line an 8×8-inch pan with parchment paper and lightly grease it. Set aside.
-
2In a large heavy-bottomed saucepan, melt butter over medium heat. Add brown sugar, corn syrup, and water. Stir until combined.
-
3Stir in sweetened condensed milk. Cook, stirring constantly, until mixture reaches 245°F (118°C) on a candy thermometer (about 25-30 minutes).
-
4Remove from heat, stir in vanilla extract and sea salt. Quickly pour the caramel into the prepared pan and spread evenly.
-
5Cool completely at room temperature (about 2 hours). Sprinkle with extra sea salt if desired. Cut into squares and wrap in wax paper.
Approximate Information for One Serving
Nutrition Disclaimers
Number of total servings shown is approximate. Actual number of servings will depend on your preferred portion sizes.
Nutritional values shown are general guidelines and reflect information for 1 serving using the ingredients listed, not including any optional ingredients. Actual macros may vary slightly depending on specific brands and types of ingredients used.
To determine the weight of one serving, prepare the recipe as instructed. Weigh the finished recipe, then divide the weight of the finished recipe (not including the weight of the container the food is in) by the desired number of servings. Result will be the weight of one serving.
Did you make this recipe?
Please consider Pinning it!!