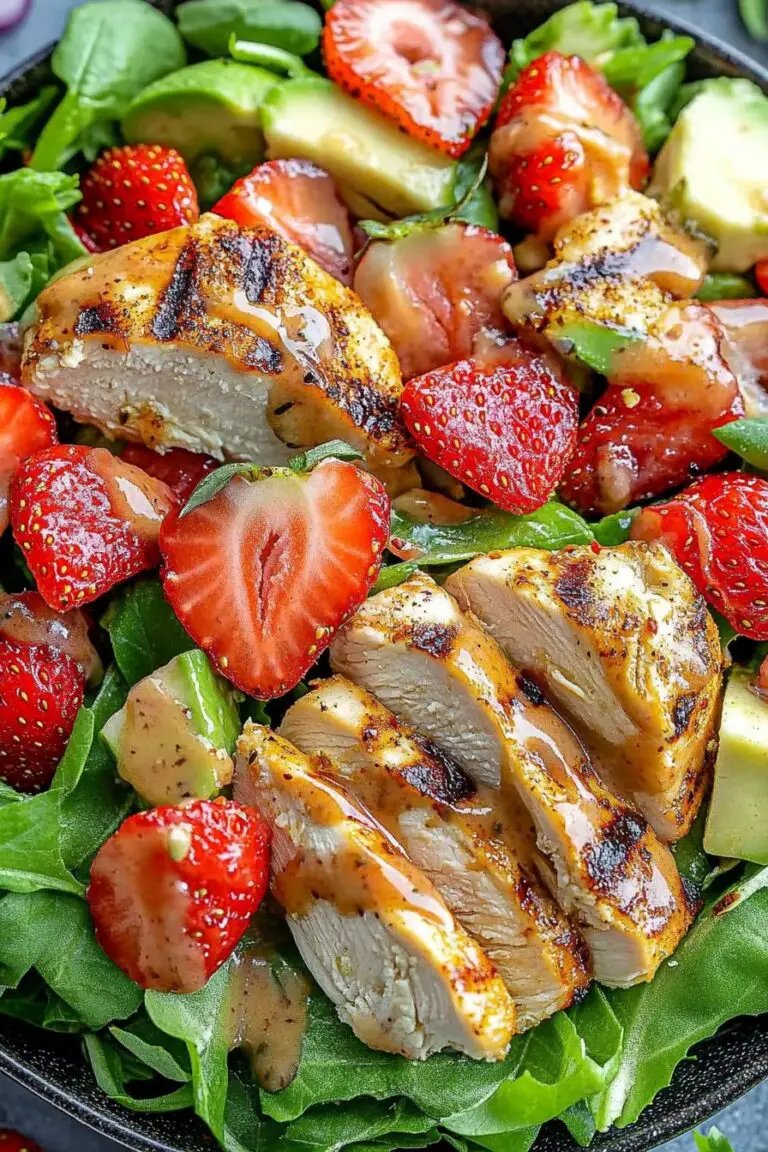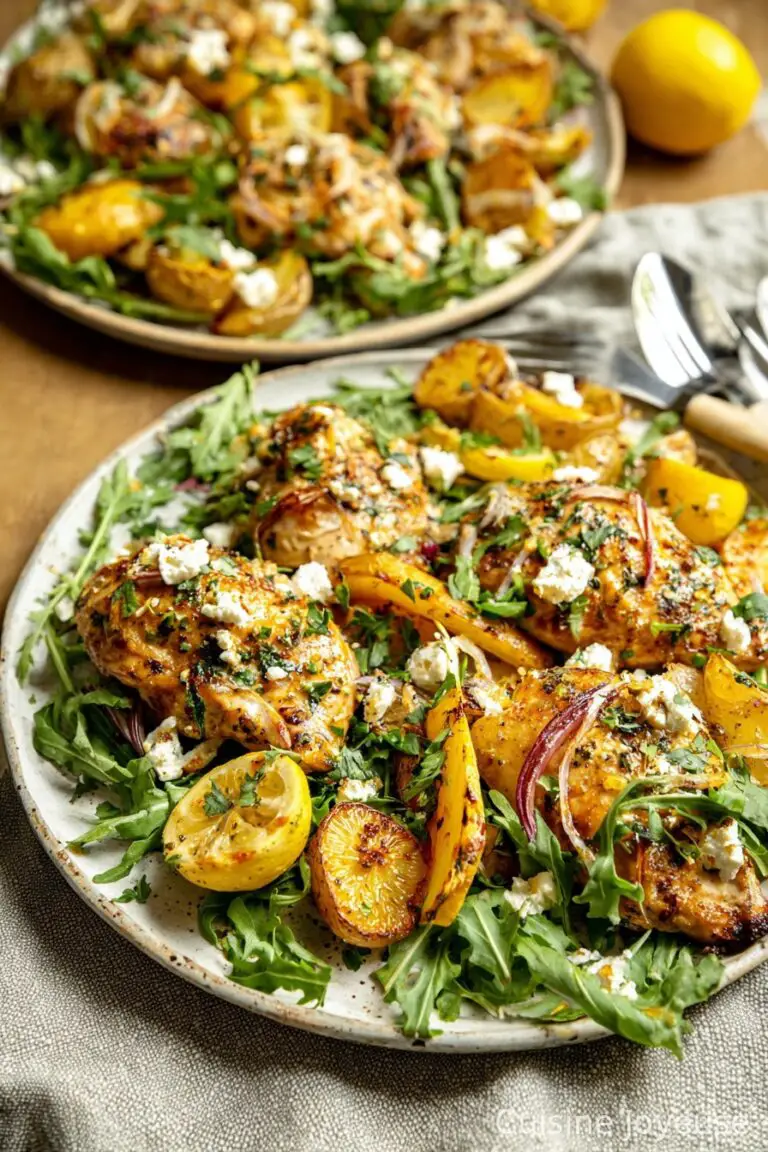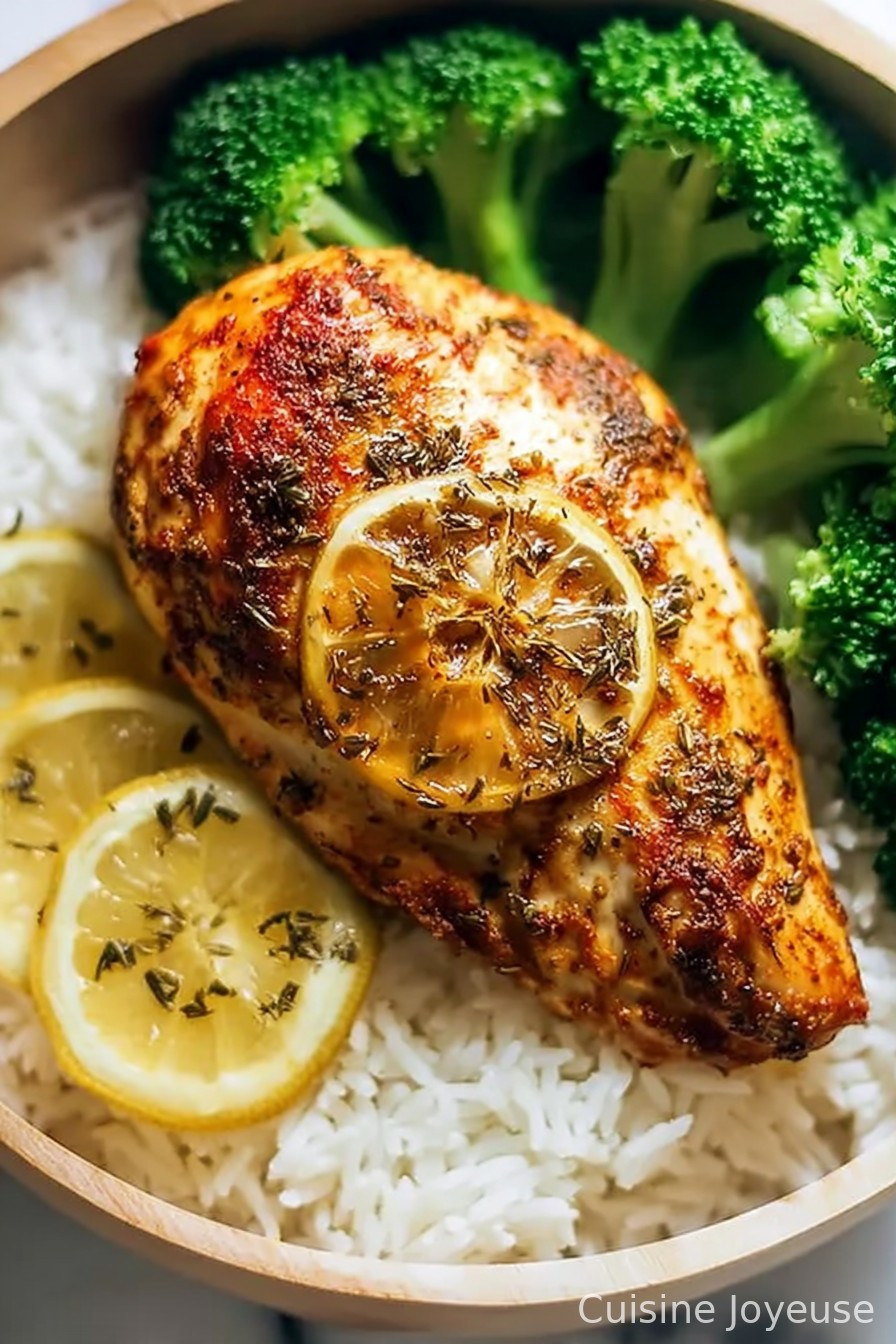
Baked Chicken Breast
Let’s Talk Baked Chicken Breast (No Fuss, Promise)
Alright, so here’s the deal—Baked Chicken breast has saved my hide more times than I can count. Like that time I completely forgot my cousins were coming for dinner and all I had was chicken, a lemon, and, I dunno, hope? Baked Chicken breast to the rescue! I’ve fiddled with spices, sometimes overcooked it (ah, the infamous chicken jerky episode), but this version here is the one I keep coming back to. It’s not Michelin-star, but it’s good, and more importantly, it gets dinner on the table before everyone starts gnawing on the bread loaf. And for the love of flavor, leave perfection at the door—sometimes messy seasoning is tastier anyway.
Why You’ll Love This: Real-Life Reasons
I whip this out on those evenings when I stare into my fridge, see chicken breasts, and think, “Welp, here we go again.” My family—especially my daughter—goes nuts for this (actually, she insists on the corner piece, every single time, no idea why). And oof, it’s forgiving; I’ve run out of oregano, used herbes de Provence, done half with garlic and half without for fussy eaters, and it *still* works. Plus, if you’ve ever wrestled with dry, sad baked chicken, this method kind of takes the edge off—I had a long, tumultuous relationship with dry chicken way back when.
What Goes In (And Do You Even Need It All?)
- 2 large chicken breasts (I use boneless, skinless, but once used the skin-on by accident… a happy accident!)
- 2 tbsp olive oil (sometimes I swap in melted butter if I want that extra oomph)
- 1 tsp garlic powder (or fresh if you’re in the mood to mince)
- 1 tsp smoked paprika (regular paprika is fine, really, and my grandma swore by it)
- ¾ tsp salt (coarse is nice, but table salt gets the job done)
- ½ tsp black pepper (I get lazy and use pre-ground; don’t let the spice snobs shame you!)
- Optional: squeeze of lemon juice (gives it a bit of zip)
- Sometimes: I’ll throw in Italian seasoning if I want it extra herby—or even taco seasoning for a bit of a twist (don’t judge, it’s actually good)
How I Make It (Give or Take a Step)
- Crank your oven to 220°C (428°F-ish). That high heat gets a nice color—I once forgot and did 180°, and it was still fine, just a bit… paler.
- Pat those chicken breasts dry—this helps them get less, uh, rubbery.
- Grab a bowl, toss in olive oil, garlic powder, paprika, salt, and pepper. Stir with a fork or, if you can’t find one, a chopstick (it works!).
- Coat the chicken well with the mix. Use your hands if you dare—just give them a quick rinse right after, unless you like your phone smelling like garlic for a week (learned the hard way).
- Pop the chicken on a baking tray. I usually line it with parchment because scrubbing pans isn’t fun.
- Bake for 18-22 minutes, depending on how thick the chicken is. Sometimes I’ll forget to set a timer and just poke it until the juice runs mostly clear. If you have a meat thermometer, shoot for 74°C (165°F), but honestly, if it’s a bit over, no one at my table minds.
- Let chicken rest for 5 minutes before slicing—this is where I fight off my family’s “just one bite” requests. Don’t skip the rest, it keeps them juicy.
- Slice, serve, and watch it disappear. Or steal a piece before everyone else. Up to you.
What I Wish I’d Known (Notes)
- You can totally prep this ahead, season the chicken in the morning, and just bake later. Actually, I find it works better if you let it marinate a bit.
- If you forget to dry the chicken, it’ll still bake, but sometimes it gets kind of leathery on the outside. So, maybe don’t skip that.
- If you’re using frozen chicken and forget to thaw, just add extra time; it might get a bit dry at the edges, but hey, it’s still dinner.
Variations: Tried, Failed, and the Odd Surprise
- Lemon-Pepper: Swap the paprika for extra black pepper and a generous squeeze of lemon. Simple and unexpectedly fresh.
- Spicy Kick: Add a teaspoon of chili powder or cayenne. (Careful though, I once went overboard and the dog wouldn’t even sniff it.)
- Creamy Bake: Once, I slathered the chicken with Greek yogurt before baking. It was fine, but a bit too tangy for my liking. Maybe I should’ve used less yogurt.
- Breaded: Tried a panko-crusted version after watching this Serious Eats method. Was crispy, but left breadcrumbs all over the kitchen floor. Worth it though.
Do You Need Fancy Gear?
You really don’t. A baking tray and some parchment are handy, but I’ve done it right in a cast iron skillet, or even on a makeshift foil boat when all my pans were “missing.” No thermometer? Just slice in and check. Ain’t no shame in being practical.

How Long Will It Last? (Not Long in My House, Honestly)
Technically, leftovers keep in the fridge for about 3-4 days in an airtight container. More realistically? It’ll be lucky to see the morning (midnight snacking is a thing, right?). If you actually have extra, it’s great sliced over salads or tucked into wraps for lunch the next day.
How I Love to Serve It (Scenes from My Table)
You can do rice and a salad if you want classic. But honestly, my favorite is to serve it with roasted potatoes and whatever green veg I’ve got lying around. For a fun twist, try it cold, sliced thin, alongside some really crusty bread and olives—sort of a Mediterranean picnic at home. Or so I tell myself when I forget to make a proper side. Oh, and my uncle swears by dipping it in sriracha mayo (don’t knock it till you try it). For some more side inspiration, I’ve tried recipes like these roasted veggies at Budget Bytes and always come back to them.
Stuff I Learned the Hard Way (Pro “Tips”)
- I once skipped the resting step—big mistake. Chicken leaked everywhere and ended up a tad dry. Let it hang out for those five minutes.
- Don’t overthink the seasoning. Honestly, I used to faff about with endless spice blends, but now I just go with what I have. Less is sometimes more.
- Rushing the oven preheat is a no-go; I tried once, and the texture was, uh, unique (in that weird, chewy way that makes you question your choices).
Questions I’ve Actually Gotten (Or Just Imagined Someone Asking)
- Can I use chicken thighs? For sure! Just trim them a bit, and know they’ll be juicier (and a tad fattier). I kinda prefer them, but don’t tell the breast purists.
- Can I make this ahead? Yup. You can even bake and then slice cold for salads—it actually tastes better to me the next day; something about the flavors settling in.
- What if I don’t have olive oil? Melted butter, sunflower oil, or honestly, even mayo works in a pinch (yep, tried it, not bad!).
- Does it freeze well? Meh, it’s fine, but texture gets wonky. Best fresh or in the fridge. If you have to freeze, maybe chop it for future soup or fried rice.
- Is it gluten-free? As long as you don’t bread it with flour or crumbs, yep.
- What should I do with leftovers? Chopped up in a quesadilla, on a leafy salad, or just as-is for a protein snack. Or, I just eat it cold with a squeeze of lemon and a bit of salt—no shame.
Anyway, if you’ve gotten this far and haven’t already wandered off to see what’s in your fridge—thanks for reading. If you want deeper dives or troubleshooting, resources like this simple roasted chicken breast guide from The Kitchn have helped me out, too. Happy cooking, and may your chicken never be dry again. Or at least, not on my watch.
Ingredients
- 4 boneless, skinless chicken breasts
- 2 tablespoons olive oil
- 1 teaspoon garlic powder
- 1 teaspoon paprika
- 1/2 teaspoon dried thyme
- 1/2 teaspoon salt
- 1/4 teaspoon black pepper
- 1/2 teaspoon onion powder
Instructions
-
1Preheat the oven to 400°F (200°C). Lightly grease a baking dish with a little olive oil.
-
2Pat the chicken breasts dry with paper towels. Place them in the prepared baking dish.
-
3In a small bowl, mix together the olive oil, garlic powder, paprika, dried thyme, salt, black pepper, and onion powder.
-
4Brush the spice mixture evenly over both sides of each chicken breast.
-
5Bake in the preheated oven for 20-25 minutes, or until the internal temperature reaches 165°F (74°C) and the chicken is cooked through.
-
6Let the chicken rest for 5 minutes before slicing and serving.
Approximate Information for One Serving
Nutrition Disclaimers
Number of total servings shown is approximate. Actual number of servings will depend on your preferred portion sizes.
Nutritional values shown are general guidelines and reflect information for 1 serving using the ingredients listed, not including any optional ingredients. Actual macros may vary slightly depending on specific brands and types of ingredients used.
To determine the weight of one serving, prepare the recipe as instructed. Weigh the finished recipe, then divide the weight of the finished recipe (not including the weight of the container the food is in) by the desired number of servings. Result will be the weight of one serving.
Did you make this recipe?
Please consider Pinning it!!