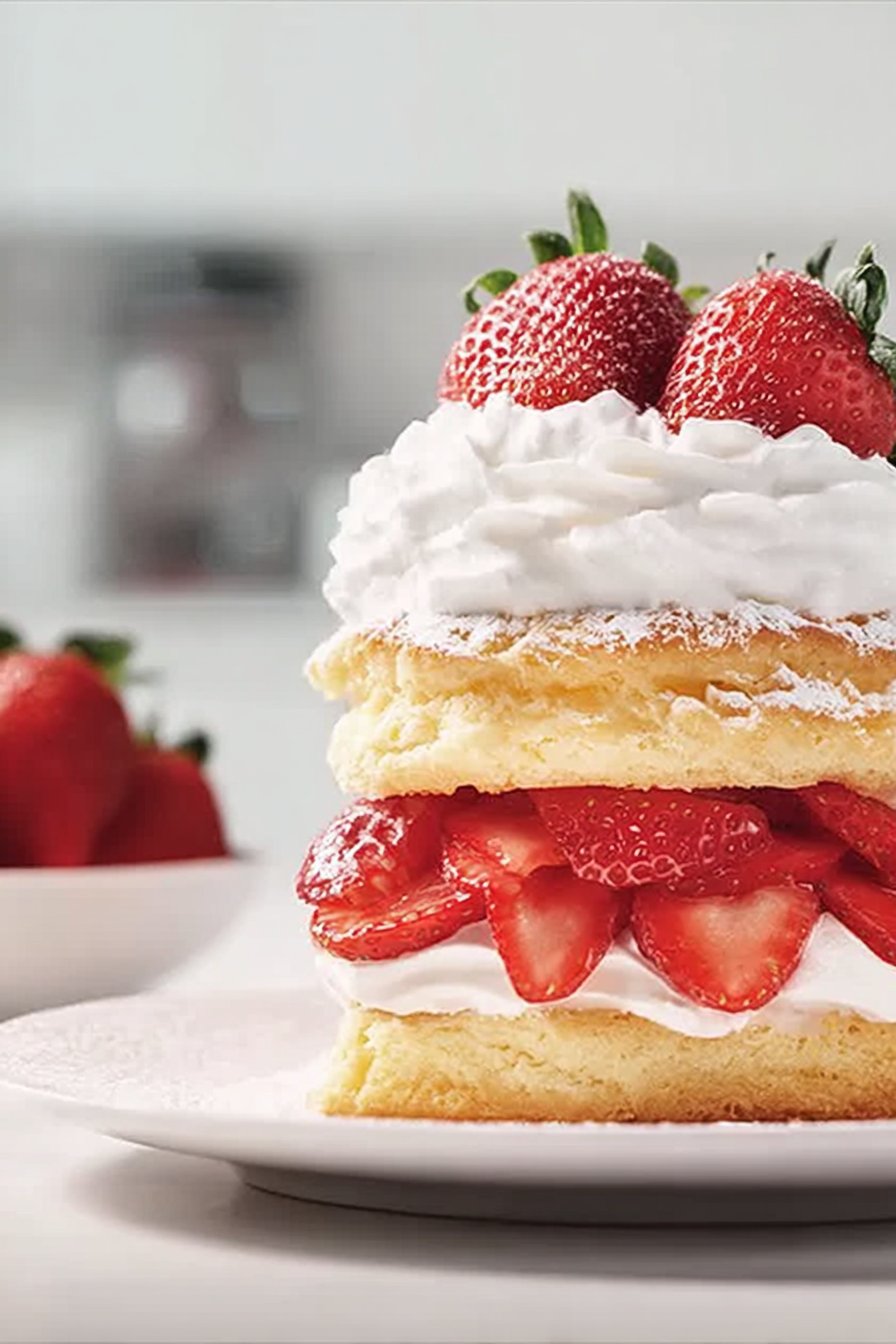
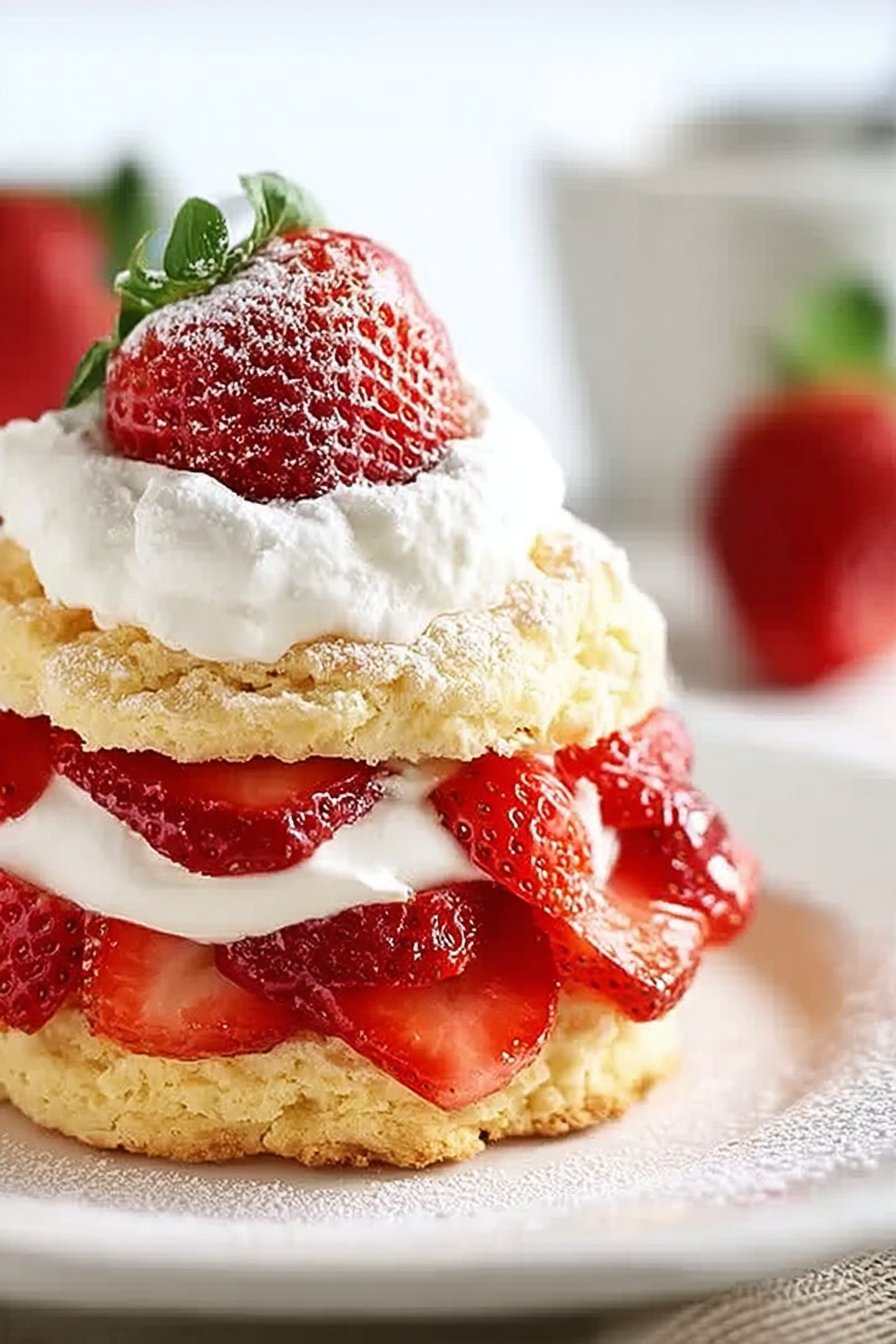
Strawberry Shortcake Recipe
Strawberry Shortcake: Why I Can’t Stay Away
You know, every time I make this strawberry shortcake, I end up with a kitchen that looks like a flour tornado passed through it. (True story: once, I found whipped cream on the ceiling, don’t ask.) But honestly, it’s worth it. This is one of those desserts that just screams ‘summer’ to me—well, whispers, I guess, but then yells when you take that first bite. I grew up making a much more, um, “interpretive” version with my mom, usually using whatever biscuits we had lying around—and somehow, it always tasted like a special treat. One Fourth of July, my cousin tried to make it with frozen strawberries and, let’s just say, it came out looking kind of like a fruit soup, but nobody complained. We just slurped it right up.
Why You’ll Love This (If You’re Anything Like Me)
I make this when I want to feel a bit fancy, but I don’t want to break a sweat (or, you know, actually be fancy). My family goes crazy for it because it’s not overly sweet, and you get to pile on as much whipped cream as you want—no judgment. Plus, the shortcakes themselves? Absolute buttery clouds, even if you accidentally overmix the dough (which I do, more than I’d like to admit). Oh, and pro tip: if you’re lazy about slicing strawberries, just mash ‘em up a bit; nobody will know. Or care.
What You’ll Need (and What I Grab When I’m in a Rush)
- 2 cups all-purpose flour (My grandma swears by King Arthur, but honestly, store brand works too)
- 2½ tsp baking powder
- ½ tsp salt
- ¼ cup granulated sugar
- ½ cup cold butter (I sometimes use salted butter and skip the salt, don’t tell anyone)
- ⅔ cup whole milk (I’ve even used oat milk in a pinch—it works, kinda)
- 1 egg (optional, for brushing, but sometimes I just use milk instead)
- 1 lb fresh strawberries (or, if you’re desperate, frozen ones thawed with a bit of extra sugar)
- 3 tbsp sugar (give or take—depends how sweet your berries are)
- Whipped cream (store-bought or homemade; I like to whip heavy cream with a splash of vanilla and a spoon of sugar, but the canned stuff does the trick in a pinch)
How I Actually Make This (With a Few Detours)
- Prep the strawberries: Slice or chop your strawberries, toss ‘em with the sugar, and let them hang out for about 30 minutes. They’ll get all juicy. This is the perfect time to make the shortcakes—or scroll TikTok. Your call.
- Make the dough: Preheat your oven to 425°F (220°C). In a big-ish bowl, whisk together flour, baking powder, salt, and sugar. Cut in the cold butter—it’s easiest with a pastry cutter, but I’ve used two knives, my fingers, or even a potato masher (it works, promise). You want it to look like coarse, weird crumbs at this stage. Don’t panic if it’s a bit lumpy.
- Add the milk: Pour in the milk and mix gently. Don’t overthink it—just mix until the dough comes together. Sometimes I add a splash more milk if it looks dry. It always feels wrong, but it sorts itself out.
- Shape and bake: Drop big spoonfuls of dough onto a lined baking sheet—think scone-sized blobs. If you’re feeling fancy, brush with a beaten egg or some milk. Bake for 12-15 minutes, until golden on top. (This is where I usually sneak a taste of the strawberries. Quality control, right?)
- Whip up the cream: If you’re making whipped cream, now’s the time. Use a cold bowl if you can, but honestly, I don’t always bother.
- Assemble: Let the shortcakes cool a bit. Split them open with a fork (for that rustic look), pile on strawberries and juice, then top with a ridiculous amount of whipped cream. Sometimes I go back for seconds—no shame.
What I Wish I’d Known (Notes)
- If you overwork the dough, the shortcakes can get a bit tough. But honestly, a drizzle of strawberry juice softens them up anyway.
- I once tried using self-raising flour, and it worked, but the cakes were fluffier than I’d expected—so maybe not for traditionalists.
- The strawberries make loads of juice after sitting; it’s great for soaking the cake, but if you hate soggy bottoms (ha!) just spoon carefully.
Things I’ve Tried (And One That Bombed)
- I swapped in blueberries once—delicious, but not quite the same magic as strawberries.
- Once, while feeling wild, I added lemon zest to the shortcake dough—actually, it added a nice zing.
- Chocolate chips? Tried ‘em. Regretted it, weirdly enough. Didn’t mesh with the berries for me.
Gear I Use (But You Don’t Have To)
- Pastry cutter—makes life easier, but clean hands do the job fine (just takes a little longer and, well, messier).
- Baking sheet—if you don’t have one, an oven-safe pan works; just watch the bottoms closely.
- Electric mixer for whipped cream—otherwise, whisk by hand and call it an arm workout (or bribe a helpful kid).
Storing the Leftovers (Like There Ever Are)
Shortcakes keep in an airtight container for about 2 days, but honestly, in my house it never lasts more than a day! Strawberries and cream do best separately in the fridge. If things get soggy, I just toast the shortcakes for a few minutes—problem solved.
How We Serve It (And a Little Family Quirk)
I like piling everything on the table and letting everyone build their own—makes things lively, especially when the kids try to see who can make the tallest one. My uncle insists on a sprinkle of cinnamon on top (weird, but… not bad?), and once in a blue moon we’ll add a scoop of vanilla ice cream just because.
What I’ve Learned the Hard Way (Pro Tips)
- I once rushed the butter cutting step—don’t. The chunks of butter make the cakes fluffy, not dense. Trust me, learned that the, uh, chewy way.
- Actually, I find it works better if you let the dough rest for 5 minutes before baking, even though the original recipe skips that.
- Don’t skimp on the strawberries. You’ll regret it when you get to the last bite and it’s all cake, no berry.
Questions I’ve Actually Gotten (And Some I’d Ask, Too)
- Can I make these gluten-free? Yep, I’ve used Bob’s Red Mill 1-to-1 before, and it worked fine. Texture’s a smidge different, but still tasty.
- What if my strawberries aren’t sweet? Toss them with a bit more sugar or—pro move—a splash of orange juice. Works a treat.
- Can I prep any part ahead? Definitely. I’ve made the shortcakes a day early and stored them in a tin. Just don’t assemble until you’re ready to eat (learned that one the hard way; soggy city).
- Do I have to use real whipped cream? Nah. Canned stuff’s totally fine. But if you’re curious, Serious Eats has a great guide for homemade.
- Can I freeze the shortcakes? I’ve done it in a pinch, but they dry out a bit. I just pop them in the oven to refresh. Not as good as fresh, but hey, it works.
One more thing—if you need a super in-depth strawberry prep guide, Love & Lemons has you covered. I still cut mine the lazy way, though. Anyway, hope you enjoy making (and eating!) this as much as we do. If it turns out a bit wonky, just call it rustic and serve it with a smile. That’s what I do!
Ingredients
- 2 cups all-purpose flour
- 1/4 cup granulated sugar
- 1 tablespoon baking powder
- 1/2 teaspoon salt
- 1/2 cup unsalted butter, cold and cubed
- 2/3 cup whole milk
- 1 teaspoon vanilla extract
- 1 pound fresh strawberries, hulled and sliced
- 3 tablespoons sugar (for strawberries)
- 1 cup heavy whipping cream
- 2 tablespoons powdered sugar
Instructions
-
1Preheat oven to 425°F (220°C). Line a baking sheet with parchment paper.
-
2In a large bowl, whisk together flour, granulated sugar, baking powder, and salt. Cut in the cold butter until the mixture resembles coarse crumbs.
-
3Add milk and vanilla extract to the dry ingredients. Stir gently until just combined. Do not overmix.
-
4Turn dough onto a floured surface and pat into a 1-inch thick rectangle. Cut into 6 rounds and place on the prepared baking sheet. Bake for 15-20 minutes or until golden brown. Let cool.
-
5While biscuits bake, toss sliced strawberries with 3 tablespoons sugar and let sit for at least 15 minutes to macerate.
-
6Whip heavy cream with powdered sugar until soft peaks form. To assemble, split biscuits, layer with strawberries and whipped cream, and top with biscuit lids. Serve immediately.
Approximate Information for One Serving
Nutrition Disclaimers
Number of total servings shown is approximate. Actual number of servings will depend on your preferred portion sizes.
Nutritional values shown are general guidelines and reflect information for 1 serving using the ingredients listed, not including any optional ingredients. Actual macros may vary slightly depending on specific brands and types of ingredients used.
To determine the weight of one serving, prepare the recipe as instructed. Weigh the finished recipe, then divide the weight of the finished recipe (not including the weight of the container the food is in) by the desired number of servings. Result will be the weight of one serving.
Did you make this recipe?
Please consider Pinning it!!