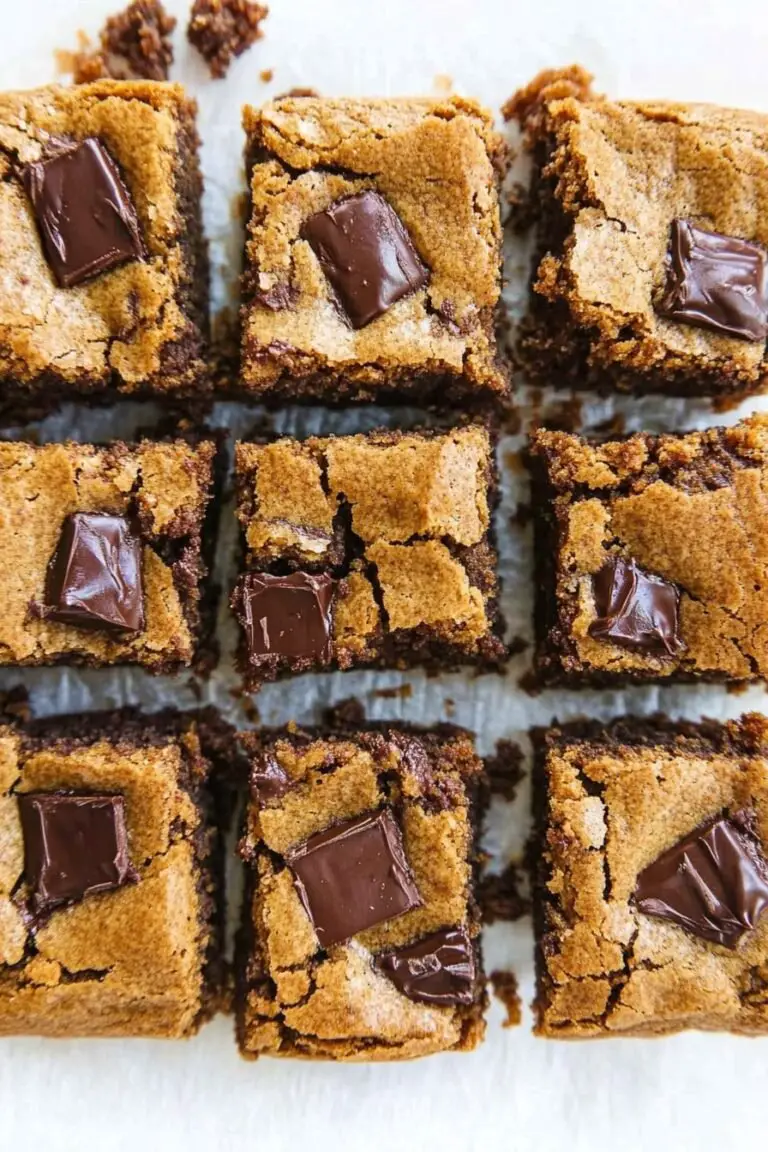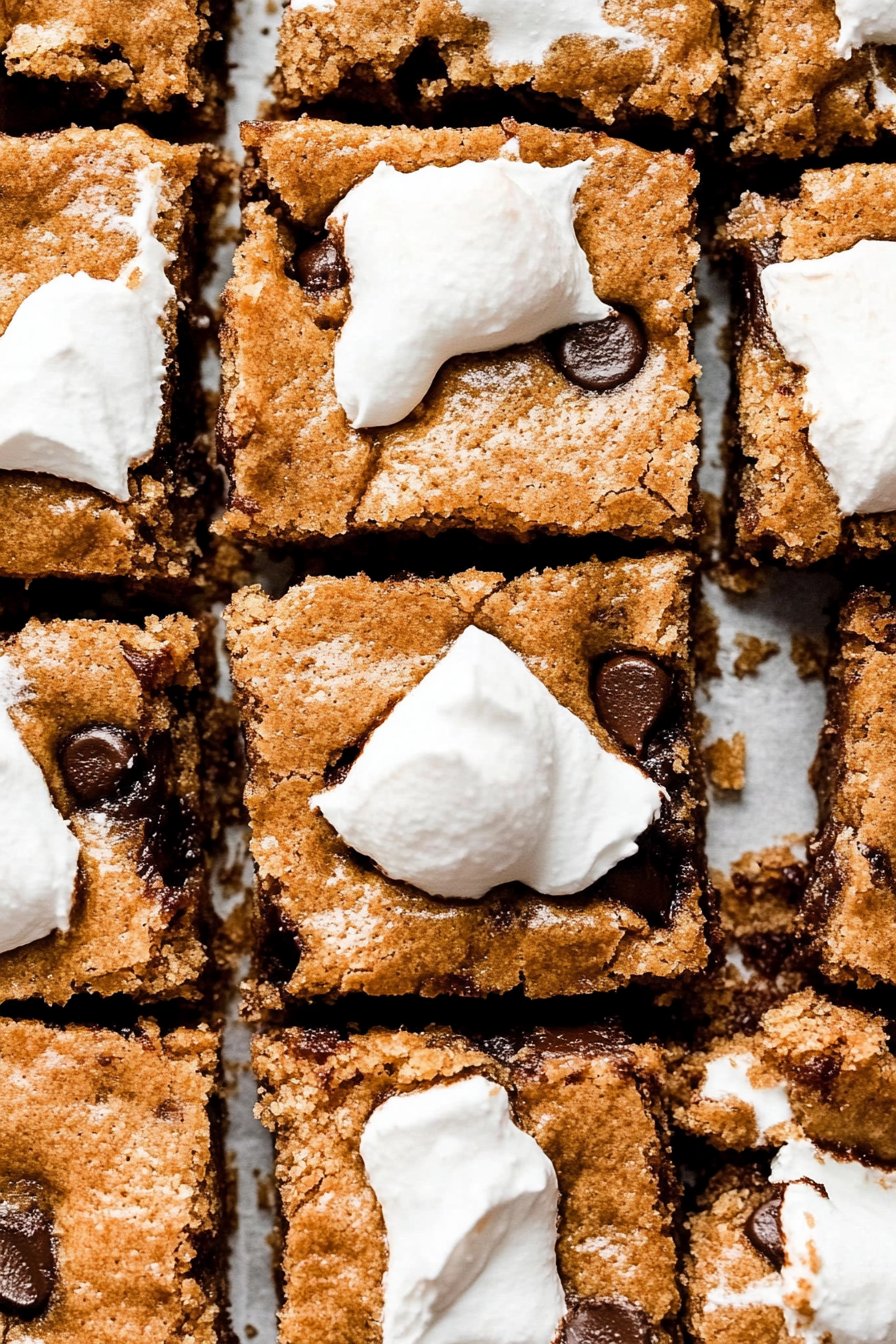
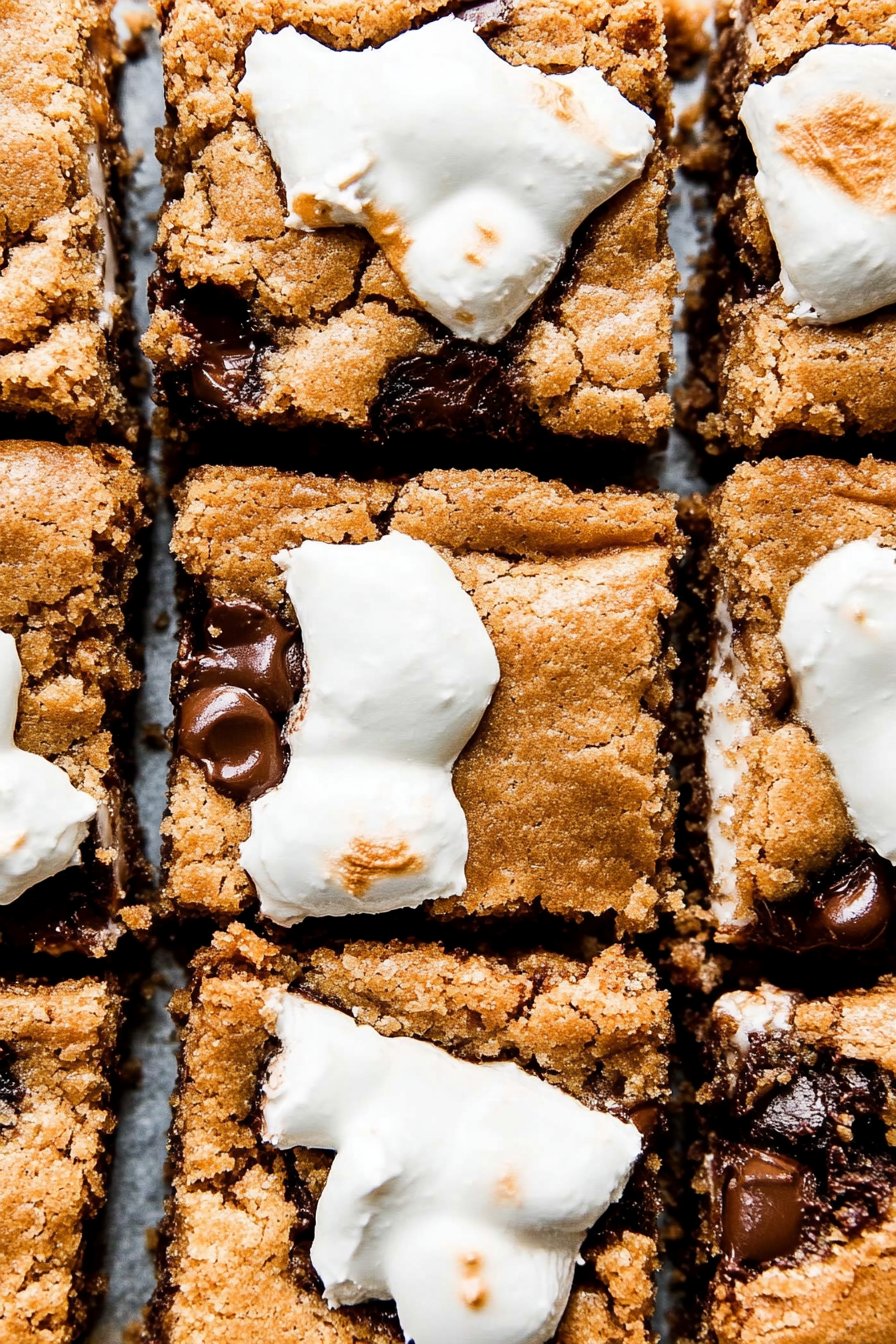
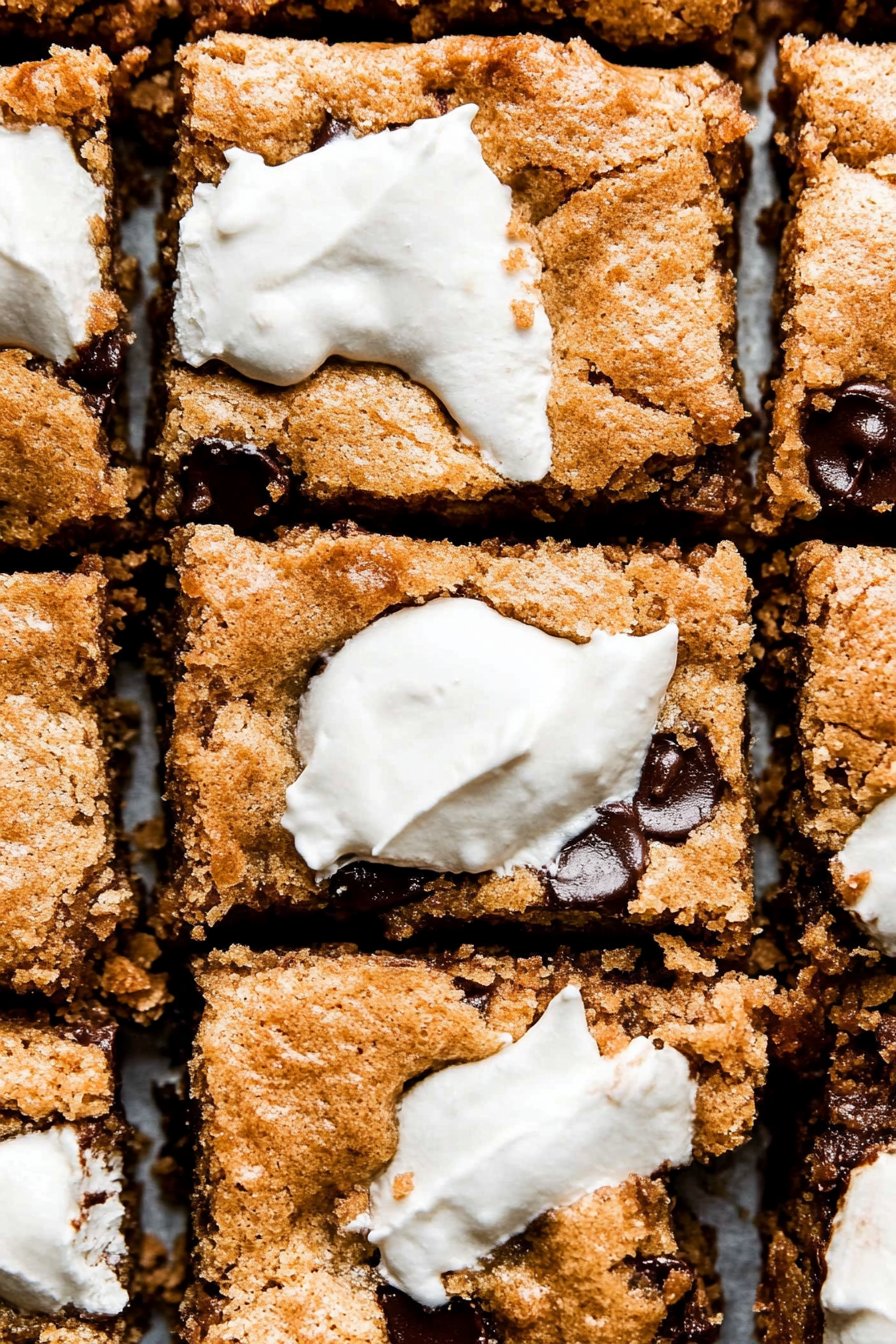
S’mores Bars
Okay, so here’s the thing about S’mores Bars: they’re the kind of treat that instantly makes me think of those camping trips where the marshmallows mostly fell into the fire and everyone argued about the perfect degree of toastiness (for the record, I’m all about the just-barely-golden). The first time I made S’mores Bars in my tiny apartment kitchen, I was honestly just trying to avoid making a bonfire in the backyard. I mean, who has time for that? But these bars—wow—they’ve since become a standby for potlucks, movie nights, and basically anytime I need dessert in a hurry. Plus, the kitchen doesn’t end up smelling like burnt sugar for hours after (looking at you, actual campfire s’mores).
Why You’ll Love This (or at Least Not Hate It)
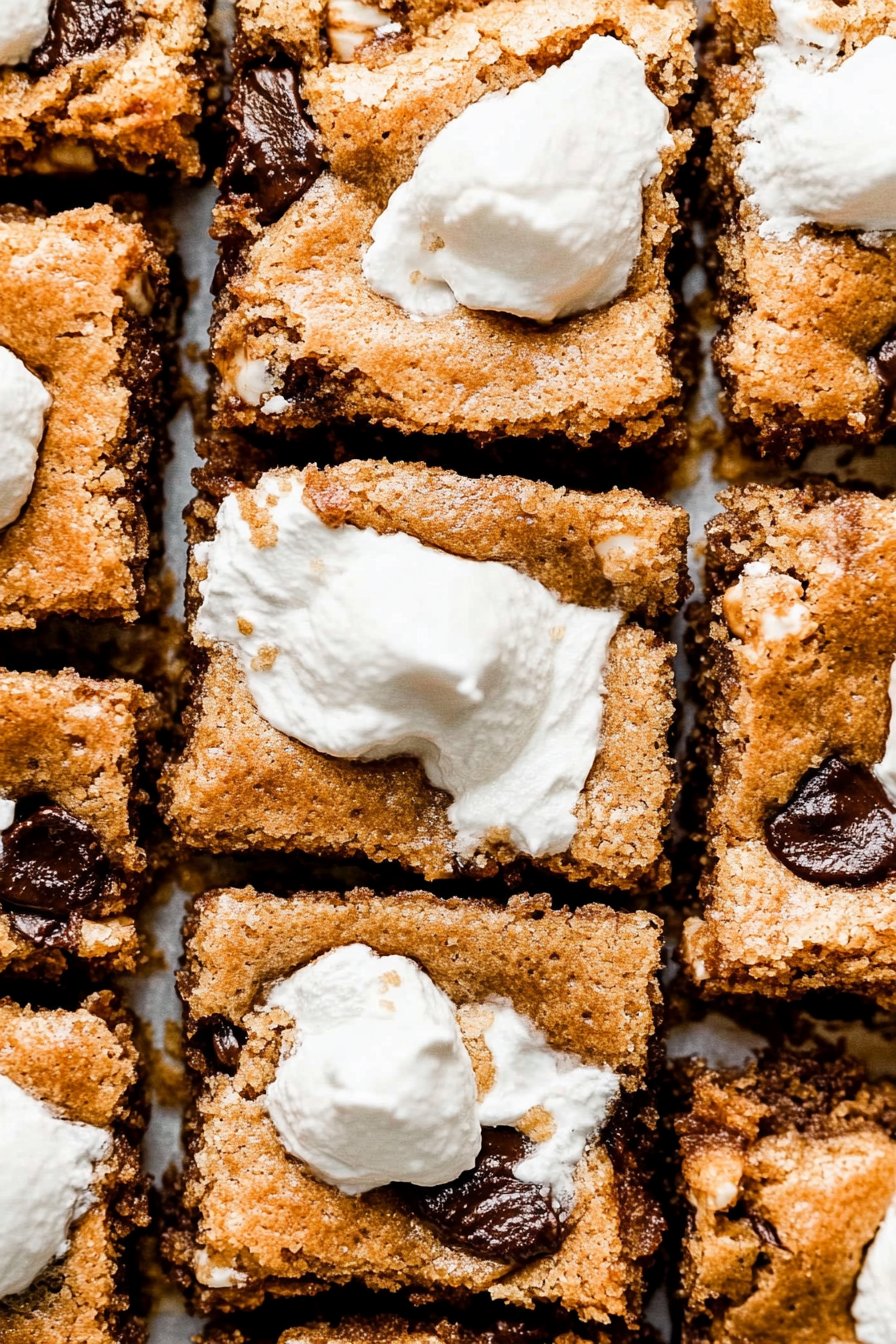
I make these whenever the weather’s too miserable to go camping (which, let’s be real, is at least half the year where I live). My family goes absolutely bonkers for these because you get all those classic s’mores flavors—gooey marshmallow, slightly melty chocolate, and that crumbly graham cracker vibe—without anyone having to mess with sticks or chase runaway marshmallows across the floor. If you’ve ever tried cutting neat squares and ended up with a sort of delicious marshmallow avalanche, don’t worry—you’re not alone. But messy is kind of the point, isn’t it? Or maybe that’s just what I tell myself so I don’t feel bad about sloppy slices.
What You’ll Need (And What You Can Sub In)
- 1 and 1/2 cups graham cracker crumbs (if I’m feeling fancy, I smash whole crackers in a zip-top bag; honestly, store-bought crumbs do the trick and save time)
- 1/2 cup unsalted butter, melted (my grandma swore by salted, but I can never tell the difference)
- 1/4 cup brown sugar (occasionally I use coconut sugar when I remember I bought some for another recipe)
- 1 and 1/2 cups milk chocolate chips (I’ve also tried dark chocolate chips—my partner says it’s too “grown up”)
- 2 cups mini marshmallows (the big ones chopped up work in a pinch, though it gets kinda sticky)
- 1/4 tsp kosher salt (regular table salt is fine, just use a smidge less)
- Handful of extra chocolate chunks or broken-up chocolate bars for the top (totally optional, but I mean, why not?)
How I Make These Bars (And You Can Too, Obviously)
- Preheat your oven to 350°F (175°C)—unless you forgot to. In which case, just do it as soon as you remember, it’s fine.
- Mix the graham cracker crumbs, melted butter, brown sugar, and salt in a bowl. I usually just use my hands—it gets a bit messy, but that’s half the fun.
- Press this mixture into a lined 8×8 inch pan. Sometimes I use parchment paper, sometimes just cooking spray. Depends how many dishes I want to wash later.
- Bake the crust for about 8 minutes, just until it’s a bit golden. Don’t wander off and get distracted by your phone (I’ve learned this the hard way).
- Scatter the chocolate chips over the hot crust. Wait a minute or two so they get a little melty, then sprinkle the marshmallows on top. I usually sneak a few at this stage, no shame.
- Back into the oven for another 10–12 minutes. The marshmallows will puff up and get golden-brown on top; just keep an eye on them so they don’t go full charcoal.
- If you’re feeling extra, throw on those extra chocolate chunks as soon as it comes out of the oven so they get all soft and gooey.
- Let it cool, or don’t—I usually can’t wait, but be warned it’s a total mess if you try to slice while warm (still tastes awesome, though).
Notes from My Kitchen (aka: Learn From My Mistakes)
- The bars set better if you let them cool completely. I’m not patient, but you’ll get neater slices if you are.
- If you only have a 9×9 pan, the bars are thinner and cook faster—just check a couple minutes early.
- Once I forgot the salt and, weirdly, nobody noticed; but I like that pinch for balance.
Things I’ve Tried (Success and, Uh, Not So Much)
- Add a thin layer of peanut butter on the crust before the chocolate chips—big win (unless you hate peanut butter, then skip it).
- Once I tried using marshmallow fluff instead of marshmallows. Look, it tasted good, but it never really set, so you basically get S’mores Soup, which is… a choice.
- Swapping in cinnamon graham crackers gives a fun twist, but the regular ones are classic for a reason.
Stuff You Need (and What to Do If You Don’t Have It)
- An 8×8 inch baking pan – or 9×9, like I mentioned earlier. I even used a loaf tin once, just adjusted the baking time.
- Mixing bowl – I’ve used salad bowls in a pinch. No shame.
- Spatula or big spoon – or, let’s be real, just your hands.
Storing These (But Good Luck Making Them Last)
Technically, you can keep S’mores Bars in an airtight container at room temp for 2–3 days. But honestly, in my house they’re always gone within a day (sometimes before they’re even cool). If you want to make them ahead, I think they taste even better the next day—just a bit firmer, the flavors meld more. I wouldn’t freeze them, though. The marshmallows get weird.
How We Like to Serve Them (And Maybe You Will Too)
Some people cut them into perfect squares. Me? I’m more of a “rustic wedge” kind of person. Top with a scoop of vanilla ice cream if you’re feeling wild, or, if it’s movie night, I just plop the pan on the table with forks. No judgment.
Pro Tips (Learned the Hard Way… Oops!)
- Don’t rush cooling, or you get a pile of goo instead of bars. I once tried to speed things up in the fridge—honestly, it made the crust kind of weird and soggy. Just wait it out.
- Don’t skimp on parchment paper if you want to actually get the bars out of the pan. I’ve had to chisel them out before. Not fun.
FAQ: Stuff Friends Actually Ask Me
- Can I use dark chocolate? Absolutely! I do sometimes, but the classic milk chocolate hits different. My brother says it’s not a real s’more unless it’s milk chocolate. I mean, he’s not wrong, but you do you.
- What if I don’t have graham crackers? Oh man, use digestive biscuits or even vanilla wafers. Honestly, any not-too-sweet, crunchy cookie will sorta work. Just avoid anything with too much filling (I tried Oreos once, wouldn’t recommend it).
- How do I get clean slices? Wait for it to cool fully, then use a sharp, greased knife. Or just embrace the mess! It’s s’mores—nobody expects fancy.
- Can I double this for a crowd? Sure can, just use a 9×13 pan and tack on a few extra minutes to the bake time. But watch the marshmallows; they can go south real fast if you’re not paying attention.
Oh, and if you’re looking for more gooey, easy dessert ideas, I sometimes check out Sally’s Baking Addiction for inspiration, or grab baking tips from King Arthur Baking when I’m feeling stuck. Cooking’s supposed to be fun, right? So go ahead, make a mess—and maybe save me a bar if you’ve got one left. (Not holding my breath, though…)
Ingredients
- 1 1/2 cups graham cracker crumbs
- 1/2 cup unsalted butter, melted
- 1/4 cup granulated sugar
- 1 1/2 cups milk chocolate chips
- 2 cups mini marshmallows
- 1/2 cup all-purpose flour
- 1/4 teaspoon salt
- 1 teaspoon vanilla extract
Instructions
-
1Preheat the oven to 350°F (175°C). Line an 8×8-inch baking pan with parchment paper.
-
2In a medium bowl, combine graham cracker crumbs, melted butter, and granulated sugar. Press the mixture evenly into the bottom of the prepared pan to form the crust.
-
3Sprinkle the milk chocolate chips evenly over the crust, followed by the mini marshmallows.
-
4In a small bowl, mix together flour, salt, and vanilla extract. Sprinkle this mixture over the marshmallows.
-
5Bake for 18-20 minutes, or until the marshmallows are golden brown and the chocolate is melted.
-
6Allow the bars to cool completely in the pan before lifting out and cutting into squares. Serve and enjoy!
Approximate Information for One Serving
Nutrition Disclaimers
Number of total servings shown is approximate. Actual number of servings will depend on your preferred portion sizes.
Nutritional values shown are general guidelines and reflect information for 1 serving using the ingredients listed, not including any optional ingredients. Actual macros may vary slightly depending on specific brands and types of ingredients used.
To determine the weight of one serving, prepare the recipe as instructed. Weigh the finished recipe, then divide the weight of the finished recipe (not including the weight of the container the food is in) by the desired number of servings. Result will be the weight of one serving.
Did you make this recipe?
Please consider Pinning it!!