One Bowl Brownies
Just One Bowl Brownies – Less Mess, More Chocolate!
Let me tell you, these brownies have seen me through exam season, breakups, waaay too many rainy Saturdays, and even a few last-minute potlucks where I totally forgot to prep something (shhh). There’s something a little magical about stirring together a gooey, chocolatey batter with just one bowl, knowing you won’t have a mountain of dishes later. Plus, I’m definitely not above licking the spoon after the batter’s in the pan. Who’s judging? Not me!
Why I Keep Making These (and Other Confessions)
I make these when my sweet tooth is screaming and I don’t have the patience—or energy—for fancy stuff. My brother, the fussy one, loves these even more the next day, which is curious because honestly, most of the time they don’t last till tomorrow around here. Oh, I’ve tried cutting corners by microwaving the butter (once it exploded, fun times), but mostly I just love that I can dump everything into a mixing bowl and be halfway to chocolate bliss before Netflix even loads.
Gather Your Ingredients (Swaps Welcome!)
- 1/2 cup (115g) unsalted butter (salted works if that’s all you’ve got, just skip the extra salt)
- 1 cup (200g) white sugar (I totally sneak in brown sugar sometimes for a deeper vibe, or do a half-half sort of thing)
- 2 large eggs (Room temp is boss, but straight form the fridge hasn’t hurt yet)
- 1 tsp vanilla extract (Imitation or the fancy stuff—my gran swore by grocery store vanilla and never complained)
- 1/3 cup (35g) unsweetened cocoa powder (Dutch-process is great, but honestly, whatever’s in the tin in your cupboard will work)
- 1/2 cup (65g) plain flour (sometimes I add a scoop more if my batter looks crazy runny, but trust your gut)
- 1/4 tsp salt (skip if your butter’s salty)
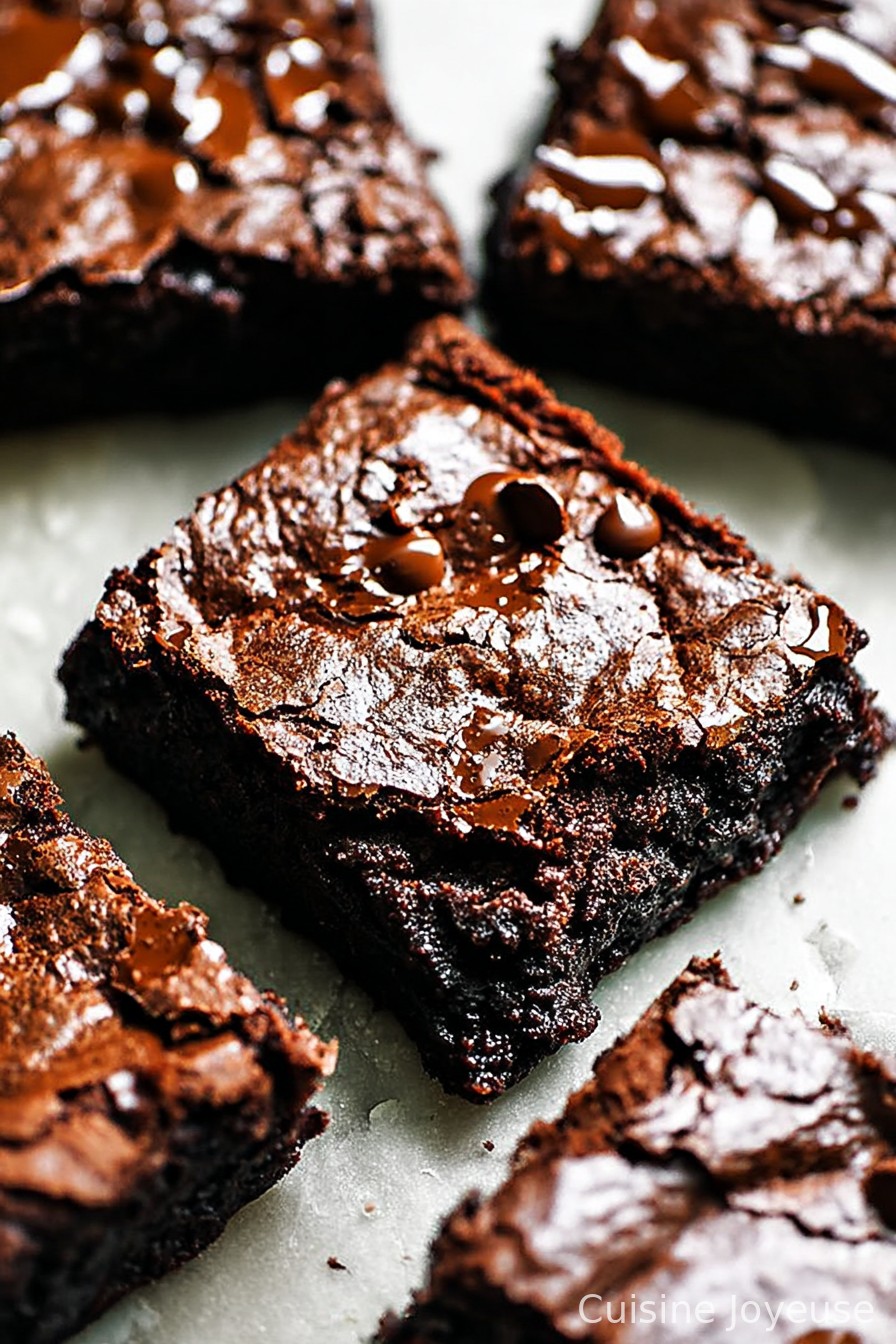
- 1/2 cup (about a handful, 80g) chocolate chips (or just chop up a chocolate bar, or leave them out if you’re feeling minimalist—I never do)
Let’s Bake! (Or, Who Needs Precision? Not Me!)
- Preheat your oven to 350°F (180°C) and line an 8-inch (20cm) square pan with parchment. Or just grease it well. I sometimes just shove in a piece of baking paper that doesn’t fit quite right and call it rustic.
- Melt the butter—gently, not angry bubbling—either in the microwave (in bursts, or you’ll learn the hard way like me) or on the hob. Pour it straight into your big mixing bowl.
- Stir in the sugar while the butter’s warm. Not nuclear, just cozy—this kind of helps give you that nice crackly top, or at least that’s what I tell myself.
- Add eggs and vanilla, and give it a proper mix till everything’s smooth and shiny. This is where I usually sneak a taste. Unapologetically.
- Dump in the cocoa powder, flour, and salt. I sometimes just wave a fork through them ahead—I’m sure some professional would wince, but it works. Stir until there’s no streaks of flour left, but don’t go wild, or you’ll make them tough.
- Fold in the chocolate chips gently. Or dump and swirl—it’s your kitchen.
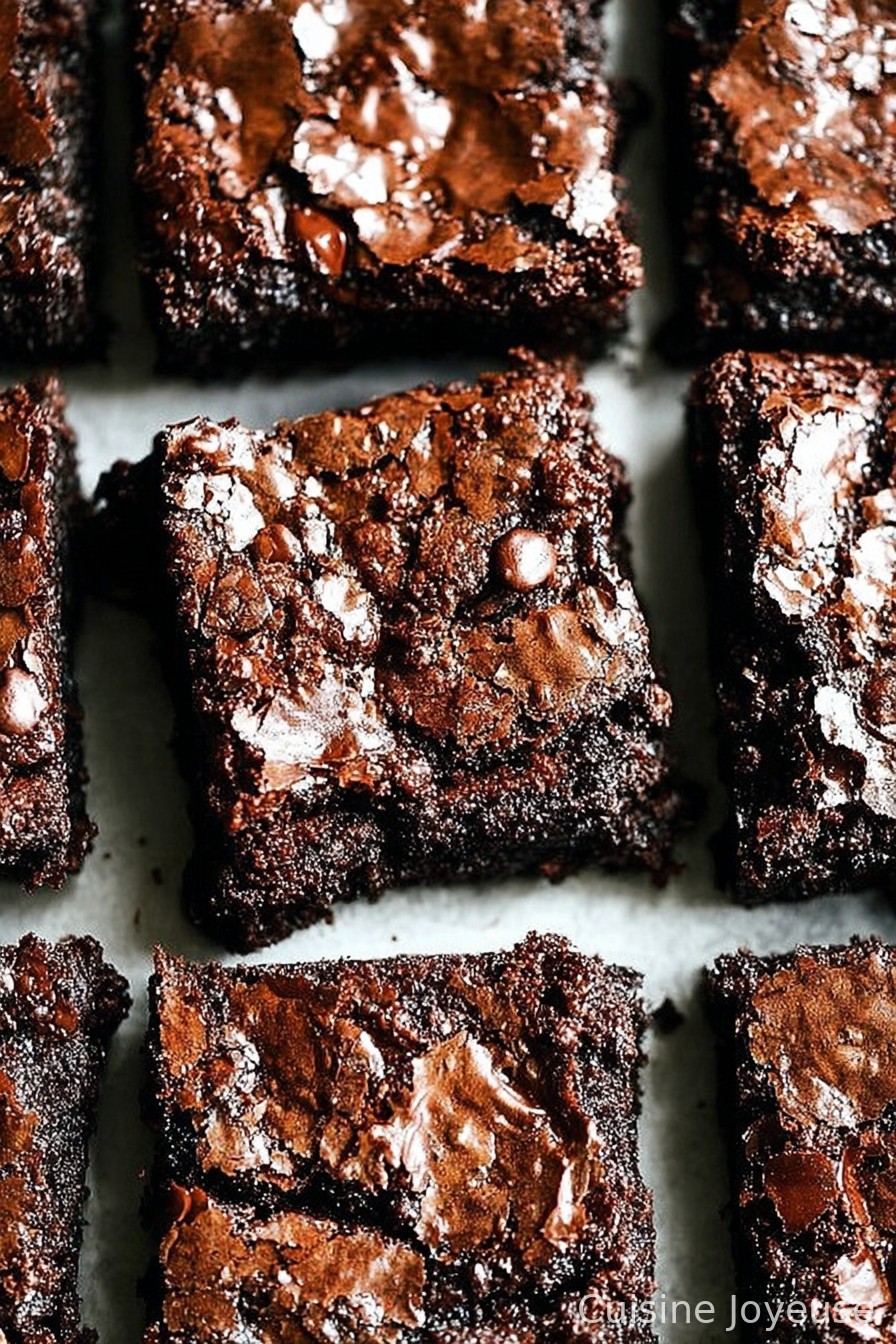
- Scrape all that goodness into your pan. Spread it out; it’ll look thick, maybe a bit awkward. Don’t panic. Mine always looks weird at this step.
- Bake for 20–24 minutes, until a toothpick comes out just about clean (a smidge of chocolate clinging is perfect). If it’s a bit wobbly in the middle, it’ll set as it cools. I’d rather slightly gooey than dry!
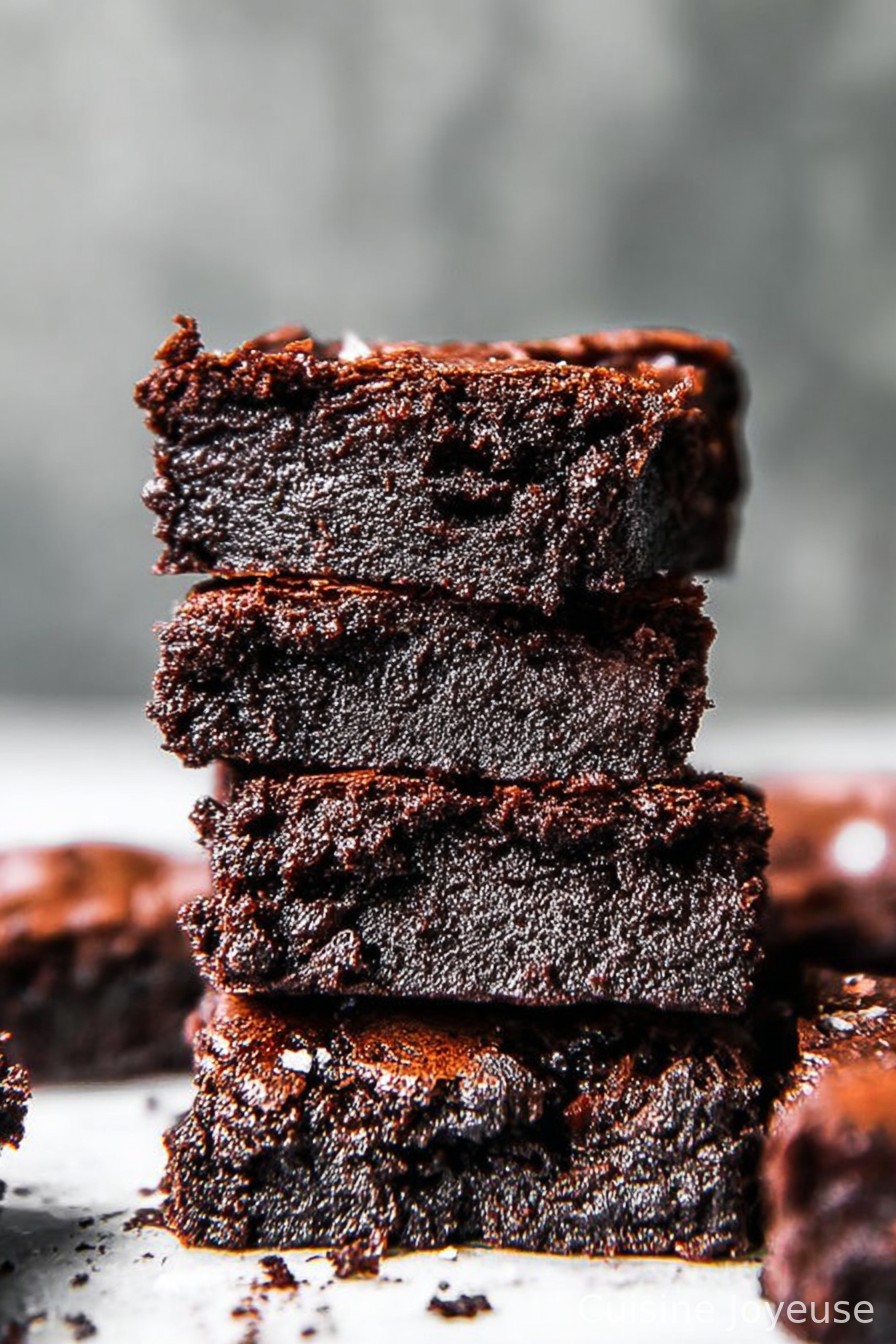
- Cool in the pan (or don’t, if you’re an impatient soul like me—just promise you won’t burn your tongue again). Cut into squares and live your best chocolate life.
Messy Notes (AKA, What I Figured Out the Hard Way)
- I used to dump everything in at once—nope, it gets lumpy. Mixing sugar with warm butter first actually really helps.
- Leaving the brownies overnight (if you can) makes them fudgier. Something science-y, I guess.
- If you use hot butter, make sure your eggs aren’t freezing cold or you’ll get some odd scrambled bits. Not the end of the world, but it’s happening less now that I’m careful-ish.
Brownie Experiments—Some Winners, Some Not-So-Much
- Coffee swirl: I once added a teaspoon of instant coffee and WHOA, adult brownie. Good stuff.
- Peanut Butter: Dollop a bit on top before baking—swirl with a knife. Super tasty. Chunky PB’s a bit chaotic though haha.
- Nutella: Don’t bother…it weirdly disappeared into the batter. Not worth the Nutella loss (IMO).
Tools and Tidy-Ups
All you need is one mixing bowl, a spoon (wooden or metal, honestly, sometimes it’s a spatula because I can’t find anything clean), and the pan. No hand mixer required (I lost mine years ago, still haven’t noticed). If you don’t have parchment, just grease up the tin with butter—works a treat, but plan to soak the pan later.
How Long Do They Last? (Ha!)
In theory, these brownies last up to 4 days in a sealed container at room temp, but in my actual home, it’s a miracle if they stick around 24 hours. They freeze okay, just wrap ‘em tight. Oh, and honestly, sometimes I snack on them right out of the freezer. No judgement here.
How We Serve ‘Em Up
My personal fave: warm, with a scoop of decent vanilla ice-cream. Sometimes someone insists on pouring cold milk over a warm brownie—like, actually pouring it right on top—which sounds weird but is oddly lovely. On birthdays, we add sprinkles. Try that once, just for fun.
Don’t Make My Mistakes (Pro Tips for Real Life)
- I once rushed the baking step and ended up with brownies that could prop open a door. Don’t do that—start checking around the 20-minute mark but don’t pull them too soon, either.
- Don’t overmix once the flour’s in; I did that once and got cakey brownies. Good, but not what I wanted. Lesson learned!
- Actually, letting them cool (at least a little) gets you neater squares. But who am I to judge a wonky slice?
Questions I’ve Actually Gotten (Or Asked Myself)
- Can I double this for a bigger crowd? Oh yes, just use a 9×13 pan and up your baking time. Keep an eye out from about 28 minutes.
- Do these work with gluten free flour? I’ve tried it—it’s pretty good if you use a good blend. Maybe a touch more cocoa for fudginess.
- What if I don’t have chocolate chips? No biggie, just chop up whatever chocolate you have stashed away, or go without. Still awesome.
- Can I add nuts? Sure thing. I love walnuts or pecans. My cousin adds pretzels which is a bit wacky, but kind of good?
- Brown sugar vs white sugar? Mixing both gives a richer flavor (I think), but either works. I use what I’ve got.
(Once, I dropped my entire spatula in the bowl. No, I’m not telling you how I fished it out. But the brownies were still fab.)
Ingredients
- 1/2 cup (115g) unsalted butter (salted works if that’s all you’ve got, just skip the extra salt)
- 1 cup (200g) white sugar (I totally sneak in brown sugar sometimes for a deeper vibe, or do a half-half sort of thing)
- 2 large eggs (Room temp is boss, but straight form the fridge hasn’t hurt yet)
- 1 tsp vanilla extract (Imitation or the fancy stuff—my gran swore by grocery store vanilla and never complained)
- 1/3 cup (35g) unsweetened cocoa powder (Dutch-process is great, but honestly, whatever’s in the tin in your cupboard will work)
- 1/2 cup (65g) plain flour (sometimes I add a scoop more if my batter looks crazy runny, but trust your gut)
- 1/4 tsp salt (skip if your butter’s salty)
- 1/2 cup (about a handful, 80g) chocolate chips (or just chop up a chocolate bar, or leave them out if you’re feeling minimalist—I never do)
Instructions
-
1Preheat your oven to 350°F (180°C) and line an 8-inch (20cm) square pan with parchment. Or just grease it well. I sometimes just shove in a piece of baking paper that doesn’t fit quite right and call it rustic.
-
2Melt the butter—gently, not angry bubbling—either in the microwave (in bursts, or you’ll learn the hard way like me) or on the hob. Pour it straight into your big mixing bowl.
-
3Stir in the sugar while the butter’s warm. Not nuclear, just cozy—this kind of helps give you that nice crackly top, or at least that’s what I tell myself.
-
4Add eggs and vanilla, and give it a proper mix till everything’s smooth and shiny. This is where I usually sneak a taste. Unapologetically.
-
5Dump in the cocoa powder, flour, and salt. I sometimes just wave a fork through them ahead—I’m sure some professional would wince, but it works. Stir until there’s no streaks of flour left, but don’t go wild, or you’ll make them tough.
-
6Fold in the chocolate chips gently. Or dump and swirl—it’s your kitchen.
-
7Scrape all that goodness into your pan. Spread it out; it’ll look thick, maybe a bit awkward. Don’t panic. Mine always looks weird at this step.
-
8Bake for 20–24 minutes, until a toothpick comes out just about clean (a smidge of chocolate clinging is perfect). If it’s a bit wobbly in the middle, it’ll set as it cools. I’d rather slightly gooey than dry!
-
9Cool in the pan (or don’t, if you’re an impatient soul like me—just promise you won’t burn your tongue again). Cut into squares and live your best chocolate life.
Approximate Information for One Serving
Nutrition Disclaimers
Number of total servings shown is approximate. Actual number of servings will depend on your preferred portion sizes.
Nutritional values shown are general guidelines and reflect information for 1 serving using the ingredients listed, not including any optional ingredients. Actual macros may vary slightly depending on specific brands and types of ingredients used.
To determine the weight of one serving, prepare the recipe as instructed. Weigh the finished recipe, then divide the weight of the finished recipe (not including the weight of the container the food is in) by the desired number of servings. Result will be the weight of one serving.
Did you make this recipe?
Please consider Pinning it!