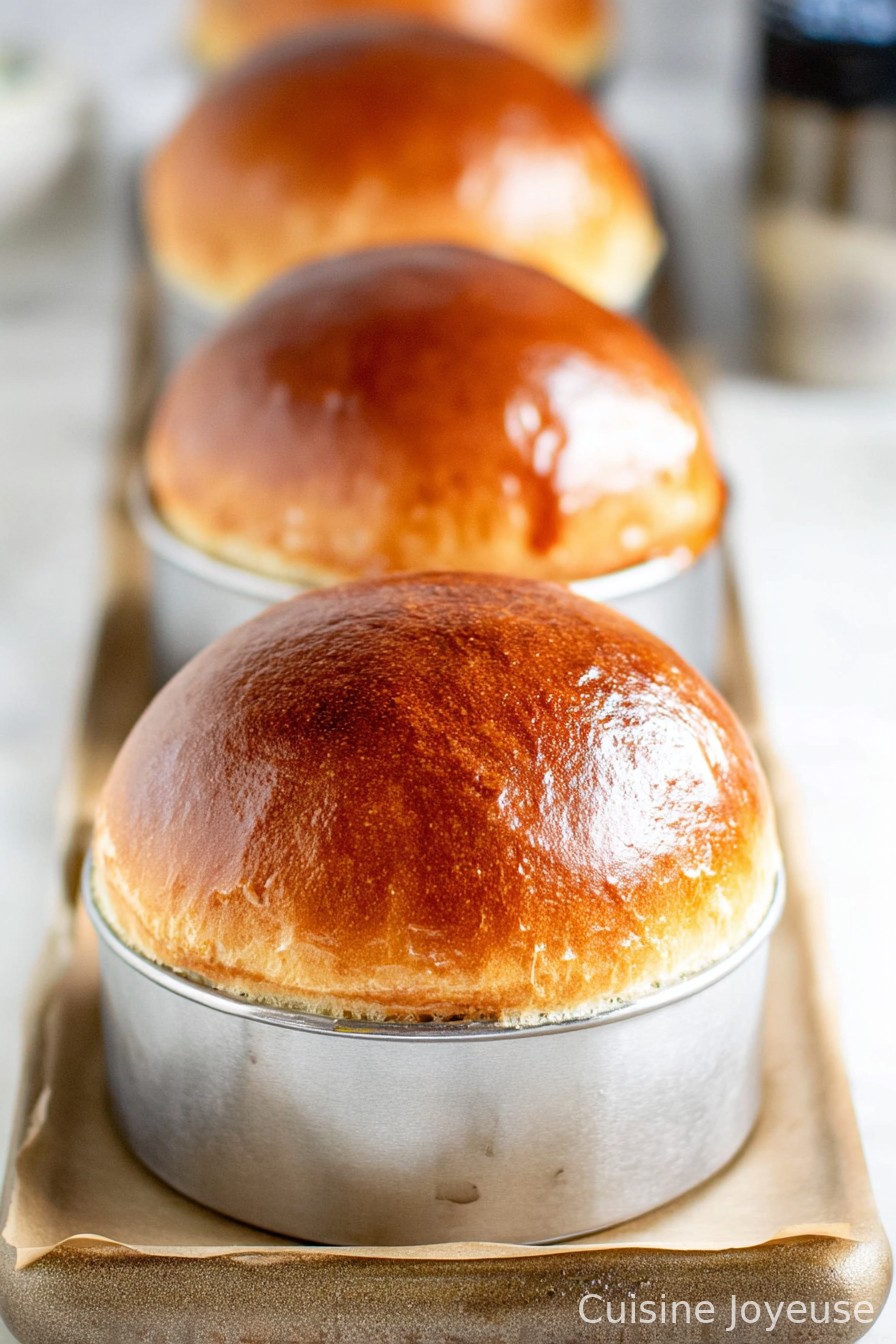
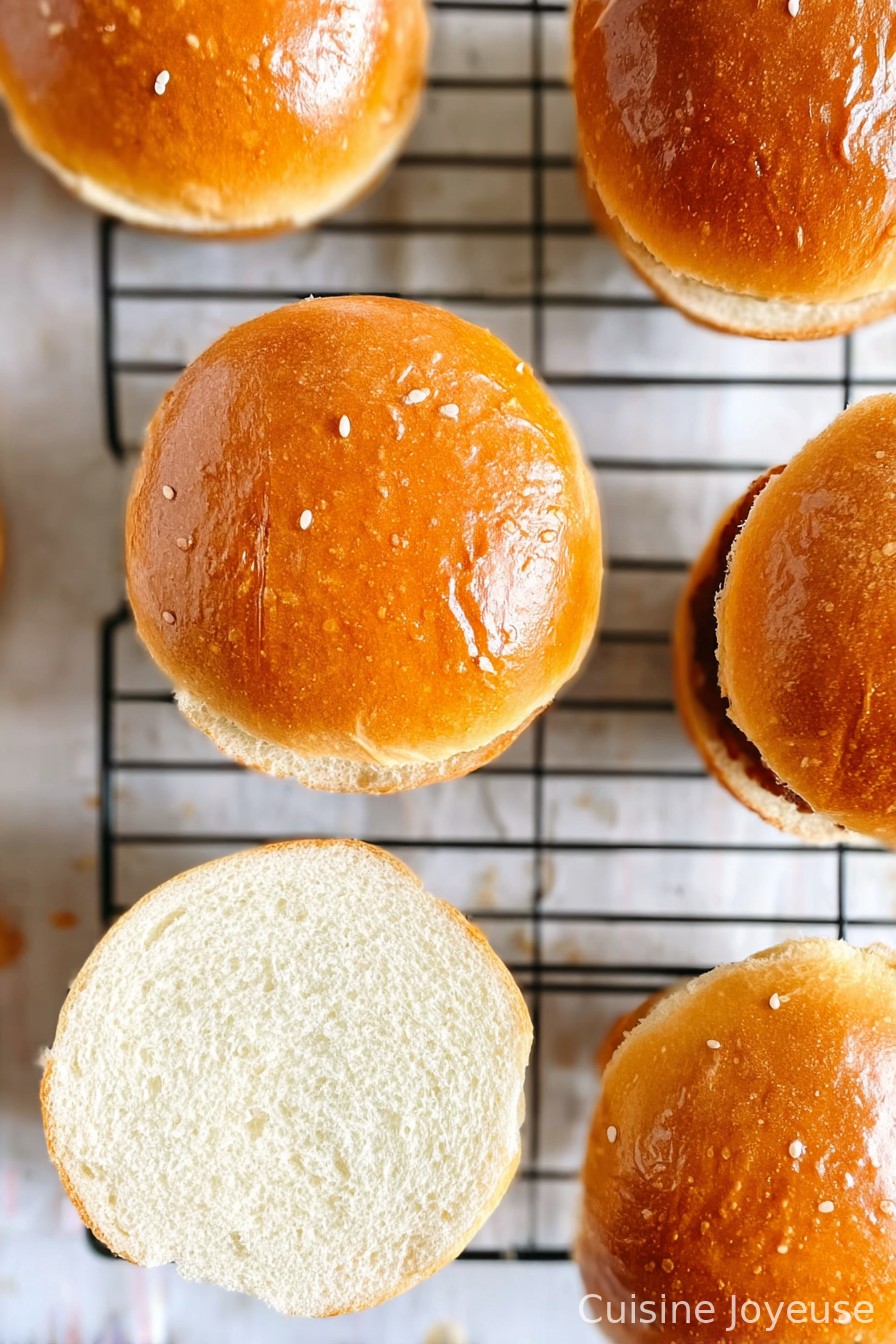
Homemade Burger Buns
Right, So Homemade Burger Buns… Totally Worth the Mess
I still remember the first time I tried making homemade burger buns—back in my tiny, slightly chaotic kitchen with flour dust basically everywhere (my cat even had some on his whiskers by the end). I figured, “How hard could it be?” Turns out, not actually so tricky, and kind of fun once you surrender to the fact you’ll probably have dough stuck in places you didn’t realize existed. You know what? It just feels good not reaching for some dry, squishy supermarket buns—these taste like you actually put your back into them. Plus, they smell amazing, which is basically half the fun.
Why I Keep Making These (Even When I’m Feeling Lazy)
I make this when my family starts getting that cheeseburger glint in their eyes—store-bought just doesn’t cut it anymore (although let’s be real, I still have an emergency pack hidden in the back of the freezer). These are soft, slightly chewy, and there’s this sort of buttery, rich scent my kids go absolutely nuts for. And weirdly, they’re not hard—just a bit of waiting around. I used to dread making dough because, well, impatience, but it turns out kneading is kind of soothing. Or maybe that’s just me coping.
Here’s What You’ll Need (Substitutes Welcome)
- 3 cups (around 400g) all-purpose flour (I sometimes swap in a big handful of bread flour if I want more chew—works great!)
- 2 tablespoons sugar (sometimes I use honey if I’m feeling fancy; my gran would say that’s just showing off)
- 2¼ teaspoons (one of those sachets) active dry yeast
- 1 teaspoon salt (I just grab a big pinch—don’t stress it)
- ¾ cup warm milk (water works too; almond milk if that’s your jam, but really, milk makes it richer)
- 3 tablespoons butter, melted (though I’ve sneaked in olive oil now and then—tastes nice but a bit more rustic)
- 1 large egg (I have, on occasion, forgotten this—it still worked but felt less airy)
- Optional: A beaten egg for brushing on top, and sesame or poppy seeds for flair
Here’s How You Do It (Don’t Stress Over Perfection)
- Get the yeast dancing: Heat up your milk (not boiling, just pleasantly warm—you should be able to stick your finger in without yelping). Mix in the yeast and sugar, then let it sit about 10 minutes until it gets all foamy and weird-looking. If nothing happens, your yeast is probably having a bad day, so start again; no shame in it!
- Dump in the rest: Stir in the melted butter and the beaten egg (sometimes I forget to pre-melt the butter and just microwave the bowl for 10 seconds—I don’t recommend it, but it works). Add salt and most of the flour—hold some back for now or it’ll get too stiff too fast.
- Knead it out: Tip the dough onto a floured bench and knead for a solid 8 minutes, maybe 10 if you need to get some frustration out. It should be smoothish, but a bit sticky is fine (this is usually where I sneak a pinch just to taste—you shouldn’t, but who’s watching?).
- Let it rise: Bowl it, cover with a damp tea towel (I’ve used a shower cap in a pinch), and let it sit somewhere warm for about 1-2 hours—until doubled in size. Mine likes the closed oven with the light on.
- Shape and wait again: Punch it down (kids and grown-ups both love this bit), then cut into 8ish pieces (bigger if you want those Texas-sized buns; smaller for sliders). Ball them up, place them on a parchment-lined tray, squish them a bit flatter, cover, and let them puff up again—about 45 mins.
- Bake time: Brush the tops with egg wash for a shiny finish (or just milk if you forgot), sprinkle seeds if you like (I do half and half—my kids always “call dibs” on the sesame ones), bake at 190°C (375°F) for 15–17 minutes. They’re done when golden and sounding slightly hollow if you tap underneath. Don’t panic if they look oddly uneven—makes them more charming, I reckon.
Random Notes I Wish I’d Known Earlier
- If the dough feels too sticky, just let it rest 5 minutes before kneading again—makes a world of difference. I swear I used to make myself nuts adding more flour.
- No stand mixer? No worries. Sure, it’s a workout, but gives you bonus points for “authenticity.”
- Leaving the buns to cool is crucial (even though sometimes I break off a hot chunk—can’t help myself).
How I’ve Shaken Things Up (Some Wins, One Not So Much)
- Whole wheat flour swap: Actually, I find half white, half whole wheat keeps it soft without feeling like chewing on cardboard.
- Garlic butter glaze: Once I slathered on garlic butter at the end. Smelled like a steakhouse, tasted like heaven.
- Trying to “cheat” rising time: Wouldn’t try nuking the dough in the microwave again. Let’s just say, lesson learned.
Do You Really Need Special Equipment? Kinda, But Also Not
Yes, a stand mixer is great for the lazy (me) but I’ve done the whole thing by hand plenty of times. If you’ve got a clean jar or even an old wine bottle, that works for rolling dough, though sometimes it gets a bit wild.
Storing Home Baked Buns (Or Not)
In theory, they’ll keep two days in a bread bag or airtight box—maybe freeze some if you’re a planner (I am not). That said, they never make it past one day here—it’s like they evaporate or something!
My Go To Serving Rituals
I think these buns shine brightest with classic cheeseburgers and crisp lettuce, but every now and then we pile them with leftover roast chicken or make silly breakfast sarnies with a fried egg and cheese. "Build your own burger night" is basically a national holiday around here.
Hard Won Pro Tips So You Don’t Repeat My Mistakes
- I once skipped the resting time after shaping. Yikes. The buns came out weirdly tough; patience, grasshopper, it’s worth it.
- Don’t bake them too close together unless you want a pull-apart effect (sometimes I forget and they fuse; actually, that can be fun too).
- Honestly, waiting for them to cool a bit before slicing is smarter. I always charge in anyway and end up with squished buns but that’s life.
People Have Actually Asked Me About These (FAQ)
- Can I use rapid rise yeast?
- Yeah, you totally can—you just don’t need to proof it first. Though I usually do anyway ’cause it’s habit. Old dog, new tricks.
- What’s with the egg wash?
- It’s just for a glossy look. Skip it and nobody will complain (in fact, sometimes I forget and not a soul noticed).
- Help! My dough isn’t rising?
- Probably the milk was too hot or your yeast is past it’s prime? It happens—grab a new sachet and try again, or maybe put the bowl near a heater. Just watch it doesn’t cook!
- Can I double the recipe?
- Yep, though on second thought, maybe not in a tiny bowl—I once tried that; flour everywhere, total mess. Might want to split the dough in two bowls if you go big.
- Are these good the next day?
- I think they actually taste better after a night, if you can manage not to eat them all. But hey, hot out the oven is pretty special too.
One last thing—I sometimes end up with an extra or two, and on a whim, I’ve turned them into mini bread puddings. Not conventional, but hey, sometimes it’s fun to play with your food, isn’t it?
Ingredients
- 3 1/2 cups all-purpose flour
- 1 cup warm milk
- 2 tablespoons unsalted butter, softened
- 2 tablespoons granulated sugar
- 1 large egg
- 2 1/4 teaspoons active dry yeast
- 1 teaspoon salt
- 1 tablespoon sesame seeds (optional)
Instructions
-
1In a large bowl, combine warm milk, sugar, and yeast. Let stand for about 5 minutes until foamy.
-
2Add the softened butter, egg, and salt to the yeast mixture. Mix well before gradually adding the flour.
-
3Knead the dough for about 8-10 minutes until smooth and elastic. Place in a greased bowl, cover, and let it rise in a warm place for 1 hour or until doubled in size.
-
4Punch down the dough and divide into 8 equal pieces. Shape each into a ball and place on a baking sheet lined with parchment paper.
-
5Cover the buns and let them rise for 30 minutes. Preheat oven to 375°F (190°C). Optionally, brush tops with a little milk and sprinkle with sesame seeds.
-
6Bake for 18-20 minutes until golden brown. Allow to cool before slicing and serving.
Approximate Information for One Serving
Nutrition Disclaimers
Number of total servings shown is approximate. Actual number of servings will depend on your preferred portion sizes.
Nutritional values shown are general guidelines and reflect information for 1 serving using the ingredients listed, not including any optional ingredients. Actual macros may vary slightly depending on specific brands and types of ingredients used.
To determine the weight of one serving, prepare the recipe as instructed. Weigh the finished recipe, then divide the weight of the finished recipe (not including the weight of the container the food is in) by the desired number of servings. Result will be the weight of one serving.
Did you make this recipe?
Please consider Pinning it!!