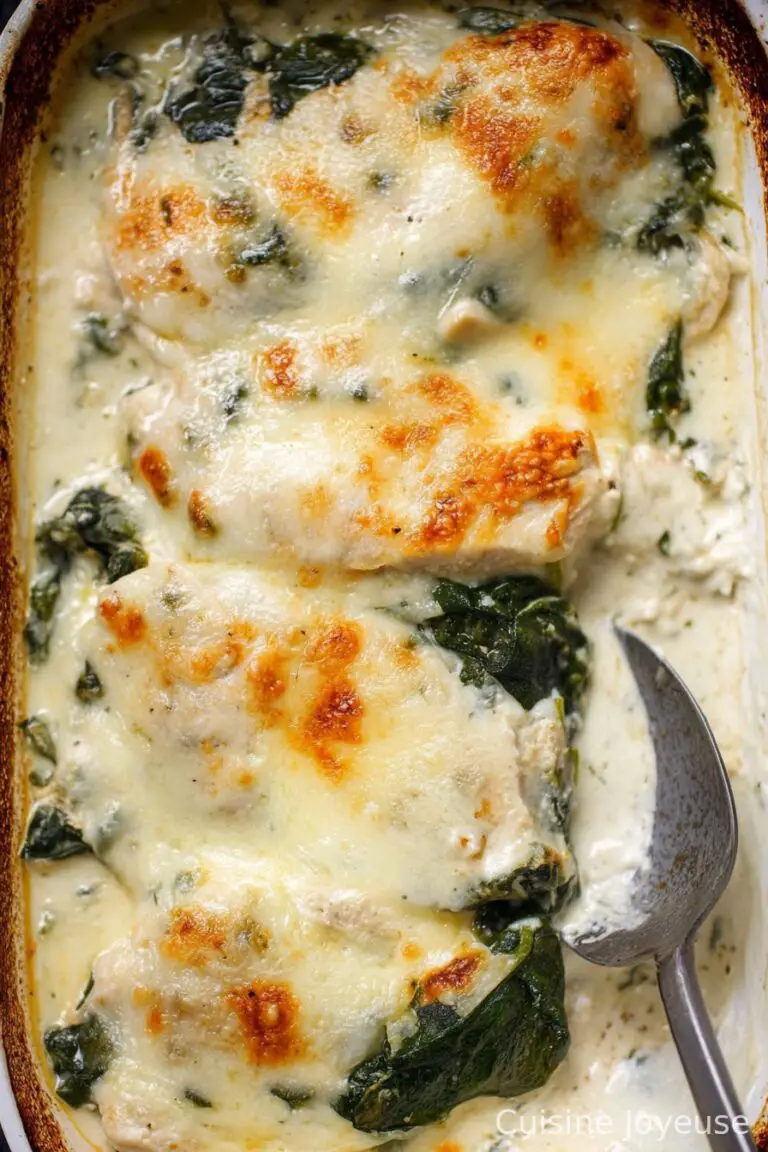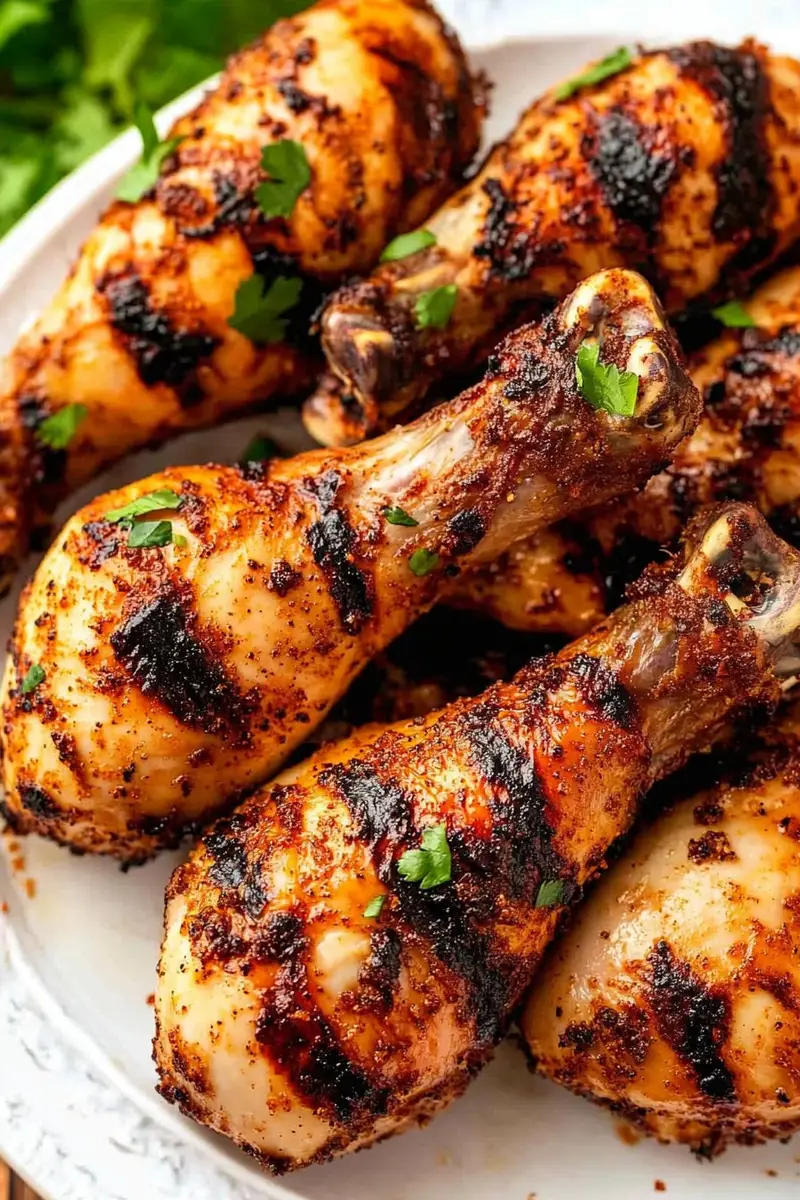
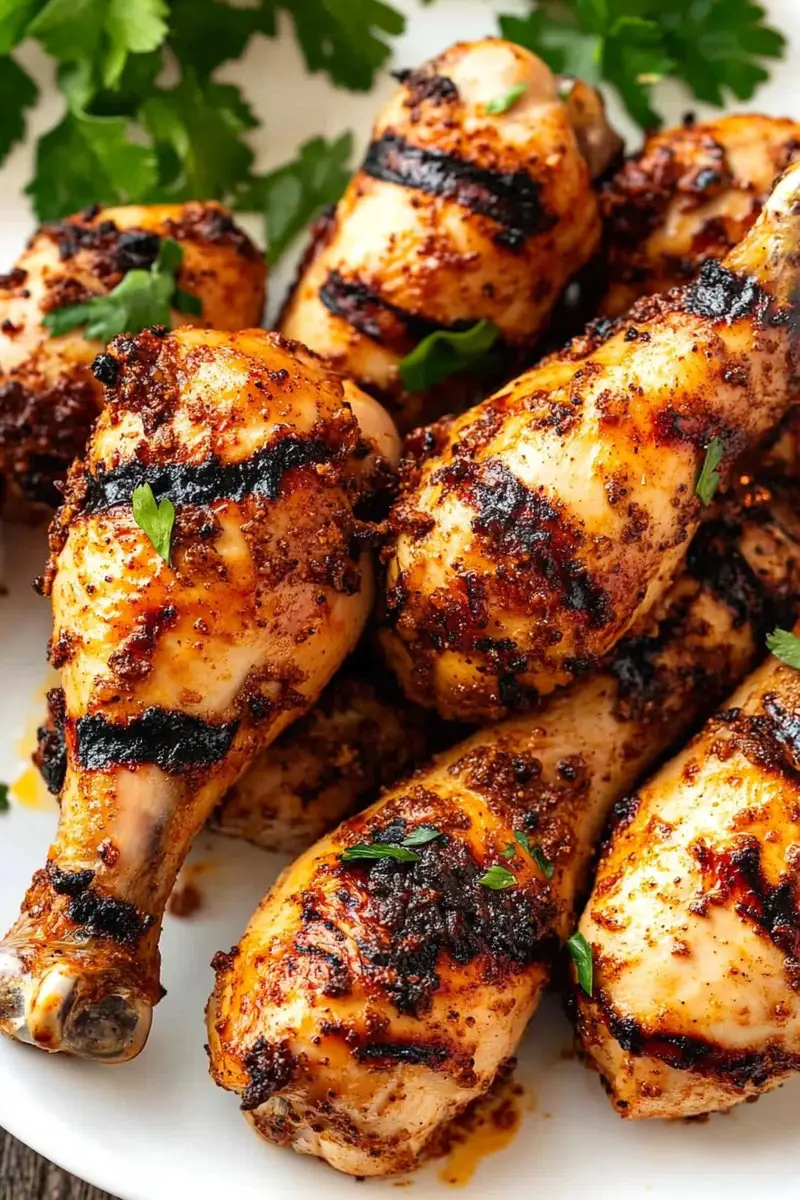
Grilled Chicken Legs (30 Minute Meal)
Hey there! So, let me tell you about these grilled chicken legs that have become a bit of a legend in our house. I first whipped them up one summer when I was running late (surprise, surprise) and needed something quick yet delicious for dinner. You know those days when you realize everyone’s staring at you like they’re starving? Yeah, that was me. Anyway, these chicken legs saved the day, and they’ve been a hit ever since. My family still talks about that night, which is kind of sweet considering it was just chicken.
Why You’ll Love This
I make this when I’ve totally forgotten to defrost the fancy stuff. My family goes crazy for this because it’s so packed with flavor—juicy on the inside with that lovely grilled char on the outside. And honestly, who doesn’t love a meal that comes together in 30 minutes? (I swear, I could sell this as a life hack!) Plus, it’s forgiving. Got a few extra friends dropping by? Just throw on more chicken. Easy peasy.
What You’ll Need
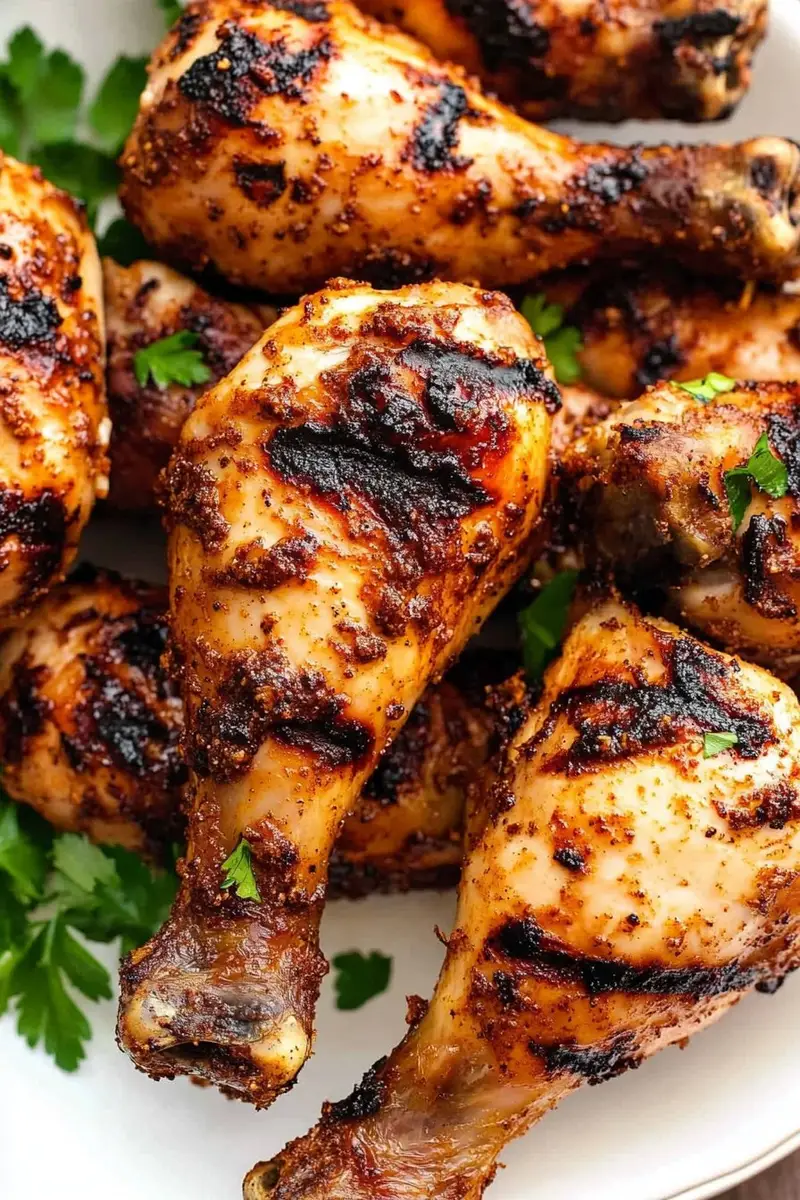
- Chicken Legs: About 4-6, skin-on. Sometimes I use thighs too if they’re on sale.
- Olive Oil: A couple of tablespoons. My grandmother always insisted on the extra virgin kind, but honestly any version works fine.
- Garlic Powder: 1 teaspoon. Fresh garlic works too, but I’m usually in a hurry.
- Paprika: 1 teaspoon. Smoked paprika gives it a nice depth, but regular is fine.
- Salt and Pepper: To taste. I’m pretty generous with these.
- Lemon Juice: Just a splash for a little zing. Lime is totally okay if that’s what you’ve got.
Let’s Get Cooking!
- Heat up your grill to medium-high. If you don’t have a grill, a grill pan works just dandy.
- While it’s heating, mix the olive oil, garlic powder, paprika, salt, and pepper in a big bowl. Toss in the chicken legs until they’re well-coated. (This is where I usually sneak a taste, shhh!)
- Grill the chicken for about 15 minutes on each side. Don’t worry if it looks a bit weird at this stage—it always does!
- Once the chicken is cooked through (check it’s not pink inside), squeeze a bit of that lemon juice over the top. Yum!
Notes from My Kitchen
You might find that the chicken sticks to the grill a bit. I’ve found that oiling the grill grates helps a ton or just let the chicken be until it’s ready to flip; patience is key here.
Try These Tweaks
I’ve tried adding honey to the mix—it was a bit of a sticky mess but tasty! And one time, I swapped the lemon juice for balsamic vinegar. Let’s just say it didn’t win any awards.
What If I Don’t Have…?
No grill? No worries. Use a broiler or even a cast-iron skillet if you’re feeling adventurous. Just keep an eye on the oven—things can get smoky fast!

Leftovers & Storage
Store leftovers in the fridge for up to 3 days, though honestly, in my house, it never lasts more than a day. If you’re lucky enough to have extra, cold chicken makes a fab salad topping!
What to Serve It With
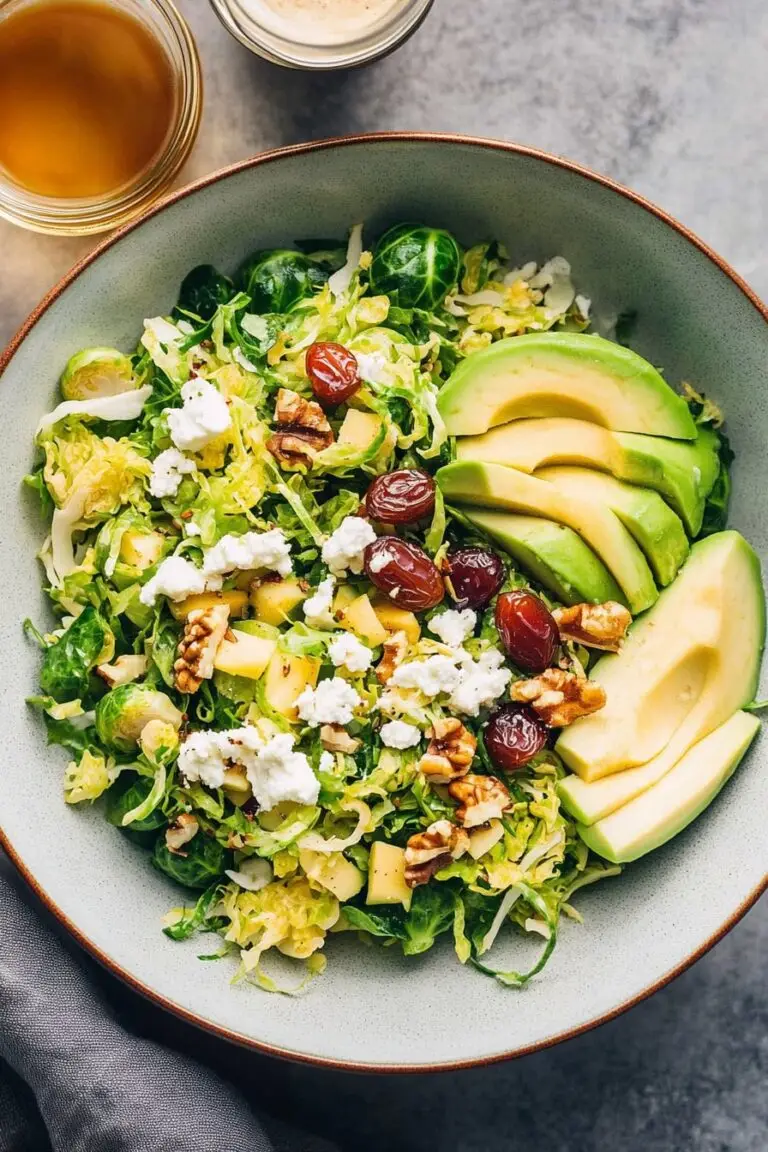
I usually pair this with a simple salad or some grilled veggies. My family insists on potato salad, because carbs are life, right?
Pro Tips
I once tried rushing this step and regretted it because the chicken ended up sticking to the grill. Make sure you give it time to release on its own—it’s worth the wait!
Got a Question?
Do I need a fancy grill? Nah, any grill or even a grill pan will work. Just remember: it’s all about the heat!
Can I use boneless chicken? You could, but I tend to think bone-in gives it more flavor. Plus, it’s juicier!
What if I overcook it? Hey, it happens. Just make sure to have some sauce or dressing on hand to help with dryness.
So there you have it! A simple, tasty dish that’s full of flavor and perfect for those hectic nights when time’s just not on your side. Give it a try and let me know how it turns out—I’d love to hear from you!