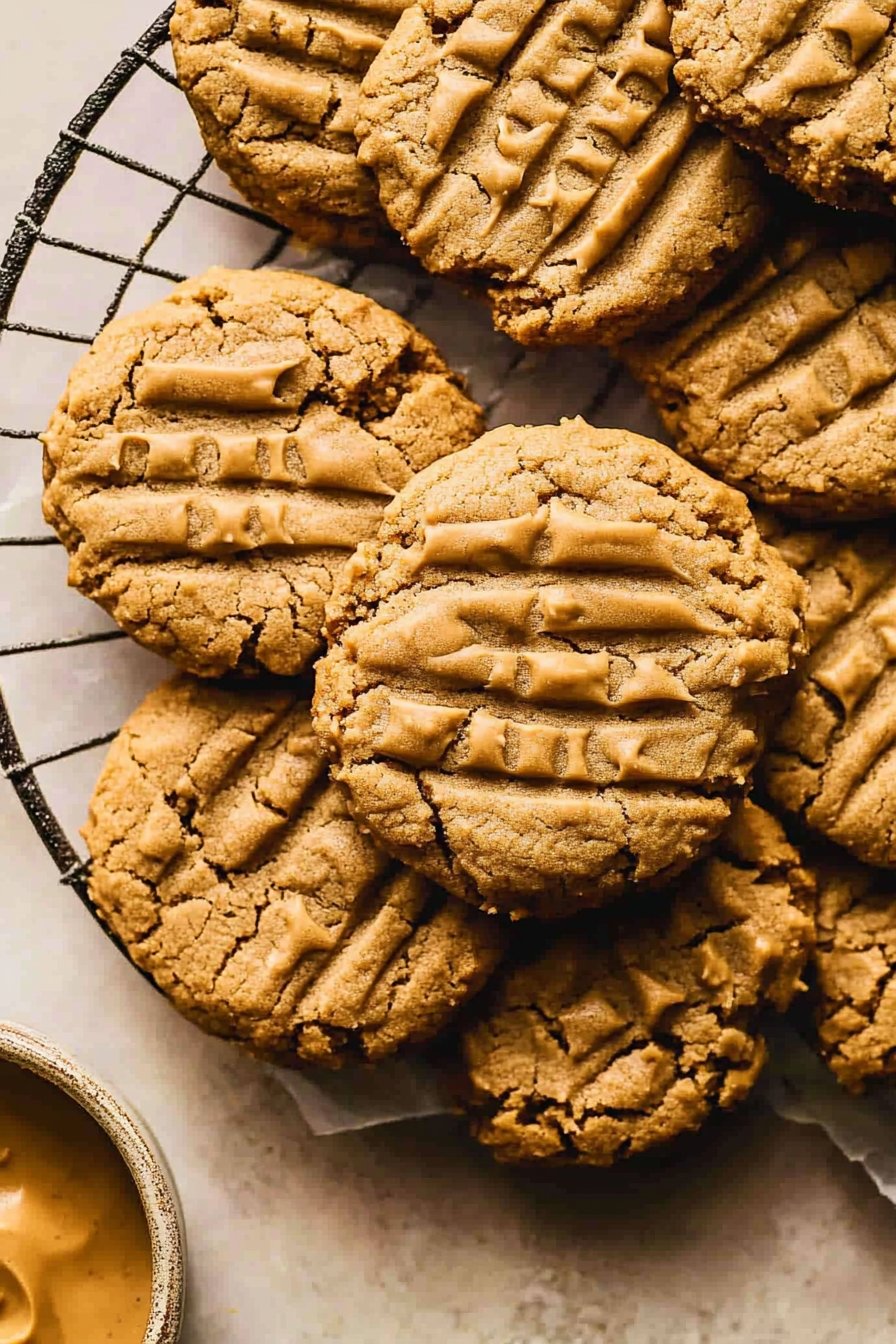
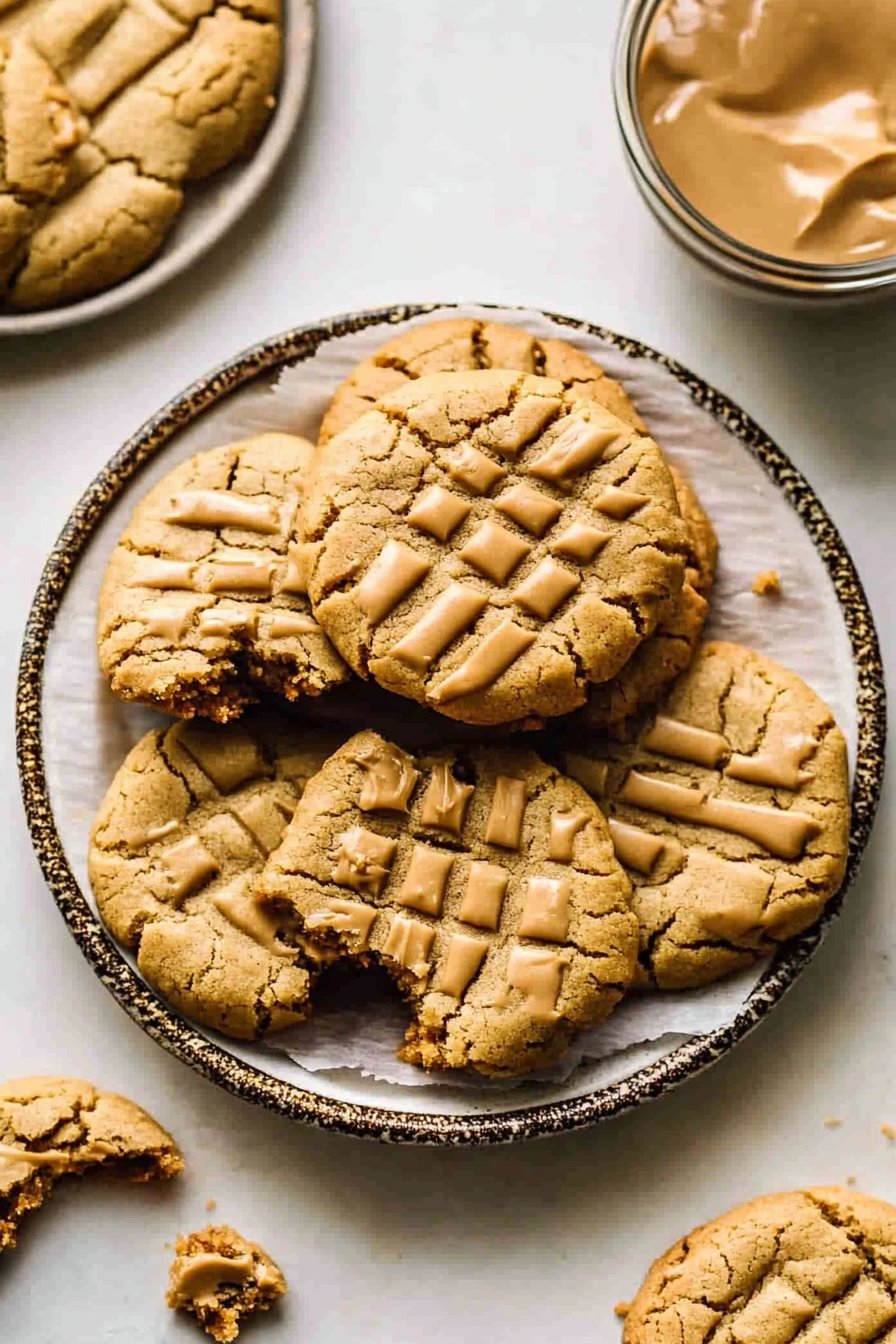
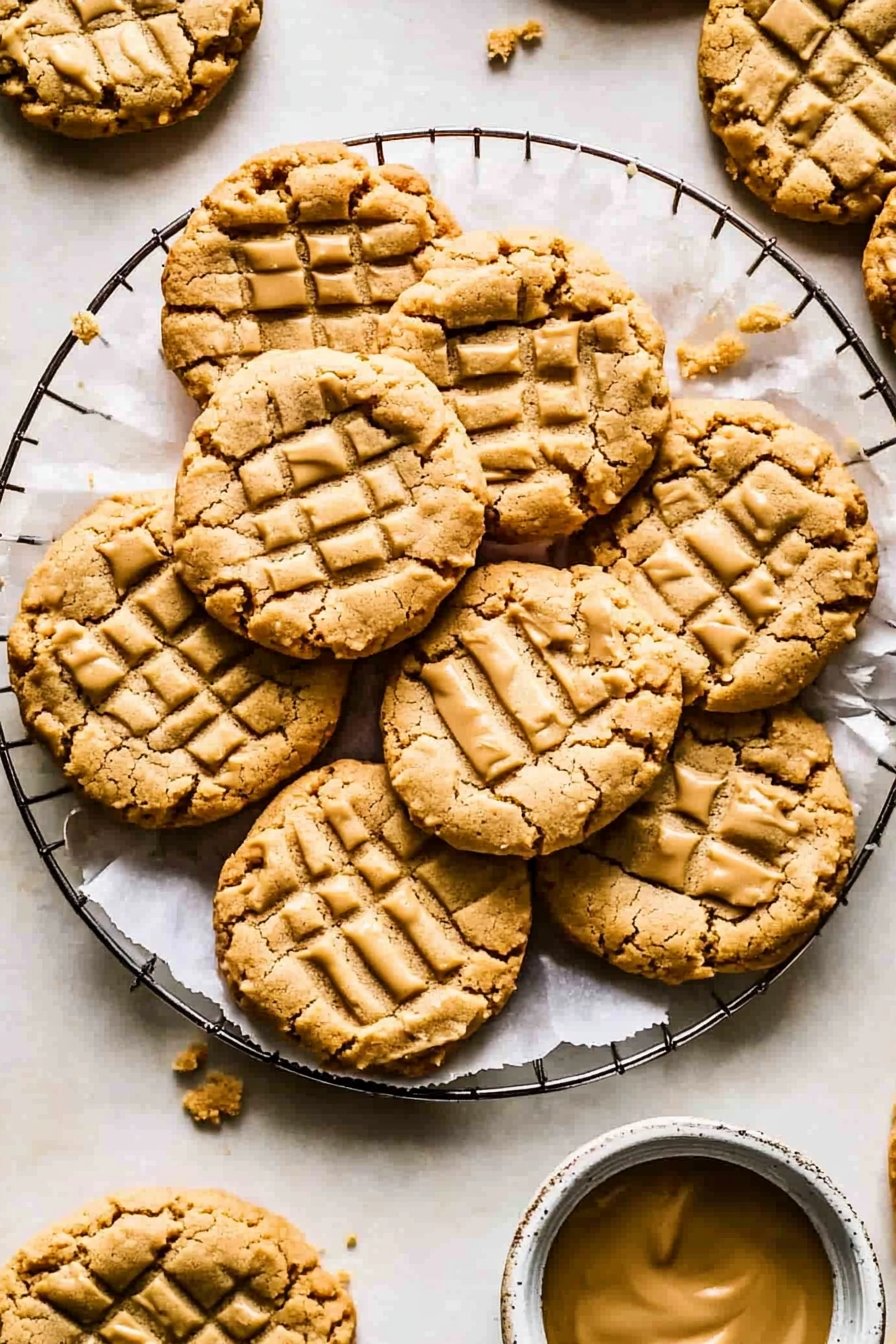
Flourless Peanut Butter Cookies
The Story Behind My Flourless Peanut Butter Cookies
Hey there! So, I have to tell you about this super easy recipe I stumbled upon when I was rummaging through my pantry one day (don’t we all have those days?). Flourless peanut butter cookies became a family favorite quite by accident. Seriously, who knew three simple ingredients could lead to such a delightful treat? I was skeptical at first—like, how can you make cookies without flour? But trust me, it’s a game-changer.
Why You’ll Love This Recipe
I make these cookies whenever I need a quick dessert fix or when friends drop by unexpectedly (because who doesn’t love a surprise visit?). My family goes bonkers for them, and they’re usually gone before the tray even cools down! Plus, there’s no need for fancy ingredients or equipment, so you can whip them up in a jiffy. And if you’re anything like me, trying to avoid doing the dishes, this one-bowl wonder is your new best friend.
Ingredients You’ll Need
- 1 cup peanut butter (smooth or chunky, whatever tickles your fancy)
- 1 cup sugar (granulated works best, but I’ve used brown sugar in a pinch—gives it a nice caramel vibe)
- 1 large egg (free-range, if you can swing it)
Optional add-ins: a pinch of salt (if your peanut butter’s unsalted) or a splash of vanilla extract—I’ve even tossed in a handful of chocolate chips when feeling fancy.
How to Make These Cookies
- Preheat your oven to 350°F (175°C). Just enough time to mix everything together.
- In a mixing bowl, stir together the peanut butter, sugar, and egg until smooth. This is the part where I usually sneak a taste—it’s irresistible!
- Line a baking sheet with parchment paper. If you’re out, no worries just grease the pan lightly.
- Scoop tablespoon-sized amounts of dough, roll them into balls, and place them on your sheet. I like to press them down with a fork to make that classic criss-cross pattern.
- Bake for about 8-10 minutes. They might look a bit soft when you take them out, but they’ll firm up as they cool. Don’t worry if it looks a bit weird at this stage—it always does!
Handy Notes
I definitely recommend letting these cool completely if you can resist them that long. They do firm up nicely and their flavor seems to deepen (if that makes any sense?).
Fun Variations
Once, I tried adding a dollop of jelly on top before baking for a PB&J twist—didn’t turn out as great as I hoped, but maybe you’ll have better luck! Another time, I threw in some chopped peanuts for extra crunch. That one was a hit!
Equipment Talk
If you don’t have a mixer, don’t sweat it; a good spatula and a bit of elbow grease work just fine. And if you lack a cookie scoop, just use a spoon—it’s all good.

Storing Your Creations
These cookies store well in an airtight container for about a week—though honestly, in my house, they never last more than a day!
Serving Suggestions
I love dunking these cookies into a cold glass of milk, but my daughter swears by pairing them with a scoop of vanilla ice cream. To each their own!
Pro Tips I’ve Learned
I once rushed the cooling process by sticking them in the fridge, and they got a bit too hard—so, patience really is a virtue here. Also, ensure your peanut butter is at room temperature for easier mixing.
Your Questions Answered!
Can I use natural peanut butter? Sure thing! Just make sure to stir it really well first, as the oil separation can mess with the texture.
What if I only have crunchy peanut butter? Go for it! It adds a nice crunch, which is always a win in my book.
Are these cookies gluten-free? Yep, they sure are! No flour, no gluten worries. Just deliciousness.